
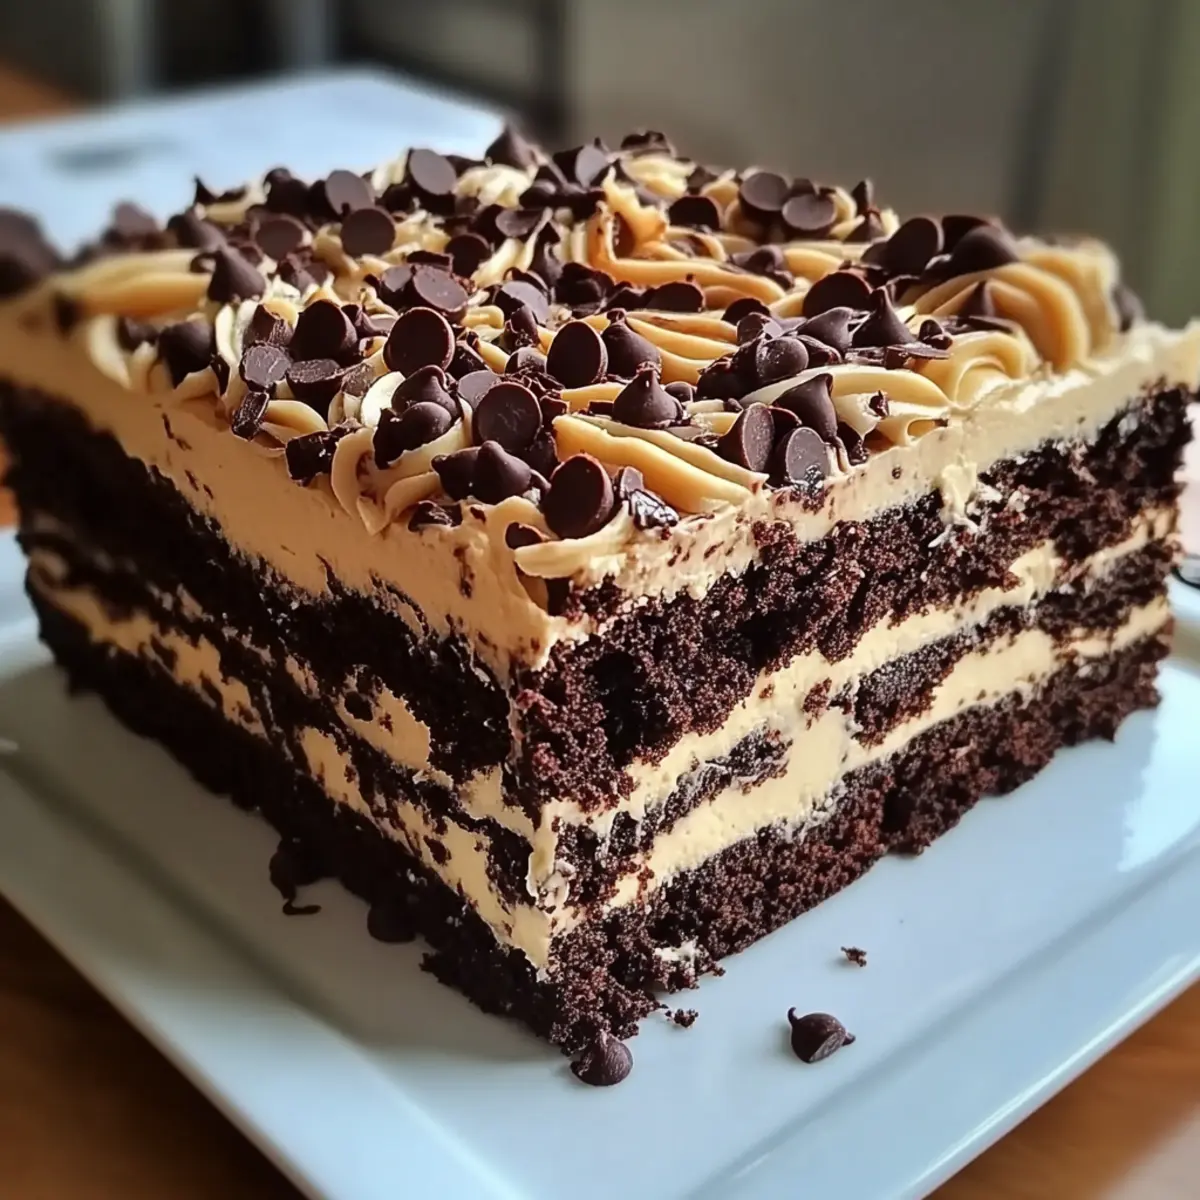
As I stood in my kitchen, the sweet, chocolaty aroma began to embrace me like a warm hug, signaling the start of something truly special. Earthquake Cake might just be the perfect remedy for anyone craving a rich dessert experience that balances indulgence with ease. This irresistible treat not only boasts a gooey chocolate bliss in every bite, but it’s also a delightful crowd-pleaser, making it ideal for gatherings or a cozy evening at home. With minimal prep time, it invites the novice and the experienced baker alike to whip up a masterpiece without the fuss. You can even customize it by choosing your favorite nuts or skipping the coconut, truly making it your own. Are you ready to dive into this chocolate marvel?

Why will you crave this cake?
Irresistible Flavor: The combination of rich chocolate and creamy cheese offers an unforgettable taste that will have everyone coming back for seconds.
Quick Preparation: You’ll love how easy it is to whip up this dessert—perfect for those busy weeknights or unexpected guests.
Customizable Options: With options to switch out nuts or eliminate coconut, this cake can be tailored to fit any palate.
Perfect for Sharing: Its stunning appearance and delightful textures make it a true showstopper at gatherings, ensuring you’ll impress family and friends.
Ultimate Comfort Food: Each slice transports you to a warm, cozy place, reminiscent of childhood treats or family gatherings, making it a warm hug on a plate.
Satisfying Indulgence: Whether paired with ice cream or on its own, this cake delivers a decadent bliss that’s hard to resist.
Gooey Chocolate Bliss Ingredients
For the Cake
• Chocolate Cake Mix – A classic boxed mix works perfectly to set the foundation for this delicious cake.
• Milk – Enhances moisture; feel free to use your favorite milk type for a richer texture.
For the Cream Cheese Layer
• Cream Cheese – Make sure it’s softened to create a smooth marbled layer that elevates the cake.
• Butter (melted) – Adds flavor and richness to the cream cheese mixture.
• Powdered Sugar – Sweetens and ensures a creamy consistency in your delightful cream cheese layer.
For the Crunchy Topping
• Chopped Pecans or Walnuts – Offers a lovely crunch; substitute with almonds or omit for a nut-free cake.
• Sweetened Shredded Coconut – Optional, but adds tasty texture; feel free to skip it for a simpler version.
• Semi-Sweet Chocolate Chips – Enhances the gooey chocolate bliss; can swap for milk or white chocolate chips if desired.
Enjoy mixing these tasty ingredients to create your very own Earthquake Cake!
Step‑by‑Step Instructions for Gooey Chocolate Bliss
Step 1: Preheat the Oven
Begin by preheating your oven to 350°F (175°C). While the oven warms up, grab a 9×13-inch baking dish and generously grease it to prevent sticking. This will ensure your Gooey Chocolate Bliss can be easily released once it’s baked to perfection.
Step 2: Prepare the Bottom Layer
Spread a layer of chopped pecans or walnuts evenly across the bottom of the greased baking dish. If you’re using sweetened shredded coconut, sprinkle it over the nuts to create a delightful texture contrast. This foundation will give your cake a satisfying crunch that beautifully complements the gooey chocolate layer above.
Step 3: Make the Cake Batter
In a mixing bowl, combine the chocolate cake mix with the appropriate amount of milk according to package instructions. Mix well until the batter is smooth and free of lumps, usually about 2-3 minutes. Once ready, gently pour this luscious chocolate mixture over the nut and coconut layer in the baking dish, ensuring it spreads evenly.
Step 4: Prepare Cream Cheese Mixture
In a separate bowl, blend the softened cream cheese with melted butter and powdered sugar until silky and smooth. This creamy blend is essential in creating the marbled effect for your Gooey Chocolate Bliss. Take your time mixing; the smoother the mixture, the better it will swirl into the cake.
Step 5: Swirl the Cream Cheese
Dollop spoonfuls of the cream cheese mixture over the chocolate cake batter in the dish. Using a knife, carefully swirl the cream cheese into the chocolate batter, creating a lovely marbled effect. Be gentle to maintain distinct swirls; this step showcases the beauty of your dessert and adds layers of flavor.
Step 6: Add the Finishing Touches
Sprinkle semi-sweet chocolate chips generously over the top of the cake batter and cream cheese mixture. These chips will melt as the cake bakes, enhancing the gooeyness of your masterpiece. Their addition boosts the chocolate flavor, creating an even more indulgent experience when you enjoy your Gooey Chocolate Bliss.
Step 7: Bake the Cake
Carefully place the baking dish in your preheated oven and let it bake for 40-45 minutes. Keep an eye on it—the cake should be firm around the edges while the center might still jiggle slightly when done. A toothpick inserted in the middle should come out with a few moist crumbs, indicating the perfect gooeyness.
Step 8: Cool Before Serving
Once baked, remove the cake from the oven and allow it to cool in the pan for at least 30 minutes. This step is crucial; it lets the flavors settle and makes slicing easier. Once cooled, cut into squares and serve warm for an extra touch of gooey chocolate bliss, or allow to cool completely for a delightful chilled treat.
What to Serve with Earthquake Cake?
Imagine a luscious dessert experience paired perfectly with delightful sides, creating an unforgettable meal!
-
Vanilla Ice Cream: A scoop of creamy vanilla adds a refreshing contrast to the warm, gooey chocolate bliss of the cake. The cold ice cream melts beautifully, enhancing every bite.
-
Fresh Berries: Juicy strawberries or raspberries introduce a burst of tartness that balances the rich chocolate, creating a delightful flavor harmony. Their vibrant colors add an eye-catching touch to the dessert platter.
-
Whipped Cream: Light and airy whipped cream elevates the cake’s indulgence, making each slice feel like a special treat. Drizzling some on top or serving it on the side makes for an elegant presentation.
-
Chocolate Sauce: A drizzle of warm chocolate sauce intensifies the cake’s chocolate flavor, making it even more decadent. It’s an ideal way to please true chocolate lovers seeking extra gooeyness!
-
Nutty Granola: A sprinkling of crunchy granola can provide a delightful texture contrast to the soft cake, enhancing its overall enjoyment. Pairing with yogurt for a parfait-style dessert can make it a delightful brunch option too.
-
Coffee: A rich cup of black coffee or a creamy latte offers a comforting beverage pairing, cutting through the sweetness while highlighting the cake’s flavors. The warmth is perfect for cozy gatherings!
-
Mint Tea: A soothing cup of mint tea freshens the palate after indulgent bites of chocolate, making it a delightful way to cleanse your taste buds. It’s a perfect, light contrast to the cake’s richness!
Consider these delightful options as you prepare to serve your Earthquake Cake, ensuring a multi-sensory experience that elevates your dessert adventure!
Gooey Chocolate Bliss Variations
Feel free to explore these delicious variations and personalized twists to make your Earthquake Cake uniquely yours!
- Nut-Free: Substitute chopped nuts with sunflower or pumpkin seeds for equally delightful crunch without allergens.
- Coconut-Free: Omit shredded coconut entirely for a more classic chocolate flavor that lets the rich cake shine.
- Flavor Up: Experiment with different chocolate cake mixes, like fudge or devil’s food, for a deeper chocolate experience.
- Extra Gooeyness: Add an extra half cup of chocolate chips or swirl in some caramel for a decadent twist that pleases chocolate lovers.
- Fruity Layers: Incorporate fresh or frozen raspberries or strawberries into the cream cheese layer to brighten the flavor profile.
- Spiced Delight: Sprinkle a dash of cinnamon or espresso powder into the cake batter for a warm, spicy depth to your dessert.
- Indulgent Pairing: Serve warm slices alongside a scoop of vanilla ice cream or with a generous dollop of whipped cream for that ultimate treat.
- Double Layer: Consider making a two-layer cake by doubling the recipe and adding a cream cheese frosting between the layers for an eye-catching presentation!
Embrace your creativity and make this stunning dessert even more special! If you’re looking for more chocolate delights, check out our Ultimate Chocolate Cheesecake for a rich, creamy experience or indulge in our Dark Chocolate Raspberry for a fruity twist.
Expert Tips for Gooey Chocolate Bliss
- Softened Cheese: Ensure your cream cheese is fully softened to avoid lumps in the cream cheese layer, which can disrupt the marbling effect.
- Gentle Mixing: Mix the cream cheese mixture just until smooth; overmixing can lead to a dense texture instead of delightful swirls.
- Watch the Time: Check for doneness around the 40-minute mark. The center should be slightly jiggly but firm. A toothpick should come out with moist crumbs to indicate gooey chocolate bliss.
- Cool for Best Slices: Let the cake cool in the pan for at least 30 minutes before slicing. This helps it set and ensures cleaner edges when you cut it.
- Customization: Don’t hesitate to experiment! Customize your cake by using different nuts or omitting the coconut entirely for a personal touch that suits your taste.
Make Ahead Options
Earthquake Cake is a fantastic choice for meal prep, making your baking experience smoother and more efficient! You can prepare the chocolate cake batter and the cream cheese mixture up to 24 hours in advance. Simply mix the cake ingredients as directed, then cover and refrigerate the batter. Similarly, whip up the cream cheese layer, store it in an airtight container, and keep it chilled. To maintain quality, avoid combining them until you’re ready to bake; this prevents any potential texture changes. When you’re ready to serve, pour the chilled batter into your prepared baking dish, add the cream cheese swirls and chocolate chips, and bake as instructed. Enjoy a delectable treat with minimal effort!
How to Store and Freeze Earthquake Cake
Fridge: Keep your Earthquake Cake covered or in an airtight container in the fridge for up to 5 days, ensuring it stays moist and delicious.
Freezer: For longer storage, freeze individual slices of the cake wrapped tightly in plastic wrap and aluminum foil for up to 2 months. This helps preserve its gooey chocolate bliss!
Thawing: To enjoy frozen slices, simply transfer them to the fridge overnight or microwave for about 30 seconds until warmed through.
Reheating: If serving leftovers, pop a slice in the microwave for a few seconds to restore its gooey texture and flavors before enjoying!
Gooey Chocolate Bliss Recipe FAQs
What type of chocolate cake mix should I use?
You can use any standard boxed chocolate cake mix for this recipe; however, I highly recommend using a devil’s food cake mix for an extra layer of richness and depth in flavor. The result is a little slice of heaven every time!
How do I store leftover Earthquake Cake?
To keep your delicious cake fresh, store it covered in the fridge for up to 5 days. Placing it in an airtight container will help maintain its gooey chocolate bliss, preventing it from drying out.
Can I freeze Earthquake Cake? If so, how?
Absolutely! To freeze individual slices, wrap each piece tightly in plastic wrap followed by aluminum foil. This double-layer protects the cake and helps retain its moisture. You can freeze it for up to 2 months. When you’re ready to enjoy, simply transfer it to the fridge overnight to thaw or microwave it for about 30 seconds.
What if my cream cheese layer is lumpy?
Lumpy cream cheese can be frustrating, but don’t worry! Ensure the cream cheese is fully softened before mixing—this is key for a smooth blend. If you’ve already mixed it and it’s still lumpy, you can try beating it again with a mixer until it’s smooth, or consider giving it a brief zap in the microwave for 10–15 seconds to soften it further.
Can I make this cake nut-free?
Very! You can easily omit the nuts or substitute them with seeds like sunflower or pumpkin seeds for a delightful crunch without allergens. This way, you can enjoy your gooey chocolate bliss cake while accommodating dietary restrictions.
Is this cake safe for my pets?
While the Earthquake Cake is a delicious treat for humans, be mindful that chocolate is toxic to pets. It’s best to keep this dessert away from furry friends and save all that delicious gooey chocolate bliss just for yourself and your human guests!
Gooey Chocolate Bliss: An Indulgent Slice of Happiness
Ingredients
Equipment
Method
- Preheat the oven to 350°F (175°C) and prepare a 9x13-inch baking dish.
- Evenly spread chopped pecans or walnuts and sweetened shredded coconut on the bottom of the baking dish.
- Mix the chocolate cake mix with the milk according to package instructions, then pour over the nut and coconut layer.
- Beat together softened cream cheese, melted butter, and powdered sugar until creamy.
- Drop dollops of the cream cheese mixture over the cake batter and swirl with a knife.
- Sprinkle semi-sweet chocolate chips over the top.
- Bake for 40–45 minutes, until firm to the touch with a slight jiggle in the center.
- Cool in the pan for approximately 30 minutes before slicing and serving.
Leave a Reply