
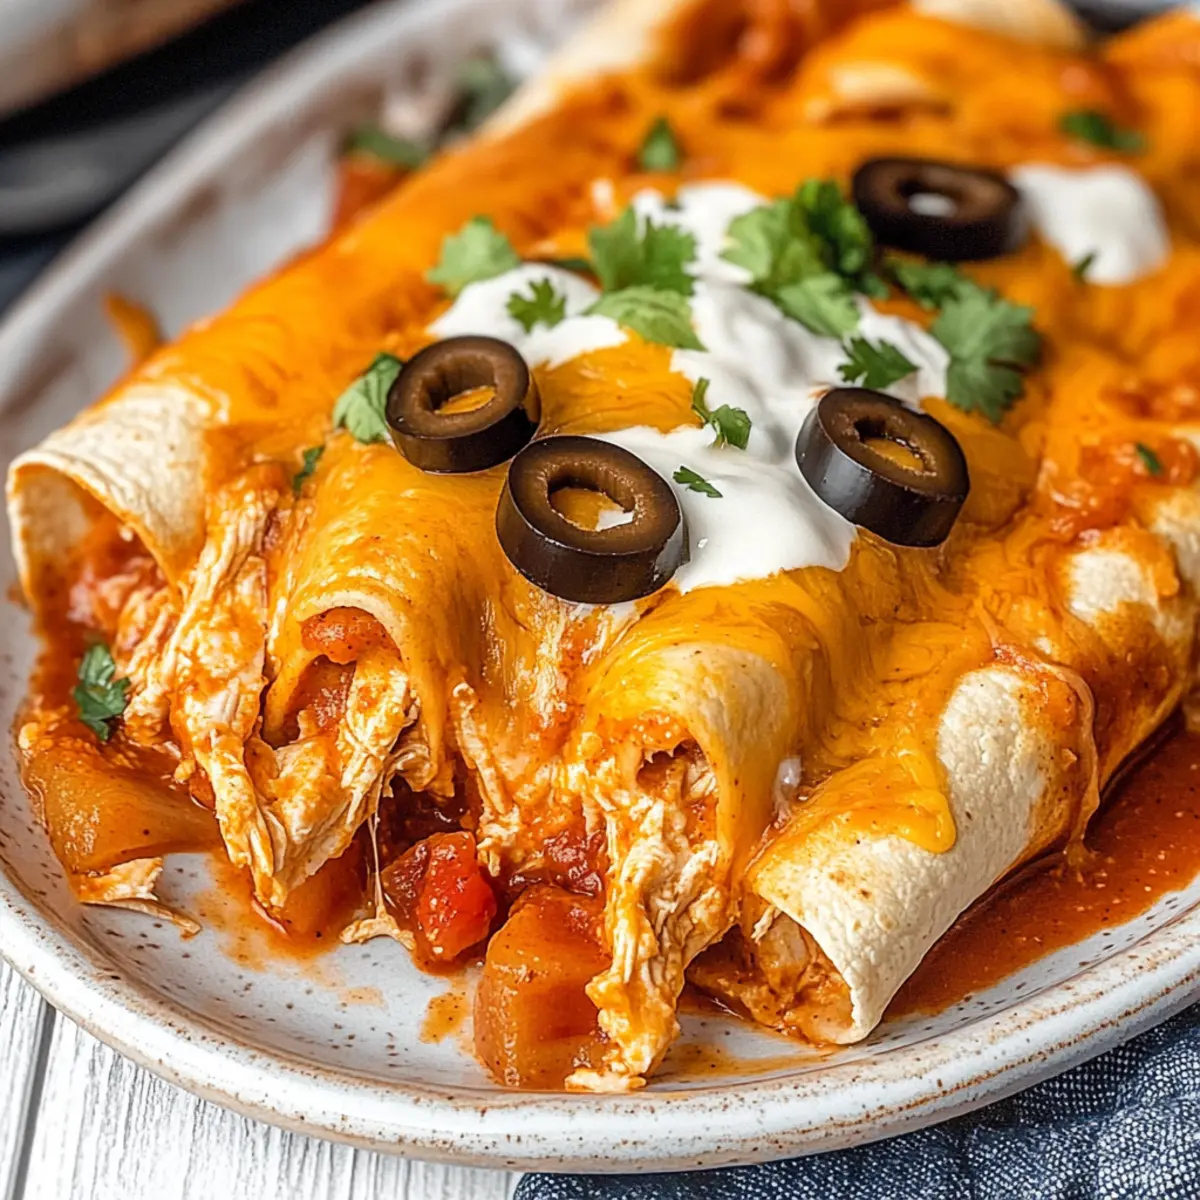
As the aroma of sautéed onions dances through my kitchen, I can’t help but feel a rush of nostalgia. These Cream Cheese Chicken Enchiladas are a beloved staple in my home, a dish that always evokes happy memories of family gatherings and cozy nights in. It’s the perfect comfort food, offering a delightful blend of creamy texture and savory flavors that come together in under an hour! Not only are these enchiladas a surefire crowd-pleaser, but they also offer the flexibility to use alternative sauces and tortillas, making them easy to customize for any palate or dietary preference. Are you ready to dive into the delicious world of Tex-Mex comfort?
Why Are These Enchiladas So Irresistible?
Creamy Indulgence: Each bite is a soothing mix of melty cheese and rich cream cheese, combined with savory chicken.
Quick Preparation: With only a few steps, this recipe is perfect for weeknight dinners.
Versatile Options: Feel free to swap in green enchilada sauce or corn tortillas for a gluten-free twist.
Make-Ahead Friendly: Prep them a day in advance for an effortless meal option.
Crowd-Pleasing Flavor: Whether hosting a gathering or enjoying a cozy night in, these enchiladas will surely impress! Serve them alongside a refreshing salad or a side of Cottage Cheese Pizza for a true Tex-Mex feast!
Cream Cheese Chicken Enchiladas Ingredients
For the Filling
• Vegetable Oil – adds moisture and aids in sautéing onions.
• Shredded Chicken (3 cups) – main protein source; use rotisserie chicken for quick prep.
• Onion (1 medium, diced) – adds sweetness and depth of flavor.
• Garlic (2 cloves, minced) – enhances aroma and flavor profile.
• Cream Cheese (8 ounces, softened) – provides a creamy texture; can substitute with Greek yogurt for a lighter option.
• Diced Green Chiles (1 can, 4 ounces) – adds mild heat and flavor; fresh jalapeños can be used for extra spice.
• Chili Powder (1 teaspoon) – adds warmth and color to the filling.
• Cumin (1 teaspoon) – provides earthy flavor, enhancing the Tex-Mex profile.
• Salt (1/2 teaspoon) & Black Pepper (1/4 teaspoon) – season to taste.
For the Assembly
• Flour Tortillas (12, 6-inch) – main wrapping; consider corn tortillas for a gluten-free option. Ensure they are warmed to prevent cracking during rolling.
• Red Enchilada Sauce (2 cans, 10 ounces each) – flavor base; switch to green enchilada sauce for a different flavor profile.
• Mexican Cheese Blend (2 cups, shredded) – topping for gooeyness; can use Monterey Jack or cheddar cheese instead.
Get ready to savor every bite of these delicious Cream Cheese Chicken Enchiladas that promise warmth and comfort!
Step‑by‑Step Instructions for Cream Cheese Chicken Enchiladas
Step 1: Preheat the Oven
Preheat your oven to 375°F (190°C) and grease a 9×13-inch baking dish with a little vegetable oil. This step ensures your creamy enchiladas have a non-stick base for easy removal after baking. While your oven heats up, gather all your ingredients to streamline the cooking process.
Step 2: Sauté the Aromatics
In a large skillet, heat 1 tablespoon of vegetable oil over medium heat. Add the diced onion and sauté for about 5 minutes until softened and translucent. Stir in minced garlic and cook for an additional minute, allowing the aroma to fill your kitchen and awaken your appetite as the base of your Cream Cheese Chicken Enchiladas comes together.
Step 3: Prepare the Cream Cheese Mixture
Lower the heat and stir in 8 ounces of softened cream cheese, along with the diced green chiles, chili powder, cumin, salt, and pepper. Cook for 3-4 minutes, mixing until the cream cheese is fully melted and the mixture is smooth. The creamy consistency will make it easy to blend in your shredded chicken, adding rich flavor to your enchiladas.
Step 4: Combine the Chicken
Remove the skillet from heat and gently fold in 3 cups of shredded chicken until fully incorporated with the cream cheese mixture. Ensure that the chicken is well-coated with the flavorful creamy blend. This step adds hearty protein to your Cream Cheese Chicken Enchiladas, making them satisfying and delicious.
Step 5: Add Sauce to the Baking Dish
Spread about 1/2 cup of red enchilada sauce evenly on the bottom of the greased baking dish. This layer of sauce will help keep your enchiladas moist while baking and contribute to the overall flavor. This is a crucial step in building that rich, comforting sauce flavor you’ll want in every bite.
Step 6: Fill the Tortillas
Warm your flour tortillas in the microwave for 20-30 seconds to make them pliable. Scoop approximately 1/4 cup of the chicken filling onto each tortilla, rolling them tightly and placing them seam-side down in the baking dish. Fit as many enchiladas as you can into the dish, ensuring the filling is evenly distributed across the Cream Cheese Chicken Enchiladas.
Step 7: Top with Sauce and Cheese
Pour the remaining enchilada sauce over the rolled tortillas, ensuring they are generously covered. Then, sprinkle 2 cups of shredded Mexican cheese blend on top. The gooey dollops of cheese will melt to create a deliciously indulgent topping, ensuring your enchiladas are appetizingly golden by the end of baking.
Step 8: Bake until Bubbly
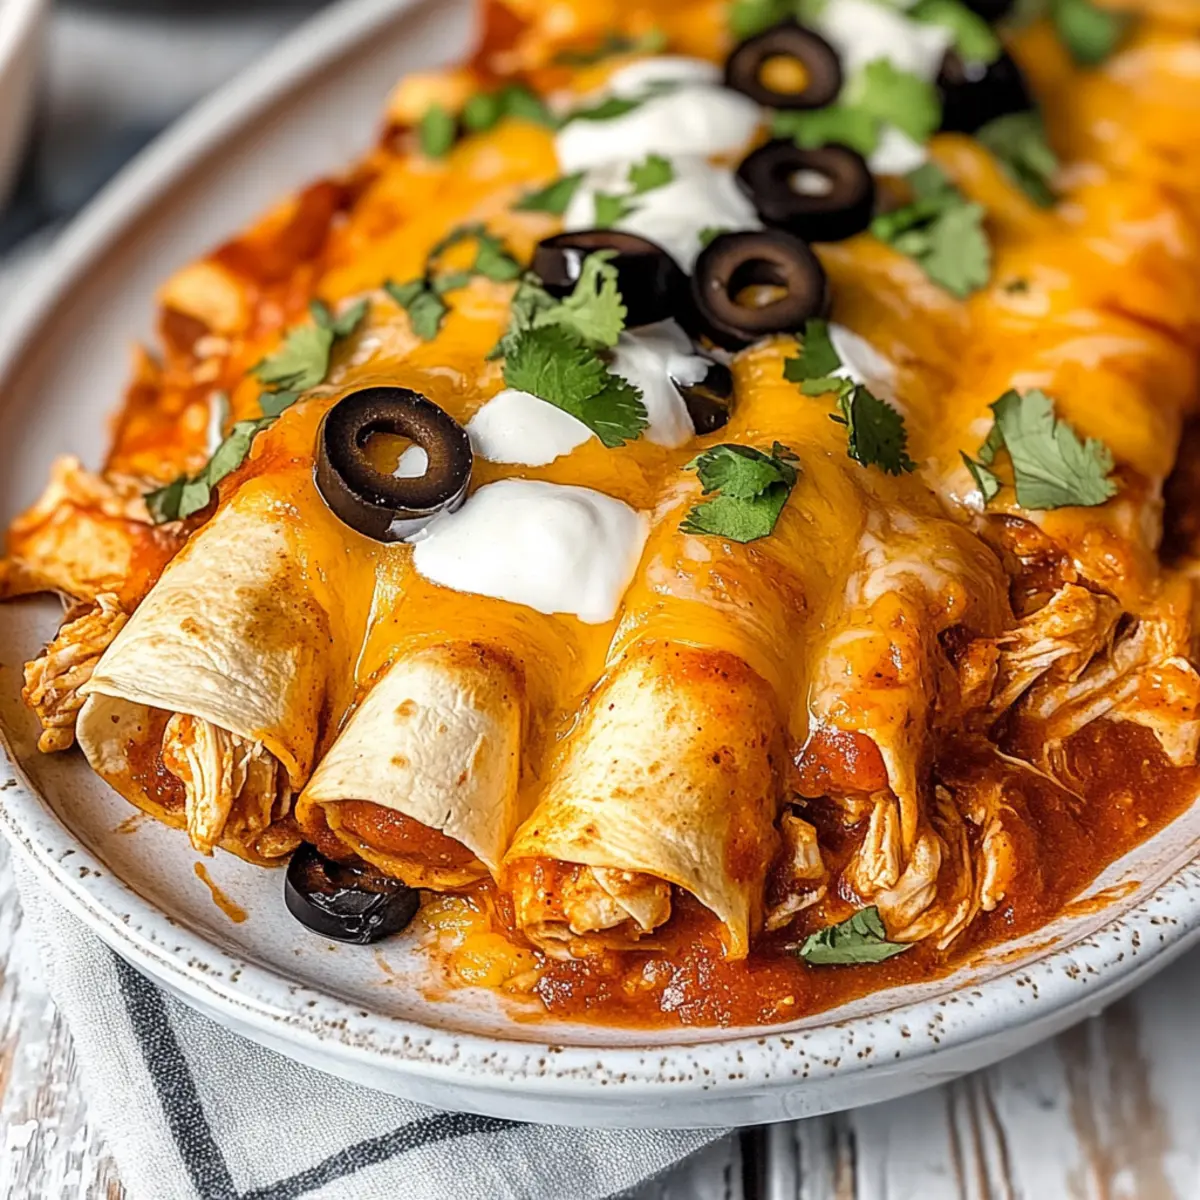
Place the baking dish in your preheated oven and bake uncovered for 20-25 minutes or until the enchiladas are bubbly and the cheese is melted and slightly browned. Keep an eye on them toward the end of the baking time to achieve that perfectly golden top.
Step 9: Cool Before Serving
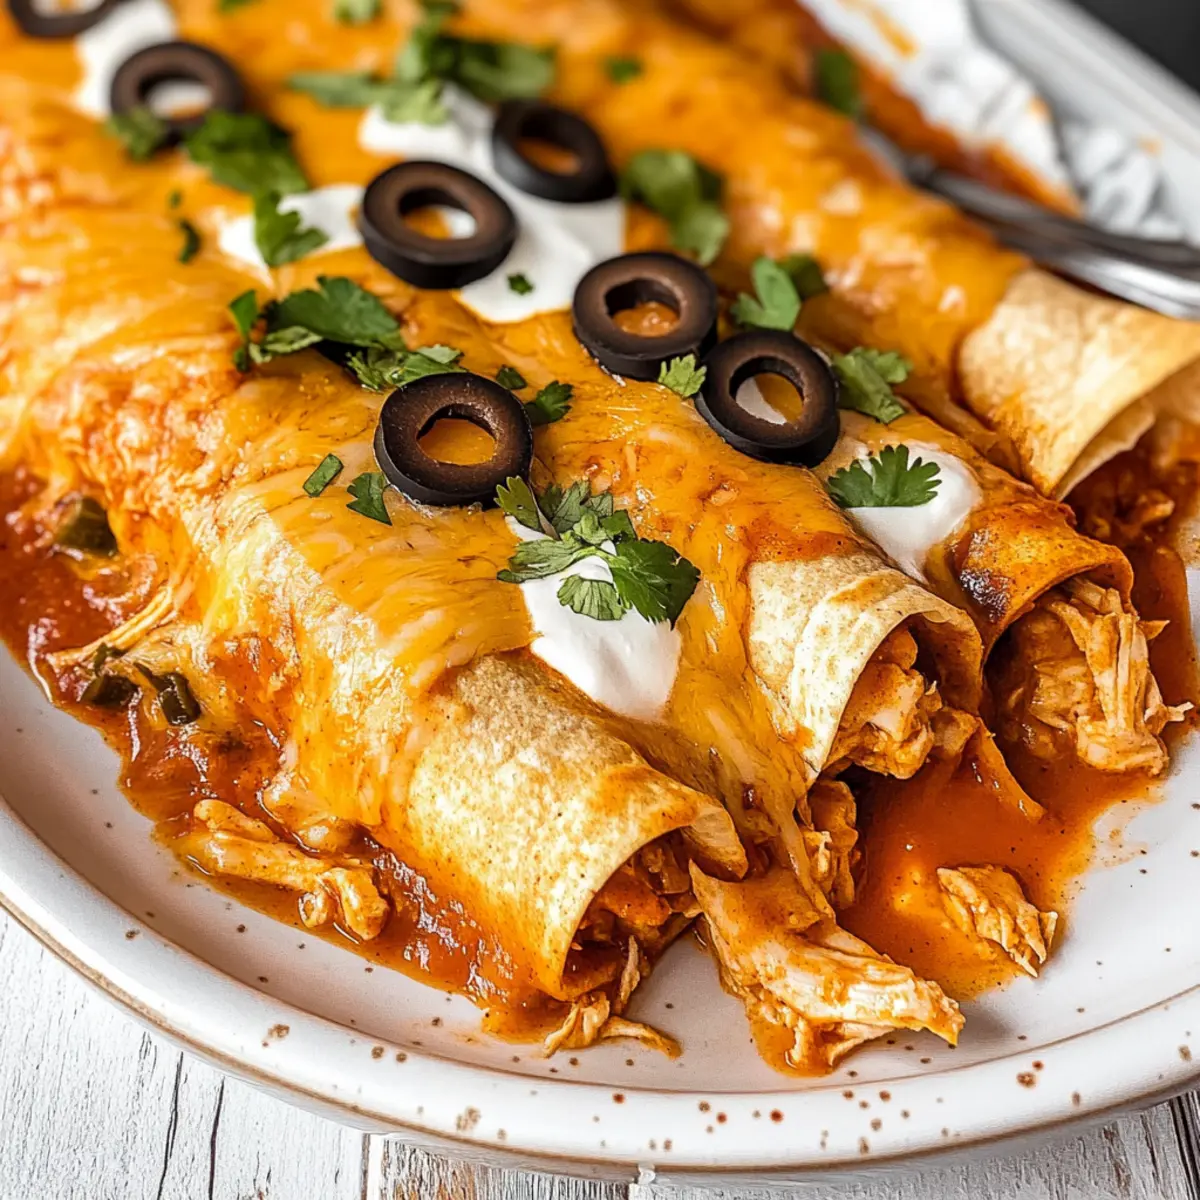
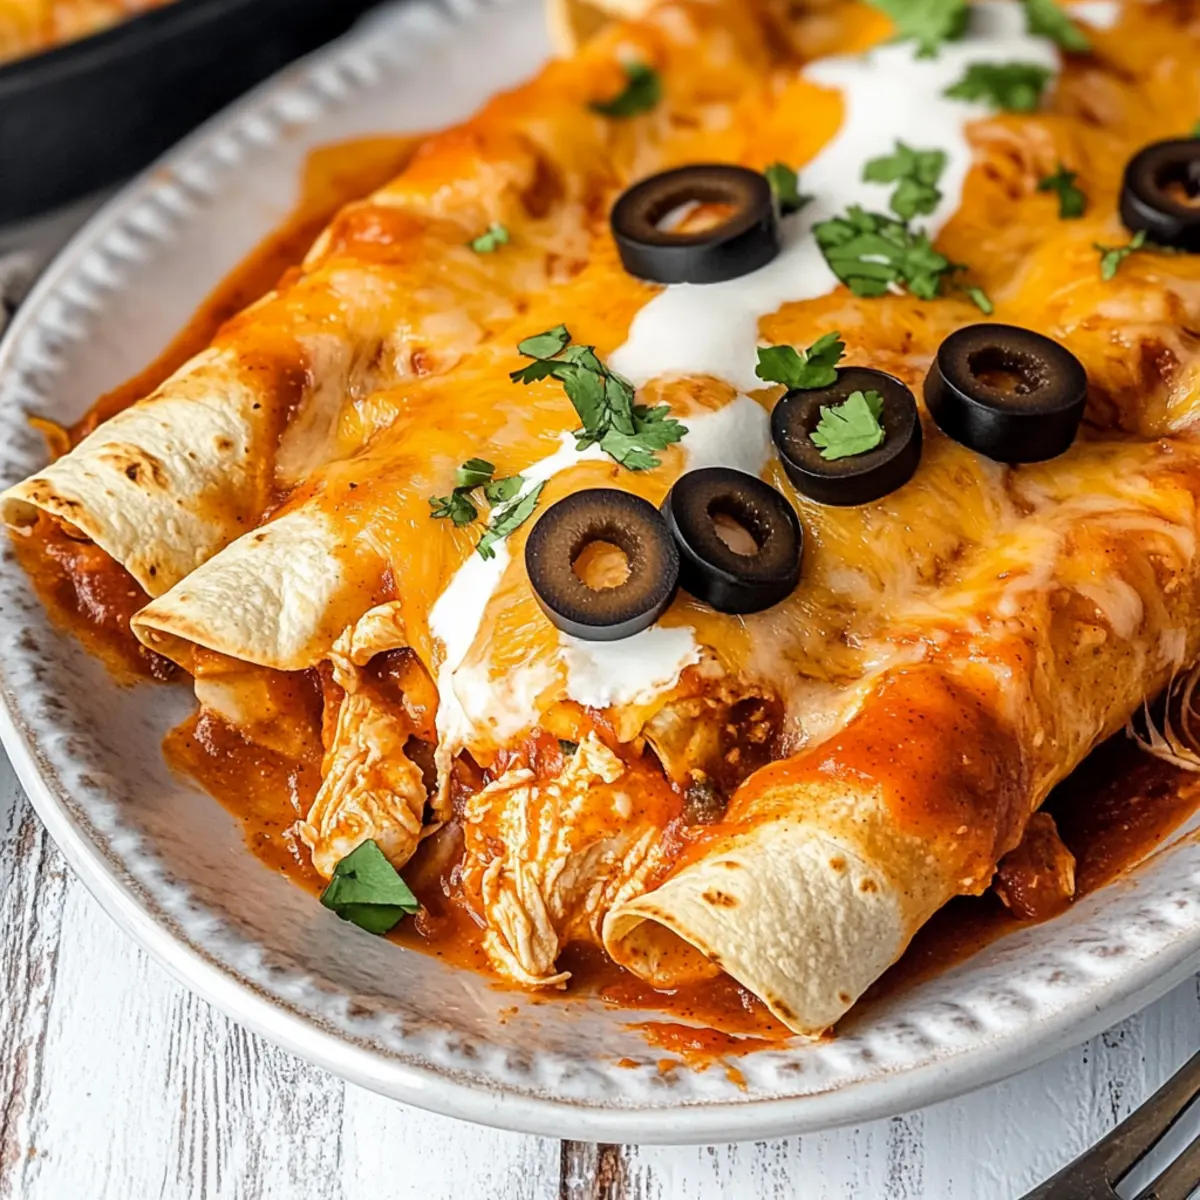
Once your Cream Cheese Chicken Enchiladas are finished baking, remove them from the oven and allow them to stand for 5 minutes. This resting time helps set the layers and makes for easier serving while the flavors mingle deliciously. Consider garnishing with sour cream, fresh cilantro, or jalapeño slices for an added touch.
How to Store and Freeze Cream Cheese Chicken Enchiladas
Fridge: Store leftover Cream Cheese Chicken Enchiladas in an airtight container for up to 3 days. Reheat in the oven at 350°F for 10-15 minutes or microwave for 1-2 minutes until warmed through.
Freezer: For longer storage, assemble the enchiladas but do not bake. Wrap tightly in plastic wrap and aluminum foil, then freeze for up to 2 months. Bake from frozen, adding 10-15 minutes to the cooking time.
Reheating: When ready to enjoy, you can reheat the enchiladas in the oven or microwave. Just ensure they’re heated all the way through to enjoy that creamy goodness!
Meal Prep Tip: Consider making a double batch and freezing half for a quick homemade meal later.
Make Ahead Options
These Cream Cheese Chicken Enchiladas are a fantastic option for meal prep enthusiasts seeking to save time on busy weeknights! You can assemble the enchiladas up to 24 hours in advance by following the recipe instructions but covering the baking dish tightly with plastic wrap to keep them fresh. Additionally, the filling can be made up to 3 days ahead and stored in the refrigerator, ensuring the spices meld together beautifully. When you’re ready to enjoy the enchiladas, simply remove the cover and bake them straight from the fridge, adding a few extra minutes to the cooking time for optimal warmth. With this make-ahead strategy, you’ll savor all the creamy, cheesy flavors with minimal effort!
Cream Cheese Chicken Enchiladas Variations
Feel free to personalize these delicious enchiladas to suit your taste and dietary needs. Every twist offers a new savory adventure!
-
Gluten-Free: Substitute corn tortillas instead of flour to create a gluten-free version that retains all the comfort.
-
Spicy Kick: Add diced jalapeños or a splash of hot sauce to the chicken filling for a lively heat that will awaken your senses.
-
Creamy Alternative: Swap cream cheese for Greek yogurt for a lighter, tangy filling that’s just as rich in flavor.
-
Mix Up the Sauce: Use green enchilada sauce instead of red for a fresh, zesty twist that complements the creaminess beautifully.
-
Vegetarian Delight: Replace the chicken with black beans and extra vegetables for a hearty vegetarian option packed with protein.
-
Extra Cheesy: Blend in some queso fresco or cotija cheese into the filling for a richer, more indulgent cheesiness that’s hard to resist!
-
Oven-Baked Texture: For an extra crispy top, broil the enchiladas for the last 2-3 minutes of baking, creating an irresistible golden crust.
-
Custom Garnishes: Top with avocado slices or fresh cilantro and serve with a side of Buffalo Chicken Crescent for a complete meal experience that brings a smile to the dinner table.
Explore these variations and make this classic dish uniquely yours!
Expert Tips for Cream Cheese Chicken Enchiladas
-
Ensure Pliable Tortillas: Warm your tortillas slightly to prevent cracking during rolling. This step is crucial for perfect Cream Cheese Chicken Enchiladas.
-
Smooth Cream Cheese Mixture: Allow the cream cheese to soften at room temperature before mixing. This ensures a creamy filling without lumps.
-
Don’t Overstuff: Avoid overfilling the tortillas. About 1/4 cup of filling per tortilla is ideal, preventing tears and making them easier to roll.
-
Customize the Heat: For a spicy kick, add diced jalapeños to the filling or use spicy enchilada sauce. Adjust the heat level to suit your taste.
-
Make-Ahead Magic: Assemble the enchiladas a day in advance and refrigerate. Bake them right before serving for a quick, satisfying meal.
-
Proper Storage: Leftover Cream Cheese Chicken Enchiladas can be stored in an airtight container for 2-3 days in the fridge. Reheat for deliciousness again!
What to Serve with Cream Cheese Chicken Enchiladas
Transform your meal into a fiesta of flavors and experiences that truly complement the creamy indulgence of this dish!
-
Mexican Rice: The fluffy texture and savory flavors of Mexican rice balance the creamy enchiladas beautifully, creating a satisfying plate.
-
Refried Beans: Creamy and hearty, refried beans add protein and fiber, offering a delightful flavor contrast with the enchiladas’ richness.
-
Fresh Taco Salad: Crisp lettuce, tomatoes, and avocado in a zesty dressing provide a refreshing counterpoint to the cheesy, warm enchiladas.
-
Guacamole: This creamy, buttery dip enhances the dish while adding a fresh touch, bringing vibrant flavors to each bite.
-
Sour Cream Topping: A dollop of tangy sour cream adds brightness and creaminess, enhancing the overall texture and taste of the enchiladas.
-
Margaritas: A zesty lime margarita served chilled is a perfect drink to wash down the richness of the Cream Cheese Chicken Enchiladas, making for a joyful dining experience.
-
Churros for Dessert: Conclude your meal on a sweet note with crispy churros, filled with warm chocolate or caramel, creating a delightful Tex-Mex dessert pairing!
Cream Cheese Chicken Enchiladas Recipe FAQs
How do I choose ripe ingredients for my Cream Cheese Chicken Enchiladas?
Absolutely! When selecting ingredients, look for fresh produce—choose bell peppers without dark spots or wrinkles for salsa or toppings, and ensure the onion is firm and free of blemishes. For cream cheese, make sure it’s soft enough to blend smoothly; you can bring it to room temperature before use if it’s been stored in the fridge.
What is the best way to store leftover Cream Cheese Chicken Enchiladas?
Leftover enchiladas can be stored in an airtight container for up to 2-3 days. To reheat, place them in the oven at 350°F (175°C) for about 10-15 minutes or in the microwave for 1-2 minutes, making sure they heat evenly for that same creamy taste.
Can I freeze Cream Cheese Chicken Enchiladas? If so, how?
Yes, you can! To freeze, assemble the enchiladas but do not bake them. Wrap the dish tightly in plastic wrap and then in aluminum foil to prevent freezer burn. They can be stored for up to 2 months. When ready to bake, simply remove the wrapping and bake from frozen, adding 10-15 minutes to the cooking time to ensure they heat through completely.
What should I do if my enchiladas come out too dry?
If your Cream Cheese Chicken Enchiladas turn out dry, it might be due to either overbaking or not enough sauce. Always ensure to keep the tortillas moist by covering them with sauce before baking. If they are already baked, consider layering on extra sauce when serving and adding toppings like sour cream or guacamole for added moisture.
Are these enchiladas suitable for specific dietary restrictions?
Yes, definitely! You can make these enchiladas gluten-free by using corn tortillas instead of flour tortillas. If you’re looking to reduce calories, substituting the cream cheese with Greek yogurt is a great alternative. Also, if someone has food allergies—like dairy—you can use dairy-free cheese options to accommodate their needs, making these Cream Cheese Chicken Enchiladas accessible to various diets.
How long can I prepare the Cream Cheese Chicken Enchiladas in advance?
I recommend assembling the enchiladas up to a day in advance. Simply cover the dish tightly with plastic wrap and refrigerate; they’ll be ready to bake the next day. This is a fantastic way to save time on busy nights, ensuring you have a delicious meal on hand.
Cream Cheese Chicken Enchiladas – Creamy Comfort You’ll Love
Ingredients
Equipment
Method
- Preheat your oven to 375°F (190°C) and grease a 9x13-inch baking dish with a little vegetable oil.
- In a large skillet, heat 1 tablespoon of vegetable oil over medium heat. Add the diced onion and sauté for about 5 minutes until softened and translucent.
- Stir in minced garlic and cook for an additional minute.
- Lower the heat and stir in 8 ounces of softened cream cheese, diced green chiles, chili powder, cumin, salt, and pepper.
- Cook for 3-4 minutes, mixing until the cream cheese is fully melted and the mixture is smooth.
- Remove the skillet from heat and gently fold in 3 cups of shredded chicken until fully incorporated.
- Spread about 1/2 cup of red enchilada sauce evenly on the bottom of the greased baking dish.
- Warm the flour tortillas in the microwave for 20-30 seconds. Scoop approximately 1/4 cup of the chicken filling onto each tortilla, rolling them tightly and placing them seam-side down in the baking dish.
- Pour the remaining enchilada sauce over the rolled tortillas and sprinkle 2 cups of shredded Mexican cheese blend on top.
- Place the baking dish in your preheated oven and bake uncovered for 20-25 minutes.
- Once finished baking, allow them to stand for 5 minutes before serving.
Leave a Reply