
As I flipped the grill lid open on a warm summer evening, the sizzle of marinated chicken and vibrant vegetables filled the air, instantly igniting my appetite. The recipe for a Grilled Chicken Quesadilla with Jalapeño Ranch is more than just a meal; it’s an invitation to gather, enjoy, and savor. With quick prep and satisfying flavors that everyone adores, these quesadillas transform ordinary nights into something special. Plus, they’re versatile—switching out ingredients like tortillas for corn options keeps things fresh and gluten-free! Whip this up for your next backyard barbecue or a cozy movie night, and you’ll have a dish that’s not only delicious but also easy to make. Are you ready to bring smoky goodness and zesty flavor to your table? Let’s dive into the details!
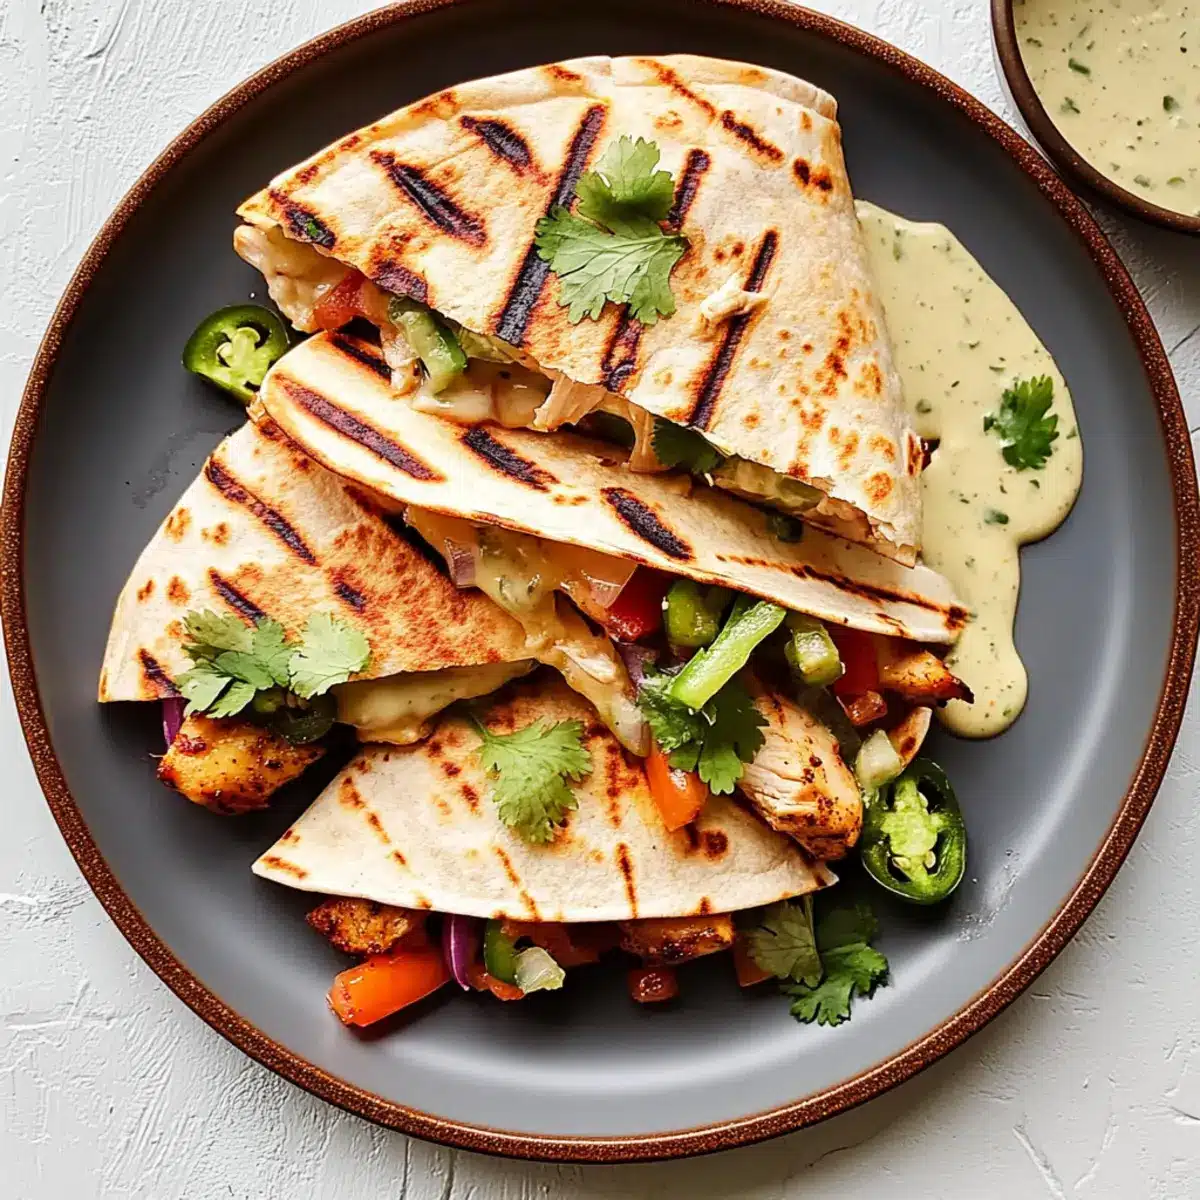
Why is this quesadilla a must-try?
Succulent Chicken: Juicy grilled chicken coated in aromatic taco seasoning creates an indulgent base that promises satisfying bites.
Fresh Veggies: The addition of crisp bell peppers and vibrant broccolini brings a burst of color and texture, keeping every mouthful exciting.
Zesty Flavor: The homemade jalapeño ranch offers a creamy, tangy kick that perfectly complements the warmth of the quesadilla.
Versatile Ingredients: Feel free to switch up the protein or opt for corn tortillas for a gluten-free twist, making it adaptable for all dietary preferences.
Quick and Easy: With minimal prep and cook time, these quesadillas are perfect for busy evenings or last-minute gatherings—just like my Buffalo Chicken Crescent or Street Corn Chicken.
Crowd-Pleaser: Whether it’s a family dinner or a party snack, this grilled chicken quesadilla is sure to impress everyone at the table!
Grilled Chicken Quesadilla Ingredients
Gather your essentials for a delicious dish!
For the Chicken
• Boneless, skinless chicken breasts – A great protein source; for a twist, try thinly sliced grilled steak.
For the Vegetables
• Bell pepper – Adds crunchy sweetness; consider swapping with zucchini for a different texture.
• Broccolini – Offers a unique crunch; you can use regular broccoli if that’s what you have.
• Red onion – Brings a mild sharpness; substitute with green onions for a fresher flavor.
For Flavor Enhancement
• Taco seasoning – Elevates the taste; feel free to make it homemade for a personalized touch.
For the Cheese
• Shredded sharp cheddar – Provides a creamy richness; if you prefer a milder taste, mozzarella works well.
• Pepper jack cheese – Adds just the right amount of spice; it’s optional if you want to keep it classic.
For the Tortillas
• Flour tortillas (12-inch) – Perfect for folding; for a gluten-free option, swap in corn tortillas.
For Freshness
• Green onions – Sprinkle on top for a pop of color and flavor; optional based on your preference.
• Cilantro – Adds a fresh herbaceous note; if you’re not a fan, feel free to skip it.
For the Jalapeño Ranch
• Mayonnaise – Forms the base of the sauce; Greek yogurt can be a lighter alternative.
• Sour cream – Adds creaminess; substitute with a dairy-free option if needed.
• Onion powder – Brings depth to the ranch; garlic powder is a tasty substitution.
• Lime juice – Brightens the flavor; you can use lemon juice in a pinch.
• Jalapeño – Offers a tangy kick; adjust the amount based on your heat preference.
• Cilantro – Use fresh for the best flavor; omit if you are not a fan.
Now, it’s time to sizzle up your Grilled Chicken Quesadilla and impress your family or friends with this delightful dish!
Step‑by‑Step Instructions for Grilled Chicken Quesadilla
Step 1: Preheat the Grill
Start by preheating your grill to high heat, around 400°F (200°C). While the grill is heating, use a paper towel to carefully brush the grates with a light layer of olive oil to prevent sticking. Keep an eye on the temperature; a well-heated grill will give your quesadillas a perfect crispy exterior.
Step 2: Prepare the Chicken
Pat the boneless, skinless chicken breasts dry with a paper towel, enhancing the seasoning’s grip. Drizzle both sides of the chicken with olive oil and generously sprinkle taco seasoning, ensuring an even coating. Set the chicken aside to allow the flavors to mingle while you prepare the vegetables for your delicious Grilled Chicken Quesadilla.
Step 3: Season the Veggies
In a mixing bowl, add your chopped bell pepper, broccolini, and red onion. Drizzle with a bit of olive oil, and sprinkle with remaining taco seasoning, tossing everything until the veggies are well-coated. This vibrant mix will add both taste and crunch to your quesadilla, so let it sit for a moment while you get ready to grill.
Step 4: Grill Chicken and Veggies
Once the grill is hot, place the seasoned chicken and veggies on the grates. Grill them undisturbed for about 3-4 minutes, allowing those grill marks to form. Flip the chicken and vegetables, and grill for an additional 4-6 minutes until the chicken is fully cooked, reaching an internal temperature of 165°F (75°C) and veggies are tender yet crisp.
Step 5: Make the Jalapeño Ranch
While the chicken and vegetables are grilling, prepare the zesty jalapeño ranch. In a blender, combine mayonnaise, sour cream, onion powder, taco seasoning, fresh cilantro, chopped jalapeño, and lime juice. Blend until smooth and creamy, adjusting the amount of jalapeño based on your heat preference. Set aside until you’re ready to serve.
Step 6: Slice Chicken and Chop Veggies
After grilling, remove the chicken and veggies from the grill and allow them to cool for a couple of minutes. Slice the grilled chicken into thin pieces, then chop the veggies into bite-sized pieces. These fresh ingredients will be layered inside your quesadilla, ensuring every bite is bursting with flavor.
Step 7: Assemble the Quesadillas
Lay out your flour tortillas on a clean surface. On one half of each tortilla, start layering the shredded sharp cheddar and pepper jack cheese, followed by the sliced chicken and chopped veggies. Fold the tortilla over so that it forms a half-moon shape, and brush the top side lightly with olive oil to encourage a golden, crispy finish.
Step 8: Grill the Quesadillas
Place the assembled quesadillas on the grill over medium-low heat. Grill each side for about 3-5 minutes, monitoring closely until the tortillas are golden and the cheese is gooey and melted. This step will create a delightful crunch while ensuring the melted goodness of the cheese holds everything together—just what you want for a perfect Grilled Chicken Quesadilla!
Step 9: Cut and Serve
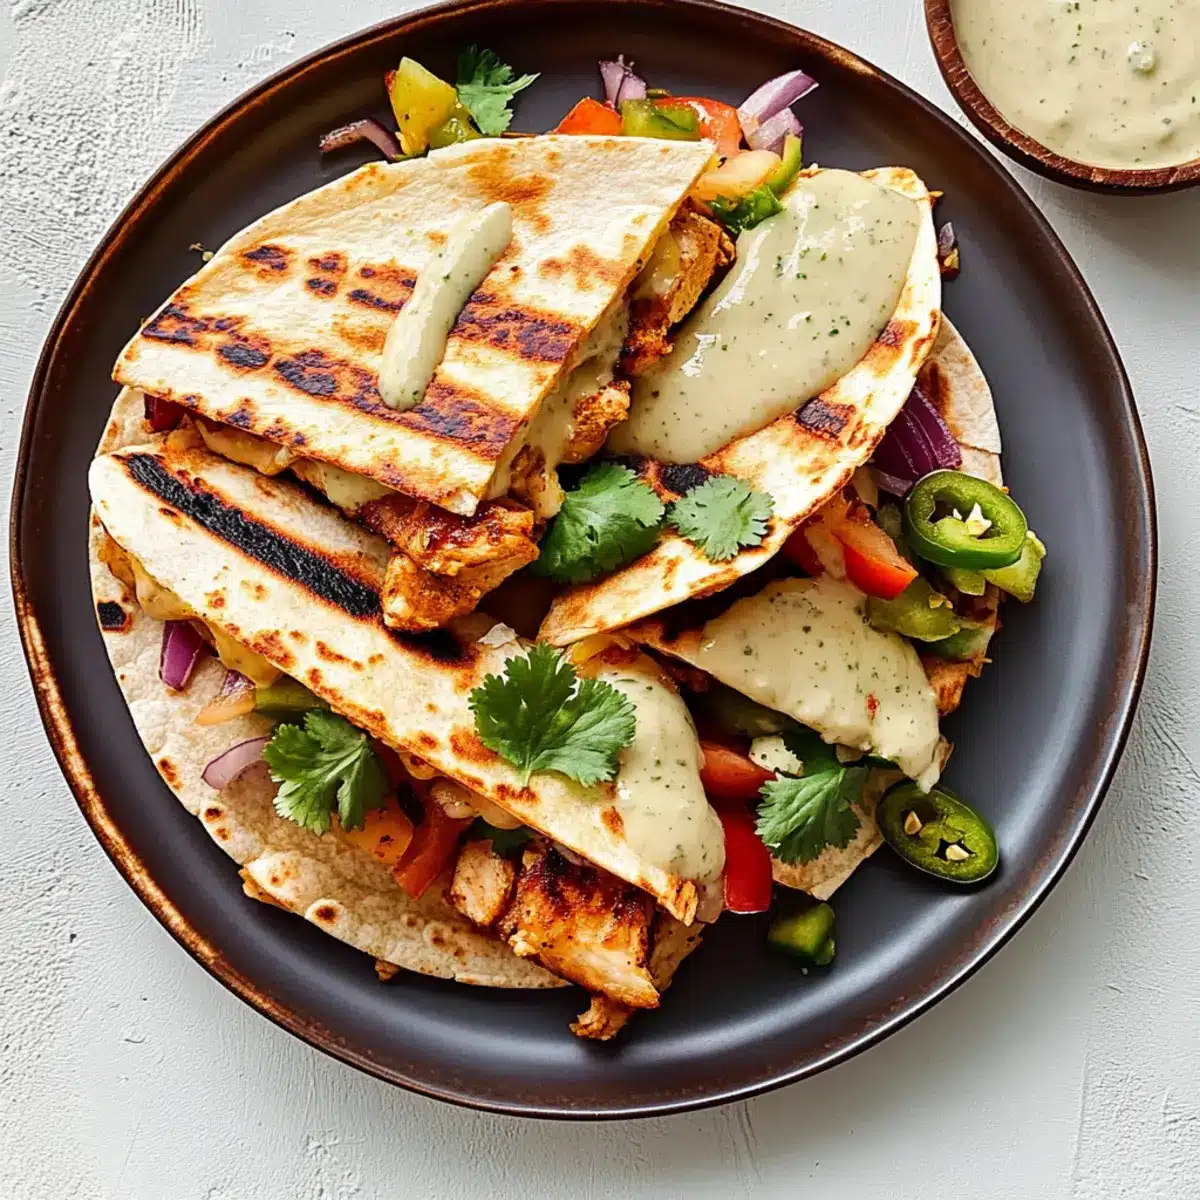
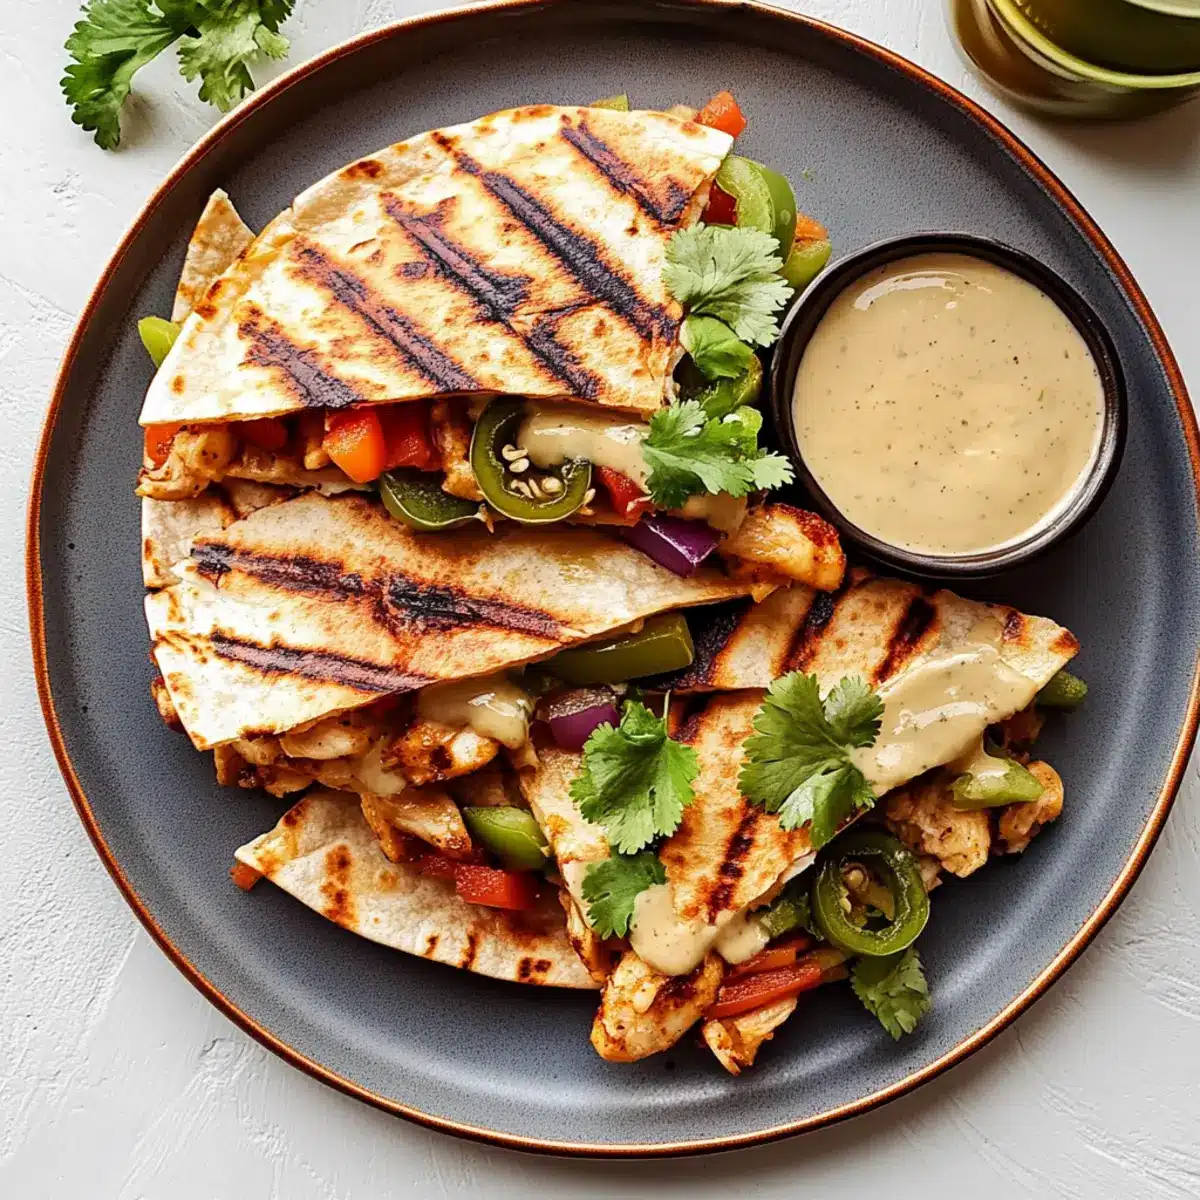
Once grilled to perfection, remove the quesadillas from the grill and allow them to cool slightly. Using a sharp knife or pizza cutter, slice each quesadilla into quarters for easy serving. Arrange them on a platter with the homemade jalapeño ranch on the side for dipping, and savor the deliciousness that awaits!
Make Ahead Options
These delicious Grilled Chicken Quesadillas are perfect for meal prep, saving you time on busy weeknights! You can marinate the chicken and chop the veggies up to 24 hours in advance—just refrigerate them separately in airtight containers to maintain freshness. Assemble the quesadillas right before grilling to ensure the tortillas stay crispy. Alternatively, you can prep fully assembled quesadillas and keep them in the fridge for up to 3 days. Just grill them straight from the fridge, adding an extra minute or two to the cooking time. Enjoy just as delightful flavors and textures, even when prepared ahead!
How to Store and Freeze Grilled Chicken Quesadilla
Fridge: Store leftover grilled chicken quesadilla in an airtight container for up to 1 week. Ensure the quesadillas have cooled completely before sealing to maintain their texture.
Freezer: For longer storage, wrap individual quesadillas tightly in foil or freezer-safe bags. They can be frozen for up to 2 months. Label and date before freezing for easy identification!
Reheating: To reheat, bake from frozen at 400°F (200°C) for about 15-20 minutes, or until heated through and the cheese is melty. You can also reheating in a skillet over medium heat for about 5-7 minutes each side for a crispy exterior.
Room Temperature: Avoid leaving quesadillas out at room temperature for more than 2 hours to prevent the risk of foodborne illness. Serve immediately for the best flavor and texture.
Grilled Chicken Quesadilla Variations
Embrace the joy of customizing your grilled chicken quesadilla to suit your taste and dietary needs!
-
Gluten-Free: Swap flour tortillas for corn tortillas to make this dish gluten-free while still packing in all the delicious flavors.
-
Vegetarian Delight: Replace the chicken with sautéed mushrooms or black beans, ensuring a hearty and satisfying meal for plant-based eaters.
-
Spicy Kick: Incorporate diced jalapeños into the quesadilla filling or add hot sauce to the jalapeño ranch for an extra spicy punch.
-
Cheese Lovers: Mix and match different cheeses like gouda or feta, allowing for unique flavor profiles to emerge with every bite.
-
Extra Creaminess: Layer in slices of avocado to add a rich, creamy texture, perfectly complementing the grilled chicken and veggies.
-
Smoky Flavor: Switch the taco seasoning for smoked paprika or a chipotle spice blend to give the quesadillas a tantalizing smoky flavor that makes every bite stand out.
-
Herb Infusion: Add fresh basil or oregano to the filling or the ranch to infuse fresh herbal notes that elevate the dish towards the next level.
-
Tender Grains: Consider adding quinoa or brown rice inside each quesadilla for added texture and nutrition, making each bite heartier.
No matter how you choose to customize, these grilled chicken quesadillas will continue to be a family favorite, just like my Buffalo Chicken Stuffed Peppers or Low Carb Chicken Casserole. Let your creativity shine!
Expert Tips for Grilled Chicken Quesadilla
Even Cooking: Ensure even cooking by not overcrowding the grill; too many items can lead to uneven heat distribution.
Check Temperatures: Use a food thermometer to ensure the chicken reaches an internal temperature of 165°F; it guarantees safe cooking and juiciness.
Crispy Tortillas: For perfectly crispy tortillas, maintain a steady grill temperature. Adjust as needed during cooking for the best results.
Leftover Storage: Wrap leftover quesadillas tightly to prevent them from drying out; they can be frozen for months for a quick meal later.
Customization: Feel free to switch up ingredients; for example, use corn tortillas for a gluten-free grilled chicken quesadilla everyone can enjoy!
What to Serve with Grilled Chicken Quesadilla
Craving a full-flavored meal to complement your grilled chicken quesadilla? Let’s elevate your dining experience with these perfect pairings!
-
Fresh Guacamole: This creamy dip adds a rich texture and enhances the freshness of the quesadilla’s vibrant flavors.
-
Pico de Gallo: A bright, zesty salsa packed with tomatoes, onions, and cilantro that brings a refreshing crunch alongside your grilled chicken quesadilla.
-
Crisp Caesar Salad: A side of romaine lettuce and creamy dressing offers a delightful contrast to the warm, cheesy quesadilla, creating balance in every bite.
-
Spanish Rice: Fluffy rice seasoned with spices complements the smoky flavors of the quesadilla, making it hearty and satisfying.
-
Corn Salsa: The sweetness of corn combined with lime, jalapeño, and cilantro provides a fresh and zesty kick that pairs beautifully with the quesadilla’s flavors.
-
Chilled Margaritas: Cool, citrusy drinks enhance those summer vibes while cutting through the richness of your quesadilla for a refreshing sip.
-
Chocolate Flan: End your meal on a sweet note with a silky dessert that offers just the right amount of indulgent sweetness to round out the meal.
Enjoy creating a splendid dining experience with these accompaniments that elevate your grilled chicken quesadilla to new heights!
Grilled Chicken Quesadilla Recipe FAQs
What type of chicken should I use?
I recommend using boneless, skinless chicken breasts for a tender and juicy base. If you’d like to switch things up, thinly sliced grilled steak or even sautéed mushrooms can be excellent alternatives for flavor.
How should I store leftover quesadillas?
Place any leftover grilled chicken quesadillas in an airtight container and store them in the fridge for up to 1 week. Make sure they’ve cooled completely before sealing, as this helps maintain their texture.
Can I freeze grilled chicken quesadillas?
Absolutely! To freeze, wrap individual quesadillas tightly in foil or place them in freezer-safe bags. They can be stored in the freezer for up to 2 months. Just remember to label and date them for easy identification!
What can I do if the tortillas are soggy?
If your tortillas turn out soggy, it might be due to excess moisture from the fillings. One great tip is to avoid overcrowding the grill and use well-drained vegetables. You can also try grilling them for a few extra minutes over medium-low heat to crisp them back up.
Are there gluten-free options for this recipe?
Yes, you can easily make a gluten-free grilled chicken quesadilla by substituting regular flour tortillas with corn tortillas. They hold up wonderfully and create a deliciously different flavor profile, perfect for those avoiding gluten!
How can I adjust the heat level of the jalapeño ranch?
To customize the spice level, simply adjust the amount of jalapeño you use in the jalapeño ranch sauce. If you want a milder dip, start with just a small piece and blend it in, tasting as you go until it reaches your preferred heat!
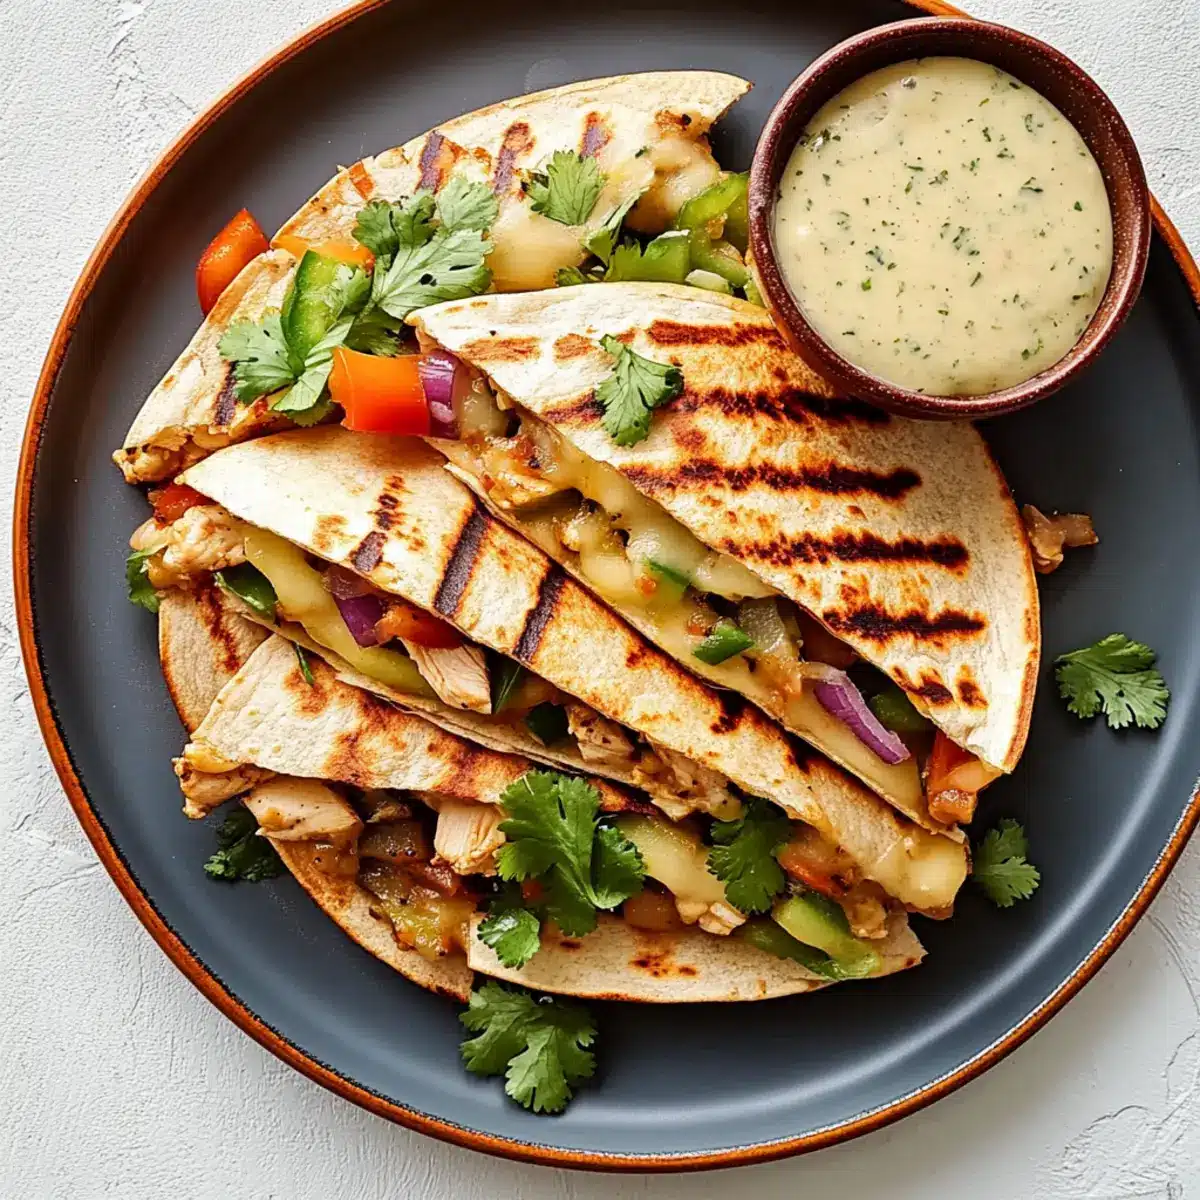
Grilled Chicken Quesadilla with Zesty Jalapeño Ranch Delight
Ingredients
Equipment
Method
- Preheat the grill to high heat, around 400°F (200°C), and brush grates with olive oil.
- Pat chicken dry, drizzle with olive oil, and coat with taco seasoning.
- In a bowl, mix bell pepper, broccolini, and red onion with olive oil and taco seasoning.
- Grill the chicken and veggies for 3-6 minutes until cooked; chicken reaches 165°F (75°C).
- Blend mayo, sour cream, onion powder, taco seasoning, cilantro, jalapeño, and lime juice to make the ranch.
- Slice the chicken and chop the veggies once cooled.
- Layer cheese, chicken, and veggies on half of each tortilla, fold and brush with olive oil.
- Grill the quesadillas on medium-low for 3-5 minutes until golden and cheese is melted.
- Slice and serve with jalapeño ranch on the side.
Leave a Reply