
As I stood in my kitchen, the sweet scent of cinnamon began to swirl through the air, instantly transporting me to cozy Sunday mornings spent sharing laughter and warm treats with loved ones. That’s when I knew it was time to whip up a batch of my beloved Homemade Honey Buns. Whether you choose to bake or fry, these soft and sweet delights are incredibly easy to make and completely customizable to suit your cravings. Perfect for breakfast, brunch, or even dessert, they boast a delightful cinnamon sugar filling and a creamy glaze that’s impossible to resist. Imagine the joy on your family’s faces as they sink their teeth into these melt-in-your-mouth goodies! What exciting twist will you add to your honey buns today?
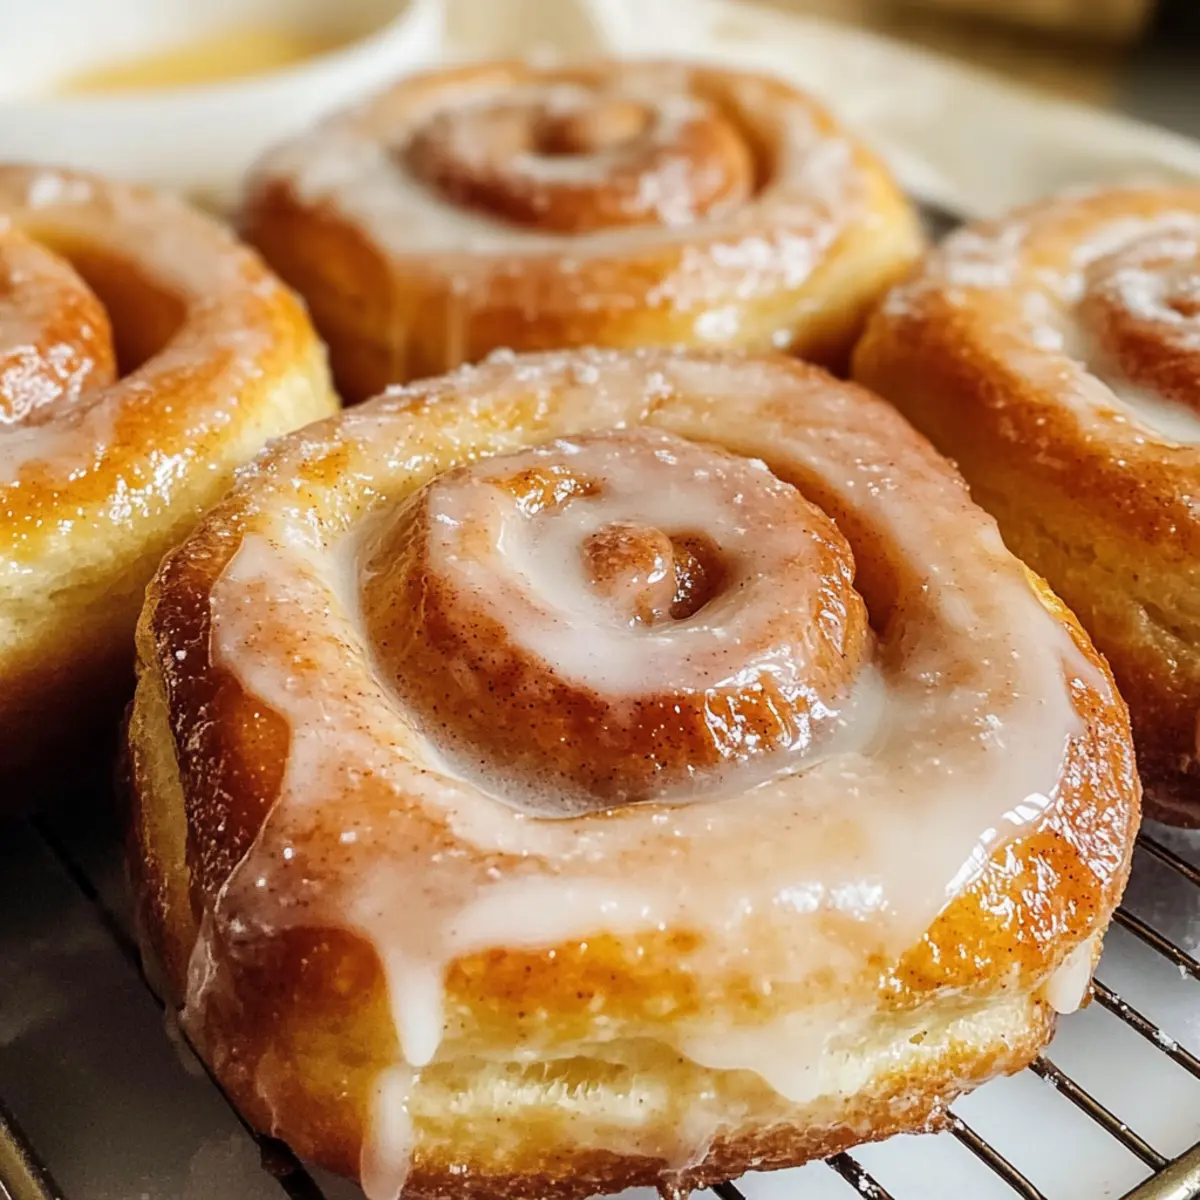
Why are Homemade Honey Buns Irresistible?
Soft, Fluffy Texture: These honey buns melt in your mouth, offering a delightful softness that’s hard to resist.
Versatile Preparation: Whether you prefer them baked or fried, this recipe allows you to choose your favorite method for a perfect treat.
Easy to Customize: Add your favorite ingredients like chocolate chips or nuts for a unique spin, making them your own!
Crowd-Pleasing Delight: Perfect for gatherings or weekend brunches, these buns are sure to impress family and friends alike.
Quick and Simple: With just a few ingredients and straightforward steps, you can whip up these delicious homemade goodies in no time.
Don’t forget to try adding a drizzle of maple syrup with your glaze for an exciting twist, as I do in my Beef Hot Honey bowls!
Homemade Honey Bun Ingredients
• Here’s everything you need to make your delicious homemade honey buns!
For the Dough
- Active Dry Yeast – Essential for dough rise; ensure it’s fresh and activate it with warm water.
- Warm Water – Activates yeast at 105°F-115°F for optimal results.
- Sugar – Adds sweetness and helps with yeast activation—can substitute with honey for a different flavor.
- Salt – Enhances flavor and strengthens gluten structure; no direct substitutes needed.
- Butter – Provides richness and moisture; margarine or coconut oil can be used for a dairy-free option.
- Eggs – Adds richness and structure; flax eggs can be used as a vegan substitute.
- All-Purpose Flour – Provides structure; whole wheat flour can be substituted for a denser texture.
For the Filling
- Cinnamon & Sugar Mixture – Savory filling flavor; consider adding nutmeg or allspice for extra spice.
For the Glaze
- Creamy Glaze – Adds sweetness and visual appeal; replace powdered sugar with maple syrup for a unique twist.
Grab your ingredients, and let’s get started on creating these delightful homemade honey buns!
Step‑by‑Step Instructions for Homemade Honey Bun
Step 1: Prepare Dough
In a mixing bowl, combine 1/4 cup of warm water (105°F-115°F), 1 tablespoon of sugar, and 2 teaspoons of active dry yeast. Let the mixture sit for about 5–10 minutes until it becomes foamy, indicating that your yeast is active. This is the first crucial step to ensure that your homemade honey buns rise beautifully.
Step 2: Mix Ingredients
Once your yeast mixture is foamy, add 1/2 cup of melted butter, 2 eggs, 1 teaspoon of salt, and 3-4 cups of all-purpose flour gradually to the bowl. Mix until the dough begins to come together. Then, knead the dough for about 5–7 minutes until it’s smooth and slightly sticky. A well-kneaded dough sets the foundation for soft homemade honey buns.
Step 3: First Rise
Place the kneaded dough in a lightly greased bowl and cover it with a clean kitchen towel or plastic wrap. Set it in a warm, draft-free area and let it rise until it doubles in size, typically about 1 hour. You’ll know it’s ready when you press a finger into the dough, and it leaves an impression without springing back.
Step 4: Roll Out Dough
After the first rise, punch down the dough to release excess air. Then, transfer it onto a lightly floured surface and roll it out into an 8″x12″ rectangle. Make sure the thickness is uniform. Once you’ve rolled it out, sprinkle a generous layer of the cinnamon and sugar mixture evenly over the surface, setting the stage for that delightful filling.
Step 5: Shape Buns
Starting at one long edge of the rectangle, tightly roll the dough towards the opposite edge to create a log. With a sharp knife, slice the rolled dough into 1-inch pieces and place them on a parchment-lined baking sheet. Ensure they have a bit of space between each piece, allowing for that lovely puffiness during the next rise.
Step 6: Second Rise
Cover the shaped buns with a kitchen towel and allow them to rise for another 30-45 minutes until puffy. This step is key to achieving that delightful, airy texture in your homemade honey buns. Look for them to nearly double in size and feel light to the touch.
Step 7: Bake/Fry
Preheat your oven to 350°F if you’re baking. If you prefer frying, heat oil in a deep pan over medium heat. For baking, place your buns in the oven and bake for about 20–25 minutes until they turn golden brown on top. For frying, carefully drop each bun into the hot oil, frying until golden brown, about 2-3 minutes on each side.
Step 8: Glaze
Once your homemade honey buns are baked or fried to perfection, let them cool for a few minutes. Then, drizzle a creamy glaze over the warm buns. This final touch adds sweetness and enhances their delightful appearance—making your homemade honey buns look as incredible as they taste!
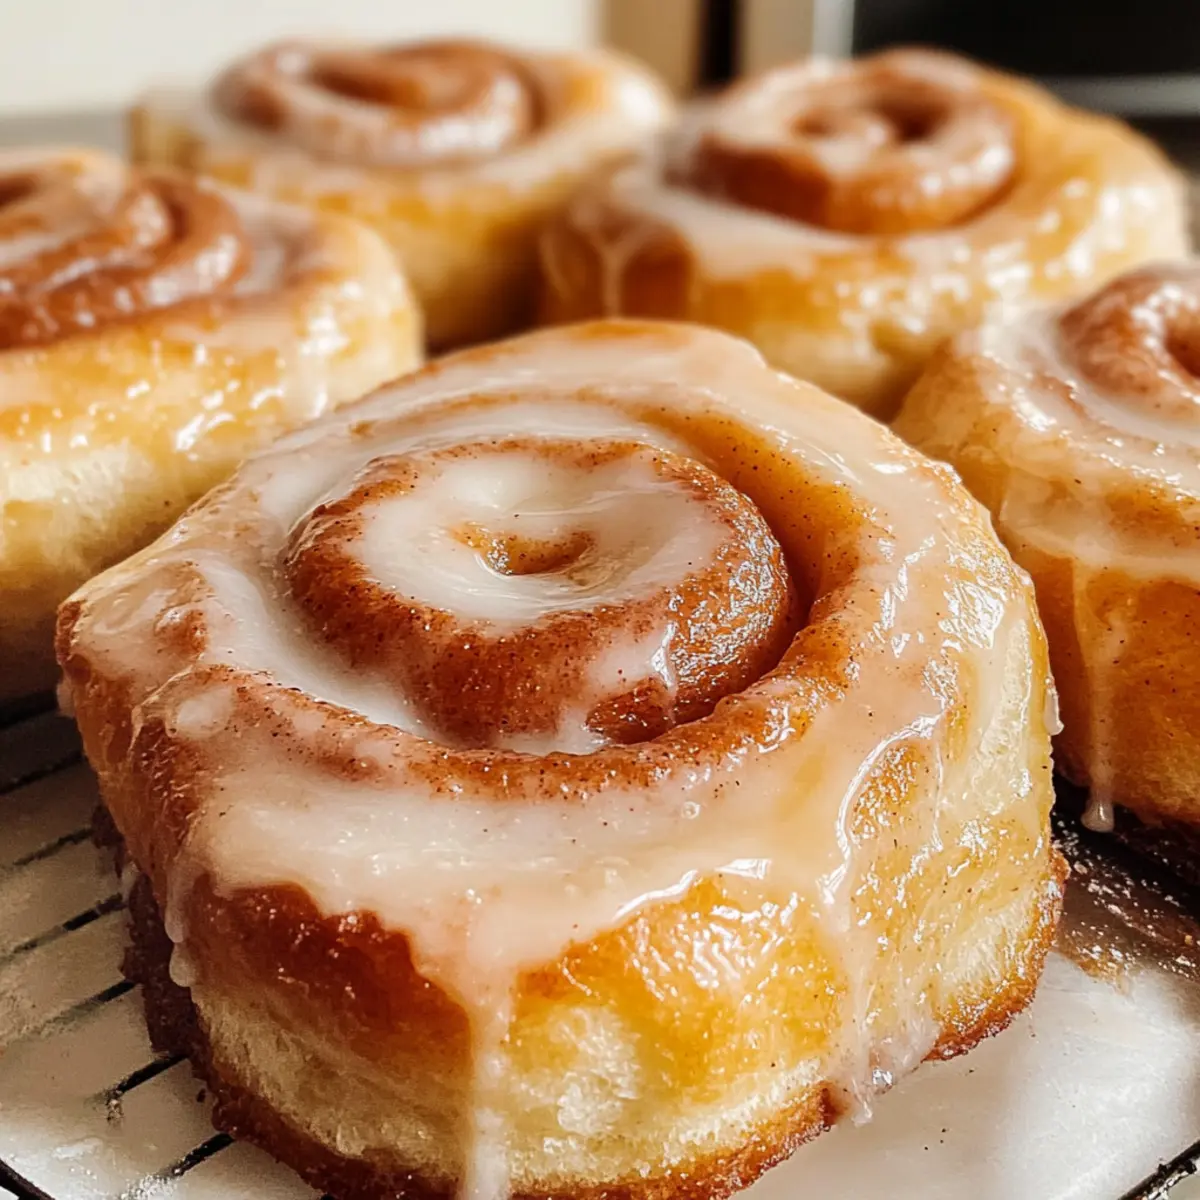
Homemade Honey Bun Variations
Feel free to put your own spin on these delightful honey buns, making them even more irresistible!
- Dairy-Free: Substitute butter with coconut oil or margarine to enjoy a dairy-free version while keeping them moist.
- Vegan: Replace eggs with flax eggs (1 tablespoon ground flaxseed + 3 tablespoons water) for a fully vegan treat.
- Whole Wheat: For a healthier option, swap all-purpose flour with whole wheat flour to add nuttiness and fiber to your buns.
- Spiced Up: Add nutmeg or allspice to your cinnamon sugar mixture for an extra layer of warm spices that dances on your palate.
- Fruity Touch: Fold in dried cranberries or chopped apples into the filling for a fragrant burst of natural sweetness in every bite.
- Nutty Crunch: Incorporate chopped pecans or walnuts into the filling for a delightful crunch contrast to the soft dough.
- Chocolate Delight: Sprinkle chocolate chips over the cinnamon sugar for a sweet twist that chocolate lovers won’t resist.
- Maple Glaze: Drizzle with a maple syrup glaze for a different yet delicious sweet finish that pairs beautifully with the cinnamon flavor.
Experimenting with these variations will not only elevate your homemade honey buns but also create new family favorites that everyone will love! Why not try a classic twist on a favorite by incorporating ideas from my Beef Hot Honey bowl? Enjoy the journey of flavors!
Storage Tips for Homemade Honey Buns
Room Temperature: Store the honey buns in an airtight container at room temperature for up to 3 days to keep them soft and fresh.
Fridge: If you want to extend their freshness, you can refrigerate the buns for up to a week; just make sure they’re well-wrapped to avoid drying out.
Freezer: For longer storage, freeze the homemade honey buns in a single layer on a baking sheet, then transfer to an airtight container for up to 3 months.
Reheating: To enjoy them warm again, reheat in the oven at 350°F for about 10 minutes or microwave for 20-30 seconds.
What to Serve with Homemade Honey Buns
Pair your delightful homemade honey buns with these perfect accompaniments for an unforgettable meal experience.
-
Fresh Fruit Salad: A medley of seasonal fruits adds a refreshing contrast to the sweetness of the honey buns, enhancing their flavors beautifully.
-
Coffee or Tea: Sip on a warm cup of your favorite brew to balance the sweetness, creating the ultimate comfort food experience during breakfast or brunch.
-
Scrambled Eggs: Savory eggs provide a delightful protein boost, making your meal more filling while complementing the rich flavors of your baked or fried treats.
-
Yogurt Parfait: Layered with granola and fruits, this creamy option adds texture and a bit of tartness that pairs wonderfully with the buns’ sweetness.
-
Crispy Bacon: The salty crunch of bacon offers a delicious contrast to the soft, sweet honey buns, creating a balanced and satisfying breakfast plate.
-
Maple Syrup Drizzle: For those sweet tooth moments, consider adding an extra drizzle of maple syrup over your honey buns for that irresistible glaze, elevating each bite.
Serve any of these suggestions alongside your homemade honey buns, and create a joyful and memorable dining experience with your loved ones!
Expert Tips for Homemade Honey Buns
-
Active Yeast Check: Ensure your active dry yeast bubbles and foams in warm water; this ensures a successful rise for your homemade honey buns.
-
Knead with Care: Knead the dough until smooth but avoid over-kneading, which can lead to a denser final product.
-
Roll Evenly: Use just enough flour while rolling out to prevent sticking; too much can toughen the dough.
-
Baking Time Vigilance: Keep an eye on your buns while baking; they’ll be perfectly golden brown when done, emitting a lovely aroma.
-
Creative Fillings: Don’t hesitate to add your favorite mix-ins like chocolate chips, nuts, or dried fruits to customize your homemade honey buns!
Make Ahead Options
Homemade Honey Buns are perfect for meal prep, allowing you to save time during busy mornings! To prep ahead, you can make the dough up to 24 hours in advance. Simply follow the instructions up to the first rise, then cover the dough tightly with plastic wrap and refrigerate it. When you’re ready to bake or fry, bring the dough back to room temperature, shape the buns, and let them rise again for about 30-45 minutes before proceeding with baking or frying. This ensures your honey buns maintain their delightful texture and flavor, giving you warm, fresh treats with minimal effort!
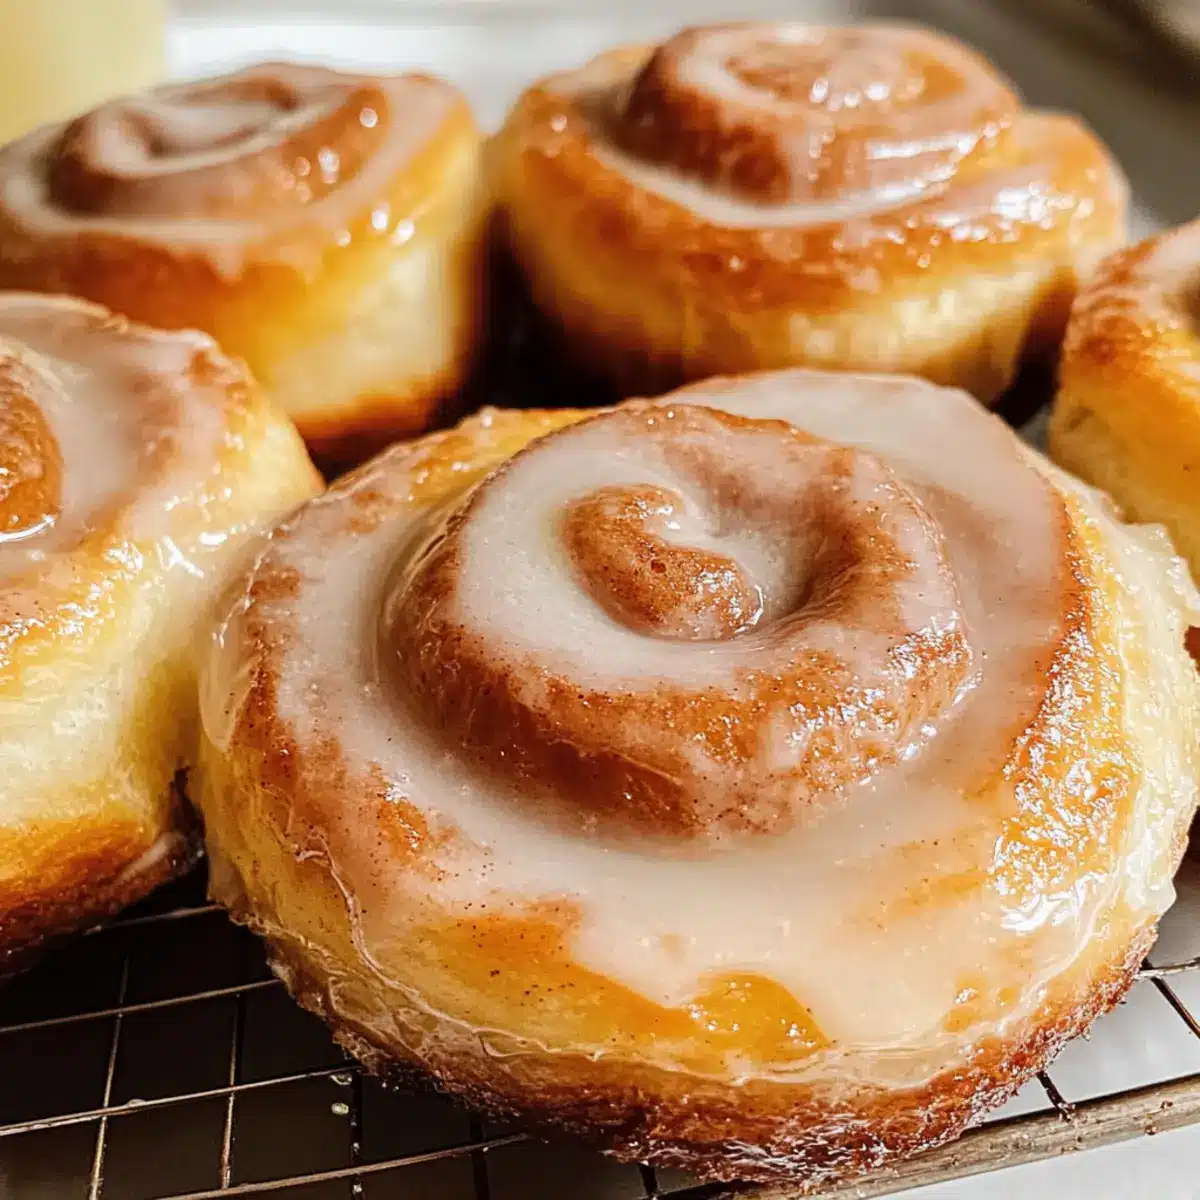
Homemade Honey Buns Recipe FAQs
How do I choose the right yeast for my homemade honey buns?
Absolutely! Always opt for fresh active dry yeast for the best results. Check the expiration date before use, and activate it by mixing it with warm water (105°F-115°F) and sugar. If it gets foamy after 5-10 minutes, it’s good to go!
What’s the best way to store leftover honey buns?
You can store your honey buns in an airtight container at room temperature for up to 3 days. If you want to keep them longer, consider refrigerating them for up to a week. Just ensure they’re wrapped well to prevent drying out!
Can I freeze homemade honey buns, and if so, how?
Absolutely! To freeze your honey buns, let them cool completely after baking or frying. Then, arrange them in a single layer on a baking sheet and freeze for about 2 hours until solid. Once frozen, transfer them to an airtight container or freezer bag and store for up to 3 months. To enjoy later, reheat them gradually in the oven at 350°F for around 10 minutes.
Why are my honey buns dense, and how can I fix it?
If your buns turn out dense, it could be due to over-kneading or using old yeast. Ensure to knead just until the dough is smooth, and check that your yeast is fresh and properly activated. Also, be gentle when shaping and allowing the dough to rise—let it double in size during both rises for the lightest texture.
Can I make these honey buns vegan or gluten-free?
Very! You can easily adapt this recipe. Substitute eggs with flax eggs (1 tablespoon of ground flaxseed mixed with 2.5 tablespoons of water per egg) and use coconut oil instead of butter for a dairy-free option. For a gluten-free version, swap all-purpose flour with a gluten-free flour blend, but check that the blend includes a binding agent like xanthan gum.
What ingredients can I add to customize my honey buns?
The more the merrier! Feel free to mix in chocolate chips, nuts, or dried fruits into the cinnamon-sugar filling. You can also experiment with flavored glazes like vanilla or almond for a delicious twist that makes your homemade honey buns uniquely yours!
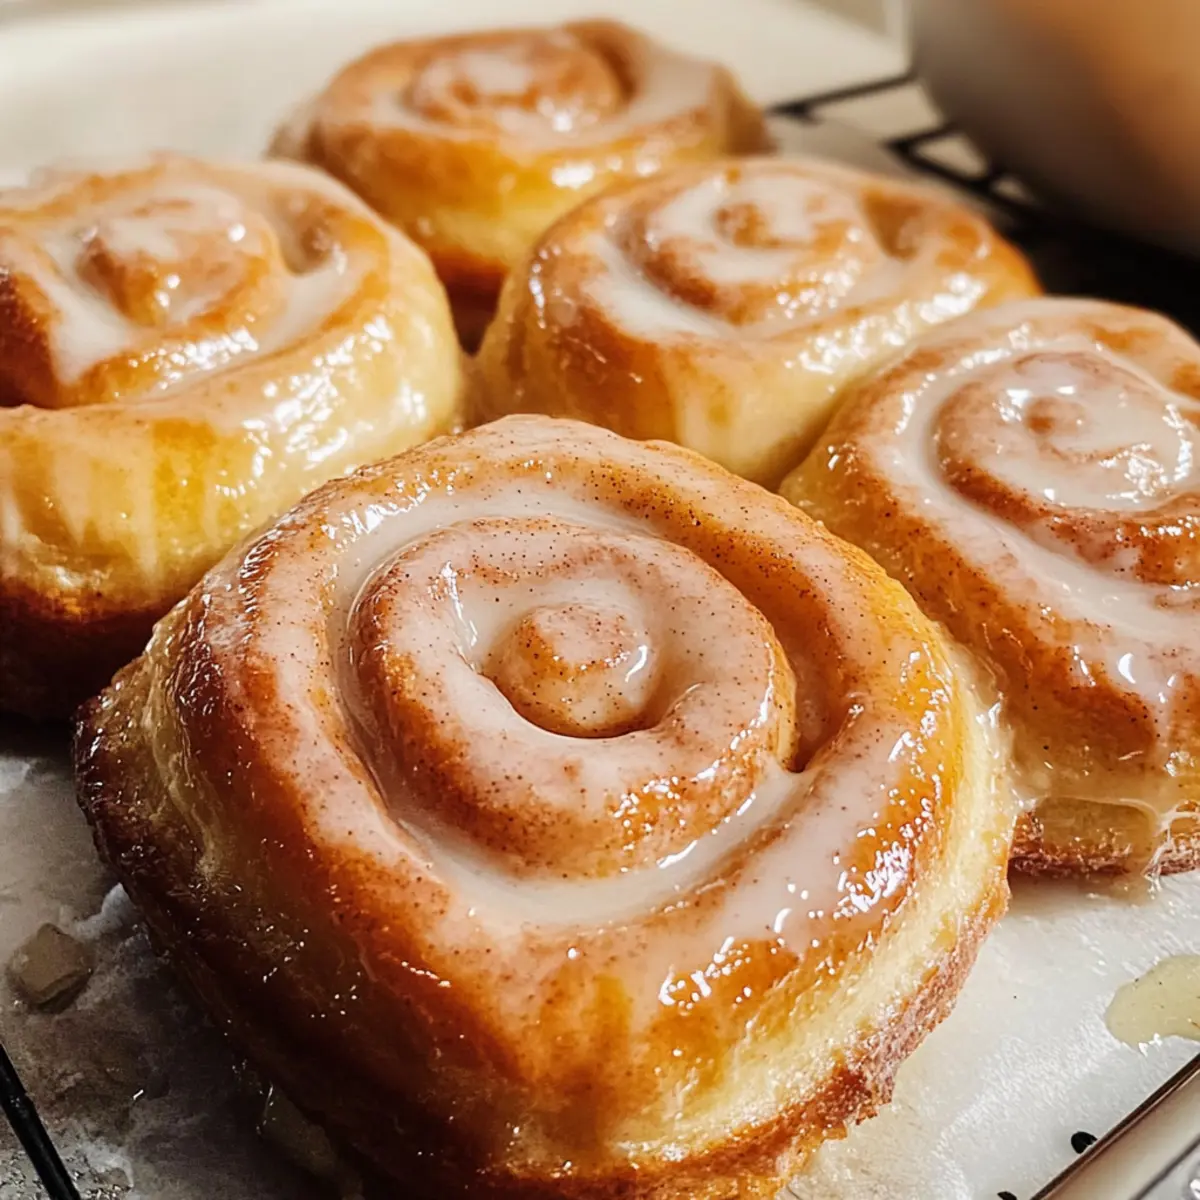
Homemade Honey Bun: Soft, Sweet Delights for Any Occasion
Ingredients
Equipment
Method
- In a mixing bowl, combine warm water, sugar, and active dry yeast. Let sit for about 5–10 minutes until foamy.
- Add melted butter, eggs, salt, and flour gradually to the yeast mixture. Mix and knead until smooth and slightly sticky.
- Place the dough in a greased bowl, cover, and let it rise until doubles in size, about 1 hour.
- Punch down the dough and roll it out into an 8"x12" rectangle. Sprinkle the cinnamon and sugar mixture over the surface.
- Roll the dough tightly from one long edge to create a log and slice into 1-inch pieces. Place on a parchment-lined baking sheet.
- Cover the shaped buns and let rise for another 30–45 minutes until puffy.
- Preheat the oven to 350°F. Bake for about 20–25 minutes until golden brown, or fry in oil until golden.
- Cool slightly, then drizzle the creamy glaze over the warm buns.
Leave a Reply