
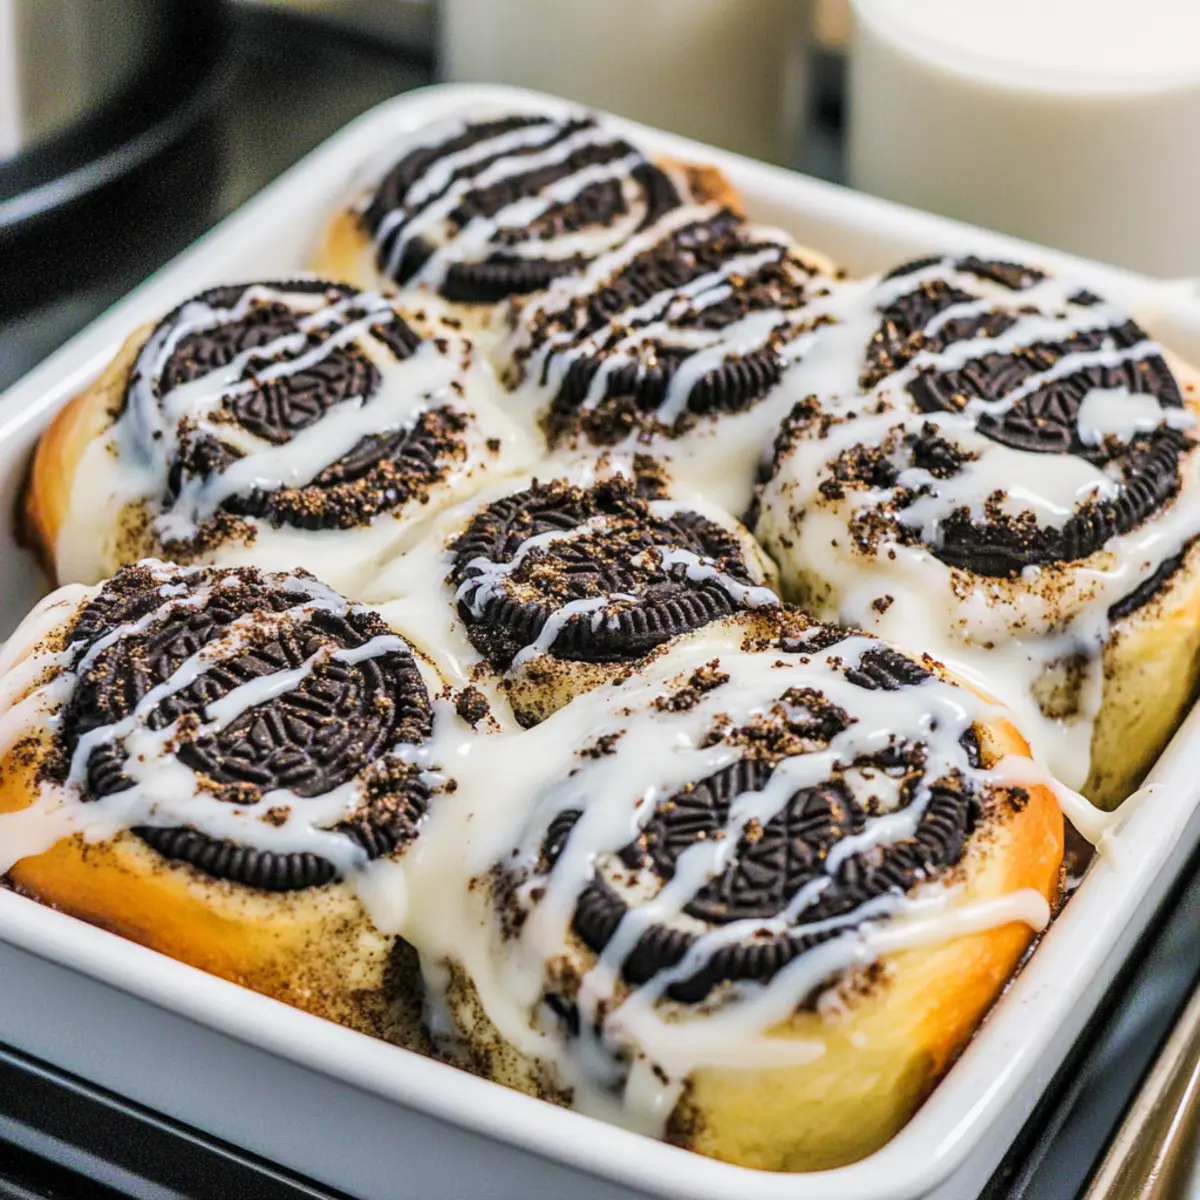
As the scent of fresh cinnamon wafts through the air, it’s hard not to feel a warm embrace of nostalgia. Picture a delightful breakfast by the family table, only this time, it’s a revolutionary spin on a classic: Oreo Cinnamon Rolls. Combining the chocolatey goodness of crushed Oreos with a fluffy, gooey texture, these rolls are the perfect indulgence to elevate your mornings. Not only do they come together surprisingly quickly, but they also create a magical centerpiece for weekends filled with family and friends. And let’s be honest—who could resist drizzling a creamy vanilla glaze over these beauties? Ready to dive into this mouthwatering treat? Let’s get rolling!
Why Are Oreo Cinnamon Rolls Special?
Indulgent flavors come together to delight your taste buds—combining the classic cinnamon roll with a twist of Oreo makes it a fun breakfast surprise!
Decadent topping of creamy vanilla glaze adds a luscious finish to these rolls, turning your mornings into a special occasion.
Quick to Prepare: With a straightforward recipe, you can whip these up easily, making them ideal for spontaneous breakfast gatherings or brunch with friends.
Perfect for Sharing: Their gooey texture and rich chocolate flavor make these rolls a hit at any gathering, like family brunches or coffee mornings with neighbors.
Versatile Options: Feel free to experiment with flavors using different cookie fillings or glazes, just like in my Chocolate Cinnamon Rolls or Pepperoni Pizza Rolls. You’ll find endless ways to jazz up this fantastic recipe!
Oreo Cinnamon Rolls Ingredients
For the Dough
- All-Purpose Flour – This gives the rolls their structure; adjust as needed for dough consistency.
- Instant Dry Yeast – Ensures a quick rise for fluffy rolls; active dry yeast can be substituted but may require more rising time.
- Light Brown Sugar – Adds sweetness and moisture; granulated sugar works in a pinch!
- Granulated Sugar – Sweetens the dough; using brown sugar can lend a more complex flavor.
- Fine Salt – Balances sweetness with essential flavor notes; no direct substitutions recommended.
- Ground Cinnamon – Provides that warm, aromatic flavor all cinnamon rolls need; omitting it will change the taste.
- Whole Milk – Adds richness and moisture to the dough; feel free to use any dairy alternative but know it may slightly change texture.
- Unsalted Butter – Contributes richness when spread on the dough; you can use salted butter, just skip additional salt.
- Large Egg – Provides structure and moisture; a flax egg is a great vegan alternative (1 tbsp ground flaxseed + 2.5 tbsp water).
For the Filling
- Crushed Oreos – This forms the core chocolatey flavor of the rolls; consider other chocolate cookies if you’re feeling adventurous!
- Black Cocoa Powder – Delivers that deep, distinctive Oreo flavor; substitute with dark or regular cocoa if needed, but expect a flavor shift.
For the Glaze
- Powdered Sugar – Essential for a sweet, creamy glaze; adjust the amount for desired consistency.
- Whole Milk (for glaze) – Used to thin your glaze; any milk or dairy-free option can be swapped in.
- Artificial Vanilla Extract – Adds a delightful sweet vanilla flavor; pure vanilla extract will enhance the taste even more.
These Oreo cinnamon rolls are sure to brighten your mornings with their unique flavors and gooey textures!
Step‑by‑Step Instructions for Oreo Cinnamon Rolls
Step 1: Prepare the Dough
In a large mixing bowl, combine all-purpose flour, instant dry yeast, and fine salt. In a small saucepan, warm whole milk, unsalted butter, and light brown sugar over low heat until the mixture is just warm to the touch. Gradually pour this mixture into the dry ingredients and stir until combined. Add a large egg, and knead the dough for about 5 minutes until sticky yet cohesive, adjusting flour for the right consistency.
Step 2: Rest the Dough
Cover the kneaded dough with a clean kitchen towel or plastic wrap and let it rest in a warm place for approximately 10 minutes. This short resting time is crucial for allowing the gluten to relax, ensuring that your Oreo cinnamon rolls will be fluffy and tender. Once rested, the dough should expand slightly, indicating it’s ready for the next step.
Step 3: Shape the Dough
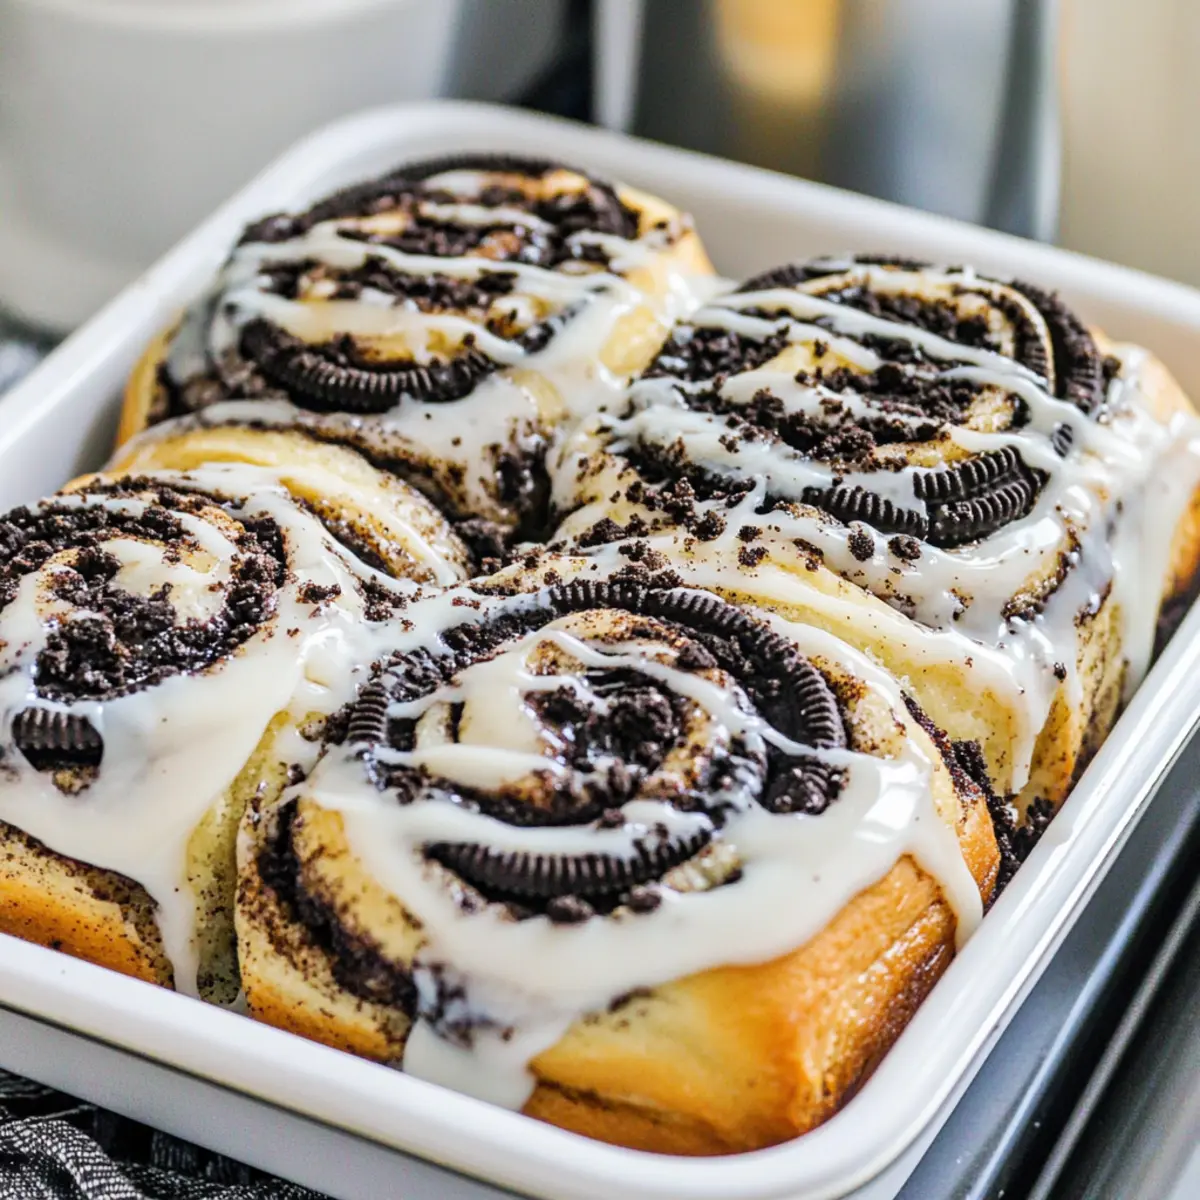
On a lightly floured surface, roll out the rested dough into a large rectangle, approximately 12 inches by 18 inches. Spread softened unsalted butter evenly over the dough, ensuring the edges are covered. Generously sprinkle ground cinnamon, black cocoa powder, and crushed Oreos across the surface, creating a rich, chocolatey filling that will enhance your Oreo cinnamon rolls delightfully.
Step 4: Roll & Cut
Carefully roll the dough tightly from one long edge to the other, forming a log shape. Once rolled, use a sharp knife or dental floss to slice the log into equal pieces, about 1 to 2 inches wide. These evenly cut rolls will ensure consistent baking, so aim for neat cuts to guarantee your Oreo cinnamon rolls are visually appealing and perfectly layered.
Step 5: Proof
Arrange the sliced rolls in a greased baking pan, ensuring some space between them to rise. Cover the pan with lightly greased foil to prevent sticking and place it in a warm oven. Let the Oreo cinnamon rolls proof for about 30 minutes, or until they have doubled in size and appear puffy, ready for the oven.
Step 6: Bake
Preheat your oven to 350°F (175°C). Once the rolls have finished proofing, remove the foil and bake them for 26 to 30 minutes. Watch for their tops to turn golden brown; this is the perfect sign your Oreo cinnamon rolls are baking to perfection. The rolls should feel soft to the touch yet firm enough to hold their shape.
Step 7: Prepare the Glaze
While the rolls are baking, prepare the vanilla glaze by mixing powdered sugar, melted unsalted butter, artificial vanilla extract, and enough whole milk to achieve a smooth, drizzle-able consistency. Stir until there are no lumps and the glaze is glossy. This sweet glaze will be the perfect finishing touch for your warm Oreo cinnamon rolls.
Step 8: Glaze & Serve
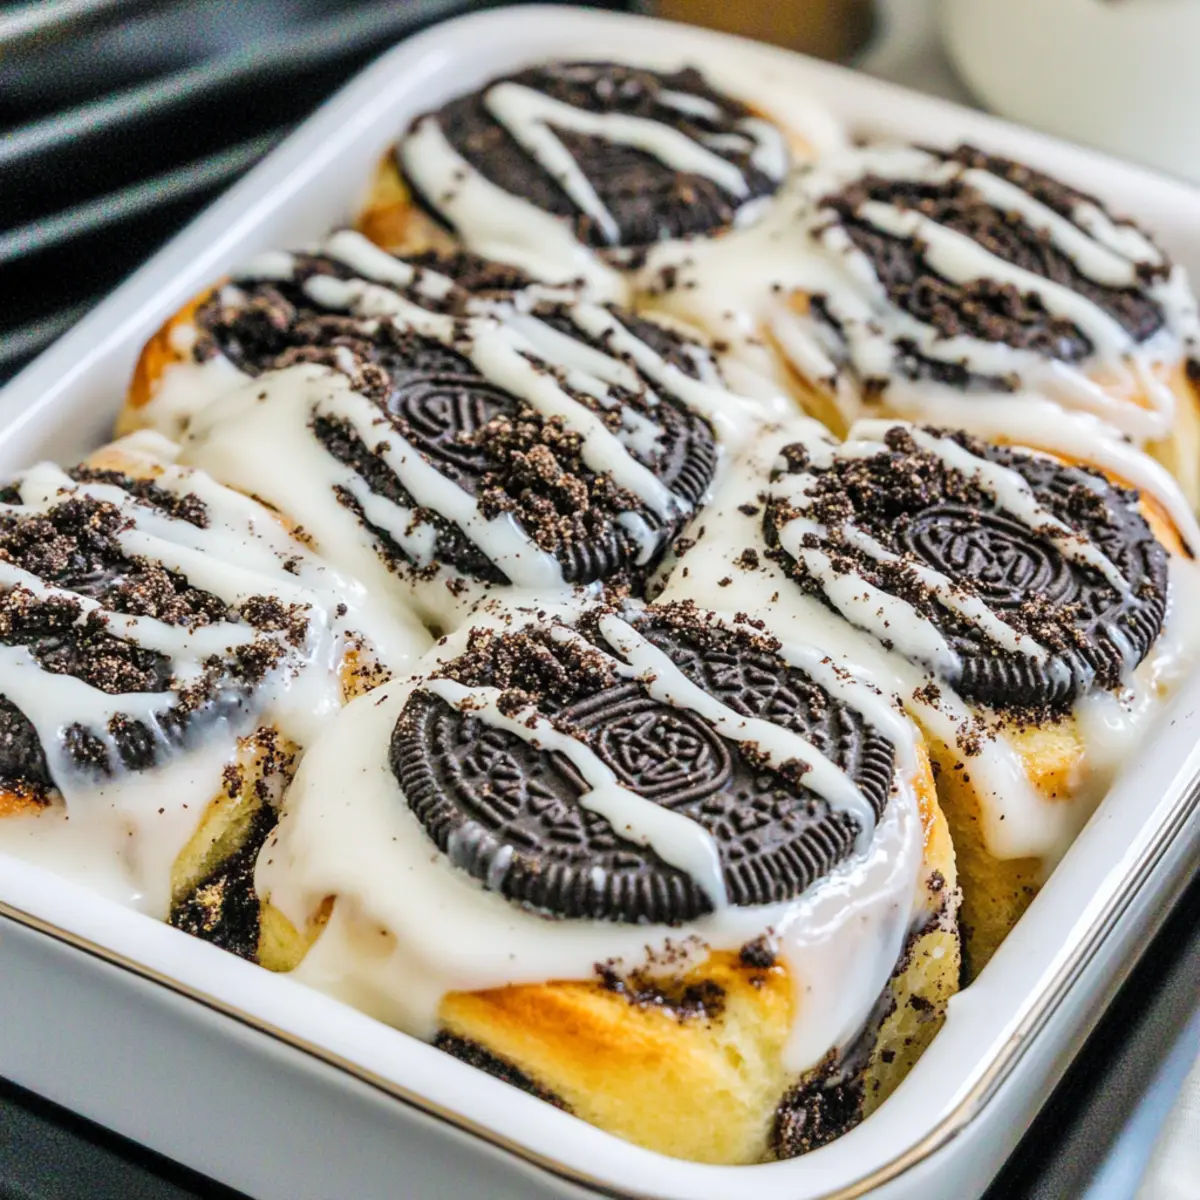
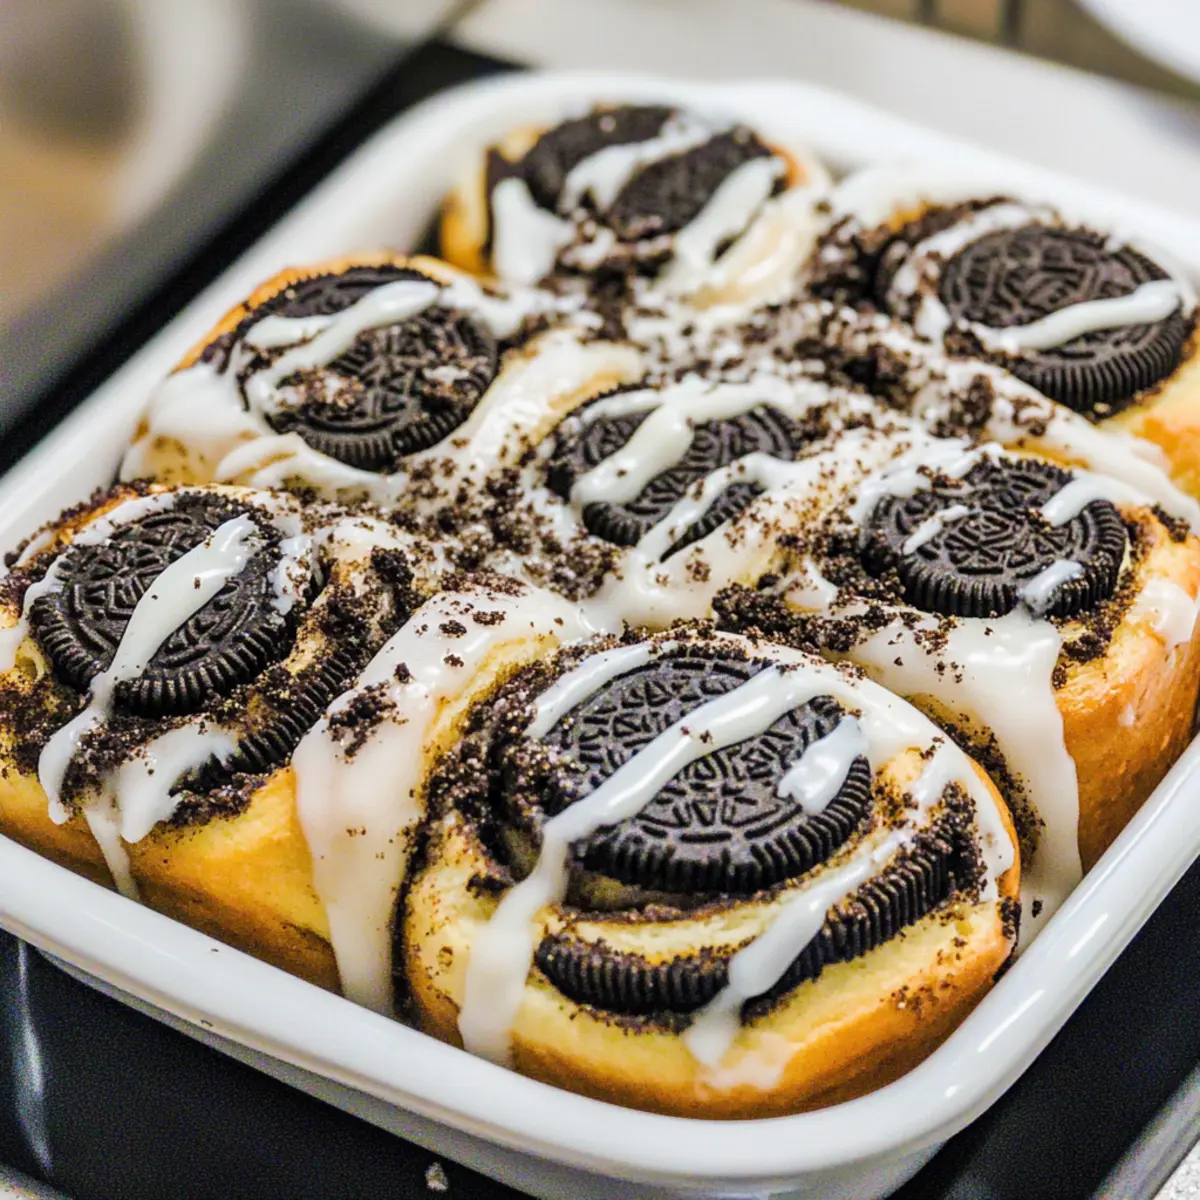
Once the rolls are baked and slightly cooled, drizzle the vanilla glaze generously over the top. For an extra special touch, garnish with additional crushed Oreos to enhance the chocolatey flavor. Serve the warm Oreo cinnamon rolls immediately, allowing everyone to indulge in this delightful morning treat!
How to Store and Freeze Oreo Cinnamon Rolls
Room Temperature: Store leftover Oreo cinnamon rolls in an airtight container at room temperature for up to 2 days for optimal freshness.
Fridge: For longer storage, keep them in the refrigerator for up to 5 days. Make sure to wrap them tightly to prevent drying out.
Freezer: Freeze unbaked rolls in a single layer, tightly wrapped, for up to 2 months. Let them thaw in the fridge overnight and proof before baking when ready to enjoy.
Reheating: Reheat rolls in the microwave for 15-20 seconds for a delightful warm texture, or pop them in a 350°F (175°C) oven for 5-10 minutes to restore freshness.
Expert Tips for Oreo Cinnamon Rolls
- Proper Dough Consistency: Ensure the dough is tacky but not sticky. A sticky dough can lead to dense rolls, so adjust flour gradually as you knead.
- Cutting Technique: Use dental floss to slice the rolls cleanly and evenly, which prevents squashing and maintains their fluffy shape.
- Glaze Timing: Let the rolls cool slightly before drizzling with vanilla glaze. This allows the glaze to set beautifully instead of melting into the rolls.
- Yeast Substitution: If using active dry yeast instead of instant, remember to adjust the rising time; it’ll take longer for the dough to proof.
- Flavor Variations: Don’t hesitate to get creative! Add other flavorings or fillings; these Oreo cinnamon rolls can easily be adapted for new tastes.
Make Ahead Options
These Oreo cinnamon rolls are perfect for meal prep enthusiasts! You can prepare the dough and filling up to 24 hours in advance. Simply follow the recipe up to the proofing step, then cover the rolls tightly with plastic wrap or foil and refrigerate. This allows the flavors to meld beautifully while preventing any dry spots. When you’re ready to bake, allow the rolls to sit at room temperature for about 30 minutes to an hour to rise before preheating your oven. Baking fresh Oreo cinnamon rolls in the morning means you’ll enjoy a delicious breakfast with minimal effort, just as delightful as when made fresh!
Oreo Cinnamon Rolls Variations & Substitutions
Feel free to get creative with these delicious Oreo cinnamon rolls and make them your own!
- Dairy-Free: Use plant-based milk and vegan butter to make a completely dairy-free version without sacrificing flavor.
- Gluten-Free: Substitute all-purpose flour with a gluten-free flour blend designed for baking; ensure you use a trusted recipe for the best results.
- Chocolate Glaze: Mix cocoa powder into the powdered sugar for a rich chocolate glaze that enhances the cookies’ flavor.
- Cookie Swap: Try using crushed chocolate sandwich cookies or peanut butter cookies instead of Oreos for a delightful twist!
- Nutty Crunch: Add chopped nuts like pecans or walnuts to the filling for a crunchy texture that contrasts beautifully with the gooey rolls.
- Cinnamon Swirl: For an extra layer of flavor, mix additional ground cinnamon into the dough before rolling it out, enhancing that warm aroma.
- Cream Cheese Frosting: Swap the vanilla glaze for a tangy cream cheese frosting; this indulgent option adds a luscious creaminess that pairs wonderfully with the chocolate.
- Add Heat: Sprinkle a pinch of cayenne pepper or red pepper flakes into the filling for a warm spice kick that complements the sweetness.
Remember, you can explore many flavor profiles! Love chocolate? Check out my Chocolate Cinnamon Rolls for a delicious variation. And if you’re seeking something savory, don’t miss my Pepperoni Pizza Rolls. The world of flavors awaits—get rolling!
What to Serve with Oreo Cinnamon Rolls
Indulging in Oreo cinnamon rolls creates the perfect opportunity to expand your breakfast spread with delightful pairings.
- Fresh Fruit Salad: Bright, juicy fruits provide a refreshing counterpoint to the rich rolls, balancing the sweetness beautifully. Think of vibrant berries, citrus, and melons for a colorful display.
- Creamy Yogurt Parfait: The tangy yogurt mixed with granola and fruits complements the chocolatey sweetness of the rolls. Layer it with honey for added sweetness and visual appeal.
- Strong Coffee or Latte: A robust coffee enhances the flavors of these rolls while providing a comforting warmth—perfect for a cozy breakfast setup.
- Maple Bacon: The savory saltiness of crispy bacon plays well against the sweet, gooey rolls for a delightful contrast that keeps your taste buds dancing.
- Chocolate Milk: For a fun twist, serve chocolate milk alongside. It echoes the Oreo flavor and delights the kid in all of us!
- Vanilla Ice Cream: Warm rolls drizzled with glaze and topped with a scoop of vanilla ice cream transform breakfast into dessert! A decadent way to start the day.
- Homemade Whipped Cream: Light and fluffy whipped cream can be dolloped on each roll, adding a luscious texture that pairs beautifully with the Oreo filling.
- Cinnamon-Spiced Coffee: Brew a pot of cinnamon-infused coffee to elevate the cinnamon flavors in the rolls, creating a warm and inviting atmosphere.
- Chai Tea: Spiced chai offers a unique flavor pairing, harmonizing with the chocolate and vanilla of the rolls for a delightful experience!
- Bubbly Mimosa: Celebrate the weekend with a refreshing mimosa—its citrus zing cuts through the richness of the rolls, making each bite even more enjoyable.
Oreo Cinnamon Rolls Recipe FAQs
What kind of Oreos should I use for the filling?
Absolutely! You should use regular Oreos for the most authentic flavor. However, if you want to switch things up, feel free to try other chocolate sandwich cookies. Just keep in mind that the flavor profile will change, but that can lead to some delicious surprises!
How should I store my leftover Oreo cinnamon rolls?
For sure! Store any leftover Oreo cinnamon rolls in an airtight container at room temperature for up to 2 days. If you want to keep them fresher for longer, you can refrigerate them for up to 5 days. Just remember to wrap them well to prevent them from drying out!
Can I freeze Oreo cinnamon rolls, and if so, how?
Yes, indeed! You can freeze unbaked Oreo cinnamon rolls for an easy breakfast option later. Simply arrange them in a single layer on a baking sheet, freeze until solid, and then tightly wrap them in plastic wrap. They’ll keep in the freezer for up to 2 months. When you’re ready to bake them, let them thaw in the refrigerator overnight, then proof them before baking. This way, you can enjoy fresh rolls anytime!
What should I do if my dough is too sticky?
No worries! If your dough is too sticky, you can gradually sprinkle in more flour, a tablespoon at a time, while kneading until it reaches a tacky but manageable consistency. Just be careful not to add too much flour, as you want the dough to remain soft and fluffy!
Are these Oreo cinnamon rolls suitable for people with allergies?
Great question! These rolls contain common allergens like gluten (from flour), dairy (from milk and butter), and eggs. For a vegan option, you can substitute the egg with a flax egg. If you have nut allergies, make sure to choose a milk alternative that is nut-free. Always check labels to avoid any unexpected allergens!
How do I prevent my cinnamon rolls from getting tough?
Definitely! To keep your Oreo cinnamon rolls tender, ensure you don’t over-knead the dough—kneading just until it comes together is best. Also, be sure to pay attention to the rising times. If your dough isn’t given enough time to rise, the rolls will turn out dense. Вe patient and let those rolls puff up!
Oreo Cinnamon Rolls That Will Make Your Mornings Magical
Ingredients
Equipment
Method
- In a large mixing bowl, combine all-purpose flour, instant dry yeast, and fine salt.
- In a small saucepan, warm whole milk, unsalted butter, and light brown sugar over low heat until just warm.
- Pour the warm mixture into the dry ingredients and stir until combined. Add a large egg, and knead for about 5 minutes until sticky but cohesive.
- Cover the kneaded dough and let it rest in a warm place for approximately 10 minutes.
- Roll out the rested dough into a large rectangle, spread softened unsalted butter, and sprinkle with cinnamon, black cocoa powder, and crushed Oreos.
- Roll the dough tightly into a log and cut into pieces about 1 to 2 inches wide.
- Arrange the sliced rolls in a greased baking pan, cover with lightly greased foil, and let proof for about 30 minutes.
- Preheat your oven to 350°F (175°C). Bake the rolls for 26 to 30 minutes until golden brown.
- Prepare the glaze by mixing powdered sugar, melted unsalted butter, vanilla extract, and enough milk for a smooth consistency.
- Once the rolls are baked and slightly cooled, drizzle the glaze over the top and optionally garnish with crushed Oreos.
Leave a Reply