
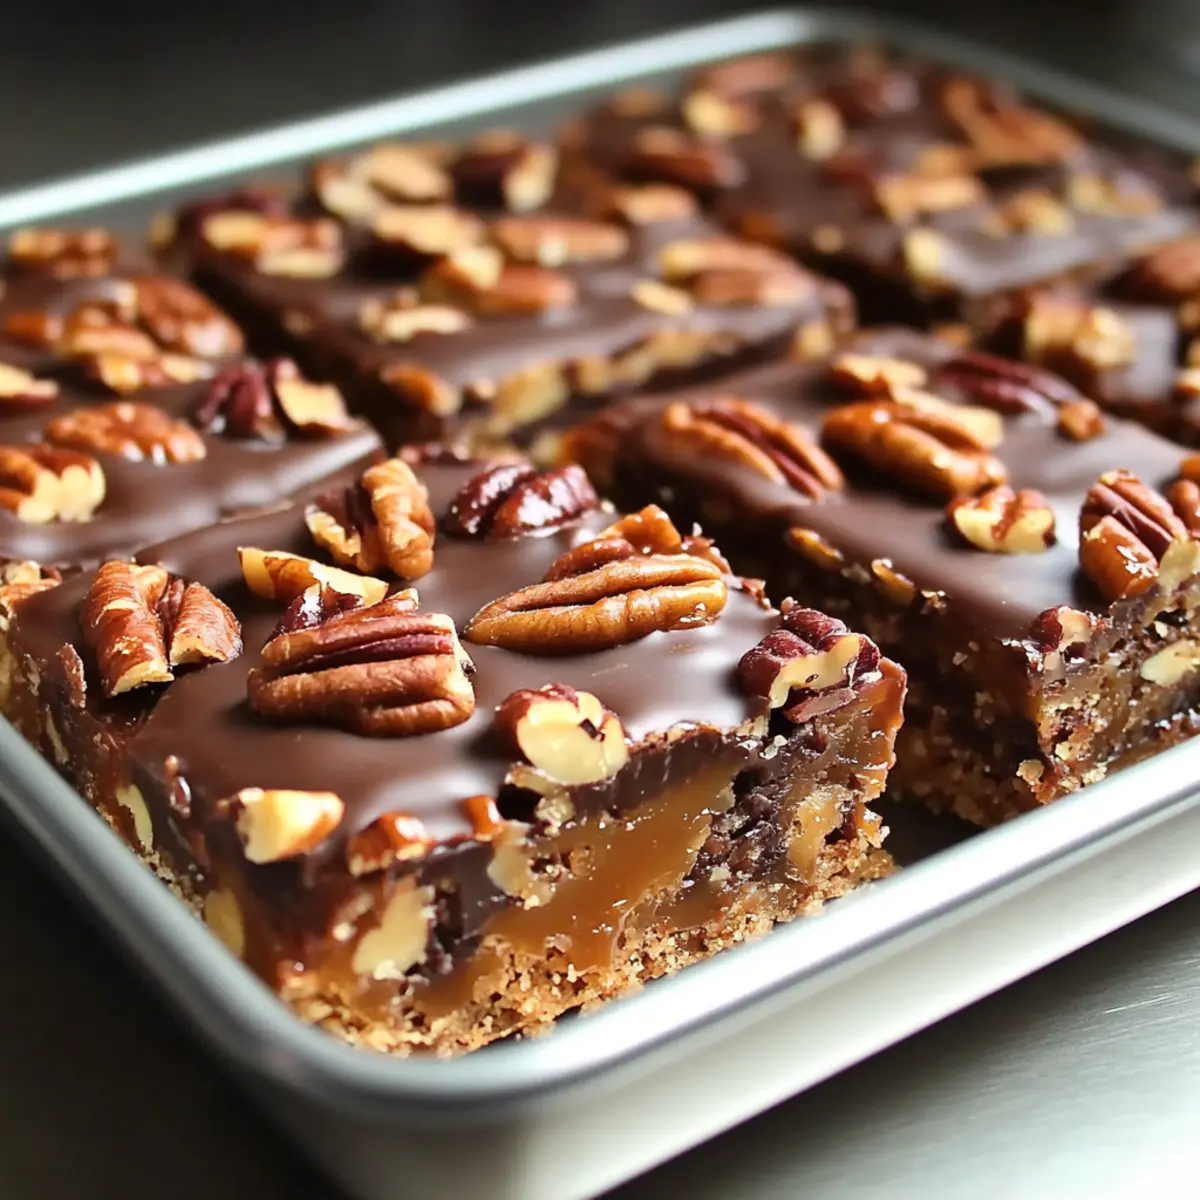
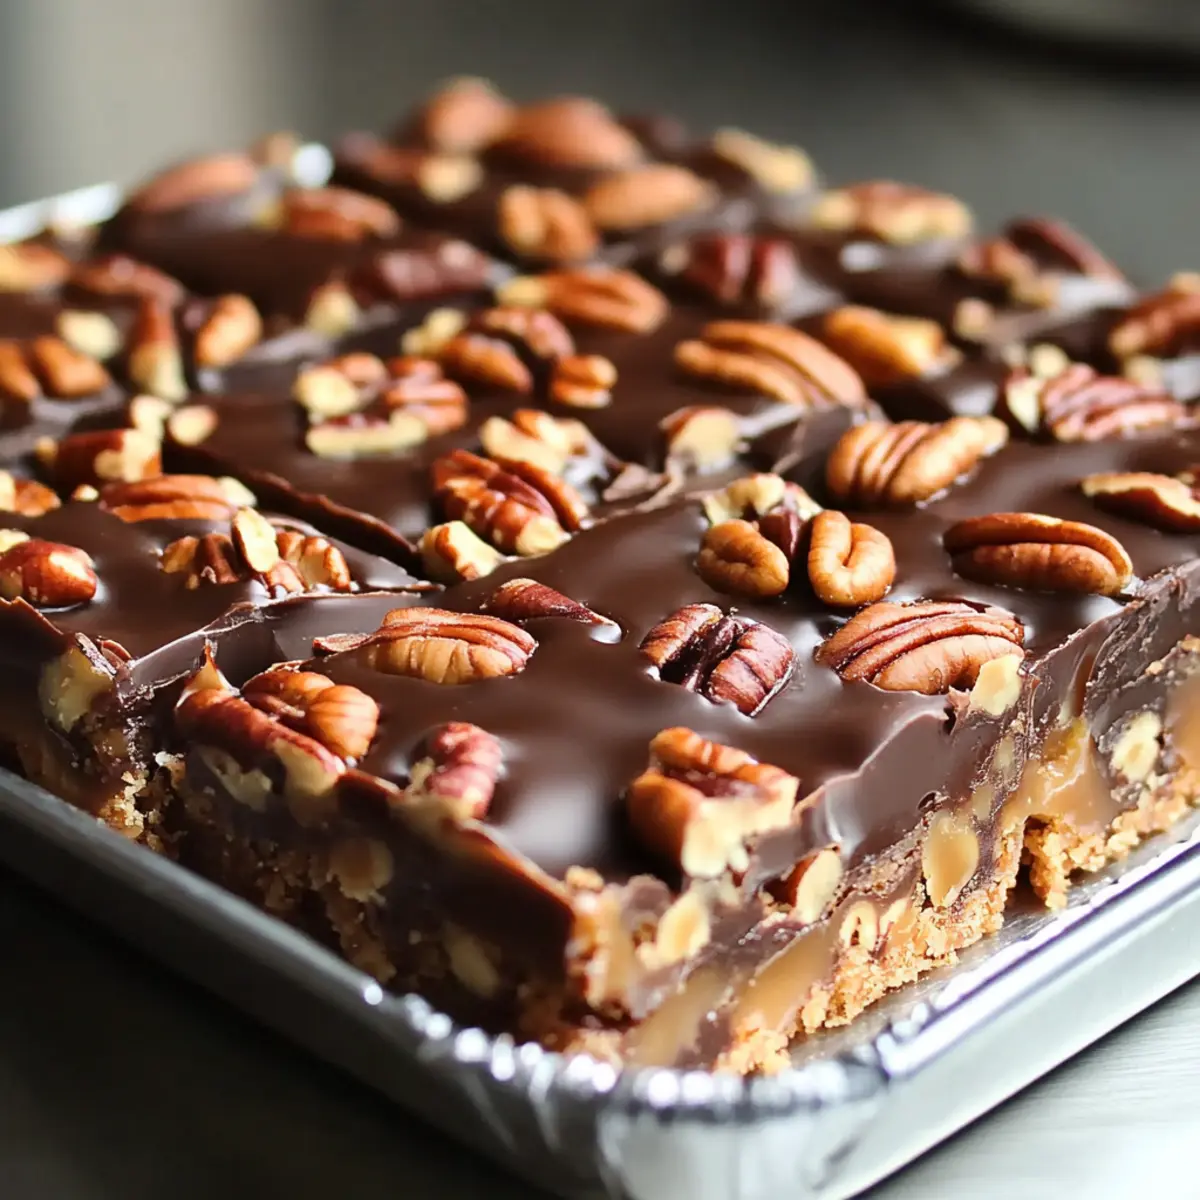
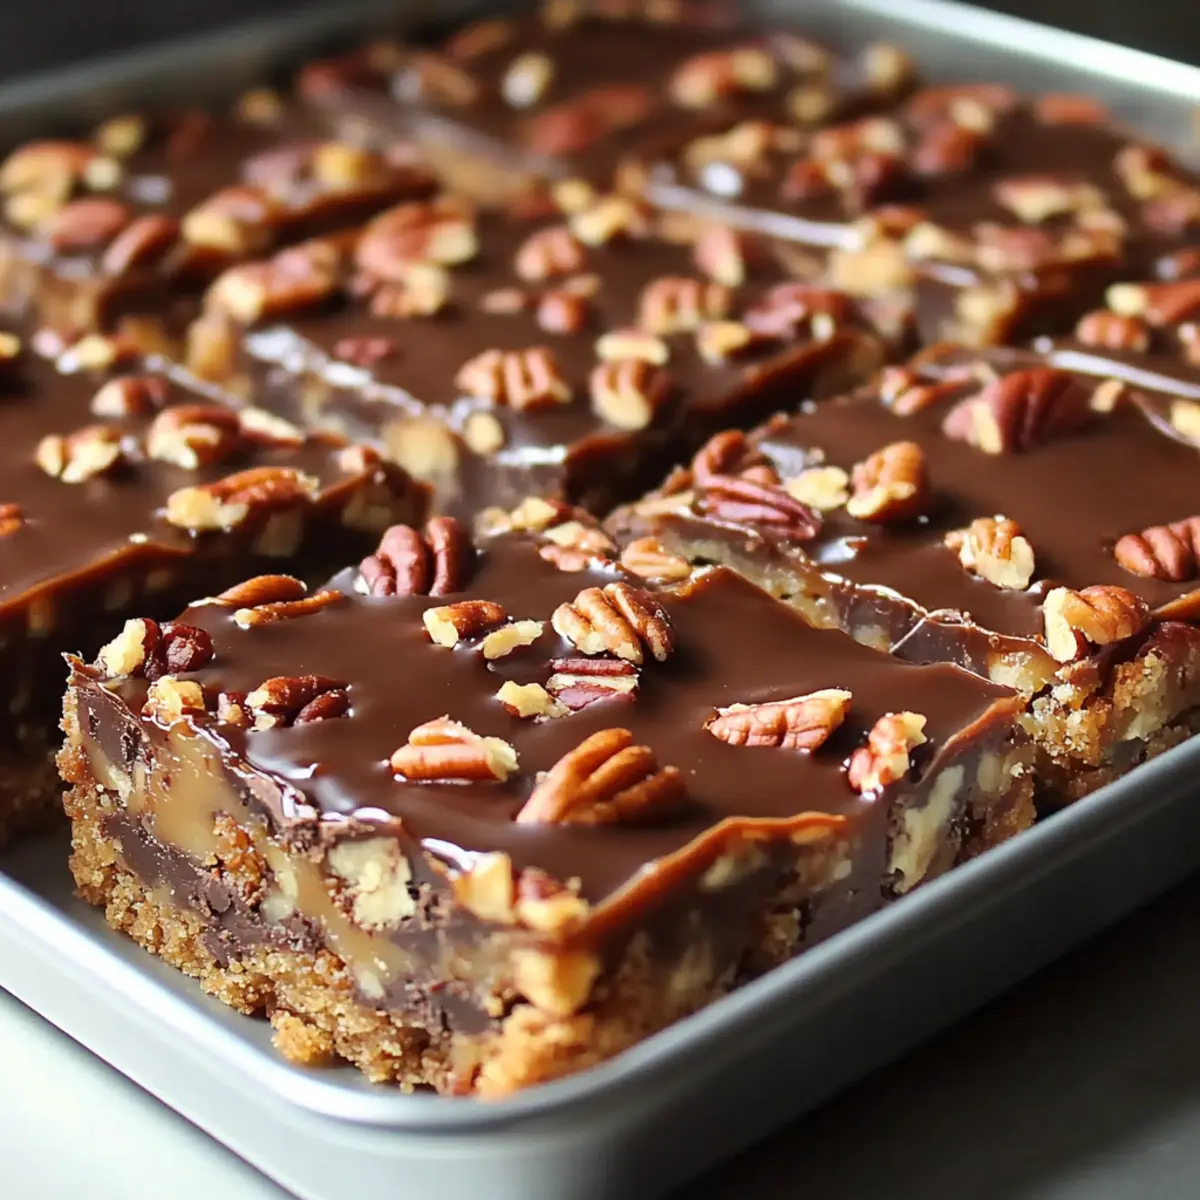
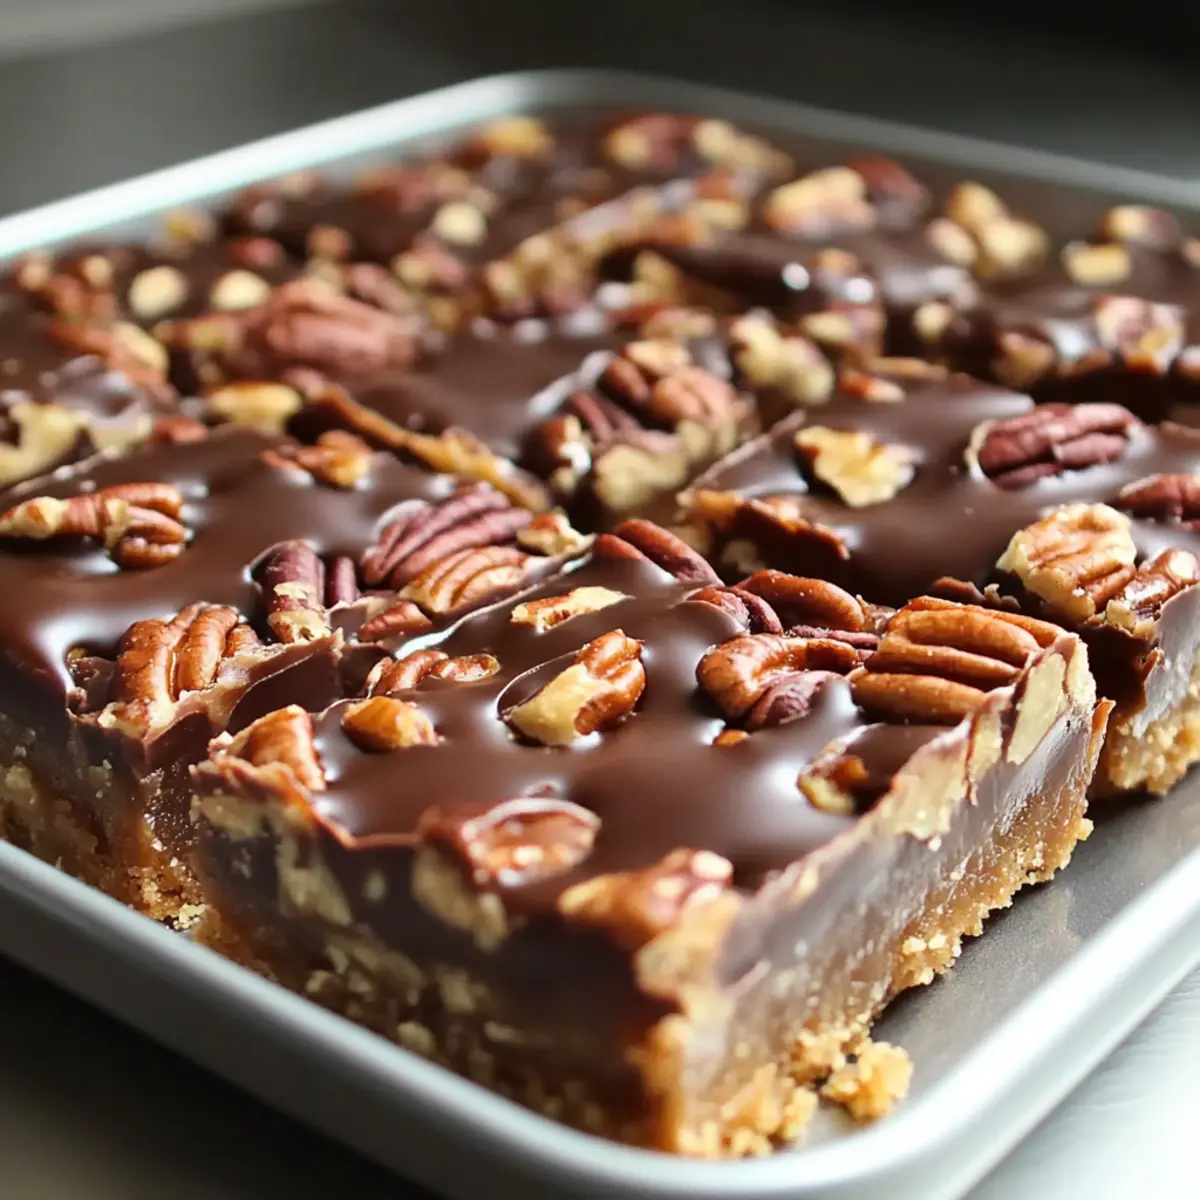
As the enticing aroma of baked goodies fills my kitchen, I can’t help but feel a surge of excitement—especially when I’m whipping up a batch of Easy Turtle Bars. These indulgent treats beautifully marry rich chocolate, gooey caramel, and crunchy pecans, all layered upon a buttery shortbread crust. What’s even better is how effortless they are to prepare, making them a perfect choice for both casual family nights or fancy gatherings. Plus, they’re a guaranteed crowd-pleaser that will both delight and impress your guests! Imagine serving these sweet bars and watching as everyone reaches for one—how can you resist? Are you ready to create a luscious dessert that will surely become a staple in your home?
Why are Easy Turtle Bars so irresistible?
Decadent Layers: Each bite of these Easy Turtle Bars reveals a luscious combination of chocolate, caramel, and crunchy pecans, creating a flavor explosion.
Effortless Preparation: With simple steps, you can whip these up even on a busy day. Perfect for anyone who loves homemade desserts without the fuss!
Crowd-Pleaser: These treats are guaranteed to wow your guests, making them the ideal dessert choice for any gathering or family get-together.
Versatile Options: Feel free to customize them! Try swapping in walnuts or going gluten-free with a flour alternative.
Satisfying Indulgence: They strike the perfect balance between rich and sweet, satisfying any sweet tooth cravings while leaving you wanting more.
Get ready to share or savor your creation, as these bars will surely become a beloved favorite in your recipe collection!
Easy Turtle Bars Ingredients
For the Crust
• Butter – Provides structure and flavor for the crust. Note: Use cold butter for a crumbly texture.
• Brown Sugar – Sweetens and adds caramel notes. Note: Can substitute with coconut sugar for a different flavor profile.
• All-Purpose Flour – Gives structure to the bars.
For the Filling
• Caramel Sauce – Adds gooey texture and sweetness. Note: Store-bought works fine for convenience.
• Pecans – Adds crunch and nuttiness. Note: Can be substituted with walnuts for a different taste.
For the Topping
• Chocolate Chips – Forms the topping for a rich finish. Note: Dark chocolate can be used for a less sweet option.
• Sea Salt (optional) – Enhances flavors and balances sweetness.
Step‑by‑Step Instructions for Easy Turtle Bars
Step 1: Prepare Crust
Preheat your oven to 350°F (175°C). In a mixing bowl, combine cold butter, brown sugar, and all-purpose flour. Use a pastry cutter or your fingers to blend until the mixture resembles coarse crumbs. Press this mixture firmly into the bottom of a lined 9×9-inch baking pan, ensuring an even layer across the base.
Step 2: Bake Crust
Place the prepared crust in the preheated oven and bake for 15–20 minutes, or until it turns lightly golden and firm to the touch. Keep an eye on it, as you want a golden hue without burning. Once baked, remove the crust from the oven and set it aside to cool slightly while you prepare the caramel layer.
Step 3: Add Caramel Layer
Pour your caramel sauce evenly over the warm crust, ensuring that each corner gets covered. Sprinkle the chopped pecans generously over the caramel layer, distributing them evenly for a delightful crunch in every bite. The richness of the caramel perfectly complements the buttery crust of your Easy Turtle Bars.
Step 4: Bake Again
Return the assembled bars to the oven for an additional 10 minutes. You’ll know they’re ready when the caramel layer is bubbly and hot, providing a glossy finish on top. Once baked, carefully remove the bars from the oven and allow them to cool for a few minutes before adding the chocolate topping.
Step 5: Spread Chocolate
While the bars are still warm, sprinkle the chocolate chips evenly over the top. Let them sit for a minute to soften, and then use a spatula to spread the melted chocolate into a smooth, even layer. This luxuriously rich chocolate topping is the crowning glory of your Easy Turtle Bars.
Step 6: Cool Completely
Allow the turtle bars to cool at room temperature for at least 1 hour, or until fully set. For quicker results, you can refrigerate them for about 30 minutes. Once cool, slice the bars into squares for serving, revealing the delicious layers inside.
Easy Turtle Bars Variations to Delight
Feel free to make these Easy Turtle Bars your own by experimenting with delightful twists that tantalize the senses!
-
Nut-Free: Swap pecans for sunflower seeds to keep that crunchy texture while making them safe for nut allergies. You’ll still enjoy the same satisfying bite.
-
Gluten-Free: Use a gluten-free flour blend in place of all-purpose flour for a wonderful alternative. The bars will remain just as tasty and indulgent!
-
Dairy-Free: Opt for coconut oil instead of butter and dairy-free chocolate chips for a vegan-friendly treat that doesn’t sacrifice flavor. These changes bring a whole new level of richness.
-
Extra Caramel: Drizzle more caramel sauce on top of the finished bars for an irresistible gooeyness. It’s a little extra effort that makes a big difference!
-
Spiced Version: Add a sprinkle of cinnamon or a touch of espresso powder to the chocolate layer for a warm, cozy flavor. This simple trick takes your classic treats to the next level.
-
Sea Salt Sprinkle: Top off your chocolate layer with a pinch of flaky sea salt before it sets for a beautiful contrast to the sweetness. It’s a small step that enhances every bite!
-
Chocolate Chip Swirl: Instead of melting chocolate on top, mix chocolate chips into the caramel layer for a delightful surprise. Each piece will burst with more chocolatey goodness!
-
Coconut Flakes: Sprinkle sweetened shredded coconut over the caramel layer before baking for a tropical twist. It adds another dimension and delightful chewiness.
As you create these variations, you may find inspiration for other recipes like my delicious Chocolate Peanut Bars or even consider setting the stage for your breakfast with these Breakfast Potatoes Morning. The possibilities are yours to explore!
Expert Tips for Easy Turtle Bars
• Cold Butter: Always start with cold butter for the crust to achieve that perfect crumbly texture. Avoid using softened butter as it can lead to a denser crust.
• Stir Caramel: When preparing your caramel layer, stir constantly to prevent it from burning or hardening too quickly—keeping it gooey is key!
• Even Topping: Allow the chocolate chips to soften on the warm bars before spreading. This ensures a smooth and even layer across your Easy Turtle Bars.
• Full Cooling: Don’t rush the cooling process! Let the bars cool completely at room temperature to ensure clean cuts when slicing them into squares.
• Experiment Smartly: Feel free to swap ingredients, like using walnuts instead of pecans or trying gluten-free flour. But remember to balance flavors to maintain that delightful richness!
Make Ahead Options
These Easy Turtle Bars are perfect for meal prep enthusiasts! You can prepare the crust and caramel layer up to 24 hours in advance, storing them tightly wrapped in the refrigerator to maintain their freshness. Simply bake the crust, allow it to cool, then layer with caramel and refrigerate. When you’re ready to serve, pop them back in the oven for a few minutes to warm the caramel, then spread the chocolate and let it set. This way, you can enjoy delicious, homemade turtle bars without the last-minute rush, having all the luxurious flavors meld together perfectly overnight!
What to Serve with Easy Turtle Bars
Imagine a cozy gathering filled with laughter, love, and the sweet aroma of freshly baked delights pressing the pause button on everyday fast-food temptations.
-
Vanilla Ice Cream: The creaminess of vanilla ice cream is the perfect counterbalance to the rich flavors of the bars. A scoop on the side turns each bite into a luscious experience.
-
Chocolate Drizzle: A simple drizzle of melted chocolate heightens the chocolatey goodness. It adds a touch of elegance and enhances the dessert’s visual appeal.
-
Fresh Berries: A handful of tart raspberries or strawberries can brighten the dish. Their freshness contrasts beautifully with the sweet, indulgent bars.
-
Coffee or Espresso: A warm cup of coffee or a shot of espresso pairs wonderfully. The bitterness cuts through the sweetness, creating a delightful balance.
-
Nutty Biscotti: Serve alongside crunchy biscotti for a textural twist. Dipping the biscotti into the chocolate layers is a delicious treat that enhances your dessert experience.
-
Coconut Whipped Cream: Light and airy coconut whipped cream adds a tropical note. It brings a summery flair while offering a rich yet airy counterpoint to the bars.
-
Caramel Sauce: Serve with extra caramel sauce for those who crave more gooey sweetness. A few drizzles can transform every bite into an extraordinary treat.
These thoughtful pairings will create a memorable dessert spread that enchants everyone at your gathering!
How to Store and Freeze Easy Turtle Bars
Room Temperature: Store leftover Easy Turtle Bars in an airtight container at room temperature for up to one week. This keeps them soft and delicious.
Fridge: For prolonged freshness, refrigerate the bars in an airtight container for up to two weeks. This will enhance the flavor as the ingredients meld together.
Freezer: Freeze your Easy Turtle Bars for up to three months. Wrap them tightly in plastic wrap followed by aluminum foil to prevent freezer burn.
Reheating: To enjoy your bars straight from the freezer, let them thaw in the fridge overnight or at room temperature for a couple of hours. They can be gently warmed in the microwave for a few seconds if desired.
Easy Turtle Bars Recipe FAQs
What type of butter should I use for Easy Turtle Bars?
Absolutely, using cold unsalted butter is key for achieving that delightful crumbly texture in your crust. Avoid softened butter as it can lead to a denser base.
How can I store leftover Easy Turtle Bars?
Store leftover Easy Turtle Bars in an airtight container at room temperature for up to one week, or refrigerate them for up to two weeks to keep them fresh and enhance the flavor as the ingredients meld together.
Can I freeze Easy Turtle Bars?
Yes! You can freeze your Easy Turtle Bars for up to three months. Just wrap them tightly in plastic wrap followed by aluminum foil to prevent freezer burn. For best results, thaw them overnight in the refrigerator before enjoying.
What if my caramel hardens too quickly?
If your caramel hardens too quickly while cooking, it may be due to high heat. Always stir it constantly on medium-low heat to maintain a gooey consistency. If it does harden, you can gently reheat it on the stovetop with a splash of water to bring it back to a pourable state.
Are there any dietary substitutions I can make for Easy Turtle Bars?
Certainly! To make a nut-free version, you can substitute almond butter for the pecans. Additionally, for a gluten-free option, using gluten-free flour in the crust works well. Always be mindful of ingredient substitutions to maintain a similar balance in flavor!
How long do Easy Turtle Bars need to cool before cutting?
It’s essential to allow the Easy Turtle Bars to cool at room temperature for at least 1 hour, or until fully set. For quicker results, refrigerate them for about 30 minutes. Proper cooling will ensure clean cuts when slicing the bars into squares.
Easy Turtle Bars: Decadent Delights for Any Occasion
Ingredients
Equipment
Method
- Preheat your oven to 350°F (175°C). In a mixing bowl, combine cold butter, brown sugar, and all-purpose flour. Use a pastry cutter or your fingers to blend until the mixture resembles coarse crumbs. Press this mixture firmly into the bottom of a lined 9x9-inch baking pan, ensuring an even layer across the base.
- Place the prepared crust in the preheated oven and bake for 15–20 minutes, or until it turns lightly golden and firm to the touch. Keep an eye on it, as you want a golden hue without burning. Once baked, remove the crust from the oven and set it aside to cool slightly while you prepare the caramel layer.
- Pour your caramel sauce evenly over the warm crust, ensuring that each corner gets covered. Sprinkle the chopped pecans generously over the caramel layer, distributing them evenly for a delightful crunch in every bite.
- Return the assembled bars to the oven for an additional 10 minutes. You'll know they're ready when the caramel layer is bubbly and hot, providing a glossy finish on top. Once baked, carefully remove the bars from the oven and allow them to cool for a few minutes before adding the chocolate topping.
- While the bars are still warm, sprinkle the chocolate chips evenly over the top. Let them sit for a minute to soften, and then use a spatula to spread the melted chocolate into a smooth, even layer.
- Allow the turtle bars to cool at room temperature for at least 1 hour, or until fully set. For quicker results, you can refrigerate them for about 30 minutes. Once cool, slice the bars into squares for serving, revealing the delicious layers inside.
Leave a Reply