
As the vibrant blooms of spring begin to emerge, so does the craving for light, festive desserts that evoke the joy of the season. That’s where my colorful Easter Poke Cake comes in, offering a delightful mix of moist cake, creamy vanilla pudding, and fluffy whipped topping—all dressed in those cheerful pastel hues we love so much. What makes this dessert truly special is not just its eye-catching appearance: it’s also incredibly easy to whip up, making it perfect for both experienced bakers and beginners alike. Plus, this kid-friendly treat is bound to become a favorite at any Easter brunch or family gathering. Are you ready to add a splash of color to your dessert table?

Why is this Easter Poke Cake irresistible?
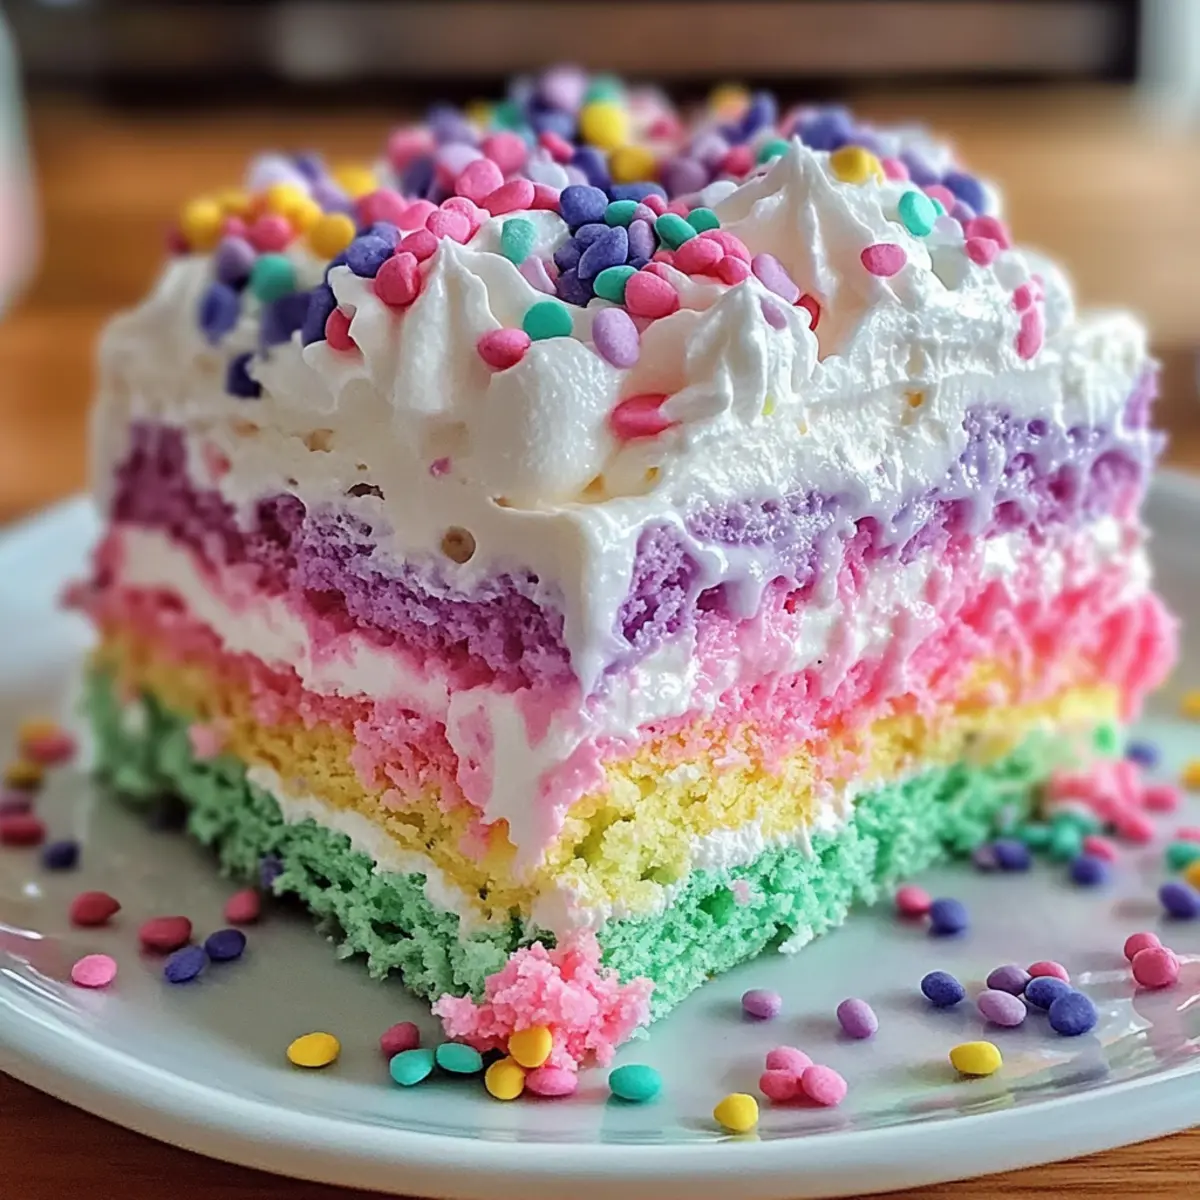
Colorful Appeal: The vibrant pastel shades of this cake not only brighten your table but also add a sense of fun to any gathering.
Kid-Friendly Fun: It’s a hit with children, adding a delightful element to your celebrations that they will love helping to create.
Beginner’s Dream: With simple preparations and common ingredients, this recipe is perfect for beginners, making it an inviting choice for new bakers.
Flexible and Creative: You can easily customize this dessert by swapping puddings or colors—try lemon or pistachio pudding for a refreshing twist!
Make Ahead Option: Prepare it the night before to enhance flavors, making your life easier on busy days—no last-minute stress!
This Easter Poke Cake is not just a treat; it’s a fun, stress-free way to add something special to your holiday festivities!
Easter Poke Cake Ingredients
• Get ready to create a festive delight with these easy ingredients!
For the Cake
- Boxed White Cake Mix – Provides the structure and sweetness to your Easter Poke Cake; any vanilla-flavored cake mix can work!
- Gel Food Coloring – Use vibrant pastel shades like pink, green, blue, or lavender to make your cake visually pop this spring!
For the Pudding Filling
- Instant Vanilla Pudding (2 boxes) – This adds moistness and flavor, but swap it for lemon or pistachio pudding if you’re feeling adventurous.
- Cold Milk (4 cups) – Ensures the pudding sets perfectly; remember to keep it cold for the best results!
For the Topping
- Cool Whip or Whipped Topping – Adds a light, creamy finish and can be tinted with gel food coloring for more fun!
- Sprinkles or Decorative Toppings – Enhance the cake’s appearance and flavor with choices like jelly beans, berries, or candy eggs.
These simple yet delightful ingredients will ensure your Easter Poke Cake is a colorful and tasty centerpiece for your celebrations!
Step‑by‑Step Instructions for Easter Poke Cake
Step 1: Preheat and Prepare
Begin by preheating your oven to 350°F (or follow package instructions) and greasing a 9×13-inch baking dish with non-stick spray or butter. This will ensure your Easter Poke Cake comes out perfectly without sticking. Set the baking dish aside as you mix your cake batter for smooth preparation.
Step 2: Mix the Cake Batter
In a large mixing bowl, prepare the boxed white cake mix according to the package directions, incorporating the required eggs, oil, and water. When stirred well, the batter should be smooth and slightly thick. Once ready, it’s time to divide the batter into several bowls for a colorful twist.
Step 3: Add Color to the Batter
Using gel food coloring, tint each bowl of batter with your desired pastel shades—think cheerful pinks, greens, blues, and lavenders. Aim for vibrant yet soft colors to achieve that springtime look. Once all the batters are colored, you’re all set to create a beautiful, marbled appearance.
Step 4: Create the Marbled Batter
Spoon the different colored batters into the greased baking dish alternately, creating layers of contrasting colors. Using a knife, gently swirl the batters together to create a marbled effect, careful not to mix too thoroughly. This visual element will make your Easter Poke Cake truly eye-catching once baked.
Step 5: Bake the Cake
Place the baking dish in the preheated oven and bake your cake according to the instructions, typically for about 28–32 minutes. To check for doneness, insert a toothpick into the center; it should come out clean. Once baked, take the cake out and let it cool.
Step 6: Poke Holes
Allow the cake to cool in the pan for about 10-15 minutes. Then, using the handle of a wooden spoon, poke holes every inch apart all over the cake’s surface, being careful not to reach the bottom. This will allow the creamy vanilla pudding to seep in and enhance the flavor of your Easter Poke Cake.
Step 7: Prepare the Pudding Filling
In a medium bowl, whisk together the instant vanilla pudding mix with 4 cups of cold milk until it thickens to a pourable consistency. Be swift during this step, as the pudding sets quickly. Once ready, pour the pudding evenly over the poked cake, allowing it to seep into all the holes.
Step 8: Chill the Cake
Cover the cake with plastic wrap and refrigerate it for at least 2 hours; for optimal flavor, overnight chilling is preferred. This resting period allows the pudding to fully set and infuse the cake with its creamy goodness—perfect for a festive treat.
Step 9: Add the Whipped Topping
After chilling, remove the cake from the refrigerator and spread a generous layer of Cool Whip or whipped topping evenly across the top. Feel free to tint the topping with more food coloring for added fun, making your Easter Poke Cake even more festive and appealing.
Step 10: Decorate and Serve
Finally, decorate your cake with colorful sprinkles or any decorative toppings of your choice, such as jelly beans or candy eggs. Keep the cake chilled until serving time. Once ready, slice into delightful pieces and enjoy the vibrant flavors of your homemade Easter Poke Cake!
What to Serve with Colorful Easter Poke Cake
Gather around the table and indulge in a delightful array of flavors that beautifully complement this vibrant dessert.
- Fresh Fruit Salad: A colorful medley of spring fruits enhances the cake’s charm while balancing its sweetness for a refreshing bite.
- Vanilla Ice Cream: The creamy, rich texture of vanilla ice cream brings a classic touch that pairs beautifully with the cake’s playful flavors. Children adore this combination!
- Chocolate-Covered Strawberries: Their sweet, slightly tart flavor and luxurious chocolate coating provide a delicious contrast to the lightness of the poke cake.
- Lemonade or Iced Tea: A cool glass of freshly made lemonade or well-brewed iced tea offers a refreshing sip that perfectly complements the creamy pudding.
- Whipped Cream Toppings: Add a dollop of extra Cool Whip for those who love an indulgent experience—extra creaminess is always a win.
- Pastel Cupcakes: Craft some adorable cupcakes with matching pastel frosting to serve alongside. They can make your dessert table a visual delight!
These delightful pairings not only enhance your Easter Poke Cake but create a wholesome dessert experience worth celebrating with family and friends.
Make Ahead Options
These Easter Poke Cakes are perfect for meal prep enthusiasts! You can bake the cake up to 24 hours in advance and store it wrapped tightly in plastic wrap at room temperature. Once cooled completely, simply poke the holes and pour the pudding filling over the cake; refrigerate it for optimal flavor infusion. If you’re crunched for time, you can whisk together the instant pudding and cold milk up to 3 days before serving, just ensure you cover it tightly as it sets in the fridge. Finally, spread the Cool Whip topping and decorations right before serving to keep everything fresh and delicious. This allows your Easter Poke Cake to shine on the day of your gathering, making life a little easier without sacrificing quality!
Expert Tips for the Best Easter Poke Cake
-
Poking Holes: Ensure you poke holes deep enough for the pudding to soak in, but avoid going through the bottom of the cake—this keeps it fluffy.
-
Quick Pudding Prep: Work swiftly when whisking the pudding, as it thickens quickly. Prepare it right after poking the cake for best results.
-
Chill for Flavor: Refrigerate the cake overnight if possible. This enhances flavor and texture, making your Easter Poke Cake even more delicious!
-
Color Mixing: When tinting batter, don’t overmix the colors while creating the marbled effect. Gentle swirling gives a pretty design without muddying the hues.
-
Creative Toppings: Feel free to get creative with toppings! Fresh berries, lemon zest, or even edible flowers can complement your colorful Easter Poke Cake beautifully.
Easter Poke Cake Variations & Substitutions
Get ready to explore creative twists on the beloved Easter Poke Cake that will delight all your senses!
-
Fruit-Filled Delight: Add sliced strawberries or citrus on top of the whipped cream for a fruity pop. Fresh flavors brighten each bite and add a juicy contrast to the creamy pudding.
-
Chocolate Lovers’ Twist: Substitute chocolate pudding instead of vanilla for a rich, decadent version of the classic. This delightful variation is sure to satisfy any chocolate cravings during your spring celebration!
-
Nutty Flavor: Mix in chopped walnuts or pecans into the pudding layer or sprinkle on top for an added crunch. This not only brings a new texture but enhances the overall taste profile.
-
Dairy-Free Option: Use coconut milk and coconut whipped cream to make this dessert dairy-free. This alternative offers a deliciously tropical twist that pairs beautifully with the pastel colors.
-
Zesty Crunch: Incorporate lemon zest into the pudding or on top of the Cool Whip for a fresh, zesty flavor. This brightens up the cake and creates a burst of sunshine in every bite.
-
Malibu Dream: Swap in coconut-flavored pudding alongside or instead of vanilla for a tropical-themed cake perfect for spring gatherings. The hint of coconut will transport you to a sunny beach!
-
Color Variation: Get creative with different gel food coloring—experiment with bolder hues or even a rainbow effect for a stunning centerpiece. Not only does it look fantastic, but it also adds a unique personality to your cake.
Feel free to mix and match these ideas! Each variation will add your personal touch to the classic Easter Poke Cake, ensuring it becomes a cherished part of your family gatherings. Plus, if you enjoy indulgent flavors, you might also love Chocolate Cheesecake Forever or the refreshing layers of Japanese Cheesecake Light as delightful alternatives.
Storage Tips for Easter Poke Cake
Fridge: Store leftover Easter Poke Cake covered in the refrigerator for up to 3 days. Make sure it’s tightly wrapped or in an airtight container to maintain freshness.
Freezer: If you want to freeze the cake, wrap slices individually in plastic wrap and then place in a freezer-safe bag. The cake can be frozen for up to 2 months.
Thawing: To enjoy frozen slices, allow them to thaw in the fridge overnight before serving. This helps retain the cake’s moist texture.
Reheating: If desired, you can microwave individual slices for about 10-15 seconds to serve warm. Just be cautious not to overheat, as this can affect the creamy pudding layer.

Easter Poke Cake Recipe FAQs
What type of cake mix is best for this recipe?
Absolutely! A boxed white cake mix is ideal for this Easter Poke Cake as it provides both sweetness and structure. However, feel free to substitute it with any vanilla-flavored cake mix you prefer!
How can I tell when my cake is done baking?
Very good question! Typically, your cake will take around 28–32 minutes to bake. To check for doneness, simply insert a toothpick into the center of your cake; if it comes out clean, your cake is ready to be taken out of the oven.
How should I store leftover Easter Poke Cake?
Great choice! To store leftover cake, cover it tightly with plastic wrap or place it in an airtight container and keep it in the refrigerator for up to 3 days. It’s best served chilled, making it a refreshing treat!
Can I freeze my Easter Poke Cake?
Yes, you can! First, wrap individual slices of the Easter Poke Cake in plastic wrap, then place them in a freezer-safe bag. This method preserves the flavor and moisture of the cake for up to 2 months. When you’re ready to enjoy, thaw slices in the fridge overnight before serving.
What can I do if my pudding sets too quickly?
No worries at all! If your pudding sets too fast and becomes difficult to pour, try whisking in a little extra cold milk to loosen it back to a pourable consistency. Just remember to work quickly when mixing right after poking the holes in your cake!
Are there any dietary alternatives I can use for my Easter Poke Cake?
Absolutely! If you want to make it lighter, consider using a lower-fat whipped topping and reduced-sugar pudding. For those with allergies, be sure to check the labels on your cake mix and pudding, as many brands offer gluten-free options. If you’re baking for pets, it’s best to keep this delicious treat away from them due to the sugar content!

Vibrant Easter Poke Cake with Creamy Vanilla Surprise
Ingredients
Equipment
Method
- Preheat your oven to 350°F and grease a 9x13-inch baking dish with non-stick spray or butter.
- Prepare the boxed white cake mix according to the package directions, incorporating eggs, oil, and water.
- Tint each bowl of batter with gel food coloring to achieve pastel shades.
- Spoon the different colored batters into the greased baking dish alternately, creating layers.
- Bake the cake for about 28–32 minutes until a toothpick comes out clean.
- Cool the cake for 10-15 minutes and poke holes every inch apart on the surface.
- Whisk together the instant vanilla pudding mix with 4 cups of cold milk until thickened.
- Pour the pudding evenly over the poked cake, allowing it to soak in.
- Cover the cake and refrigerate for at least 2 hours, preferably overnight.
- Spread a generous layer of Cool Whip or whipped topping evenly across the top.
- Decorate your cake with colorful sprinkles or decorative toppings of your choice.
Leave a Reply