
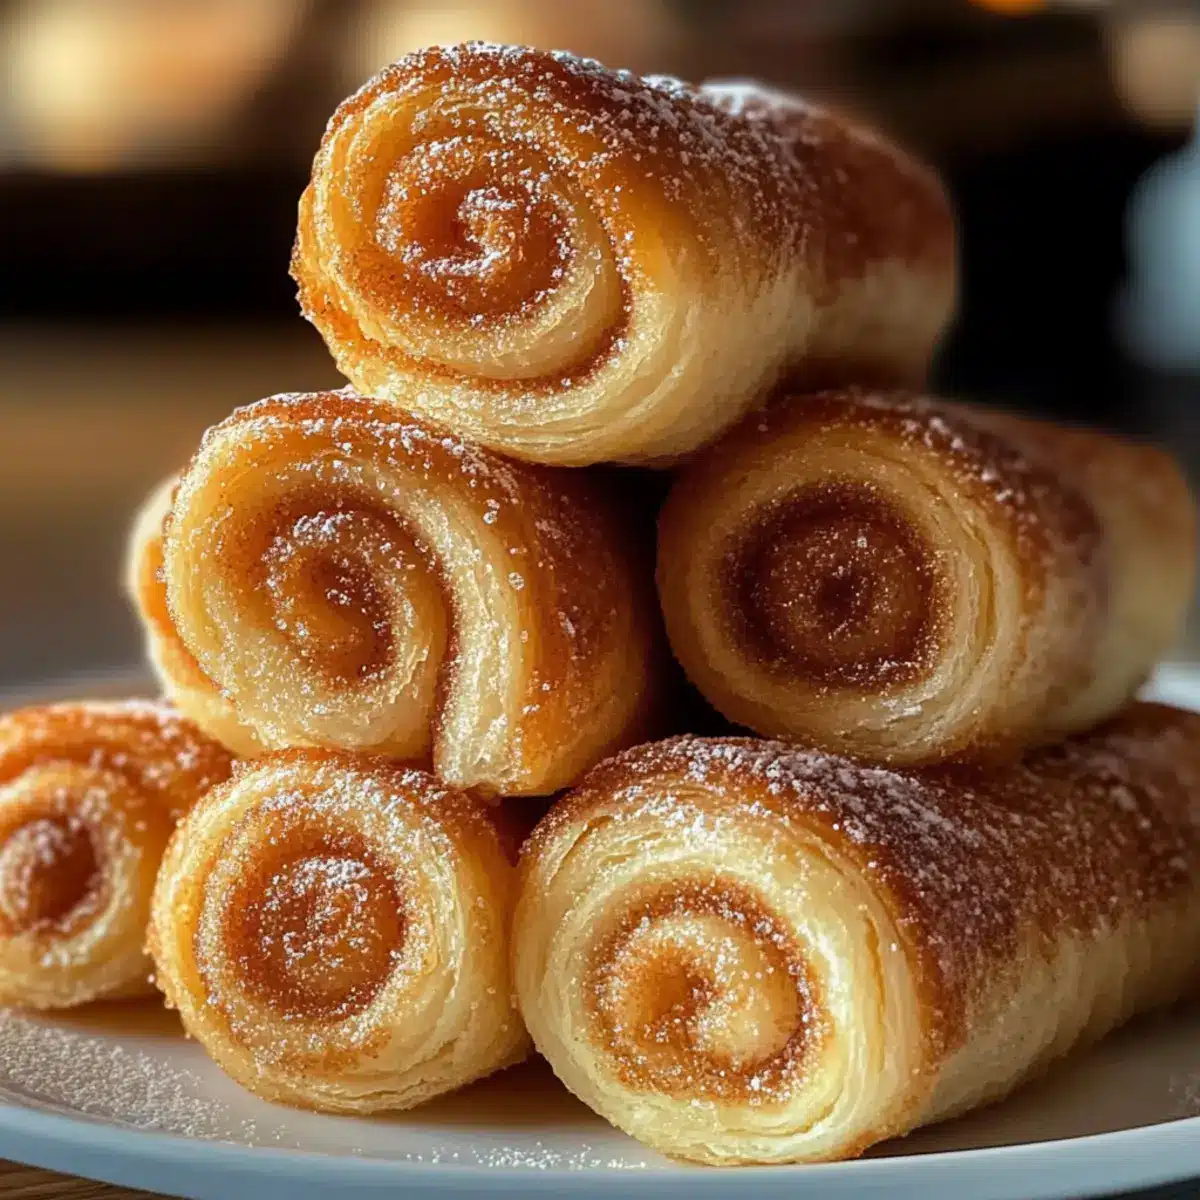
As I rolled out the dough one lazy Sunday, my kitchen transformed into a cozy haven, filled with the heavenly scent of warm butter and caramelized sugar. This is the magic of Sugar Snails, soft, spiraled pastries that provide a delightful alternative to the familiar cinnamon roll, minus the heavy icing. What makes these beauties even better? They’re incredibly easy to make and can adapt to your taste cravings, whether you fancy a hint of vanilla, a sprinkle of cinnamon, or a zesty lemon twist. Perfect for brunch gatherings or a comforting afternoon snack with a warm cup of tea, these Sugar Snails are a sure-fire crowd-pleaser that will leave everyone asking for more. Are you ready to whip up a batch and bring sweetness into your home?
Why Are Sugar Snails So Irresistible?
Unique Flavor: These soft and buttery pastries offer a delightful taste experience, balancing sweetness without overwhelming icing.
Customizable Options: Whether you’re in the mood for Cinnamon Sugar or Lemon Zest, this adaptable recipe can easily cater to your cravings.
Simple Preparation: In just a few easy steps, you can create these heavenly treats, even if you’re a beginner in the kitchen.
Perfect for Any Occasion: Ideal for brunch gatherings or as a cozy afternoon snack, Sugar Snails are sure to impress friends and family alike.
Make-Ahead Magic: You can prepare them in advance, allowing you to enjoy fresh pastries anytime with just a quick bake—perfect for those busy mornings!
Elevate your baking with these delightful Sugar Snails, and let your kitchen celebrate the sweet pleasure of homemade comfort food.
Sugar Snails Ingredients
For the Dough
- All-purpose flour – Provides structure while keeping the dough soft; measure carefully to avoid a dry texture.
- Yeast – Active dry or instant yeast helps the dough rise for a fluffy goodness; ensure freshness for best results.
- Milk – Whole milk enriches the dough; warming it slightly aids yeast activation. 2% milk is also a suitable substitute.
- Unsalted butter – Adds richness and moisture; make sure it’s softened for easy spreading.
- Egg – Contributes richness and helps bind the dough together for that perfect texture.
- Salt – Balances sweetness and enhances overall flavor; a small but essential ingredient.
For the Filling
- Granulated sugar – Creates a signature sweet and caramelized exterior; feel free to adjust to taste.
For Variations
- Vanilla extract – Adds a delightful flavor for Vanilla Sugar Snails; just a teaspoon works wonders!
- Ground cinnamon – Incorporate into the sugar for a comforting Cinnamon Sugar variant.
- Lemon zest – Introduce a bright, fresh note by adding this to your sugar mix for a zesty Lemon Sugar twist.
- Chopped nuts – Add for a lovely crunch and nutty flavor; almonds or walnuts work especially well.
- Simple glaze – Drizzle after baking if you prefer a touch more sweetness; it’s optional but delicious!
With these Sugar Snails ingredients, you’re just moments away from baking up some soft, spiraled delights that the whole family will adore!
Step‑by‑Step Instructions for Sugar Snails
Step 1: Prepare the Dough
Begin by warming 1 cup of whole milk in a saucepan until it’s just warm to the touch, about 110°F (43°C). In a large mixing bowl, combine the warm milk with 2 teaspoons of active dry yeast and 1 teaspoon of sugar. Let it sit for 5–10 minutes until the mixture becomes frothy, indicating that your yeast is active and ready to create fluffy Sugar Snails.
Step 2: Mix Ingredients
In the same bowl, add 2 tablespoons of melted unsalted butter, 1 egg, ¼ cup of granulated sugar, and ½ teaspoon of salt. Gradually mix in 3–4 cups of all-purpose flour, one cup at a time, until a soft dough forms. The consistency should be slightly tacky but not overly sticky, which is crucial for achieving the perfect Sugar Snails texture.
Step 3: Knead the Dough
On a lightly floured surface, turn out the dough and begin kneading it for about 8–10 minutes. Use the heels of your hands to push the dough away from you, then fold it back over itself. The dough should become smooth and elastic. Once it reaches the desired texture, shape it into a ball and prepare for the first rise.
Step 4: First Rise
Place the dough ball in a greased bowl, covering it with a damp cloth or plastic wrap. Allow it to rise in a warm, draft-free area for 1 to 1.5 hours, or until it has doubled in size. This step is essential for ensuring that your Sugar Snails turn out light and fluffy.
Step 5: Roll Out the Dough
Once the dough has risen, punch it down gently to release air bubbles and transfer it to a lightly floured surface. Roll it out into a rectangle approximately ¼ inch thick. The dough should be even to ensure uniform baking. This is where the magic of creating your Sugar Snails really begins!
Step 6: Add Filling
Spread a generous layer of softened unsalted butter (about 3 tablespoons) evenly over the rolled-out dough. Next, sprinkle ⅓ cup of granulated sugar across the buttered surface, allowing the sweet filling to caramelize beautifully during baking. If you prefer, add a layer of cinnamon or lemon zest for extra flavor at this stage.
Step 7: Shape the Snails
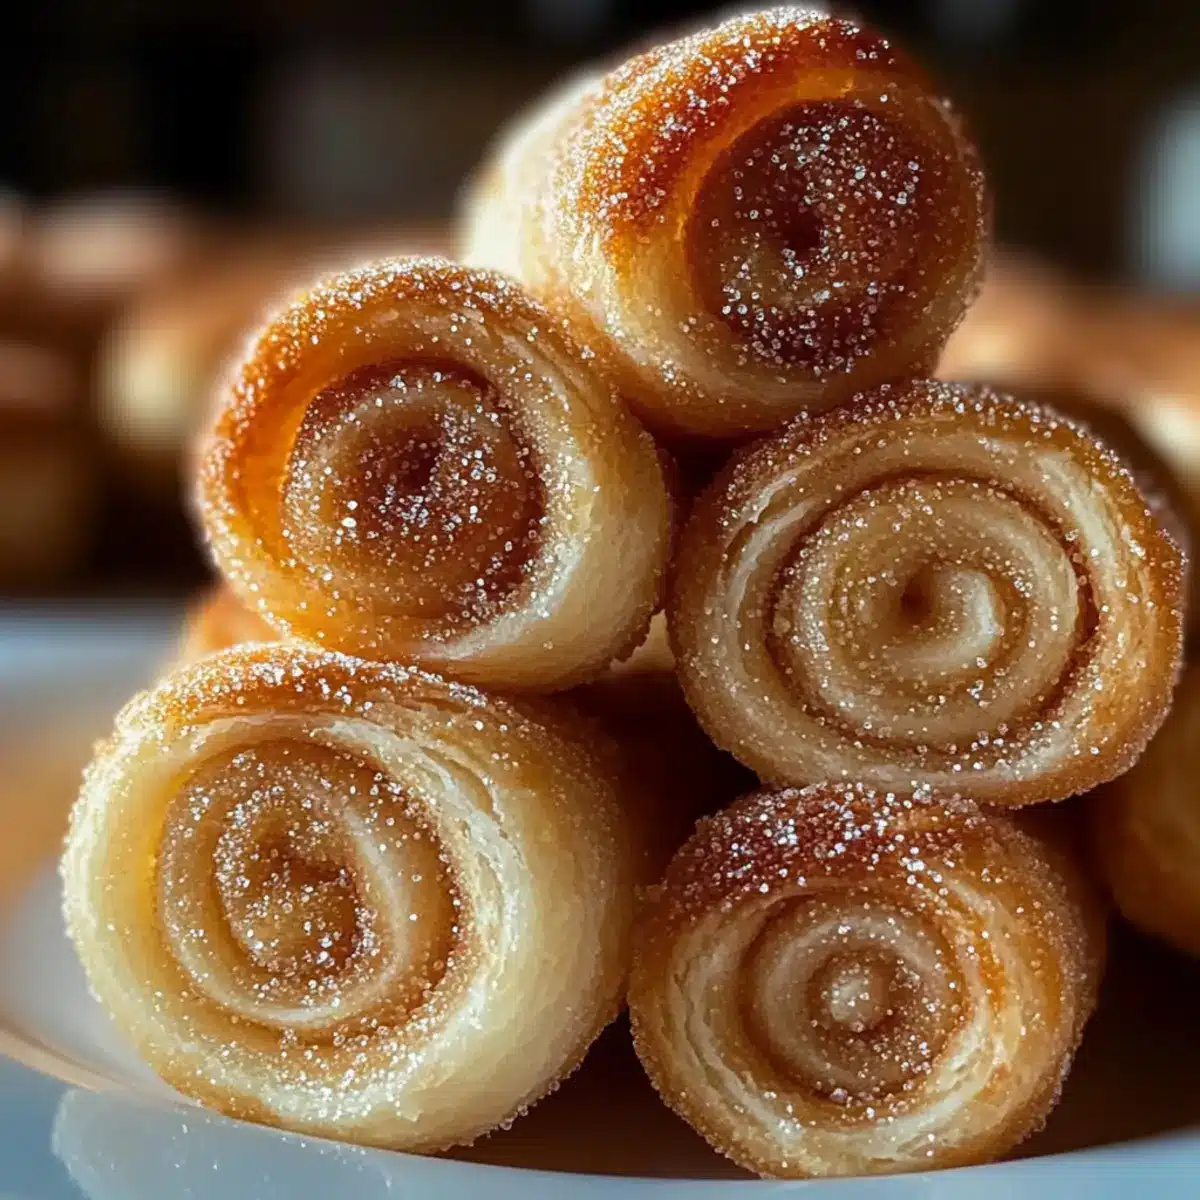
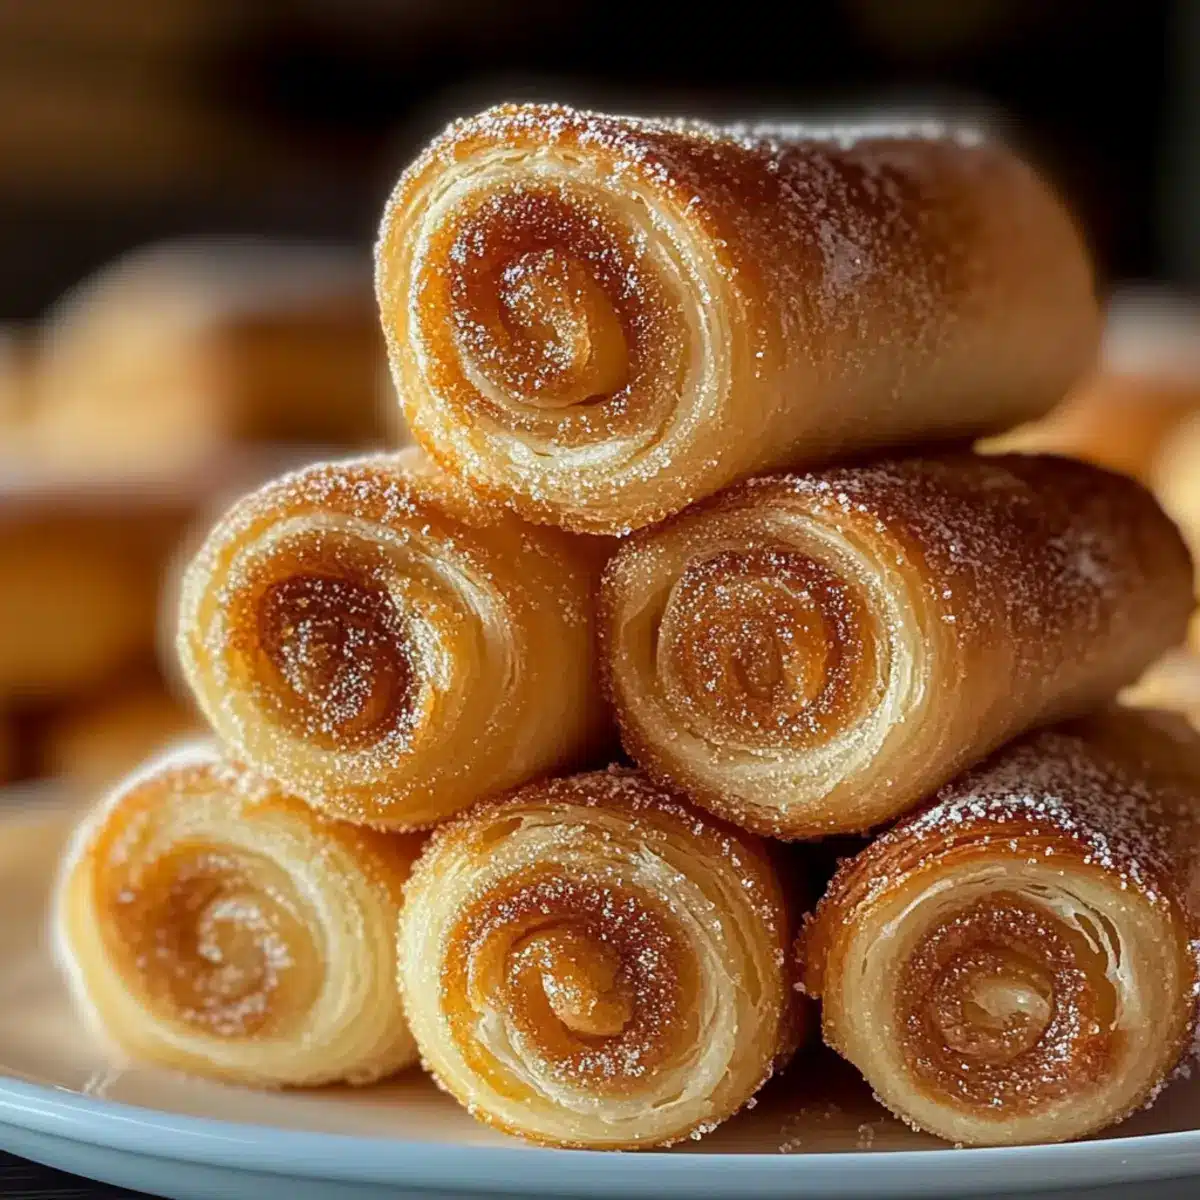
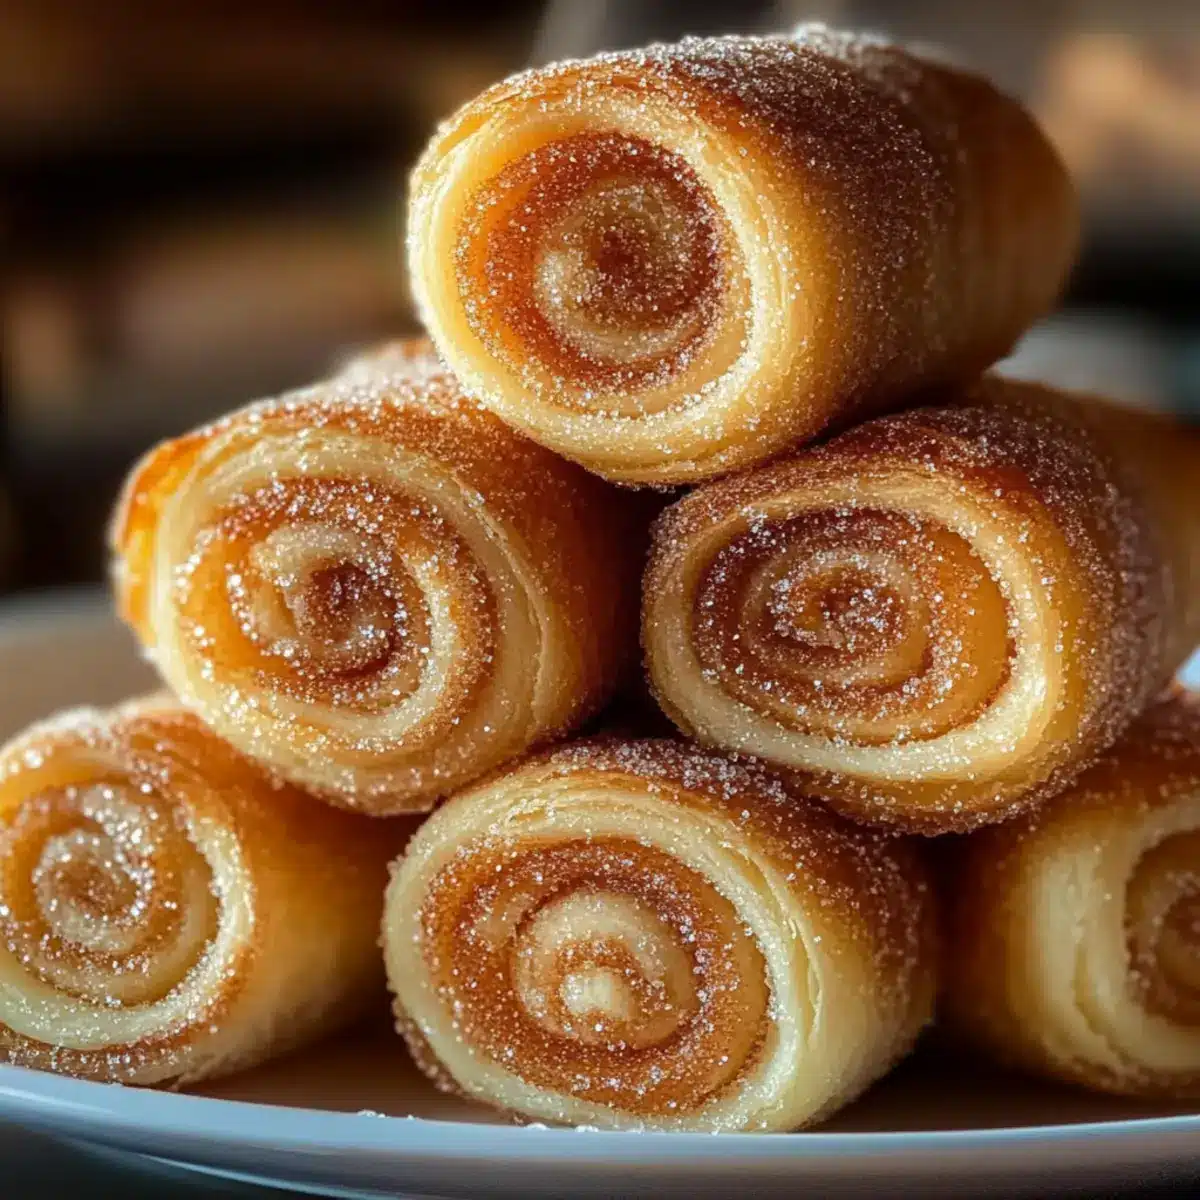
Starting from one long edge, tightly roll the dough into a log shape, making sure to keep it snug. Once rolled, use a sharp knife or dental floss to slice the log into equal pieces, about 1–2 inches thick. Each slice will form a delightful Spiral of your Sugar Snails—such a treat!
Step 8: Second Rise
Arrange the sliced Sugar Snails in a greased baking dish, ensuring they are close but not touching. Cover the dish with a cloth or plastic wrap again, and let them rise for another 30–45 minutes in a warm area. You’ll notice they will puff up beautifully, ready for baking.
Step 9: Bake
Preheat your oven to 350°F (175°C) while the Sugar Snails complete their second rise. Once preheated, bake the pastries for 20–25 minutes or until they are golden brown and the edges are crisp. Your kitchen will fill with an irresistible aroma as they bake to perfection!
Step 10: Cool and Serve
After baking, allow the Sugar Snails to cool in the pan for about 10 minutes. This resting time is vital for enhancing their texture. Once cooled, serve them warm to fully enjoy their soft, flaky goodness, perfect for brunch or as a sweet afternoon indulgence!
Make Ahead Options
Sugar Snails are a fantastic option for meal prep, allowing you to enjoy fresh pastries effortlessly! You can prepare the dough, shape it into snails, and refrigerate them up to 24 hours before baking. To do this, simply follow the recipe instructions up until the second rise, then cover the baking dish with plastic wrap and place it in the fridge. This helps maintain their quality and keeps them fluffy. When you’re ready to bake, just let them sit at room temperature for about 30 minutes to re-activate the yeast, then pop them in the oven. In no time, you can serve warm, delicious Sugar Snails with minimal effort—perfect for those busy mornings!
Storage Tips for Sugar Snails
- Room Temperature: Store in an airtight container for up to 2 days. They’ll retain their softness but are best enjoyed fresh.
- Fridge: If you need them to last longer, refrigerate for up to 5 days. Reheat in the oven at 350°F (175°C) for a few minutes to revive their fluffy texture.
- Freezer: For longer storage, freeze baked Sugar Snails for up to 2 months. Wrap each pastry in plastic wrap and place them in a freezer-safe bag.
- Reheating: To enjoy them warm, simply bake from frozen for about 15-20 minutes, or until heated through, to bring back that delightful, warm softness.
Helpful Tricks for Sugar Snails
-
Proper Flour Measurement: Always measure flour accurately; using too much can lead to dry dough. Aim for a slightly tacky texture for perfect Sugar Snails.
-
Warm Rising Space: Ensure your dough rises in a warm, draft-free area; this helps the yeast activate effectively for fluffy results.
-
Cool Before Serving: Let the baked Sugar Snails cool for 10 minutes before serving. This resting period enhances the texture and flavor.
-
Clean Slicing Method: Use unflavored dental floss to slice your rolled dough for clean spirals without squishing the pastries.
-
Make-Ahead Tips: Prepare and shape Sugar Snails the night before. Cover and refrigerate, then bake them fresh in the morning for a delightful breakfast!
Sugar Snails: Delicious Variations
Feel free to let your creativity shine as you choose among delightful twists on these soft pastries!
- Vanilla Twist: Add 1 teaspoon of vanilla extract to your butter mix for a fragrant Vanilla Sugar Snail experience. The warm aroma will fill your kitchen, inviting everyone to indulge.
- Cinnamon Sugar: Mix 1 tablespoon of ground cinnamon into your sugar for a comforting flavor reminiscent of cozy autumn days. These bring a lovely, sweet warmth to each bite!
- Lemon Zest: Add the zest of one lemon to your sugar mixture for a refreshing Lemon Sugar variation, perfect for brightening your brunch table. You’ll savor the beautiful balance of sweet and citrusy!
- Nutty Crunch: Stir in ½ cup of chopped walnuts or almonds into the filling mixture. The added texture offers a delightful crunch that perfectly complements the soft pastry.
- Glazed Delight: Drizzle a simple glaze made from powdered sugar and milk over the baked Sugar Snails for a sweet finishing touch. This adds an irresistible sheen and extra sweetness!
- Chocolate Chips: Fold in mini chocolate chips into your dough before shaping for a decadent treat. The melty chocolate creates a delightful surprise in every bite!
- Spiced Up: Add a dash of nutmeg or cardamom along with your cinnamon for Sugar Snails that carry a subtle, exotic warmth. These spices enhance the comfort of your pastry.
- Savory Spin: Try replacing the sugar with a mix of cheese and herbs for a savory variant perfect for brunch. A blend of cream cheese and chives will create a deliciously unique treat!
Whichever variations you choose, these Sugar Snails will surely become your new favorite treat to share, reflect your taste, and join the ranks of your beloved recipes!
What to Serve with Soft and Buttery Sugar Snails
There’s something so satisfying about pairing these delightful pastries with complementary flavors and textures to build a memorable meal.
- Fresh Fruit Salad: A vibrant mix of berries and citrus fruits brightens the palate and adds a refreshing contrast to the warm snails.
- Rich Coffee: A cup of bold, aromatic coffee enhances the sweetness of the Sugar Snails, making for a perfect brunch experience.
- Herbal Tea: Lightly brewed chamomile or mint tea offers a soothing balance, letting the pastries shine while adding a fragrant touch.
- Whipped Cream: A dollop of fresh whipped cream feels luxurious against the tender pastry, perfect for those who love a creamy texture.
- Yogurt Parfait: Layered with granola and fruit, yogurt adds a tangy base, creating delightful layers of texture alongside your sugary treats.
- Savory Quiche: A slice of rich, savory quiche pairs beautifully, adding depth to your brunch spread while countering the sweetness of the snails.
- Chocolate Drizzle: For a decadent touch, a light chocolate drizzle over the snails elevates them into a special dessert territory.
- Lemonade: A refreshing glass of homemade lemonade invigorates the meal, its citrus notes offering a bright counterpoint to the rich pastry.
- Cheese Platter: Artfully arranged cheeses like brie or soft goat cheese provide creamy textures that beautifully complement the sugar-filled delights.
Sugar Snails Recipe FAQs
How do I know if my yeast is fresh?
To check if your yeast is fresh, simply mix a teaspoon of sugar with a packet of yeast in warm water (about 110°F or 43°C) and let it sit for 5–10 minutes. If it becomes frothy and bubbly, your yeast is active and ready to use; if not, it’s best to get a new packet!
What’s the best way to store baked Sugar Snails?
Store your baked Sugar Snails in an airtight container for up to 2 days at room temperature for optimal softness. If you want to keep them longer, refrigerate for up to 5 days. Reheat them at 350°F (175°C) for a few minutes to restore their fluffy texture before serving.
Can I freeze Sugar Snails, and if so, how?
Absolutely! To freeze your Sugar Snails, wrap each pastry individually in plastic wrap and place them in a freezer-safe bag. They can be stored for up to 2 months. When you’re ready to enjoy, bake them from frozen at 350°F (175°C) for 15-20 minutes until warmed through.
What should I do if my dough is too sticky?
If your dough is too sticky, try adding a little more flour, a tablespoon at a time, until it becomes the slightly tacky consistency you’re looking for. It’s essential to find the right balance so your Sugar Snails have that delightful, fluffy texture.
Can I make Sugar Snails ahead of time?
Yes, you can prepare the Sugar Snails ahead! Just shape them and place them in a greased baking dish; cover and refrigerate them overnight. In the morning, let them rise until puffy before baking, ensuring fresh pastries with minimal morning fuss.
Is there a way to adapt the recipe for dietary restrictions?
Certainly! For a dairy-free version, you can replace whole milk and butter with almond milk and coconut oil, respectively. Be sure to use a plant-based alternative for the egg, such as a flaxseed or chia seed mixture. Enjoy adapting this recipe for your dietary needs!
Irresistibly Soft Sugar Snails: Your New Favorite Treat
Ingredients
Equipment
Method
- Warm 1 cup of whole milk in a saucepan to about 110°F (43°C). In a large mixing bowl, combine warm milk with 2 teaspoons of active dry yeast and 1 teaspoon of sugar. Let sit for 5-10 minutes until frothy.
- Add 2 tablespoons of melted unsalted butter, 1 egg, ¼ cup granulated sugar, and ½ teaspoon salt to the milk mixture. Gradually mix in 3-4 cups of all-purpose flour until a soft dough forms.
- On a lightly floured surface, knead the dough for 8-10 minutes until smooth and elastic. Shape it into a ball.
- Place the dough in a greased bowl and cover. Let rise in a warm place for 1 to 1.5 hours, until doubled in size.
- Roll the dough out into a rectangle about ¼ inch thick.
- Spread 3 tablespoons of softened unsalted butter on the dough and sprinkle ⅓ cup granulated sugar over it. Add cinnamon or lemon zest if desired.
- Roll the dough tightly from one long edge into a log shape and slice into equal pieces, about 1-2 inches thick.
- Arrange the sliced snails in a greased baking dish and cover. Let rise again for 30-45 minutes.
- Preheat oven to 350°F (175°C). Bake for 20-25 minutes until golden brown.
- Allow cooling in the pan for 10 minutes before serving warm.
Leave a Reply