
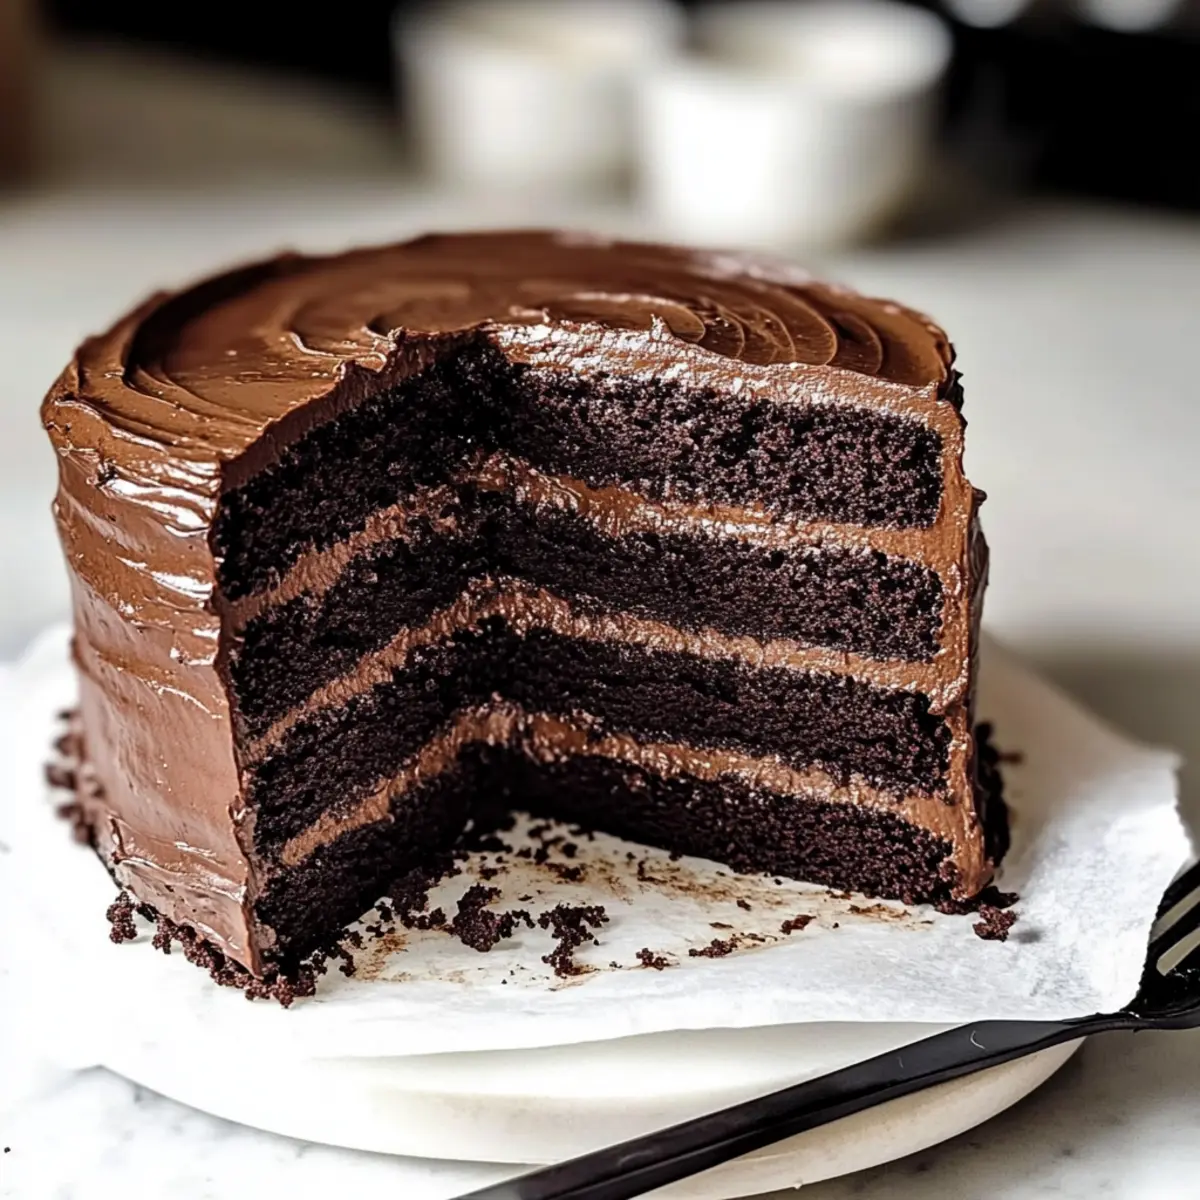
As I sifted through my collection of cherished recipes, I stumbled upon a gem that never fails to impress: this Ultimate Chocolate Espresso Cake. The moment you take your first bite, you’ll be greeted with a moist and fudgy texture that practically melts in your mouth. It’s a delightful mix of rich chocolate and aromatic coffee, making it the perfect treat for mocha lovers. What I adore about this cake is not just its irresistible flavor, but also how easy it is to whip up—a true crowd-pleaser that requires no advanced baking skills! Whether you’re celebrating a special occasion or simply indulging in some self-care, this cake is sure to make your heart sing. Curious about how to create this bakery-worthy masterpiece at home? Let’s dive in!

Why is this cake a must-try?
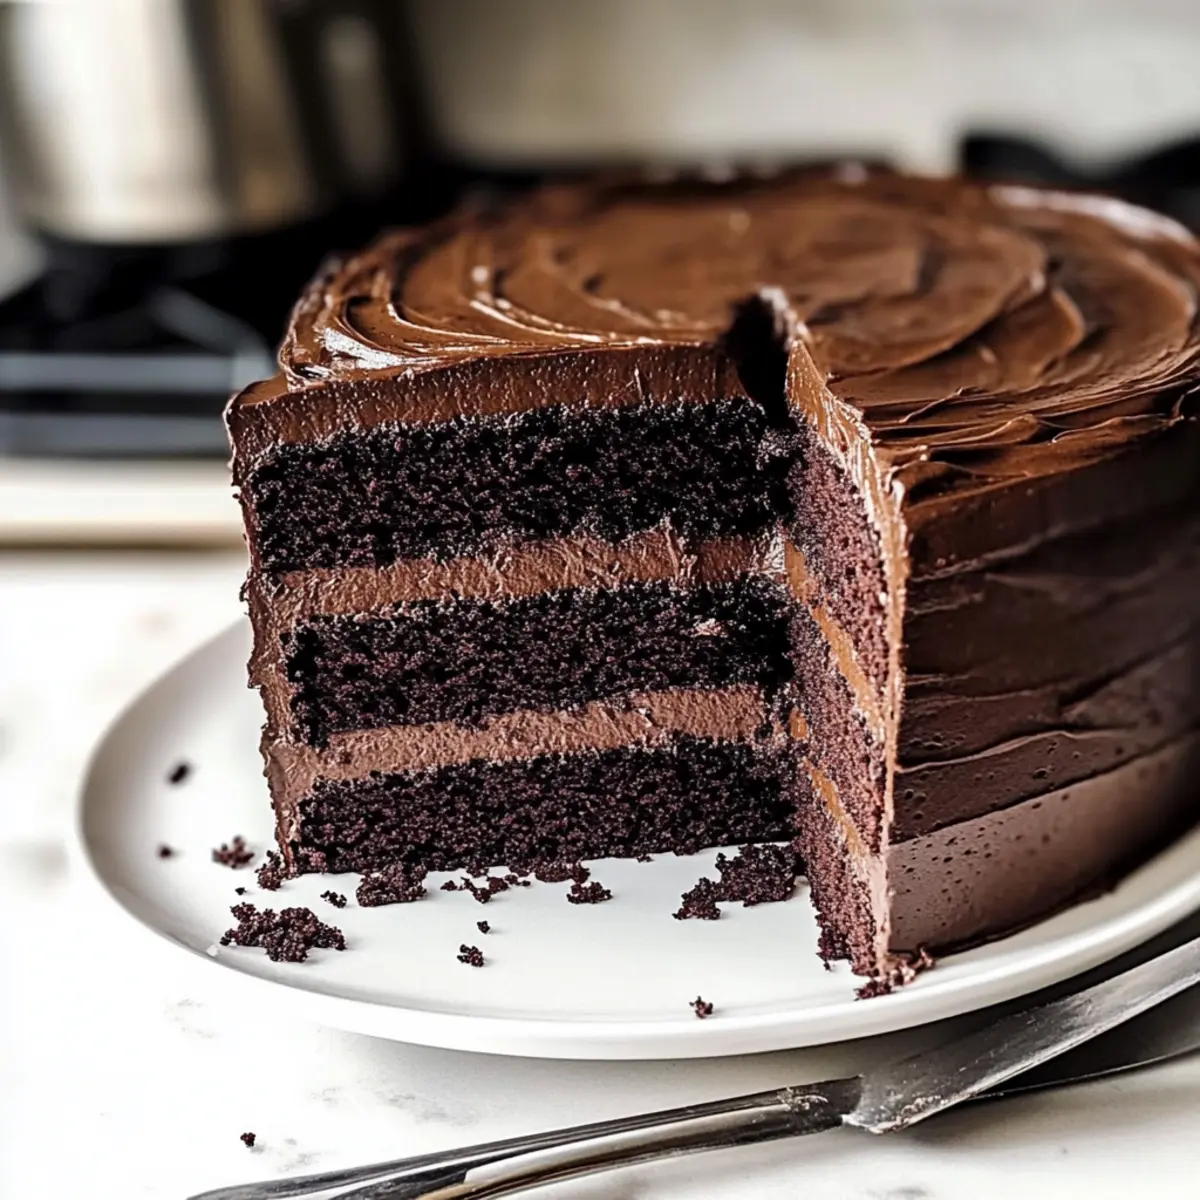
Moist and Fudgy: This Chocolate Espresso Cake is incredibly moist, creating that melt-in-your-mouth experience that every dessert lover craves.
Rich Chocolate Meets Coffee: The delightful combination of deep chocolate and aromatic coffee makes each bite a heavenly treat perfect for mocha enthusiasts.
Effortless Baking: You don’t need to be a baking expert to whip this up—just pour, mix, and bake!
Perfect for Any Occasion: Whether it’s a birthday or a simple family gathering, this cake is guaranteed to impress.
Versatile and Customizable: Feel free to switch things up with different chocolates or flavor extracts for a unique twist. You might also love pairing this with a creamy Chocolate Peanut Butter treat!
Chocolate Espresso Cake Ingredients
• Get ready to create something truly special with these simple ingredients!
For the Cake
- All-Purpose Flour – Provides structure; for an even softer cake, consider cake flour instead.
- Cocoa Powder – Adds a rich chocolate flavor; opt for natural or Dutch-processed based on your preference.
- Baking Powder & Baking Soda – Essential leavening agents for a nice rise; always use fresh for the best texture.
- Dark Brown Sugar – Delivers moisture and a touch of caramel; light brown sugar can be a good substitute.
- Granulated Sugar – Sweetens the cake; feel free to reduce for a less sweet option.
- Eggs – Binds and adds moisture; flax eggs can work for a vegan alternative.
- Vegetable Oil – Keeps the cake moist and tender; melted butter can add extra flavor.
- Instant Coffee – Infuses a wonderful coffee flavor throughout; avoid regular granules which won’t dissolve uniformly.
- Milk – Contributes to moistness; any type of milk (dairy or non-dairy) can be used.
- Vanilla Extract – Elevates the overall flavor; using pure vanilla will offer the best results.
- Salt – Balances sweetness and enhances flavor depth; a necessary component for a well-rounded taste.
For the Frosting
- Heavy Cream – Creates a creamy texture in the frosting; coconut cream provides a dairy-free alternative.
- Dark Chocolate – Essential for a rich and luxurious frosting; choose high-quality chocolate for the best outcome.
Try making this Chocolate Espresso Cake for a treat that is as delicious as it is easy!
Step‑by‑Step Instructions for Chocolate Espresso Cake
Step 1: Prepare the Frosting
Start by preparing the frosting for your Chocolate Espresso Cake. In a mixing bowl, combine dark chocolate and instant coffee. In a saucepan, heat heavy cream and sugar over medium heat until the sugar dissolves and the mixture is just beginning to simmer. Pour the hot cream over the chocolate mixture and whisk until smooth. Chill the frosting in the refrigerator until set, about 30 minutes.
Step 2: Mix Dry Ingredients
Preheat your oven to 350°F (175°C). In a large bowl, whisk together the all-purpose flour, cocoa powder, baking powder, baking soda, dark brown sugar, granulated sugar, and salt. Ensure all the dry ingredients are thoroughly mixed, with no lumps remaining. This combination establishes a rich foundation for your moist and fudgy Chocolate Espresso Cake.
Step 3: Combine Wet Ingredients
In a separate bowl, combine the eggs, vegetable oil, vanilla extract, milk, and hot brewed coffee. Whisk these ingredients together until fully integrated. The warm coffee will help to enhance the chocolate flavor in your cake. Gradually pour the wet mixture into the dry ingredients, stirring gently to avoid overmixing—stop as soon as combined for the best texture.
Step 4: Bake the Cake
Grease and flour two 9-inch round cake pans to prevent sticking. Divide the cake batter evenly between the prepared pans, smoothing the tops with a spatula. Bake in the preheated oven for 30-35 minutes, or until a toothpick inserted in the center comes out clean. The cake should slightly pull away from the edges of the pans, indicating it is done.
Step 5: Cool the Layers
Remove the pans from the oven and allow them to cool on a wire rack for about 10 minutes. Gently run a knife around the edges and invert the cakes onto the rack to cool completely. It’s essential that the layers cool down completely to avoid melted frosting during assembly.
Step 6: Brush with Coffee Soak
Once the cake layers are completely cool, mix a small amount of brewed coffee with sugar to create a coffee soak. Using a pastry brush, generously apply the coffee soak on the tops of each cake layer. This adds moisture and enhances the coffee flavor, making your Chocolate Espresso Cake irresistibly delicious.
Step 7: Level the Cake Layers
If necessary, use a serrated knife to level off the tops of the cooled cake layers for a smooth assembly. If you want a taller cake, consider slicing each layer in half horizontally to create extra layers. This will not only make your cake visually stunning but also provide more opportunities for frosting.
Step 8: Assemble the Cake
Begin layering your Chocolate Espresso Cake by placing one layer on a serving plate or cake stand. Spread a generous amount of the chilled frosting on top. Repeat this process for the remaining layers, carefully stacking them one on top of the other. Ensure the layers are aligned and even, facilitating a beautiful finish.
Step 9: Apply a Crumb Coat
Once assembled, apply a thin layer of frosting around the entire cake to catch any crumbs. This is called a crumb coat and helps to create a smooth finish for your final frosting layer. Chill the entire cake in the refrigerator for 20-30 minutes to set the crumb coat before applying the final frosting.
Step 10: Finish with Frosting
After the crumb coat has set, use a spatula to spread the remaining frosting evenly over the top and sides of the cake. Create any decorative swirls or patterns you desire for a professional touch. Optionally, you can garnish with chocolate shavings or a dusting of cocoa powder to enhance the visual appeal of your Chocolate Espresso Cake.
Storage Tips for Chocolate Espresso Cake
- Room Temperature: If you’re enjoying the cake within a day or two, it can be kept covered at room temperature for up to 24 hours. This helps maintain its deliciously moist texture.
- Fridge: Store leftover chocolate espresso cake in an airtight container in the fridge for up to one week. Bring it to room temperature before serving to enjoy the perfect frosting consistency.
- Freezer: For longer storage, wrap each cake layer tightly in plastic wrap and aluminum foil, then freeze for up to 3 months. Thaw overnight in the fridge before frosting or serving.
- Reheating: If you prefer a warm slice, gently microwave a piece for about 10-15 seconds. This will revive the fudgy texture and enhance the delightful chocolate and coffee flavors in this cake.
Expert Tips for Chocolate Espresso Cake
-
Quality Ingredients Matter: Use high-quality cocoa powder and dark chocolate to ensure the cake is rich and flavorful. Low-quality ingredients can diminish the taste.
-
Measure Accurately: Baking is a science! Make sure to precisely measure your flour and sugars, as even a small variation can affect the cake’s texture.
-
Prevent Overmixing: When combining wet and dry ingredients, mix just until combined. Overmixing can lead to a dense cake rather than the moist and fudgy Chocolate Espresso Cake you desire.
-
Check for Doneness: Use a toothpick to check when your cake layers are ready. They should come out clean but still moist; if they’re dry, they may be overbaked.
-
Chill Frosting for Best Texture: Allow your frosting to chill until set; this helps it maintain a smooth consistency and makes it easier to spread beautifully on your cake.
-
Layer with Care: When brushing the coffee soak onto cake layers, be generous but gentle to prevent breaking apart the delicate structure of your moist cake.
What to Serve with Chocolate Espresso Cake?
Elevate your dessert experience with delightful pairings that beautifully complement the rich, decadent flavors of this chocolate creation.
-
Vanilla Ice Cream: The creamy sweetness balances the rich chocolate, creating a satisfying contrast that delights the palate. A classic pairing that never falls flat!
-
Fresh Berries: A sprinkle of tart raspberries or sweet strawberries provides a refreshing burst that cuts through the richness of the cake. Their vibrant colors also add a pop of visual flair.
-
Coffee or Espresso: Enhance the mocha experience by serving a cup of freshly brewed coffee or espresso. The added caffeine heightens the cake’s flavors, making every bite even more indulgent.
-
Whipped Cream: Light and airy, whipped cream offers a luscious texture that complements the dense cake while adding a sweet creaminess to each forkful.
-
Chocolate Ganache: For the ultimate chocoholic, a drizzle of chocolate ganache brings extra intensity and a glossy finish. This indulgent addition will have chocolate lovers swooning!
-
Salted Caramel Sauce: The sweet and salty contrast of caramel brightens the cake and adds a layer of complexity. A drizzle will take your dessert to gourmet levels.
-
Hazelnut Liqueur: For adult gatherings, consider serving a glass of Hazelnut liqueur alongside the cake. The nutty notes seamlessly blend with the chocolate and coffee flavors for a luxurious finish.
-
Classic Milk: Sometimes, you just can’t beat a cold glass of milk! It’s a nostalgic, comforting option that pairs perfectly with this rich, fudgy delight.
-
Dark Chocolate Shavings: Elevate presentation and add texture by garnishing with shavings or curls. This not only enhances the chocolate flavor but also creates an irresistible visual appeal.
Make Ahead Options
Preparing your Chocolate Espresso Cake ahead of time is a fantastic way to save precious moments on busy days! You can make both the cake layers and frosting up to 3 days in advance. Simply bake the cake layers, allow them to cool completely, and then wrap them tightly in plastic wrap to maintain moisture. Store the frosting in an airtight container in the refrigerator. When you’re ready to serve, brush the cooled cake layers with the coffee soak, assemble the cake with the chilled frosting, and apply the final decorative touches. By preparing in advance, you can enjoy a homemade dessert with minimal stress—saving time without compromising on flavor!
Chocolate Espresso Cake Variations
Feel free to get creative and customize your Chocolate Espresso Cake to suit your taste buds!
-
Different Chocolate: Use semi-sweet or even white chocolate for a different flavor profile in your frosting. Each variation will bring its unique sweetness and richness!
-
Nutty Notes: Incorporate almond or hazelnut extracts into the batter for added depth. Picture that delightful fragrance wafting through your kitchen—pure bliss!
-
Decadent Layers: Consider slicing the cake layers in half for more frosting and filling. The extra layers make each bite an explosion of flavor and creaminess.
-
Espresso Swap: Want a stronger coffee flavor? Substitute espresso with a double shot for a caffeine kick that will energize your senses.
-
Texture Twist: Add chopped nuts, like walnuts or pecans, to the batter for a sweet crunch that contrasts beautifully with the fudginess of the cake.
-
Dairy-Free Delight: Swap heavy cream for coconut cream in the frosting for a luscious, dairy-free option. This change adds a tropical flair that perfectly complements the flavors!
-
Decorative Touches: Finish with chocolate shavings or a sprinkle of espresso dust for a refined look. These little additions make a big impression for any occasion.
-
Fruity Fusion: Layer in some raspberry or cherry preserves between the cake layers for a fruity zing. It will elevate the sweetness and complement the rich chocolate wonderfully.
These variations might just inspire you to bake this cake again and again! And if you’re in the mood for more chocolatey goodness, don’t forget to check out my recipes for Chocolate Raspberry Cheesecake and Brown Butter Chocolate Chip Cookies—they’re total crowd-pleasers too!
Chocolate Espresso Cake Recipe FAQs
What type of coffee should I use for this cake?
Use instant coffee for an even coffee flavor throughout the Chocolate Espresso Cake. Regular coffee granules don’t dissolve properly, which can lead to a grainy texture—definitely something to avoid for this moist and fudgy delight!
How should I store the Chocolate Espresso Cake after baking?
If you have leftovers, store your Chocolate Espresso Cake in the refrigerator in an airtight container for up to a week. Bringing it to room temperature before serving allows the frosting to regain its lovely texture and ensures each slice is as indulgent as the first.
Can I freeze the Chocolate Espresso Cake?
Absolutely! To freeze, wrap each cake layer tightly in plastic wrap and then in aluminum foil. This preserves its moisture for up to 3 months. When you’re ready to indulge, thaw them in the refrigerator overnight before frosting or slicing for the best results.
What if my cake layers sink in the middle?
This can happen for a few reasons! Make sure your baking powder and baking soda are fresh, as expired leavening agents can affect the rise. Also, avoid opening the oven door too early; checking for doneness should only happen when the timer is near completion, say around 30-35 minutes into baking.
Can I make this cake vegan?
Yes, indeed! To make your Chocolate Espresso Cake vegan, replace the eggs with flax eggs (1 tablespoon of ground flaxseed mixed with 2.5 tablespoons of water per egg, left to sit for 5 minutes), and use coconut cream in place of heavy cream for the frosting. This way, everyone can enjoy this delightful treat!
How should I know when the cake is properly baked?
The best way to check for doneness is to insert a toothpick into the center of the cake. It should come out clean or with just a few moist crumbs attached. If it comes out wet with batter, bake for a few additional minutes and retest. Enjoy the delightful baking aroma filling your kitchen while you wait!
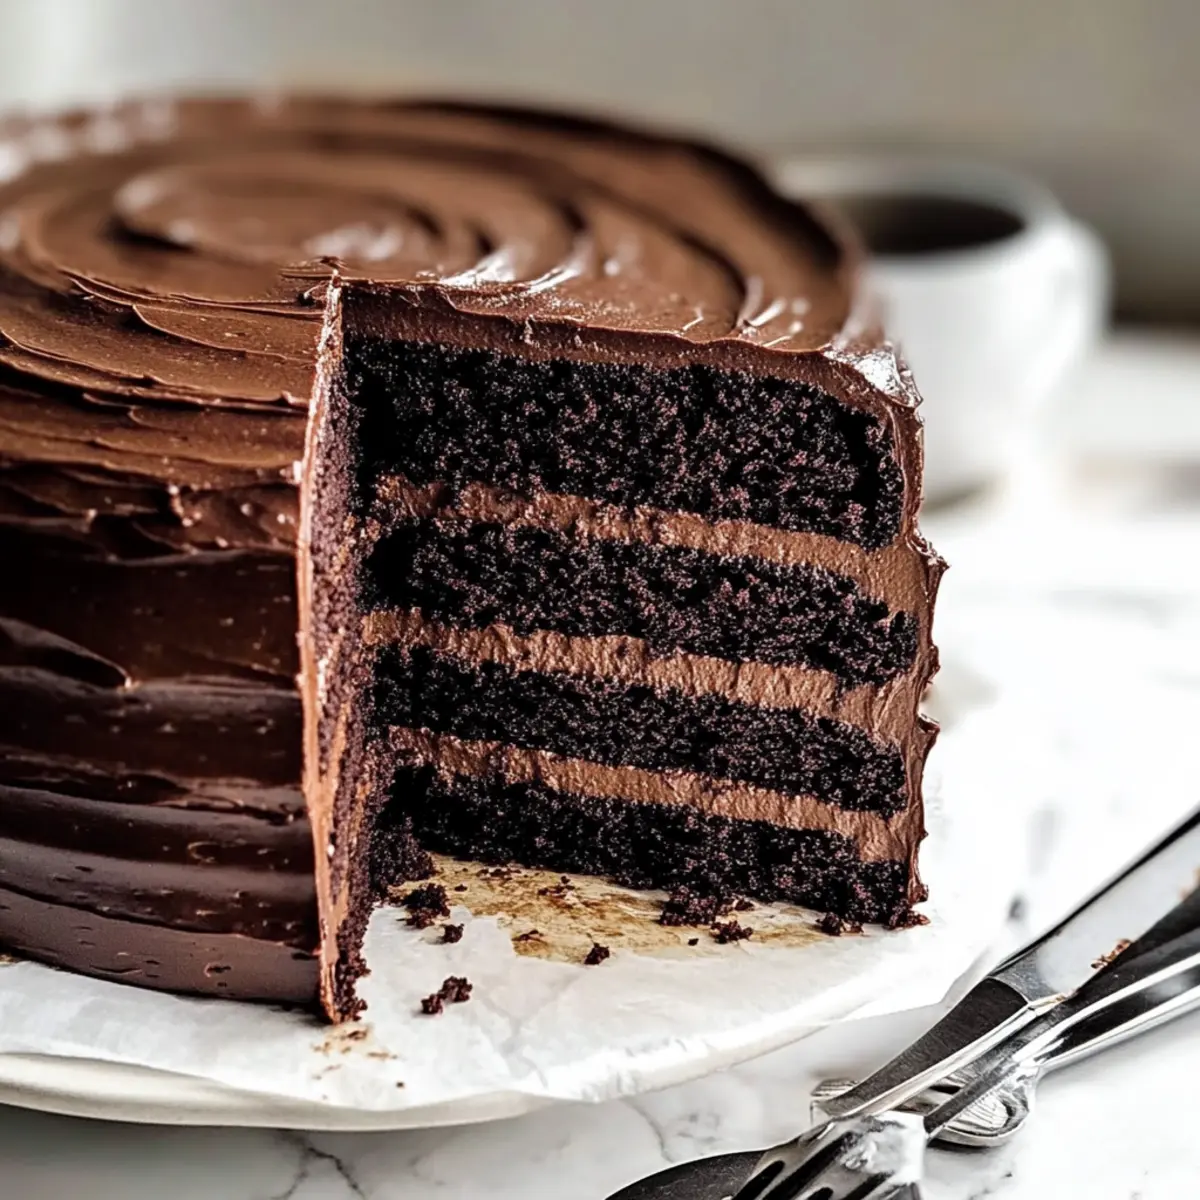
Decadent Chocolate Espresso Cake for Coffee Lovers' Bliss
Ingredients
Equipment
Method
- In a mixing bowl, combine dark chocolate and instant coffee. In a saucepan, heat heavy cream until just beginning to simmer. Pour hot cream over chocolate and whisk until smooth. Chill in refrigerator until set, about 30 minutes.
- Preheat your oven to 350°F (175°C). In a large bowl, whisk together flour, cocoa powder, baking powder, baking soda, dark brown sugar, granulated sugar, and salt until no lumps remain.
- In another bowl, combine eggs, vegetable oil, vanilla extract, milk, and hot brewed coffee and whisk until fully integrated.
- Gradually pour wet mixture into dry ingredients, stirring gently until just combined.
- Grease and flour two 9-inch round cake pans. Divide batter evenly and smooth tops. Bake for 30-35 minutes until a toothpick comes out clean.
- Remove from oven and cool on a wire rack for about 10 minutes. Gently run a knife around the edges and invert cakes onto the rack to cool completely.
- Mix brewed coffee with sugar to create a coffee soak. Brush generously on the tops of each layer.
- Level the tops of the cooled layers with a serrated knife if necessary. Layer with care if desired.
- Assemble the cake by layering and spreading frosting between each layer. Apply a thin crumb coat around the cake.
- Chill for 20-30 minutes to set the crumb coat, then frost the top and sides to finish.
Leave a Reply