
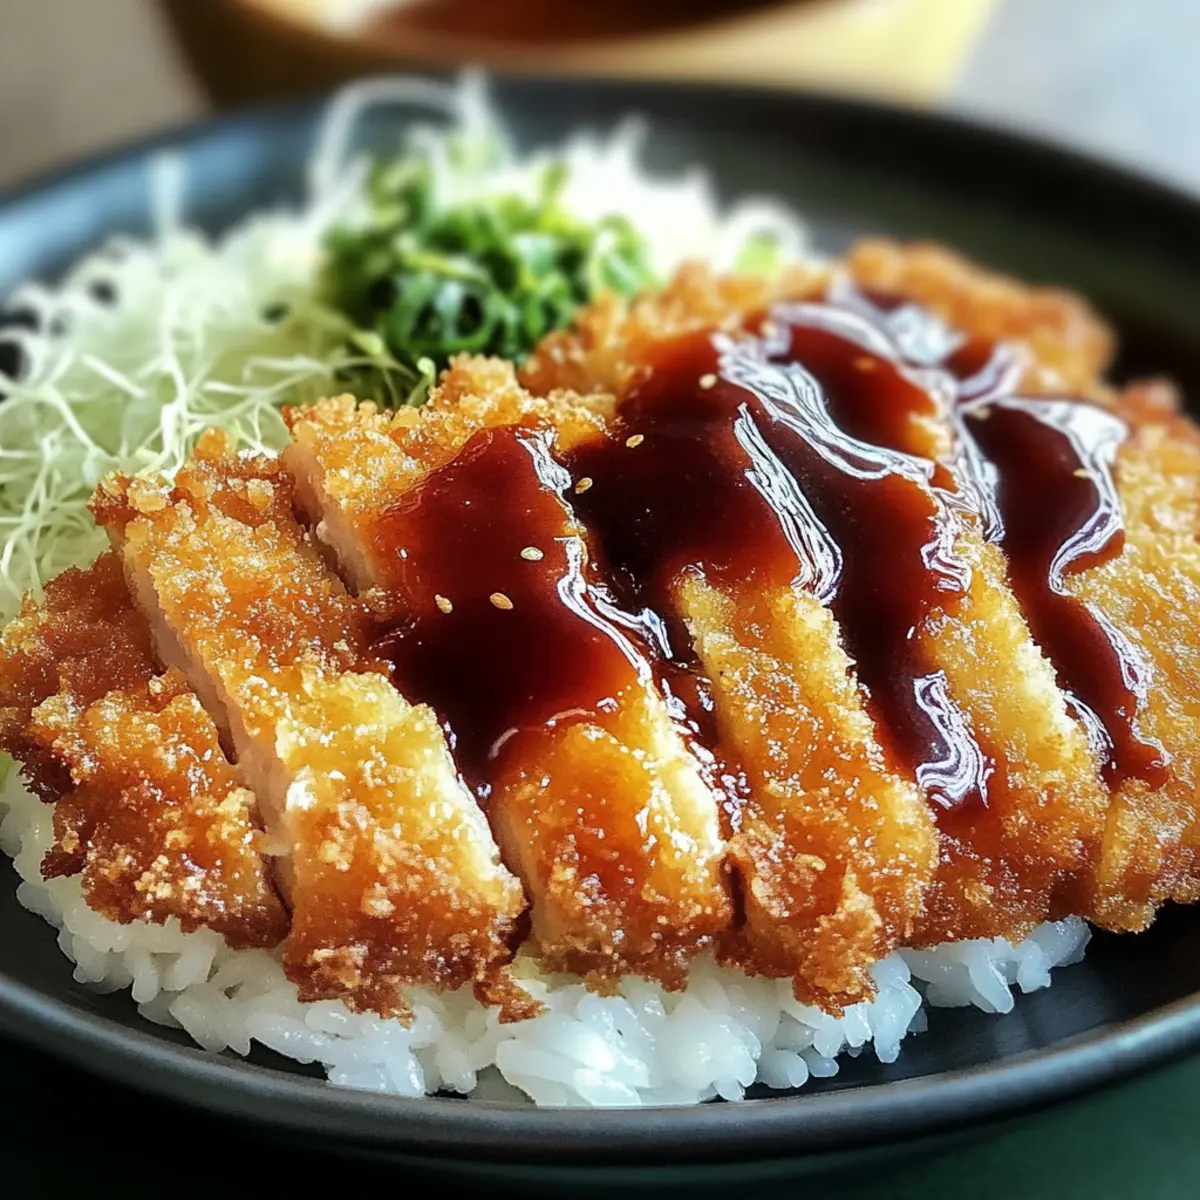
As I stood in my kitchen, the enticing aroma of sizzling pork wafted through the air, instantly transporting me to the bustling streets of Japan. There’s something undeniably comforting about digging into a bowl of Japanese Katsu Bowls drizzled with homemade tonkatsu sauce. This dish features crispy, golden-brown cutlets that tantalize your taste buds with their satisfying crunch and rich umami flavors, all served over a bed of fluffy rice. Not only is it quick to prepare—perfect for a weeknight meal—but it also promises a restaurant-quality experience right at home. Ready to elevate your dinner routine? Let’s dive into this delectable recipe that will surely impress family and friends alike!
Why are Japanese Katsu Bowls a Must-Try?
Crispy, satisfying goodness: These Katsu Bowls deliver a delightful crunch that will have you craving more with every bite.
Homemade happiness: Using simple ingredients, you can create a restaurant-quality meal that’s healthier than takeout.
Rich umami flavor: The combination of tonkatsu sauce with crispy cutlets creates a mouthwatering harmony of flavors that’s hard to resist.
Quick and easy: Perfect for weeknight dinners, this recipe comes together in under 30 minutes.
Versatile options: Whether you prefer pork, chicken, or even a plant-based alternative like tofu, this dish can be adapted to suit your taste. Enjoy with sides like miso soup for a complete experience!
Japanese Katsu Bowls Ingredients
• Get ready to create this delicious dish!
For the Katsu
- Pork or Chicken Cutlets – Use boneless cuts for tenderness and easy frying.
- Panko Breadcrumbs – Offers a light, crispy texture; substitute regular breadcrumbs if preferred.
- Egg – Binds the breadcrumbs to the meat; a flax egg can replace it for a plant-based option.
- Flour – Helps achieve a crispy coating; use all-purpose flour for the best results.
- Vegetable Oil – Essential for frying; a neutral oil like canola is a great choice.
For the Tonkatsu Sauce
- Soy Sauce – Adds depth of flavor to your sauce; opt for low-sodium for a healthier version.
- Ketchup – Sweet and tangy base for tonkatsu sauce; enhances the umami profile.
- Worcestershire Sauce – Infuses richness and umami; check for gluten-free options if needed.
- Mirin or Honey – Sweetener for the sauce; agave syrup can also be used as an alternative.
For Serving
- Steamed Rice – Provides a fluffy base; short or medium-grain rice pairs beautifully with the katsu.
Step‑by‑Step Instructions for Japanese Katsu Bowls
Step 1: Prepare the Katsu
Start by seasoning your pork or chicken cutlets with salt and pepper on both sides, enhancing their flavor. Set up a breading station: dredge each piece in all-purpose flour, ensuring an even coat, then dip into a beaten egg for binding. Finally, roll the cutlets into panko breadcrumbs, pressing gently to adhere. This creates the deliciously crispy outer layer essential for your Japanese katsu bowls.
Step 2: Cook the Katsu
In a large skillet, heat about 1/4 inch of vegetable oil over medium-high heat. Once the oil shimmers (approximately 350°F or 175°C), carefully add the breaded cutlets to the pan. Fry them for about 4-5 minutes on each side, or until they develop a golden-brown crust and sound crispy. Use tongs to flip the cutlets gently and ensure even cooking. Once done, transfer them to a plate lined with paper towels to drain excess oil.
Step 3: Make the Tonkatsu Sauce
While the katsu rests, prepare your homemade tonkatsu sauce. In a medium bowl, whisk together 1/4 cup of soy sauce, 1/4 cup of ketchup, 1 tablespoon of Worcestershire sauce, and 1 tablespoon of mirin or honey. Mix until smooth and well combined, creating a deliciously tangy sauce that perfectly complements the crispy cutlets and adds a burst of umami to your Japanese katsu bowls.
Step 4: Assemble the Bowls
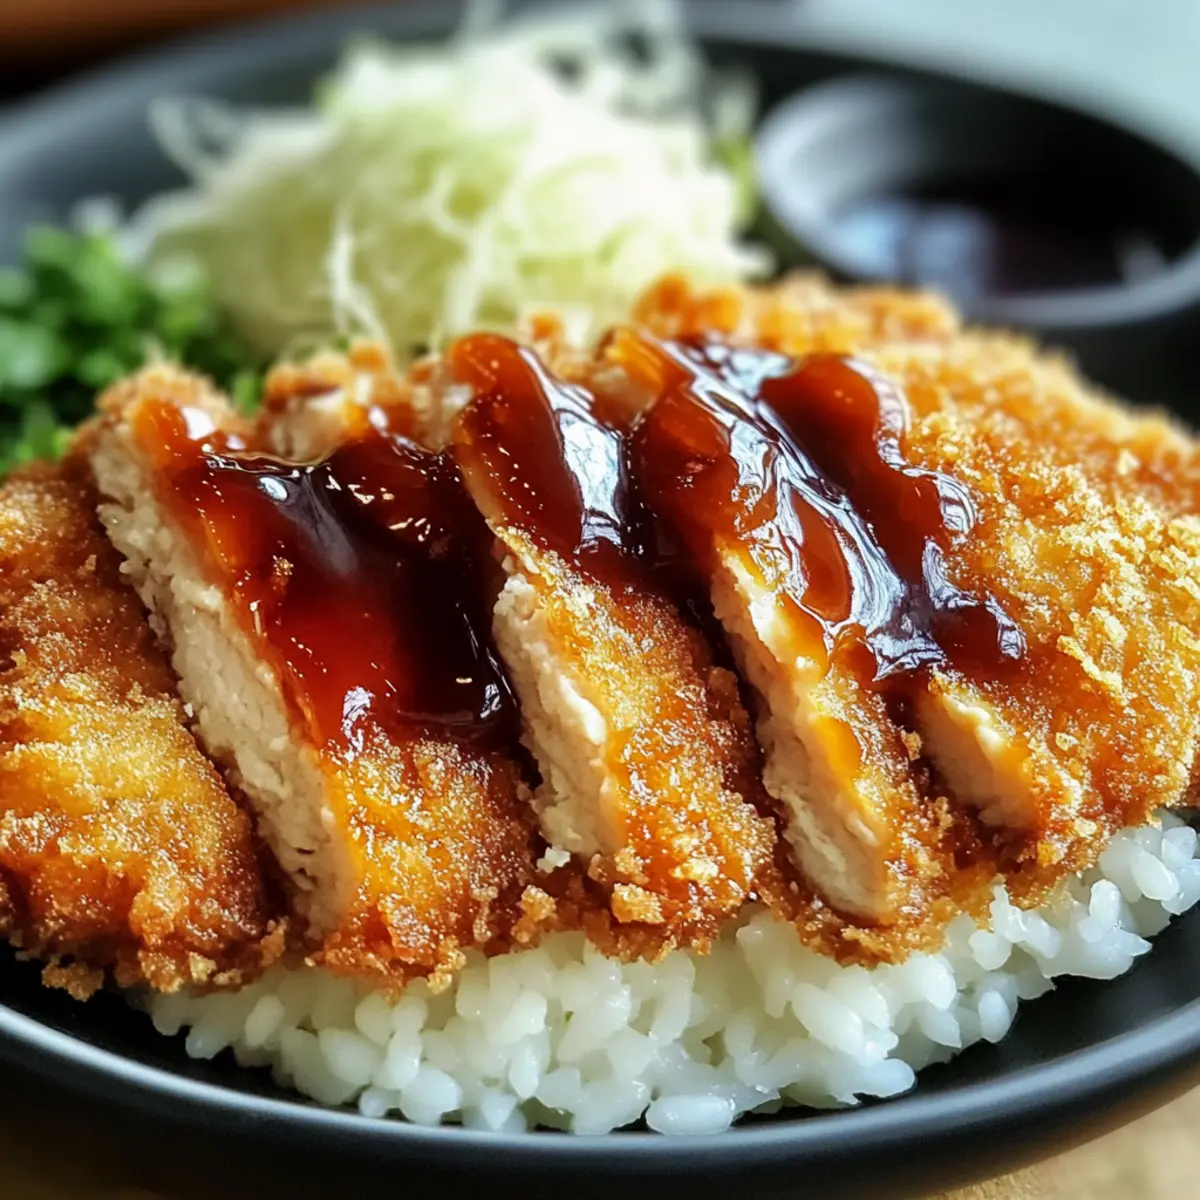
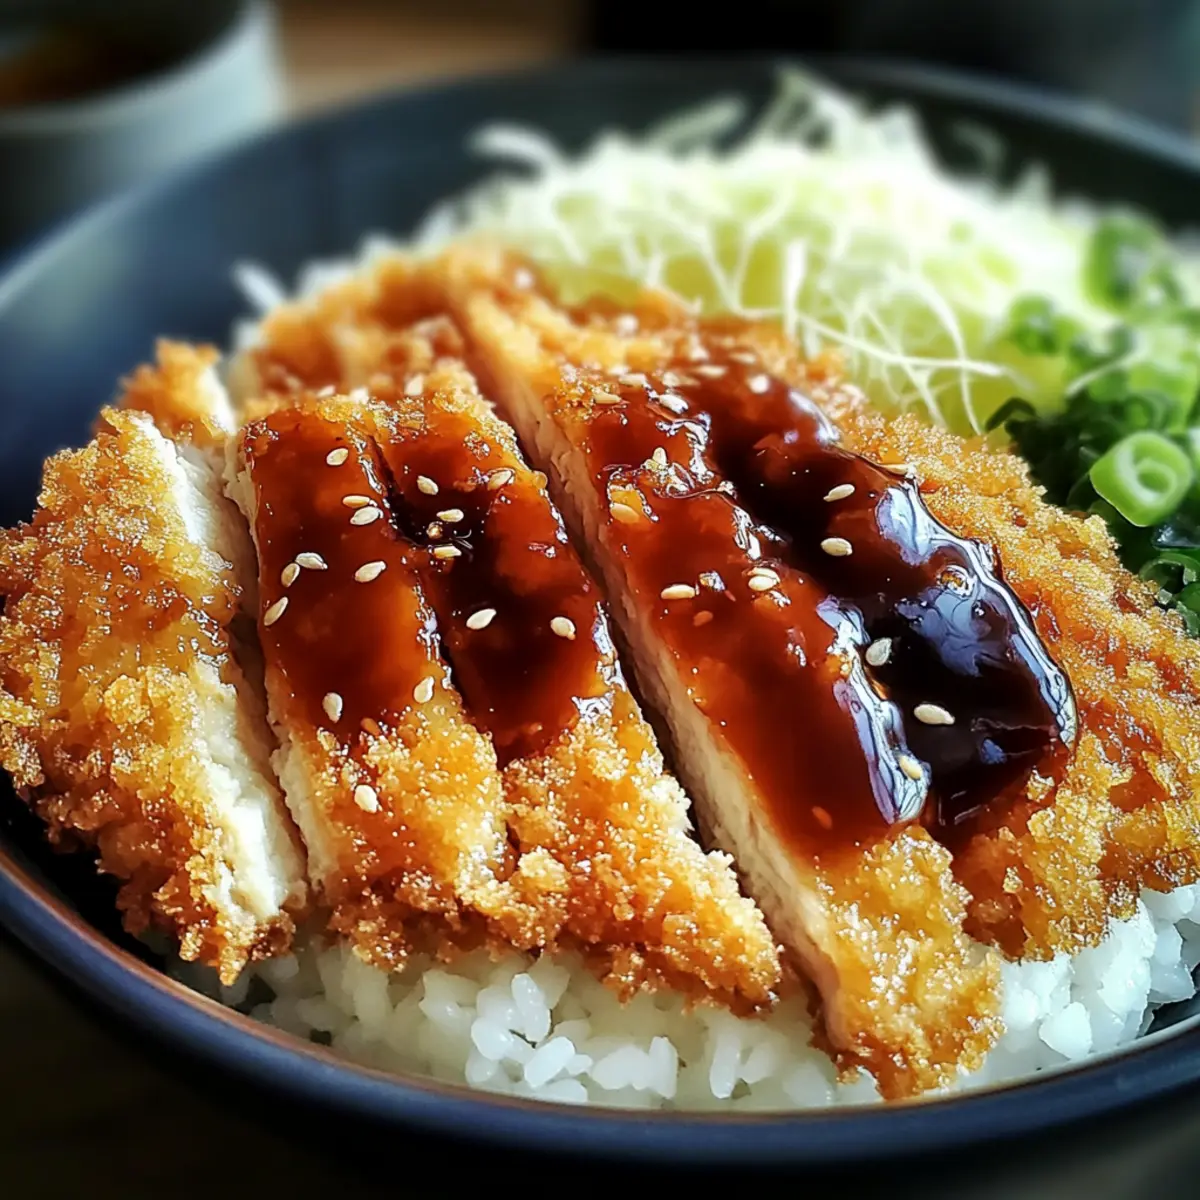
To plate your Japanese katsu bowls, start with a generous base of fluffy steamed rice in each bowl. Slice the crispy katsu into strips for easy eating and then lay the pieces over the rice. Drizzle the homemade tonkatsu sauce generously over the cutlets, allowing it to soak into the rice below. For a pop of color and additional flavor, consider garnishing with sliced green onions or pickled vegetables.
Make Ahead Options
These Japanese Katsu Bowls are perfect for meal prep enthusiasts looking to save time on busy weeknights! You can prepare the tonkatsu sauce up to 1 week in advance; simply store it in an airtight container in the refrigerator. For the katsu, you can bread the cutlets and refrigerate them for up to 24 hours before frying, which helps the coating adhere better. When you’re ready to enjoy your katsu bowls, simply fry the cutlets until golden and crispy; this guarantees that your meal is just as delicious as if you had made it fresh! With these make-ahead tips, you’ll have a homemade treat ready to serve with minimal effort.
Expert Tips for Japanese Katsu Bowls
- Frying Temperature: Ensure your oil is hot enough (around 350°F or 175°C) to avoid soggy katsu; use a few breadcrumbs to test readiness.
- Baking Alternative: For a healthier option, bake cutlets at 400°F (200°C) for 20-25 minutes, flipping halfway for even crispiness.
- Egg Substitute: If you’re looking for a plant-based option, a flax egg works great as a binder for the breadcrumbs.
- Rest Time: Allow the fried katsu to rest on paper towels for a few minutes before slicing to lock in moisture and flavor.
- Sauce Variations: Feel free to experiment with the tonkatsu sauce; adding a splash of hot sauce can spice things up while keeping the umami flavor intact.
How to Store and Freeze Japanese Katsu Bowls
Fridge: Store leftover katsu and sauce in an airtight container for up to 3 days. This keeps the crispiness intact if reheated properly.
Freezer: For later enjoyment, freeze the breaded and cooked katsu once cooled. Wrap each cutlet tightly in plastic wrap and place in a freezer bag. They can last for up to 3 months.
Reheating: To restore the katsu’s crispiness, reheat in the oven at 375°F (190°C) for 15-20 minutes, or until heated through. Avoid microwaving to prevent sogginess.
Tonkatsu Sauce: The sauce can be made in advance and stored in the fridge for up to a week, making it convenient for future Japanese katsu bowls.
Japanese Katsu Bowls Variations & Substitutions
Feel free to get creative with these delicious twists that will make your Japanese Katsu Bowls uniquely yours!
-
Baking Method: Bake the katsu at 400°F (200°C) for 20-25 minutes, flipping halfway for even crispness. It’s a healthier option that still delivers great taste!
-
Air Fryer Twist: For a quick and crispy alternative, use an air fryer at 375°F (190°C) for about 12-15 minutes. You’ll love the guilt-free crunch without frying in oil!
-
Vegan Katsu: Swap pork or chicken with firm tofu or crispy chickpea patties for a delightful plant-based version. The seasoning and crunch can still be just as satisfying!
-
Gluten-Free Crunch: Use gluten-free panko and a suitable gluten-free flour alternative for those avoiding gluten. You won’t lose any of the delightful texture!
-
Flavor Boost: Experiment with adding garlic or onion powder to the breadcrumb mixture for added flavor. A little touch goes a long way in enhancing that umami experience!
-
Sauce Customization: Don’t hesitate to mix the tonkatsu sauce with a splash of sriracha for a spicy kick or swap honey for maple syrup for a unique sweetness. Your taste buds will thank you!
-
Rice Variety: While white rice is traditional, try using jasmine or brown rice for a different texture and flavor profile. Each option brings its own charm to the bowls!
-
Fresh Toppings: Garnish with sliced cucumbers or pickled ginger for additional crunch and freshness. Pair it with a side of miso soup for the perfect Japanese comfort meal!
If you enjoy exploring different ways to enjoy your meals, you might also like these delightful recipes: Burger Bowls Savoring and Greek Chicken Bowls. Happy cooking!
What to Serve with Crispy Japanese Katsu Bowls with Homemade Tonkatsu Sauce
A well-rounded meal transforms your katsu bowls into an unforgettable dining experience, balancing flavors and textures beautifully.
-
Miso Soup: A warm and comforting bowl of miso soup complements the katsu’s crunch and adds a splash of umami. The rich broth soothes the palate and prepares you for the meal ahead.
-
Pickled Vegetables: Bright, tangy pickles offer a refreshing contrast to the savory richness of the katsu, cleansing the palate with each bite. They add a delightful crunch that contrasts beautifully with the crispy cutlet.
-
Simple Cucumber Salad: Crisp cucumber slices tossed in rice vinegar and sesame oil provide a refreshing and light counterpoint to the hearty katsu. The crunchy texture is a perfect harmony with the meal.
-
Steamed Bok Choy: Lightly sautéed or steamed bok choy adds a verdant green touch that not only enhances the dish’s presentation but also returns a fresh flavor to balance the rich dipping sauce.
-
Japanese Rice Balls (Onigiri): These handheld delights can be filled with savory ingredients and offer a fun twist to your meal. Their delightful texture makes them an enjoyable sidekick to katsu bowls.
-
Iced Green Tea: A refreshing, slightly bitter iced green tea can cleanse your palate between bites while also being incredibly soothing. It pairs beautifully with the umami flavors found in your katsu bowls.

Japanese Katsu Bowls Recipe FAQs
How do I choose the best cut of meat for my Katsu?
Absolutely! When selecting your pork or chicken cutlets, look for boneless cuts that are evenly shaped for consistent cooking. For pork, tenderloin or loin chops work beautifully, while chicken breasts are a classic choice. Ensure that the meat is fresh with a nice pink color and minimal dark spots.
What’s the best way to store leftovers?
After enjoying your Japanese Katsu Bowls, store any leftovers in an airtight container in the refrigerator. They will stay fresh for up to 3 days. To maintain the katsu’s crispy texture, reheat them in the oven instead of the microwave, which can make them soggy.
Can I freeze my Katsu for later?
Very! To freeze your cooked katsu, allow them to cool completely. Wrap each cutlet tightly in plastic wrap, then place in a freezer bag—excess air out is crucial! They can last up to 3 months in the freezer. When you’re ready to enjoy, reheat in the oven at 375°F (190°C) for about 15-20 minutes until heated through and crispy again.
What should I do if my Katsu is soggy?
If your katsu turns out soggy, it’s often due to frying at too low a temperature. Make sure your oil is adequately heated to around 350°F (175°C) before adding the cutlets. If they are already cooked and soggy, putting them in the oven at 375°F (190°C) for about 10-15 minutes can help restore some crispiness—just be patient!
Is there a way to make a gluten-free version of Katsu?
You can definitely adapt this recipe for a gluten-free diet! Use gluten-free panko breadcrumbs and ensure that your soy sauce and Worcestershire sauce are labeled gluten-free. For the coating, you can substitute all-purpose flour with a gluten-free flour blend or cornstarch to help achieve that crispy texture.
Can I make this recipe vegan or plant-based?
Absolutely! To create a plant-based version of Japanese Katsu Bowls, substitute chicken or pork with thick slices of tofu or eggplant. Use a flax egg or silken tofu as a binder for the breadcrumbs, and follow the same cooking instructions. You can enjoy the same deliciously crispy experience without compromising your dietary choices.
Savory Japanese Katsu Bowls That Beat Takeout Any Day
Ingredients
Equipment
Method
- Start by seasoning your pork or chicken cutlets with salt and pepper on both sides.
- Set up a breading station: dredge each piece in all-purpose flour, dip into a beaten egg, and roll in panko breadcrumbs.
- Heat about 1/4 inch of vegetable oil in a large skillet over medium-high heat until shimmering.
- Fry the breaded cutlets for about 4-5 minutes on each side until golden-brown and crispy.
- Transfer cooked katsu to a plate lined with paper towels to drain excess oil.
- In a medium bowl, whisk together soy sauce, ketchup, Worcestershire sauce, and mirin or honey for the tonkatsu sauce.
- Plate bowls with steamed rice, slice katsu, and drench with tonkatsu sauce.
Leave a Reply