
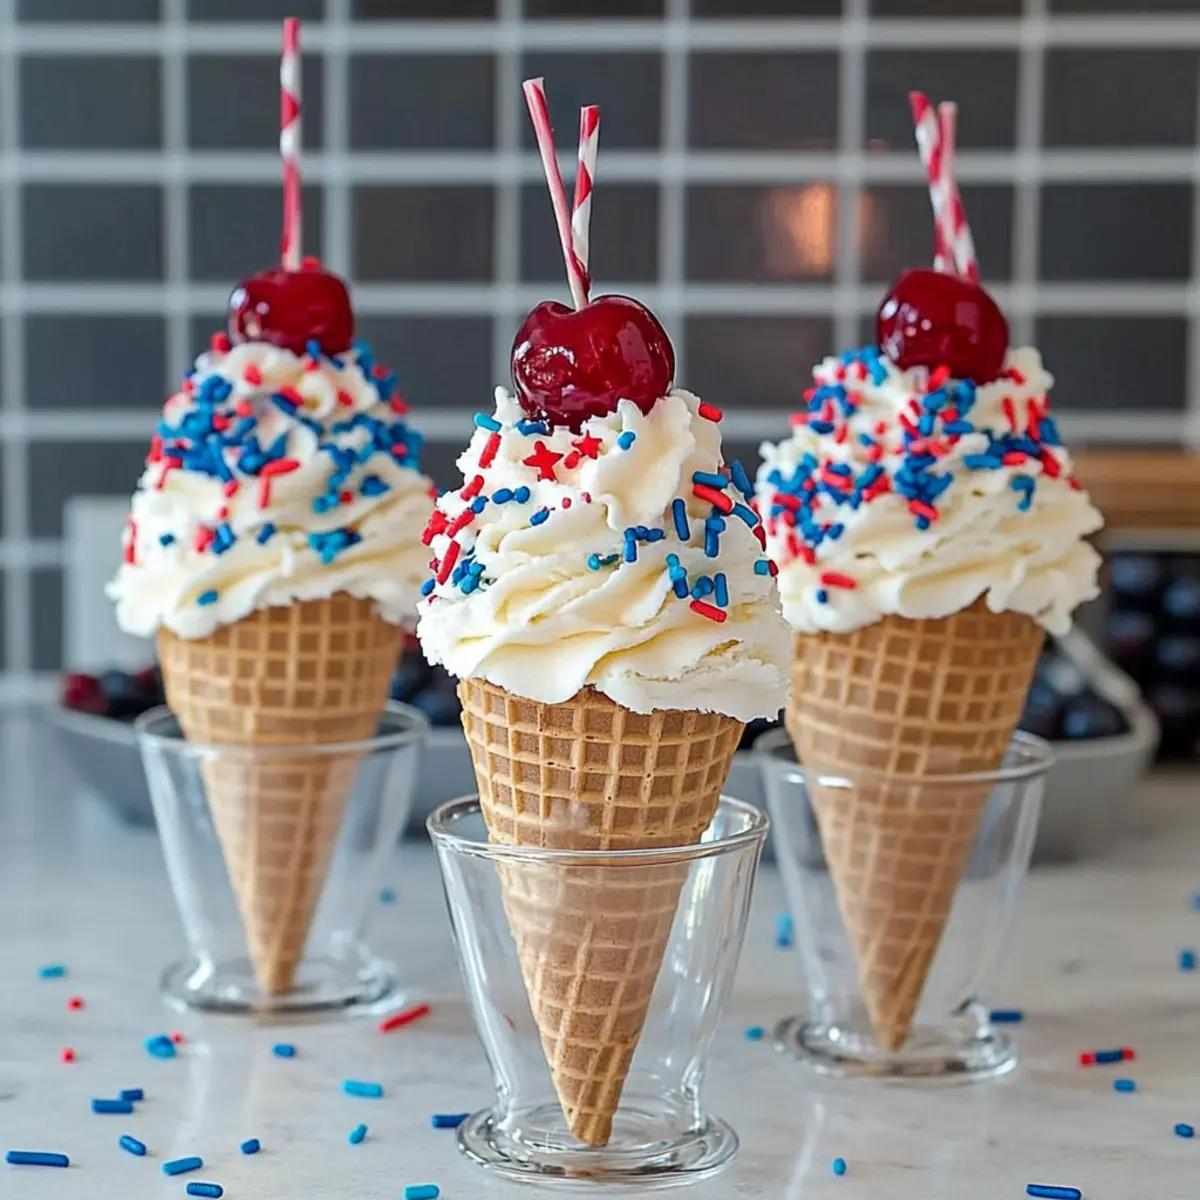
As the sun casts a warm glow on our backyard barbecue, I can’t help but think of the perfect finale to a summer gathering. Enter the No-Bake 4th of July Cheesecake Ice Cream Cones—an effortless dessert that’s not just a crowd-pleaser, but a visual delight that captures the festive spirit in every bite. With creamy cheesecake elegantly swirled into crunchy ice cream cones, this sweet treat requires minimal effort and delivers maximum joy. It’s an easy dessert that will leave your guests marveling at your culinary creativity while you enjoy more time mingling. Trust me, nothing says summer celebration quite like these vibrant cones topped with cheerful sprinkles! Are you ready to dazzle your friends and family with this whimsical recipe? Let’s dive in!
Why Are These Ice Cream Cones a Must-Try?
Effortless Delight: You’ll appreciate how simple it is to whip up these cones, making them perfect for both novice bakers and seasoned chefs alike.
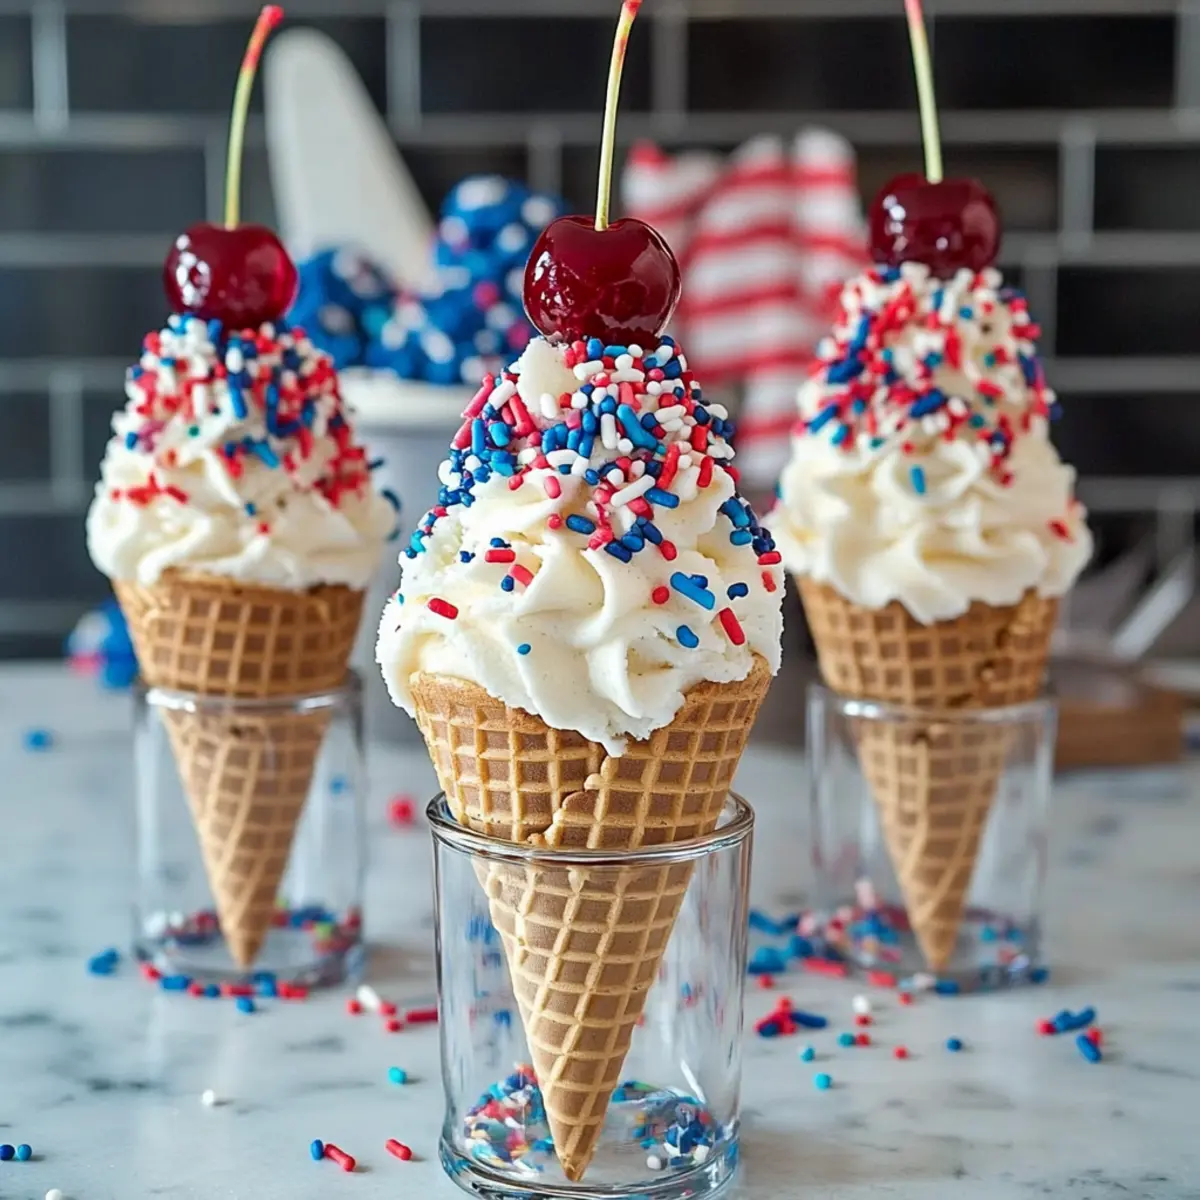
Festive Presentation: Dressed with sprinkles and topped with cherries, these cones are a feast for the eyes, sure to steal the show at any summer party.
Creamy Perfection: The no-bake cheesecake filling is luxuriously creamy, contrasting beautifully with the crunchy ice cream cone for a satisfying texture in every bite.
Adaptable Flavors: Feel free to customize with different toppings or incorporate your favorite flavors—like trying a lemon twist or even a rich dark chocolate coating!
Time-Saving Treat: With no baking required, you can prepare these tasty desserts quickly and spend more time enjoying your gathering, just like with our scrumptious Oreo Cheesecake Indulgence.
Bring on the fun and festivity with these delightful cones that will have everyone asking for seconds!
4th of July Cheesecake Ice Cream Cone Ingredients
Prepare to create a festive masterpiece that will elevate your summer gatherings!
For the Cheesecake Filling
- Cream Cheese – Provides the rich and creamy texture of the no-bake cheesecake; ensure it’s softened for easy mixing.
- Sugar – Adds sweetness to balance the creaminess; consider a sugar substitute for a lighter option.
- Cool Whip – A convenient way to bring lightness to the cheesecake; feel free to use homemade whipped cream as a substitute.
- Vanilla – Enhances flavors and adds warmth; use pure vanilla extract for a richer aroma.
For the Ice Cream Cones
- Ice Cream Cones – A playful vessel for the cheesecake; choose classic sugar cones for nostalgic flavor.
- White Chocolate Candy Melts – Melted coating for the cones that adds sweetness and a decorative touch; you can use melted chocolate too.
- Vegetable Shortening – Helps smooth the melted chocolate for better adherence; it’s optional but recommended.
- 4th of July Sprinkles – Elevate your cones with festive colors; switch up the sprinkles for different celebrations!
For Garnishing
- Maraschino Cherries – A cheerful topper that adds a pop of color and sweetness; entirely optional but delightful.
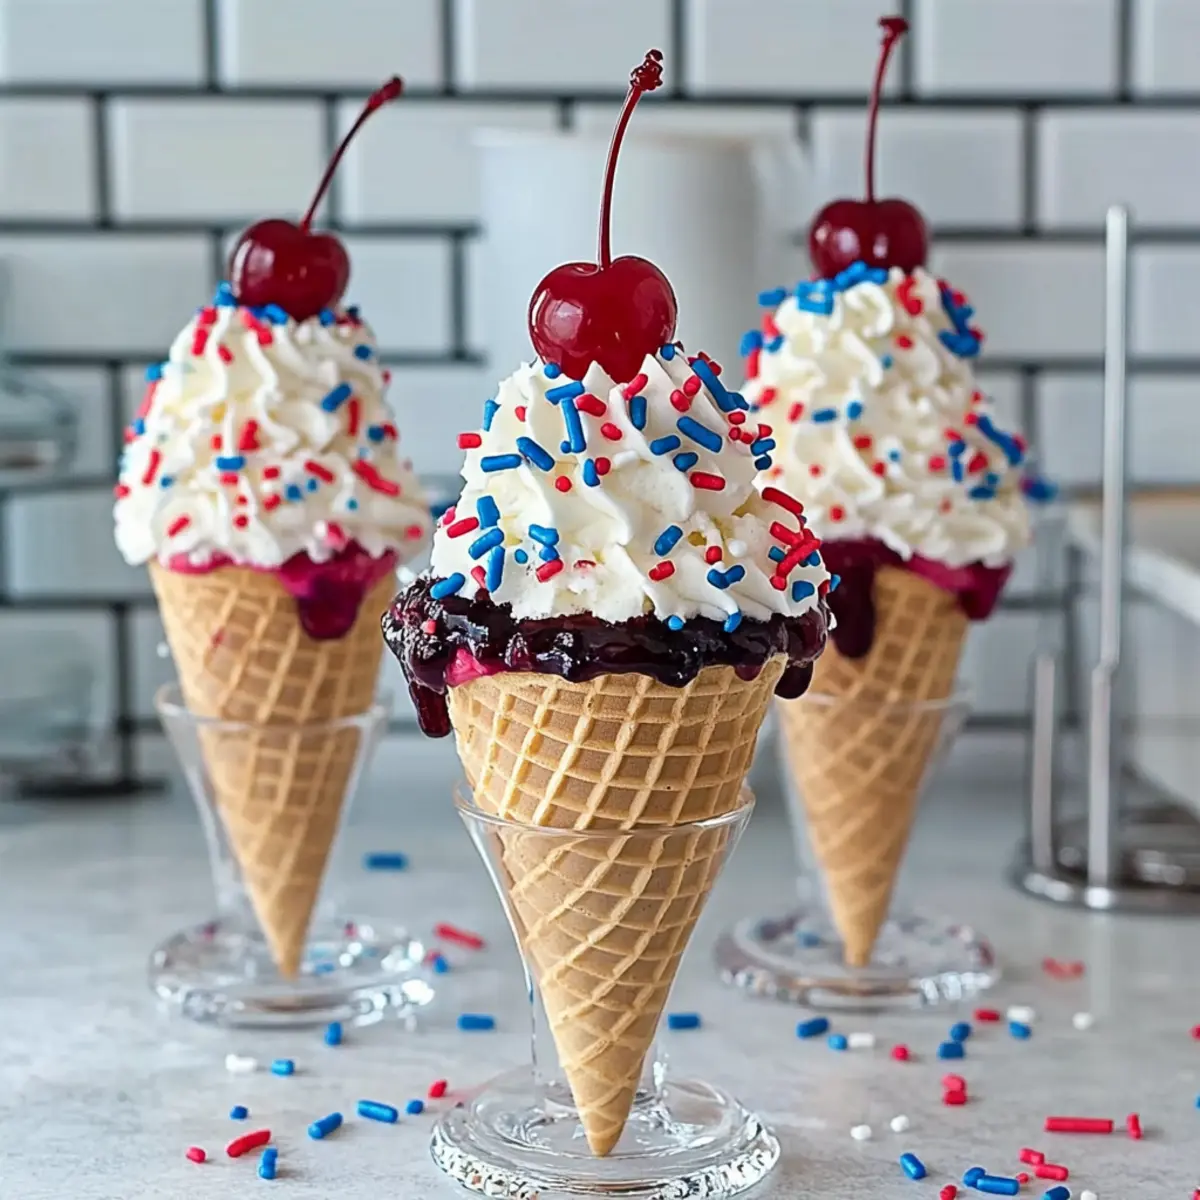
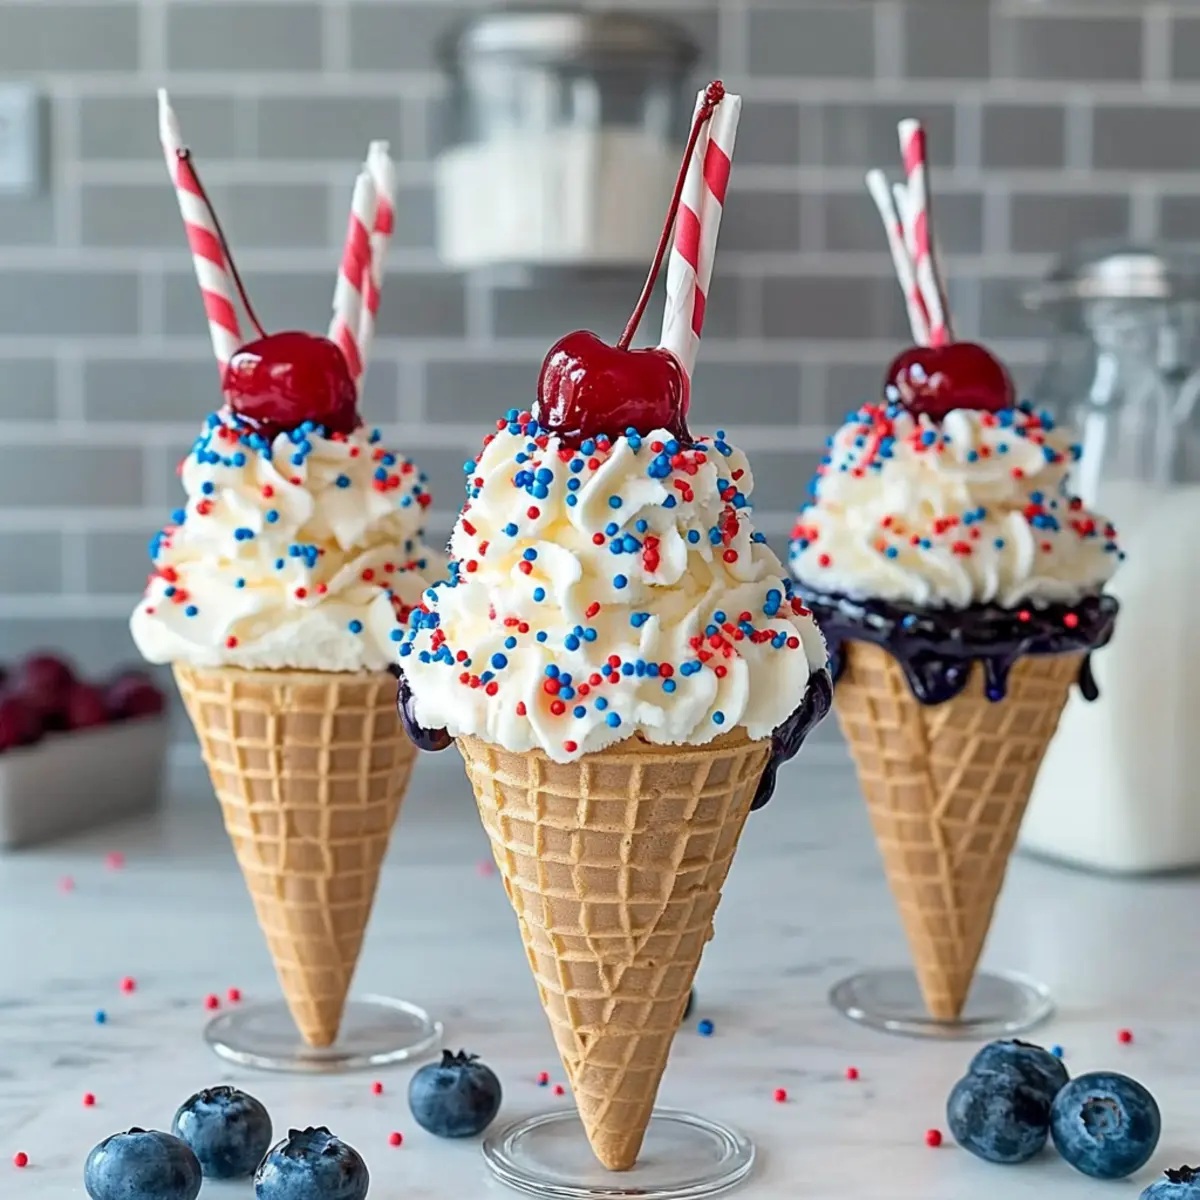
- Blueberry Sauce – Provides additional flavor and a burst of color; drizzle it over the cones just before serving.
Get ready to impress your guests with these stunning and delicious ice cream cones, perfect for celebrating the 4th of July!
Step‑by‑Step Instructions for 4th of July Cheesecake Ice Cream Cones
Step 1: Prepare the Ice Cream Cones
Begin by melting white chocolate candy melts in a microwave-safe bowl for about 30 seconds, stirring until smooth. Dip the tops of the sugar cones into the melted chocolate, ensuring they’re well-coated before rolling them in festive 4th of July sprinkles. Place the cones upright on a baking sheet lined with parchment paper and let them cool until the chocolate hardens, which should take about 15 minutes.
Step 2: Make the Cheesecake Filling
In a large mixing bowl, combine the softened cream cheese, sugar, and pure vanilla extract. Using an electric mixer, beat the mixture on medium speed until it becomes smooth and fluffy, approximately 3-4 minutes. Make sure there are no lumps; the consistency should be creamy and well-blended, perfect for your 4th of July Cheesecake Ice Cream Cones.
Step 3: Fold in the Cool Whip
Gently add the Cool Whip to the cheesecake mixture, carefully folding until it’s fully incorporated and has a light, fluffy texture. This step is vital for achieving the airy consistency of the no-bake cheesecake filling. Continue folding until the mixture is uniform and creamy, which should take around 1-2 minutes to achieve.
Step 4: Chill the Mixture (if needed)
If the cheesecake mixture seems too loose, place it in the refrigerator to chill for about 30-60 minutes. This helps it firm up slightly, making it easier to pipe into the cooled cones. Check the consistency; it should hold its shape well without becoming overly stiff.
Step 5: Pipe the Cheesecake into Cones
Fit a piping bag with a star-tip nozzle and fill it with the cheesecake mixture. Start piping the filling into the prepared cones, beginning at the bottom and spiraling upwards to create a beautiful swirl. Fill each cone generously but leave a little space at the top for garnish. You should find joy in this creative process while preparing your 4th of July Cheesecake Ice Cream Cones.
Step 6: Garnish and Serve
Just before serving, drizzle blueberry sauce over the cheesecake filling for added flavor and visual appeal. Top each cone with a maraschino cherry for a cheerful finish. These cones are best eaten fresh to keep the cones crispy, so gather your friends and family to enjoy this delightful summer treat together!
Make Ahead Options
These No-Bake 4th of July Cheesecake Ice Cream Cones are perfect for busy home cooks looking to save time! You can prepare the cheesecake filling up to 3 days in advance and store it in an airtight container in the refrigerator to keep it fresh and creamy. For the cones, dip and coat them with white chocolate and sprinkles, then let them harden; they can be made up to 24 hours before serving. When it’s time to serve, simply pipe the cheesecake mixture into the prepared cones and garnish with blueberry sauce and maraschino cherries. This method ensures that your dessert is just as delightful and maintains its delightful crunch!
Expert Tips for 4th of July Cheesecake Ice Cream Cones
-
Softened Cream Cheese: Ensure the cream cheese is fully softened to avoid any lumps in the cheesecake filling. Room temperature is key!
-
Chill Before Piping: If your cheesecake mixture seems too runny, refrigerate it for about 30-60 minutes to achieve a better consistency for piping into the cones.
-
Crisp Cones: Pipe the cheesecake into the cones just before serving to maintain their crunchy texture. This way, your guests will enjoy the delightful contrast!
-
Avoid Soggy Cones: Store any leftover cheesecake filling separately from the cones. This prevents the cones from becoming soggy and keeps them fresh for your next serving.
-
Fun Flavor Variations: Feel free to adapt this recipe by incorporating different extracts or using different toppings to make your 4th of July Cheesecake Ice Cream Cones uniquely yours!
What to Serve with No-Bake 4th of July Cheesecake Ice Cream Cones
Set the stage for a delightful summer feast, enhancing your dessert with these perfect pairings.
-
Fresh Fruit Salad: A colorful mix of seasonal fruits adds a refreshing contrast to the creamy cones, balancing sweetness with natural tartness.
-
Classic Vanilla Ice Cream: A scoop of smooth vanilla ice cream served alongside gives an extra creamy texture that complements the frivolity of the dish. It’s also a wonderful way to add an additional chill factor!
-
Sparkling Lemonade: A refreshing, bubbly drink that enhances the bright flavors of the cheesecakes, making your gathering feel extra festive. The zesty tang pairs well with the sweetness of the cones.
-
Mini Cupcakes: A mix of flavors, these bite-sized treats bring playful variety. Consider red velvet or chocolate, adding a charming touch to your dessert table that appeals to all ages.
-
Chocolate-Dipped Strawberries: Juicy strawberries dipped in chocolate provide an elegant touch perfect for summer. Their sweet and slightly tart flavor beautifully contrasts with the smoothness of the cheesecake.
-
Sweet Tea: Iced sweet tea offers a refreshing and classic Southern twist. Its subtle sweetness and herbal notes will complement the dessert without overpowering the creamy flavors.
-
Patriotic Fruit Skewers: Create skewers of strawberries, blueberries, and bananas for a festive and healthy addition. These vibrant, colorful bites will bring smiles as everyone enjoys the flavors of summer!
-
Whipped Cream Topping: A dollop of whipped cream on the side adds an indulgent touch, making the experience even more luxurious. You can also flavor it with vanilla or almond for a twist!
Storage Tips for 4th of July Cheesecake Ice Cream Cones
Room Temperature: It’s best to serve these delightful cones immediately for maximum freshness and crunch. However, if you need to store them, do so in an airtight container for up to 1 hour.
Fridge: If you have leftover cheesecake filling, store it in an airtight container in the refrigerator for up to 3 days. This keeps it fresh for future enjoyment!
Freezer: While it’s not recommended to freeze the filled cones (they won’t maintain their delightful texture), you can freeze any leftover cheesecake filling for up to 2 months. Just thaw it in the refrigerator before using.
Reheating: There’s no need for reheating, as these 4th of July Cheesecake Ice Cream Cones are best enjoyed cold and fresh. Just assemble them shortly before serving for the best experience!
Variations for 4th of July Cheesecake Ice Cream Cones
Customize your dessert experience with playful twists that enhance flavors and create delightful surprises!
-
Dark Chocolate: Swap the white chocolate coating for dark chocolate for a richer, bold flavor. It adds an elegant touch to your cones, offering a delightful contrast to the creamy cheesecake.
-
Lemon Zest: Infuse the cheesecake filling with lemon zest for a refreshing burst of citrus. This brightens each bite and pairs wonderfully with the sweetness of the cherries.
-
Almond Extract: Replace vanilla with almond extract for a warm, nutty flavor profile. It’s a subtle yet sophisticated twist that will impress your guests, making them wonder about your secret ingredient.
-
Gluten-Free Cones: Opt for gluten-free ice cream cones to make this treat accessible for all. Everyone can enjoy the festive delight, ensuring that no one misses out on the fun!
-
Berries Galore: Layer fresh berries like strawberries or raspberries into the cheesecake filling for an additional fruitiness. Their tartness beautifully complements the sweet cheesecake, creating a balanced dessert.
-
Spicy Kick: Add a pinch of cayenne or chili powder to the cheesecake mixture for a surprising heat. This twist is perfect for adventurous eaters looking to elevate their dessert game.
-
Nut Toppings: Sprinkle crushed nuts like pistachios or walnuts over the finished cones for added crunch and an earthy flavor. This provides a delightful contrast to the smooth cheesecake.
-
Different Sprinkles: Use seasonal or themed sprinkles for a variety of festive occasions. You can switch up the visuals with Halloween colors or even winter-themed shimmers for other celebrations!
These variations invite creativity and allow you to tailor each batch of 4th of July Cheesecake Ice Cream Cones to your preference. Give them a try and see what new flavor combinations you can create!
No-Bake 4th of July Cheesecake Ice Cream Cones Recipe FAQs
How do I choose ripe ingredients for this recipe?
Absolutely! For cream cheese, make sure it’s softened and at room temperature for smooth mixing. When selecting sugar cones, look for ones without cracks or dents, as they should remain sturdy for filling. If using fresh blueberries, opt for firm berries that are deep in color and plump.
How should I store leftover cheesecake filling?
Very! Store any leftover cheesecake filling in an airtight container in the refrigerator for up to 3 days. This keeps it fresh and ready for a re-assembly of your delightful cones. Just give it a quick stir before repiping into the cones for the best texture.
Can I freeze the cheesecake filling for later use?
Absolutely! You can freeze leftover cheesecake filling in an airtight container for up to 2 months. When you’re ready to use it, simply thaw it in the refrigerator overnight. This will help preserve the creamy texture, allowing for another delightful dessert experience!
What if my cheesecake mixture is too loose?
No worries! If you find that your cheesecake mixture is too loose to pipe, refrigerate it for 30-60 minutes. This helps firm it up, making it easier to fill your ice cream cones. Just be sure to check the consistency before piping—aim for a shape-holding mixture that isn’t overly stiff.
Are these cones safe for dietary restrictions?
Sure! For gluten-free options, you can easily find gluten-free cones. If you’re concerned about allergies, check all ingredients, especially for common allergens like dairy. You might also consider making substitutions like using non-dairy whipped topping for a lighter, allergy-friendly version!
How long can I keep filled ice cream cones?
It’s best to eat these delicious No-Bake 4th of July Cheesecake Ice Cream Cones immediately to enjoy their crispy texture. If you need to store them, do so for no more than an hour at room temperature. Ideally, assemble them shortly before serving for the freshest experience possible!
Festive 4th of July Cheesecake Ice Cream Cones to Savor
Ingredients
Equipment
Method
- Melt white chocolate candy melts in a microwave-safe bowl for about 30 seconds, stirring until smooth. Dip the tops of the sugar cones into the melted chocolate, ensuring they're well-coated before rolling them in festive 4th of July sprinkles. Place the cones upright on a baking sheet lined with parchment paper and let them cool until the chocolate hardens, which should take about 15 minutes.
- In a large mixing bowl, combine the softened cream cheese, sugar, and pure vanilla extract. Using an electric mixer, beat the mixture on medium speed until it becomes smooth and fluffy, approximately 3-4 minutes. Make sure there are no lumps; the consistency should be creamy and well-blended.
- Gently add the Cool Whip to the cheesecake mixture, carefully folding until it’s fully incorporated and has a light, fluffy texture. Continue folding until the mixture is uniform and creamy, which should take around 1-2 minutes.
- If the cheesecake mixture seems too loose, place it in the refrigerator to chill for about 30-60 minutes. Check the consistency; it should hold its shape well without becoming overly stiff.
- Fit a piping bag with a star-tip nozzle and fill it with the cheesecake mixture. Start piping the filling into the prepared cones, beginning at the bottom and spiraling upwards to create a beautiful swirl. Fill each cone generously but leave a little space at the top for garnish.
- Drizzle blueberry sauce over the cheesecake filling for added flavor and visual appeal. Top each cone with a maraschino cherry for a cheerful finish.
Leave a Reply