
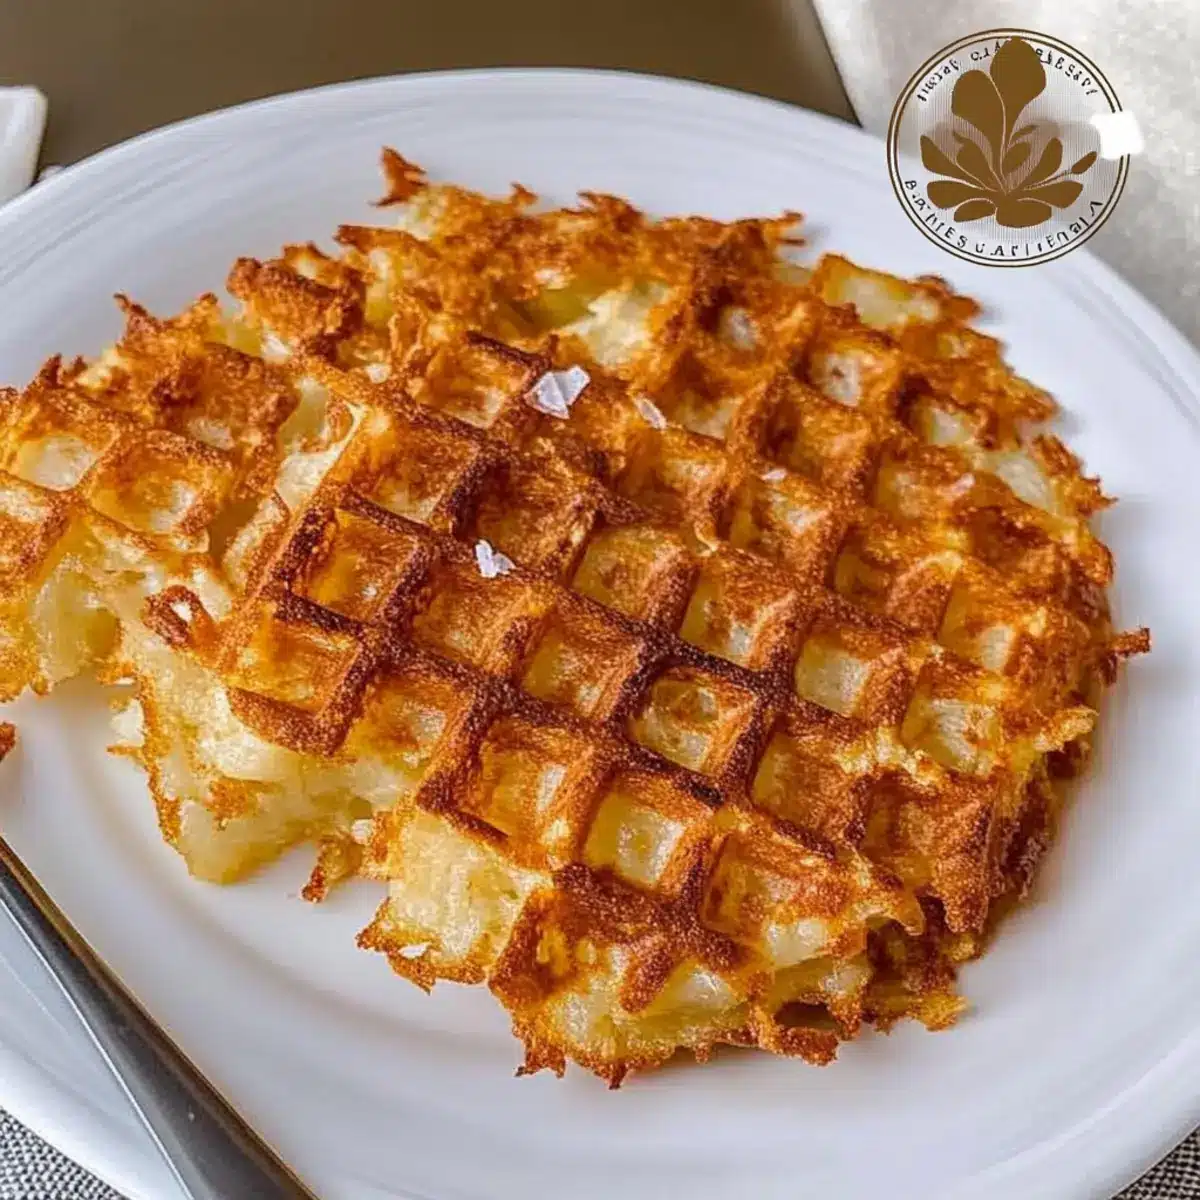
As I poured my morning coffee, nostalgia wafted through the air, reminding me of cozy brunches spent with family. What could make those memories even better? Introducing my Crispy Waffle Iron Hash Browns! This simple 3-ingredient recipe transforms frozen hash browns into a delightful breakfast delight, featuring a crunchy exterior paired with a soft, fluffy inside. Not only are these Waffle Iron Hash Browns incredibly easy to whip up, but they also require minimal oil—perfect for anyone seeking healthier options without sacrificing satisfaction. Whether you’re busy on a weekday morning or want to impress your weekend guests, this dish hits the mark. Ready to elevate your breakfast game? Let’s dive into the crispy world of hash browns and discover how to make these golden treasures!
Why Are These Waffle Iron Hash Browns Special?
Simplicity at Its Best: This recipe only requires three ingredients, making it an effortless go-to for busy mornings.
Healthier Alternative: With minimal oil compared to traditional frying, you’ll enjoy crispy hash browns without the guilt.
Versatile Options: Feel free to add your favorite toppings like cheese or fresh herbs to personalize your dish.
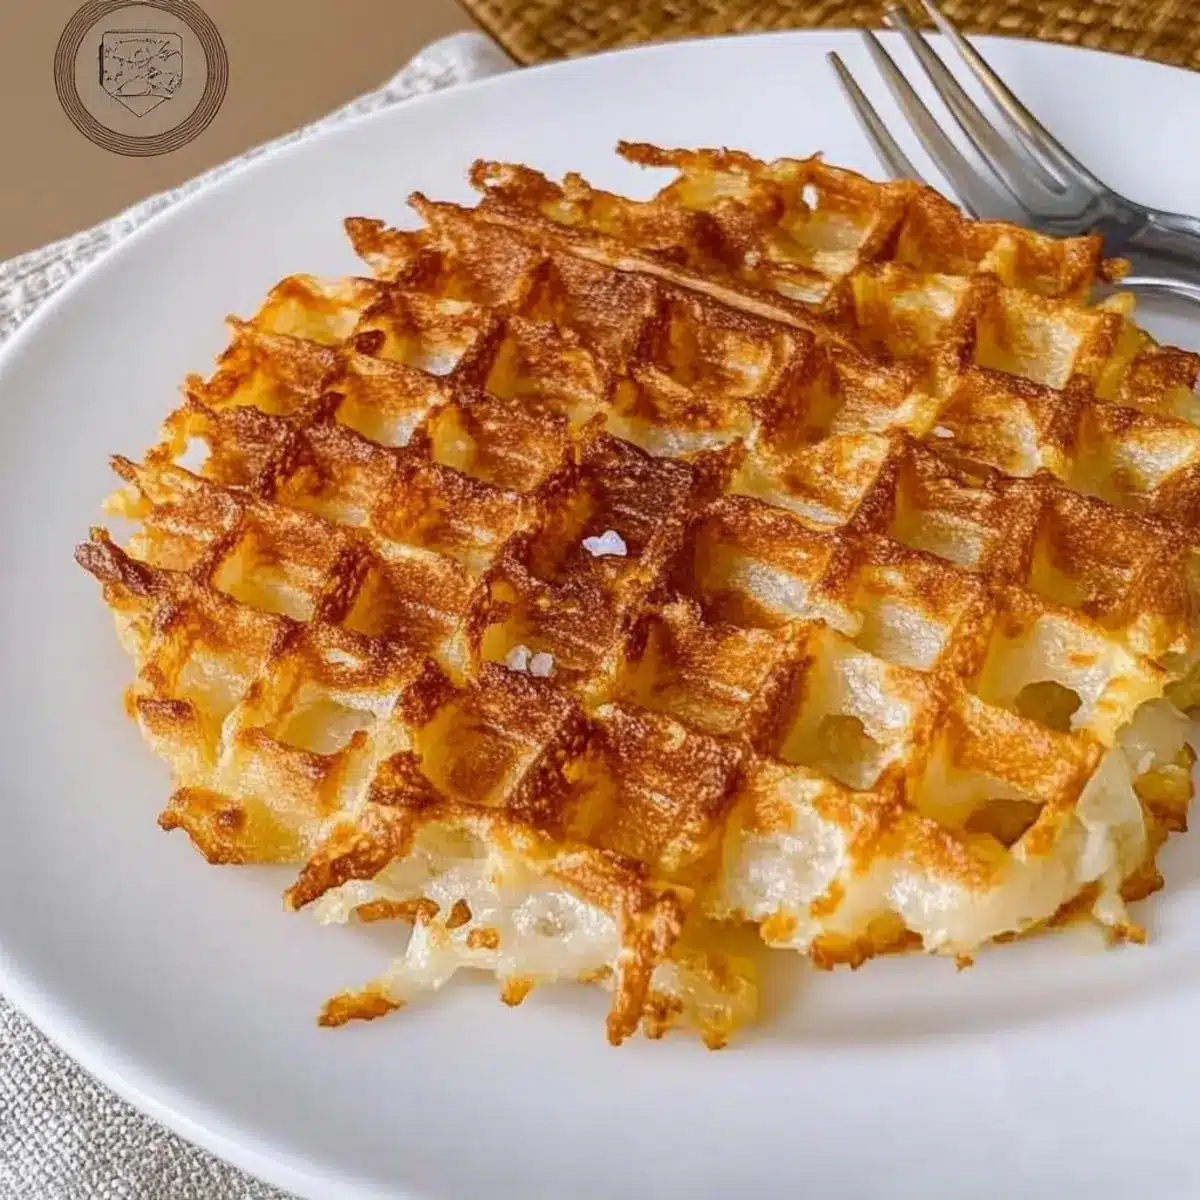
Delightfully Crunchy Texture: Achieve that perfect blend of crispiness outside and fluffiness inside effortlessly in a waffle iron!
Crowd-Pleasing Favorite: Whether for brunch with friends or a family breakfast, these hash browns are sure to impress everyone at the table.
Pair your crispy creations with Eggs Hash Brown or enjoy them as a delicious side with your favorite morning dishes!
Waffle Iron Hash Brown Ingredients
• Discover the simplest way to make crispy delights!
For the Hash Browns
• Frozen Hash Browns – The base ingredient that provides the perfect texture; opt for brands like Ore-Ida for best results.
• Oil (2 tablespoons) – Essential for achieving crispiness and preventing sticking; consider using a lighter oil if desired.
• Salt (½ teaspoon) – Elevates the flavor; feel free to adjust based on your taste—garlic powder adds a delicious twist!
These Waffle Iron Hash Browns keep it deliciously simple while guaranteeing a breakfast you won’t soon forget!
Step‑by‑Step Instructions for Waffle Iron Hash Browns
Step 1: Defrost the Hash Browns
Begin by placing your frozen hash browns in a microwave-safe bowl and microwaving them for 2 to 4 minutes until they’re fully defrosted. After the time is up, check for even warmth — they should be soft but not hot. This step is crucial to ensure your Waffle Iron Hash Browns achieve the perfect texture.
Step 2: Combine Ingredients
In a mixing bowl, combine the defrosted hash browns with 2 tablespoons of oil and ½ teaspoon of salt. Use a fork or your fingers to mix everything together until the hash browns are well-coated and evenly seasoned. This will help create that crispy exterior we all love in our Waffle Iron Hash Browns.
Step 3: Preheat the Waffle Iron
Preheat your waffle iron according to the manufacturer’s instructions — typically around 375°F (190°C) works best. While it’s heating up, brush the griddle plates with a small amount of oil to prevent sticking and enhance crispiness. Once the griddle is hot, you’re ready to add the hash brown mixture!
Step 4: Add the Potato Mixture
Scoop the hash brown mixture onto the preheated waffle iron, spreading it evenly across the surface. Aim for a layer that’s about ½ inch thick, ensuring even cooking and allowing for that golden-brown finish. Close the lid carefully and press down slightly to help the mixture spread out and cook evenly.
Step 5: Cook the Hash Browns
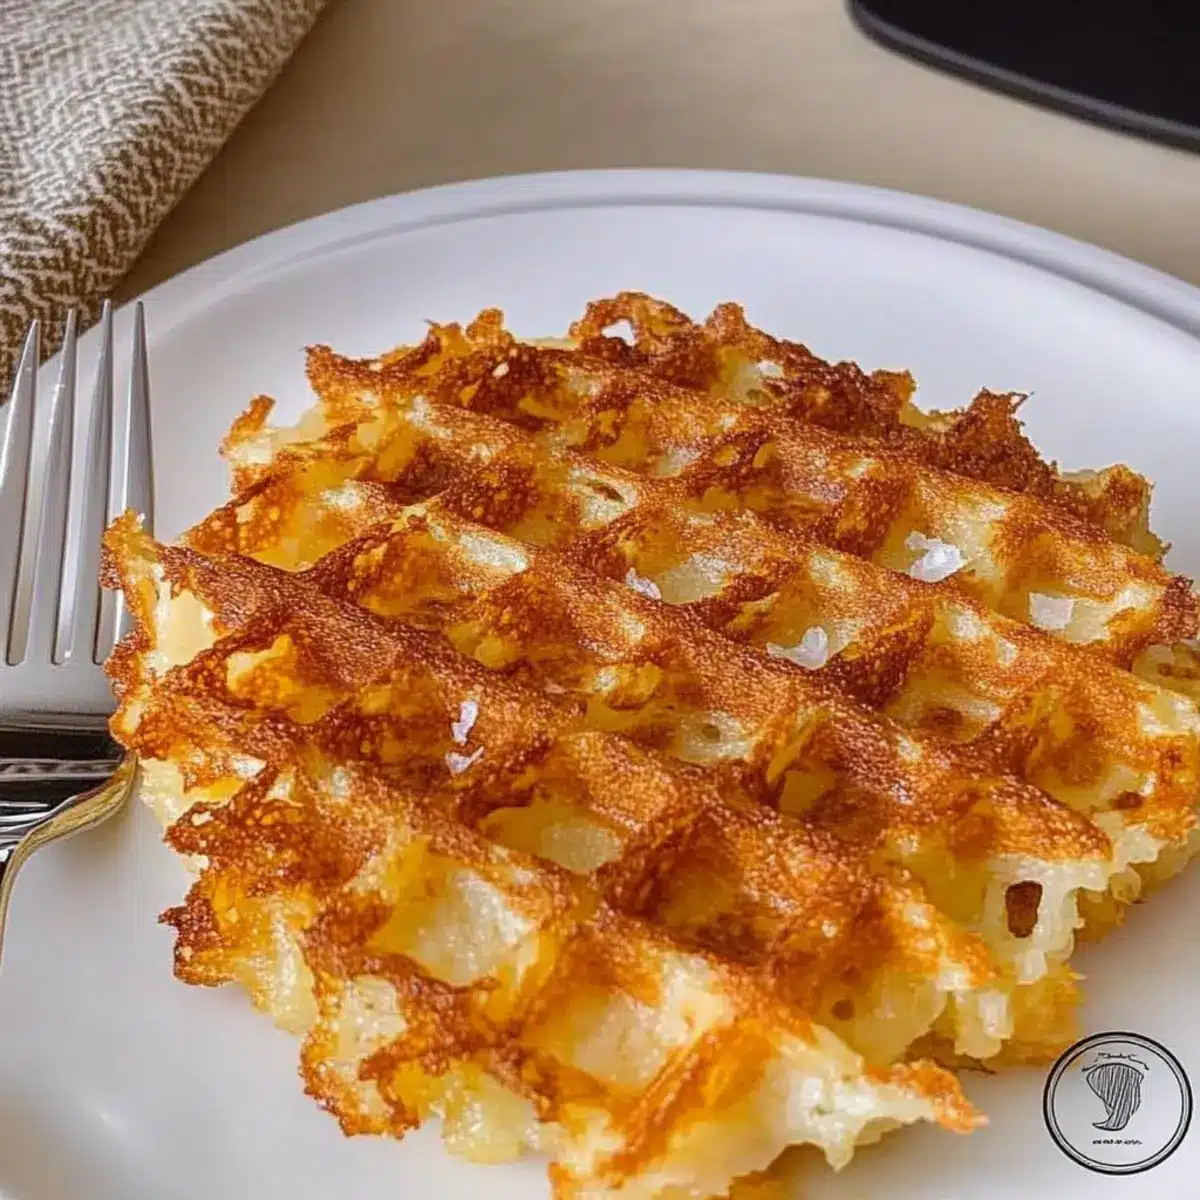
Cook your Waffle Iron Hash Browns for approximately 10 to 14 minutes. Keep an eye on the cooking process and look for a deep golden brown color as an indicator of doneness. The aroma filling your kitchen will let you know they are close to being ready — a delightful promise of the crispy texture to come!
Step 6: Serve and Enjoy
Once cooked, carefully open the waffle iron and use a silicone spatula to gently remove the hash browns. They should slide off easily and have a beautiful golden-brown crunch. Serve them hot, perhaps with a side of eggs or your favorite breakfast toppings, and enjoy this simple yet satisfying dish perfect for any morning!
Expert Tips for Waffle Iron Hash Browns
-
Proper Defrosting: Ensure hash browns are fully defrosted to prevent the final product from becoming soggy. A microwave can quickly do this in just 2-4 minutes.
-
Even Mixing: Mix hash browns, oil, and salt thoroughly to achieve even crispiness and flavor. Don’t skip this step; it makes all the difference for your Waffle Iron Hash Browns!
-
Oil Management: While the recipe only calls for 2 tablespoons of oil, this is crucial for achieving that desired crispy texture. Substituting with less oil can lead to soggy hash browns.
-
Monitor Cooking Time: Cooking times can vary significantly depending on your waffle iron. Check for that golden brown hue around the 10-minute mark to avoid overcooking.
-
Experiment with Variations: Feel free to add spices or toppings like cheese or herbs to enhance flavor. Customizing your Waffle Iron Hash Browns can elevate the experience!
What to Serve with Crispy Waffle Iron Hash Browns?
Elevate your breakfast experience with satisfying sides and delightful pairings that create a memorable meal.
-
Fried Eggs: Pairing crispy hash browns with perfectly fried eggs creates a delightful contrast in textures and flavors, making for a classic combination. The richness of the yolk complements the crunchiness of the potatoes beautifully.
-
Avocado Toast: A slice of creamy avocado toast adds a creamy element that nicely balances the crispiness of the hash browns, turning your meal into a trendy breakfast bowl. Top with a sprinkle of salt and pepper for a refreshing twist!
-
Breakfast Sausages: Savory breakfast sausages add protein and depth to your meal, making it hearty and satisfying. The savory, juicy bites balance perfectly with the crispy texture of Waffle Iron Hash Browns.
-
Fresh Fruit Salad: Bright, fresh fruit provides a sweet contrast to the salty delight of hash browns. The natural sweetness of seasonal fruits adds a refreshing layer to your plate, enhancing the overall breakfast experience.
-
Greek Yogurt Parfait: Layered with honey and granola, a yogurt parfait brings a creamy indulgence to the table while its fruity toppings provide a refreshing burst of flavor. Serve it as a charming accompaniment to your crispy hash browns.
-
Mimosa: Start your morning off on a celebratory note with a bubbly mimosa. The light, citrusy drink pairs perfectly with breakfast foods, lifting the meal with a bright, refreshing flavor that’s perfect for brunch.
Waffle Iron Hash Browns Variations
Feel free to sprinkle your creative flair on these satisfying hash browns!
-
Cheesy Delight: Add a handful of shredded cheese to the mixture before cooking for a melty, rich flavor that enhances every bite. Imagine gooey cheese melding with crispy potatoes—pure bliss!
-
Herb Infusion: Toss in fresh herbs like parsley or chives for a pop of freshness. This simple addition brings a delightful herbaceous note that brightens up your breakfast.
-
Egg Topping: Top your hash browns with a perfectly fried egg for a truly hearty meal. The yolk’s richness complements the crispy texture—it’s breakfast heaven!
-
Bacon Boost: Crumble crispy bacon into the mixture for added crunch and savory depth. Pairing the saltiness of bacon with potato is always a winning combo.
-
Spicy Kick: Stir in some diced jalapeños or a dash of hot sauce for those who crave a fiery breakfast. The spice will awaken your taste buds and add an exciting twist!
-
Vegetable Medley: Mix in sautéed onions, bell peppers, or spinach to create a colorful veggie blend. This not only amps up the flavor but also adds nutritional value.
-
Seasoning Variations: Experiment with seasoning blends like Italian herbs or smoked paprika to customize your flavor profile. A sprinkle of your favorite spice can completely transform this dish.
Pair your variations with some delicious options like Eggs Hash Brown for the perfect breakfast duet, or serve alongside fresh fruit for a balanced morning treat!
Make Ahead Options
These Waffle Iron Hash Browns are perfect for meal prep enthusiasts! You can mix the defrosted hash browns with oil and salt up to 24 hours in advance. Just store the mixture in an airtight container in the refrigerator. If you’d like to prepare them even further, you can shape the hash brown mixture and freeze it in portions for up to 3 months. When you’re ready to serve, simply preheat your waffle iron and cook the frozen mixture as directed, adding an extra minute or two if needed. This method allows you to enjoy crispy and delicious Waffle Iron Hash Browns with minimal effort on busy mornings!
Storage Tips for Waffle Iron Hash Browns
-
Room Temperature: Waffle Iron Hash Browns are best enjoyed immediately, but if left out, they should not be kept at room temperature for more than 2 hours to ensure safety.
-
Fridge: Store any leftover hash browns in an airtight container in the refrigerator for up to 5 days. Reheat them in a toaster oven for a crispy finish.
-
Freezer: For longer storage, freeze cooked hash browns in zip-top bags for up to 3 months. To reheat, pop them in a toaster oven until crispy.
-
Reheating: When reheating from cold or frozen, use an oven or toaster oven to retain crispiness. Avoid microwaving as this can make them soggy.
Waffle Iron Hash Browns Recipe FAQs
What type of frozen hash browns should I use for the best results?
I recommend opting for brands like Ore-Ida for their consistency and texture. Look for hash browns that are shredded rather than cubed for that perfect crispy finish.
How should I store leftover Waffle Iron Hash Browns?
Store any leftover hash browns in an airtight container in the refrigerator for up to 5 days. Reheating them in a toaster oven will give you that delightful crispiness again!
Can I freeze Waffle Iron Hash Browns?
Absolutely! Freeze cooked hash browns in zip-top bags for up to 3 months. To reheat, simply pop them in a toaster oven until they’re hot and crispy. Avoid using a microwave, as it can lead to sogginess.
What if my hash browns don’t get crispy?
If your hash browns aren’t crispy, it could be due to insufficient oil or not fully defrosting them. Make sure to mix the hash browns thoroughly with the oil and ensure they’re completely defrosted. Also, monitor the cooking time—if they’re not golden brown after 10 minutes, give them a few more minutes, checking regularly.
Are Waffle Iron Hash Browns suitable for dietary restrictions?
Yes! This recipe is gluten-free and vegetarian. Be cautious if you have allergies; ensure the hash browns don’t contain any additives. Also, feel free to customize by adding ingredients that suit your dietary needs!
Can I add additional ingredients for variation?
Very! You can mix in shredded cheese, fresh herbs, or cooked bacon to elevate the flavors. Just keep in mind that adding too many ingredients may affect the crispiness, so balance is key!
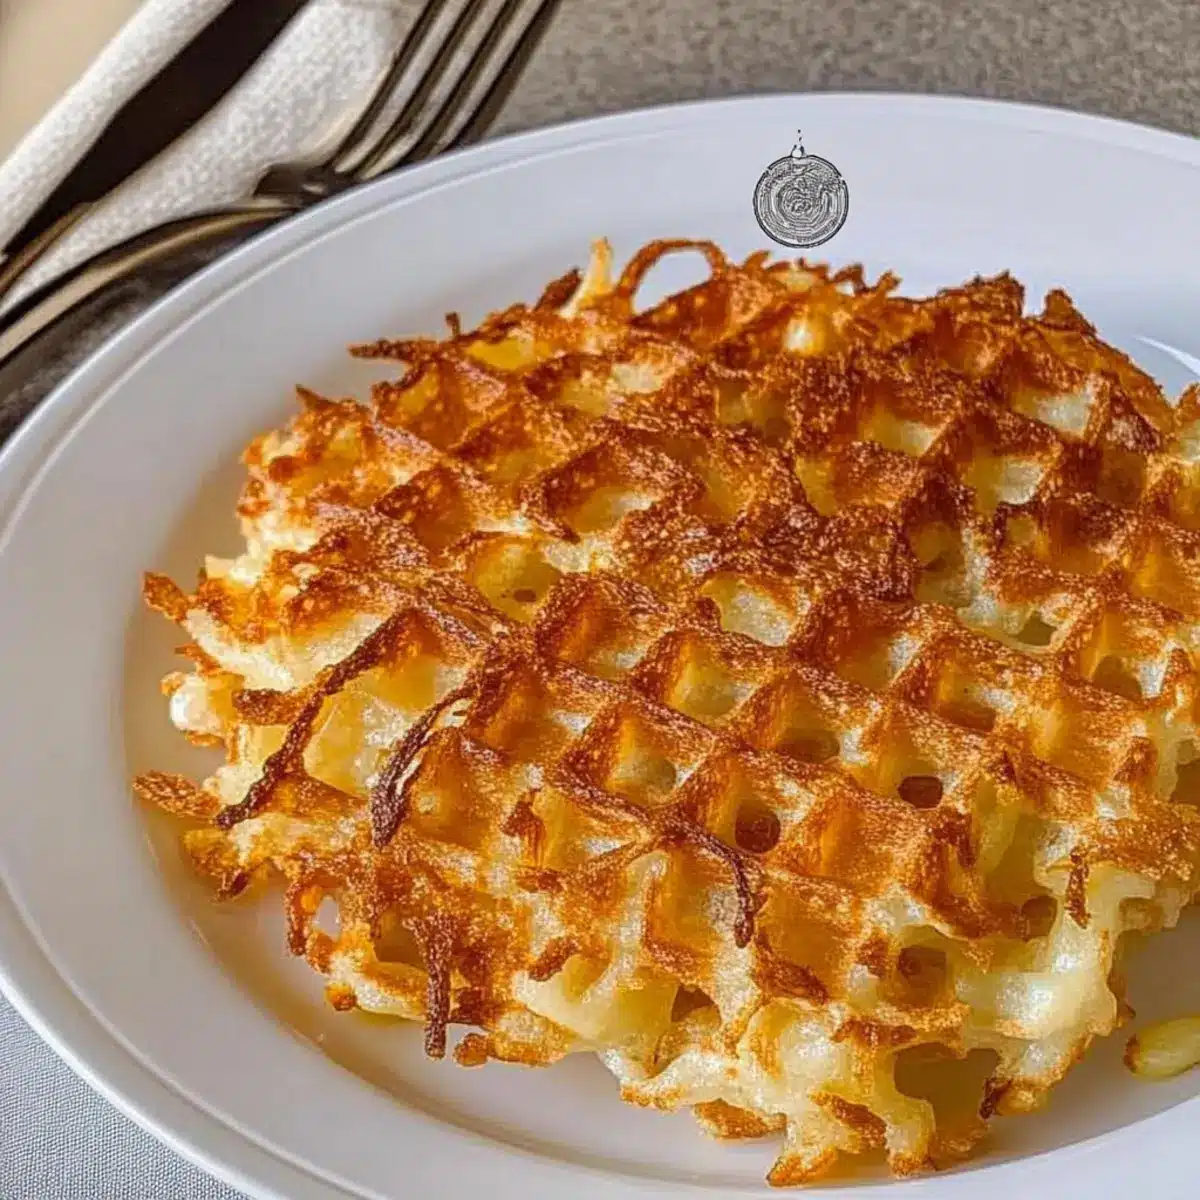
Crispy Waffle Iron Hash Browns for Easy Morning Munching
Ingredients
Equipment
Method
- Defrost the hash browns by microwaving them for 2-4 minutes until fully defrosted.
- Combine the defrosted hash browns with oil and salt in a mixing bowl.
- Preheat your waffle iron to around 375°F (190°C) and brush with a small amount of oil.
- Scoop the mixture onto the preheated waffle iron, spreading it evenly and about ½ inch thick.
- Cook your hash browns for approximately 10 to 14 minutes until deep golden brown.
- Carefully remove the hash browns with a silicone spatula and serve hot.
Leave a Reply