
Every bite of a classic banana pudding brings a wave of nostalgia, but what if I told you there’s a way to savor that beloved treat on the go? Enter Banana Pudding Rolls—a delightful twist on an all-time favorite dessert. Imagine sweet, ripe bananas and creamy vanilla pudding wrapped in a crunchy Nilla wafer, creating a portable dessert that’s not only easy to eat but also the perfect companion for any occasion, from picnics to potlucks. These rolls are a fun and less messy way to indulge in the comforting flavors we love, while making them a crowd-pleaser for friends and family alike. Ready to roll into a new dessert adventure? Let’s dive in!
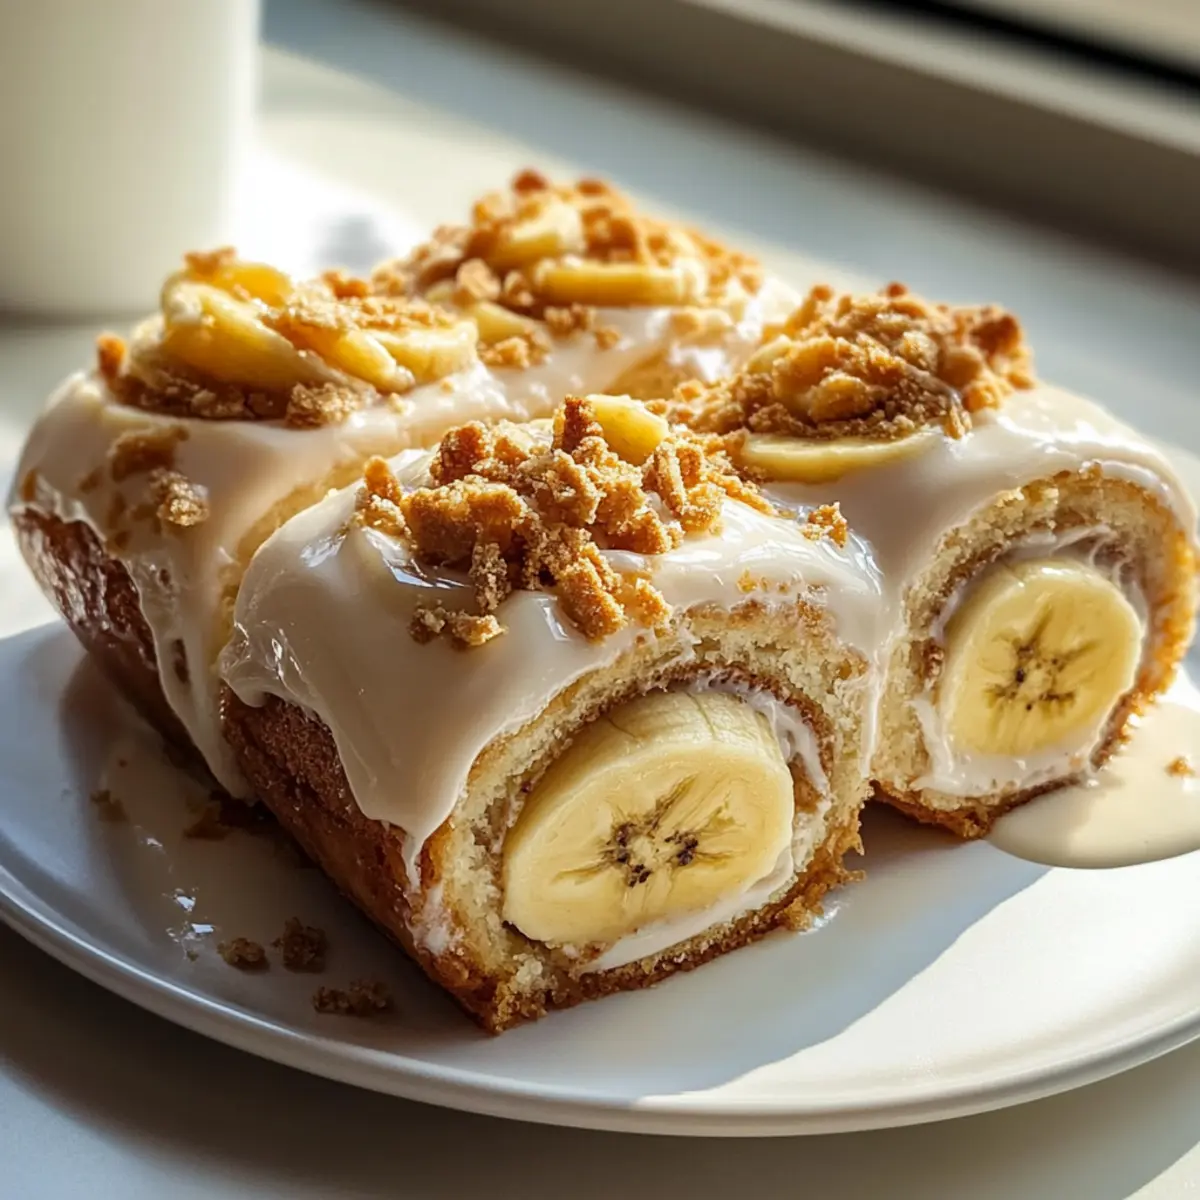
Why are Banana Pudding Rolls a Must-Try?
Portable Delight: Say goodbye to messy desserts! These Banana Pudding Rolls wrap creamy banana goodness in a handy format for easy enjoyment.
Nostalgic Flavor: Every bite takes you back to the classic banana pudding we all know and love, but in a fun, modern twist.
Customizable Options: Swap vanilla pudding for chocolate or even add crushed pineapple for a tropical flair. Explore combinations that excite your taste buds!
Quick and Easy: With minimal prep time, these rolls are a breeze to make—perfect for those busy days when you crave something sweet.
Crowd-Pleaser: Whether for a family gathering or a picnic, these rolls are sure to impress, making them an ideal addition to your next event.
Banana Pudding Rolls Ingredients
For the Filling
- Ripe Bananas – Provides natural sweetness and flavor; choose bananas with brown spots for optimal sweetness.
- Vanilla Pudding Mix – Forms the creamy base of the filling; you can substitute with instant vanilla custard mix if desired.
- Milk – Hydrates the pudding mix for a smooth texture; any type of milk works, including nut milk for a non-dairy alternative.
- Whipped Cream or Cream Cheese – Enhances the creaminess of the filling; cream cheese can add a tangy element, while omitting it yields a lighter version.
For the Base
- Nilla Wafers – Acts as a base for rolling, providing texture and flavor; you can substitute with other light cookies for different taste profiles.
Step‑by‑Step Instructions for Banana Pudding Rolls
Step 1: Prepare the Pudding
Start by combining the vanilla pudding mix with the milk in a mixing bowl, whisking until fully blended and smooth, about 2 minutes. If using cream cheese, fold it into the prepared pudding until no lumps remain. The pudding should be creamy and thick; set it aside and let it rest for about 5 minutes to firm up slightly.
Step 2: Assemble the Rolls
Take a Nilla wafer and spread a generous dollop of the creamy pudding mixture over the entire surface, ensuring even coverage for the best flavor. This step is crucial for your Banana Pudding Rolls, as it allows the sweet pudding to meld perfectly with the crisp cookie base. Repeat until all wafers are well-coated and ready for rolling.
Step 3: Roll the Wafers
Now it’s time to create your rolls! Starting from one edge, gently but tightly roll each Nilla wafer with the pudding filling inside, forming a cylinder shape. Aim for a snug roll to help the filling stay intact. Once rolled, place them seam-side down on a clean plate to help maintain their shape until they’re ready for chilling.
Step 4: Chill the Rolls
Cover the rolls with plastic wrap and place them in the refrigerator to chill for at least 30 minutes. This step allows the Banana Pudding Rolls to firm up, making them easier to slice later. While they’re chilling, the flavors will meld together beautifully, enhancing the overall taste of your delightful dessert.
Step 5: Slice and Serve
After chilling, carefully remove the rolls from the fridge. Using a piece of dental floss or a sharp knife, slice each roll into bite-sized pieces. Aim for clean, even cuts to reveal the beautiful swirl of banana pudding filling. Serve these delightful Banana Pudding Rolls on a platter, and watch as your family and friends devour them!
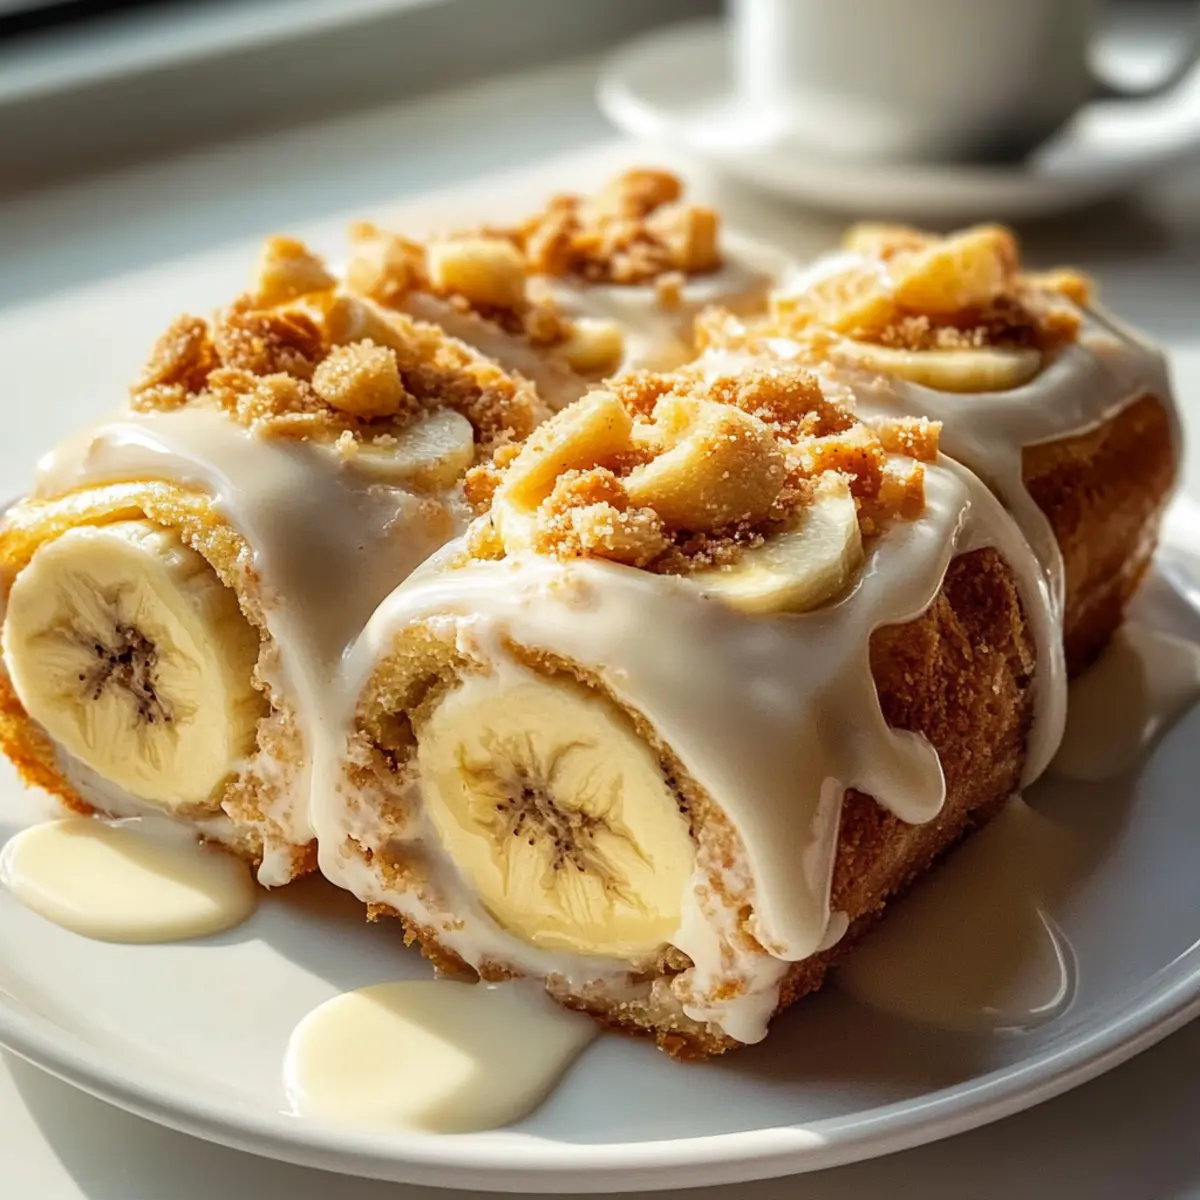
How to Store and Freeze Banana Pudding Rolls
Fridge: Store your Banana Pudding Rolls in an airtight container in the refrigerator for up to 2 days to keep them fresh and creamy.
Freezer: These rolls can be frozen for up to 1 month. Wrap each roll tightly in plastic wrap, then place them in a freezer-safe bag for best results.
Thawing: To enjoy frozen rolls, thaw them in the fridge for several hours or overnight. Avoid microwaving to prevent the pudding from becoming watery.
Reheating: Serve cold straight from the fridge; these rolls taste best chilled, refreshing your dessert experience with each bite!
What to Serve with Banana Pudding Rolls?
Bring delightful flavor combinations to your table and elevate your dessert experience alongside these scrumptious rolls!
-
Fresh Fruit Salad: A vibrant mix of seasonal fruits adds brightness and a refreshing finish that balances the creamy rolls beautifully.
-
Chocolate Drizzle: A rich chocolate sauce on top creates a luscious contrast, enhancing the sweetness of the banana filling and providing indulgent texture.
-
Vanilla Ice Cream: Creamy ice cream brings a cold, velvety companion that complements the soft, pillowy rolls, making for a comforting dessert duo.
-
Toasted Coconut Flakes: Sprinkle crunchy coconut over the rolls for added texture and a tropical touch, enhancing the banana flavor.
-
Coffee or Espresso: The robust notes of coffee offer a delightful contrast to the sweetness of the rolls, creating a perfect pairing after a meal.
Elevate your presentation with colorful garnishes or playful serving ideas, and watch as your guests feel excited to dive into this nostalgic and delicious treat!
Make Ahead Options
These Banana Pudding Rolls are perfect for busy cooks looking to save time! You can prepare the creamy filling and roll the wafers up to 24 hours in advance. Simply mix the vanilla pudding with milk and fold in the whipped cream or cream cheese for a luscious filling. Spread it onto the Nilla wafers, roll them tightly, and place them seam-side down on a platter. Cover with plastic wrap and refrigerate until you’re ready to serve. When it’s time to present your delicious Banana Pudding Rolls, slice them into bite-sized pieces and enjoy the same delightful flavors—just as fresh as if they were made that day!
Expert Tips for Banana Pudding Rolls
• Use Ripe Bananas: For the best flavor, always choose bananas that are perfectly ripe with brown spots; they provide natural sweetness.
• Keep It Tight: When rolling the wafers, ensure they are rolled tightly to avoid spilling the filling. This helps maintain the structure of your Banana Pudding Rolls.
• Chill Well: Don’t skip the chilling step! Refrigerating the rolls helps them firm up, making them easier to slice and serve without crumbling.
• Alternatives for Flavor: Experiment with different pudding flavors like chocolate or add crushed fruit; this way, you can customize your Banana Pudding Rolls to suit your taste.
• Avoid Messy Slices: Use dental floss to slice the rolls cleanly—this prevents squishing and gives you beautiful, neat spirals of pudding filling.
Banana Pudding Rolls Variations
Feel free to explore these fun twists and substitutions for your Banana Pudding Rolls to suit your taste or dietary needs!
-
Chocolate Pudding: Swap vanilla pudding for chocolate pudding to create a decadent twist that satisfies any chocolate lover. Imagine the richness of chocolate pairing perfectly with bananas!
-
Tropical Delight: Add crushed pineapple to the pudding mix for a refreshing tropical experience. The sweet, juicy pineapple will elevate the creamy banana flavor!
-
Graham Crackers: Replace Nilla wafers with graham crackers for a delightful texture change and a hint of honey sweetness. The flavor combination will bring you right back to summer campfire s’mores.
-
Nutty Twist: Stir in some finely chopped nuts, like walnuts or pecans, into the pudding mixture for an added crunch. This unique texture provides a delightful surprise in every bite.
-
Dairy-Free: Use coconut milk instead of regular milk and opt for a dairy-free pudding mix to make a delicious vegan version of these rolls. You’ll enjoy a creamy tropical flavor that feels indulgent yet guilt-free.
-
Mini Banana Splits: Layer banana slices, pudding, and crushed cookies in a jar for a fun, deconstructed version of the rolls. This presentation offers a delightful alternative while still delivering all the flavors you love!
-
Spiced Up: Sprinkle in some cinnamon or nutmeg to the pudding mix for a warm spice note that pairs beautifully with banana. This adds an extra layer of warmth to your delightful rolls.
-
Nut Butter Swirl: For an extra dose of flavor, try spreading a layer of almond or peanut butter on your wafers before adding the pudding. The nutty richness complements the bananas perfectly!
Each of these variations allows you to customize your Banana Pudding Rolls to your unique taste preferences. If you’re looking for more recipes to ignite your creativity, why not check out the delicious options in Cinnamon Rolls Ready or explore the delightful flavors in Cinnamon Banana Bread? Let’s get rolling into sweetness!
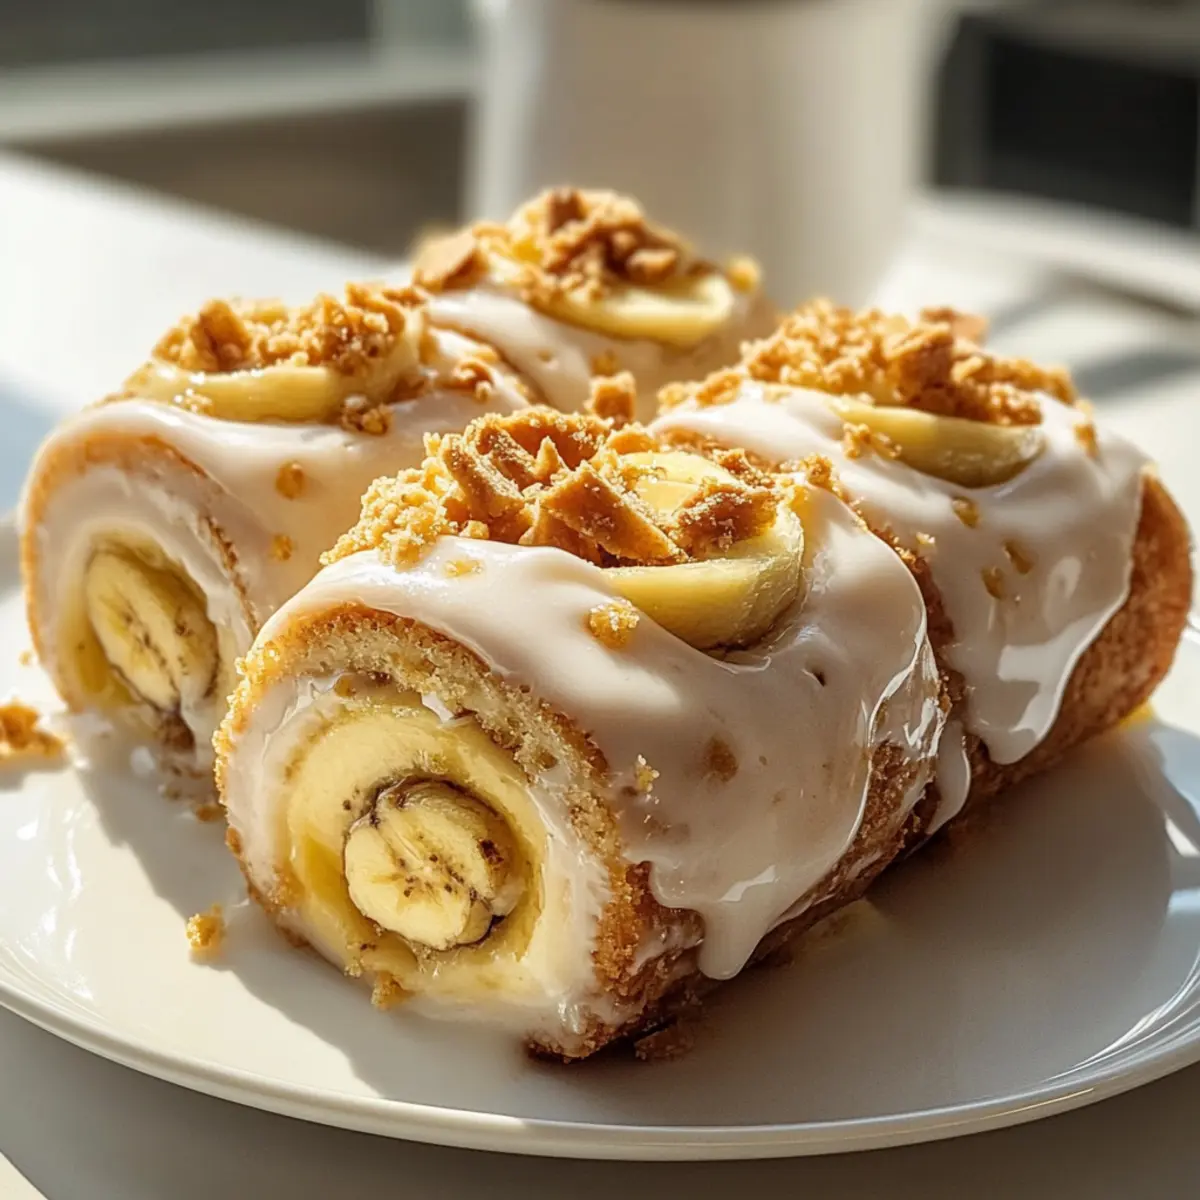
Banana Pudding Rolls Recipe FAQs
How do I choose ripe bananas for this recipe?
Absolutely! For the best flavor in your Banana Pudding Rolls, opt for ripe bananas that have some brown spots. These bananas are sweeter and more flavorful, making your filling rich and delicious! If they’re too green, they won’t provide the same natural sweetness.
How should I store leftover Banana Pudding Rolls?
Very good question! Store your leftover Banana Pudding Rolls in an airtight container in the refrigerator. They’ll stay fresh for up to 2 days. Just be sure to enjoy them while they’re still creamy and delicious!
Can I freeze Banana Pudding Rolls?
Absolutely, freezing is a great option! To freeze, wrap each roll tightly in plastic wrap and place them in a freezer-safe bag. They can last in the freezer for up to 1 month. When you’re ready to enjoy them, simply thaw in the fridge for several hours or overnight. This way, they retain their lovely texture without becoming watery!
What should I do if my pudding mixture is too runny?
Don’t worry; it happens occasionally! If your pudding mixture is runny, it may be due to not whisking it long enough or using too much milk. Make sure to follow the package directions and whisk for at least 2 minutes until it’s thick. If it’s still too runny, you can refrigerate it for a little while to help it firm up before spreading it on the cookies.
Are there any dietary considerations with these rolls?
Yes! If you’re serving these rolls to friends or family with dietary restrictions, note that they contain dairy and gluten due to the pudding mix, milk, and Nilla wafers. You can easily make them gluten-free by swapping the wafers for a gluten-free variety, and use almond or oat milk for a dairy-free version. Just ensure all substitutions fit the dietary needs of your guests!
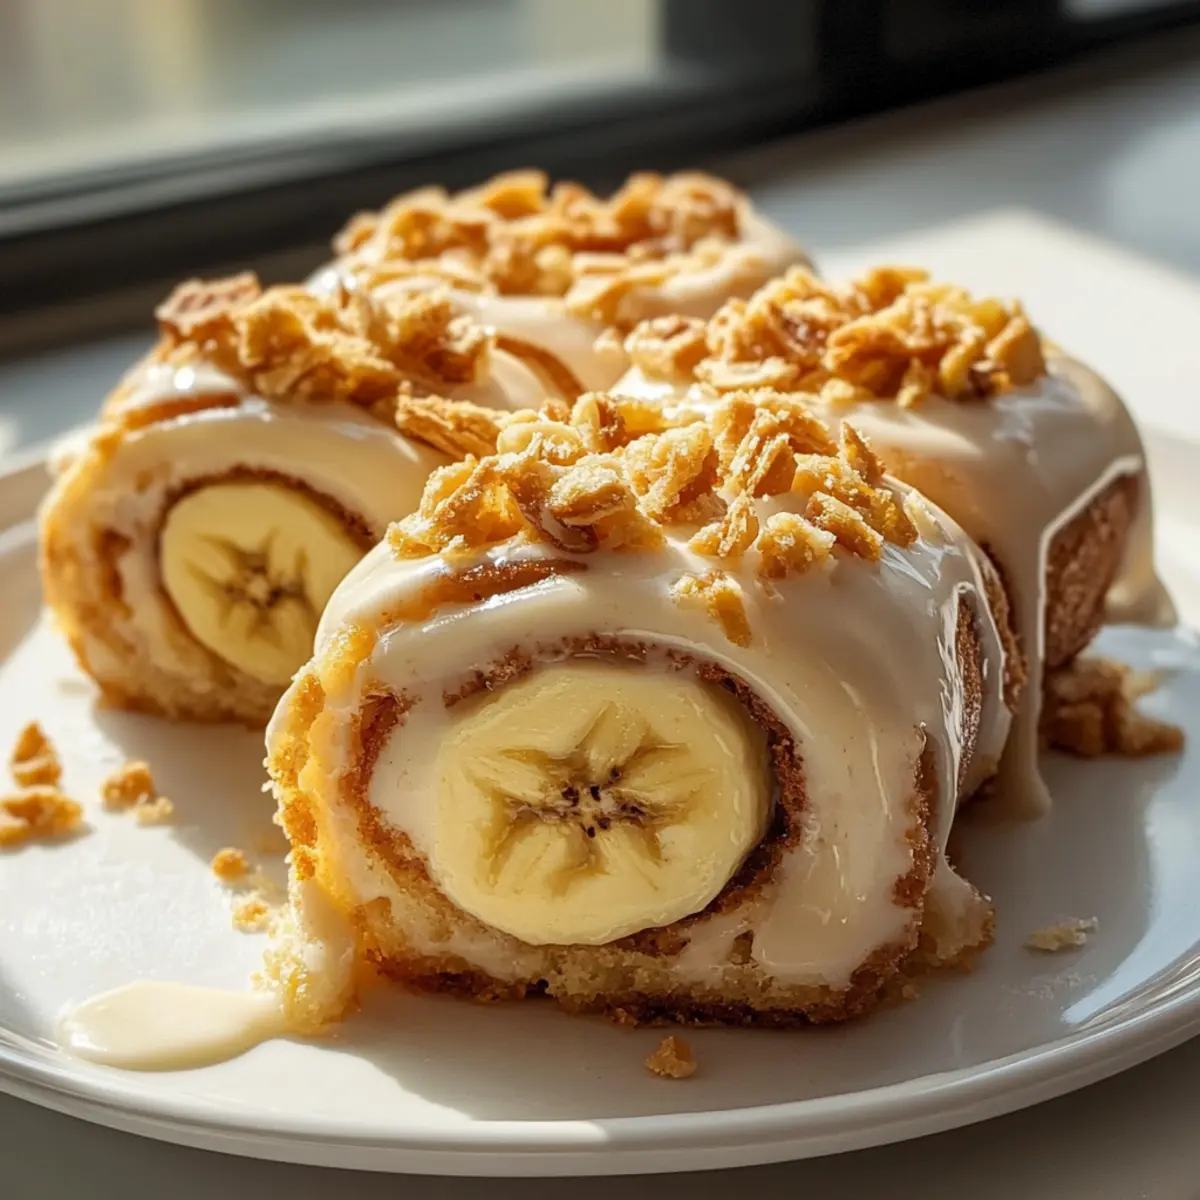
Irresistible Banana Pudding Rolls: A Fun, Creamy Delight
Ingredients
Equipment
Method
- Combine the vanilla pudding mix with the milk in a mixing bowl, whisking until fully blended and smooth, about 2 minutes. If using cream cheese, fold it in until no lumps remain.
- Spread a generous dollop of the creamy pudding mixture over each Nilla wafer.
- Starting from one edge, tightly roll each Nilla wafer with the pudding filling inside.
- Cover the rolls with plastic wrap and refrigerate for at least 30 minutes.
- Slice each roll into bite-sized pieces using dental floss or a sharp knife.
Leave a Reply