
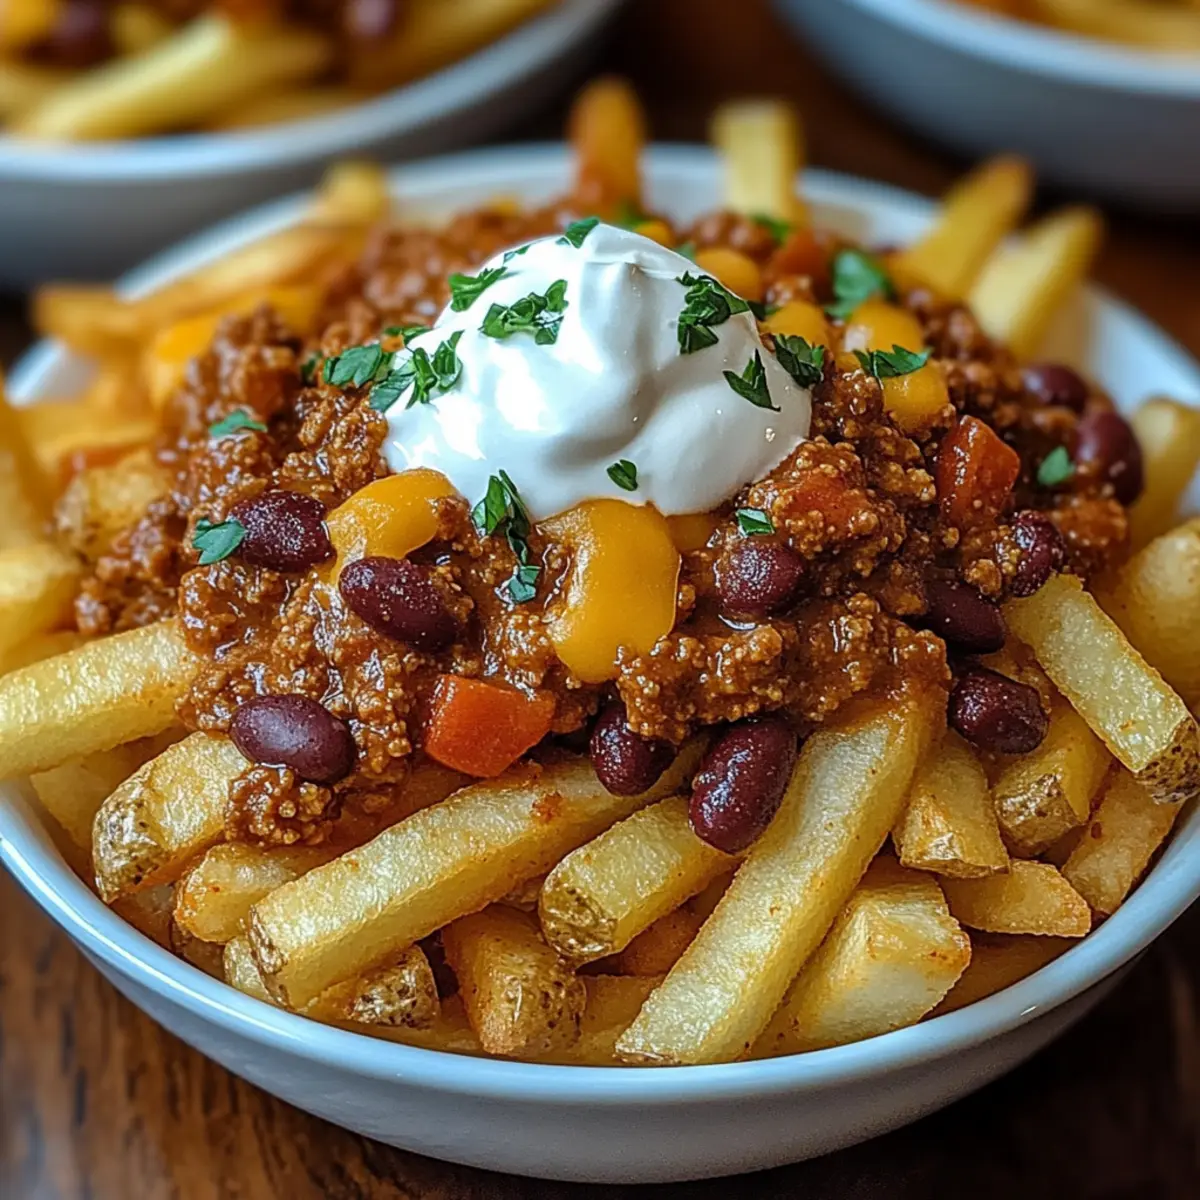
As I watched the game with friends, a familiar craving hit me—those iconic chili cheese fries that always seem to bring everyone together. This recipe for Ultimate Chili Cheese Fries combines golden, crispy fries with a hearty chili and gooey melted cheese, perfect for game day or a cozy night in. What makes this dish a winner is its quick prep time, allowing you to whip up a crowd-pleasing snack with minimal fuss. Plus, it’s fully customizable; whether you’re a cheese lover or prefer a spicier kick with jalapeños, you can make it your own. So, are you ready to indulge in this comfort food delight that will have your taste buds cheering?
Why Are Chili Cheese Fries So Beloved?
Irresistible Comfort: You’ll love how these crispy fries are perfectly complemented by a comforting chili and gooey melted cheese, making them the ultimate indulgent snack.
Quick to Prepare: With just a few simple steps, you can have this crowd-pleasing dish ready in under 30 minutes, ideal for game day or last-minute cravings.
Totally Customizable: Whether you top them with jalapeños for a spicy kick or add a dollop of Greek yogurt instead of sour cream, the options are endless! If you love easy-to-make snacks, check out my delicious Ham Egg Cheese Roll-Ups for more fun ideas.
Perfect for Sharing: This dish is great for gatherings, allowing everyone to dig in and enjoy the delightful combination of flavors together.
Satisfying Textures: Experience the unique mix of crunchy fries, creamy cheese, and hearty chili that creates a delightful bite every time! Don’t forget to save some for later—though that might be hard, especially after tasting these ultimate fries!
Chili Cheese Fries Ingredients
• Get ready to create a taste sensation with these mouthwatering layers!
For the Fries
• Potatoes – fresh or frozen, they provide the crispy base for this indulgent dish.
For the Chili
• Chili – use your favorite homemade recipe or a can for a quick option; feel free to opt for vegetarian chili for a meat-free delight.
For the Cheese
• Cheddar Cheese – its meltability and sharp flavor make it a top choice; Monterey Jack works beautifully as a substitute.
For the Topping
• Sour Cream – adds a tanginess that balances the richness; Greek yogurt can be a healthier swap.
Now that you have the perfect blend of ingredients, it’s time to whip up those chili cheese fries that everyone will love!
Step‑by‑Step Instructions for Ultimate Chili Cheese Fries
Step 1: Prepare the Fries
Begin by washing and cutting fresh potatoes into fry shapes, approximately 1/4-inch thick. If you’re short on time, feel free to use frozen fries instead. Heat oil in a deep fryer or large pot to 350°F (175°C), then carefully lower the fries in batches, frying for about 5-6 minutes until they are golden brown and crispy. Drain on paper towels and season while hot.
Step 2: Heat the Chili
In a medium saucepan, add your favorite chili—homemade or canned—and place it over medium heat. Stir frequently as it warms up for about 5-7 minutes, ensuring it reaches a gentle simmer. You’ll know it’s ready when the chili is piping hot and bubbling slightly, filling your kitchen with an inviting aroma that perfectly complements the crispy fries.
Step 3: Combine
On a large serving dish, arrange your crispy fries in an even layer, making them the star of your ultimate chili cheese fries. Spoon generous amounts of the hot chili over the fries, allowing the flavor to seep in and coat them deliciously. Next, sprinkle a good amount of grated cheddar cheese on top, ensuring every fry gets its share of cheesy goodness.
Step 4: Melt Cheese
Preheat your broiler, and once it’s hot, carefully place the topped fries under the broiler for about 1-2 minutes. Keep a close eye on them, as you want the cheese to melt and bubble without burning. The visual cue will be the cheese turning a lovely golden color, ready to ooze over the fries, creating that irresistible look everyone loves.
Step 5: Serve
Remove your ultimate chili cheese fries from the oven and let them cool slightly. Add dollops of sour cream on top for creamy tanginess, and feel free to garnish with sliced green onions for a pop of color. Serve immediately, sharing this delightful, warm dish with friends and family who will surely appreciate this comfort food classic.
Chili Cheese Fries Variations
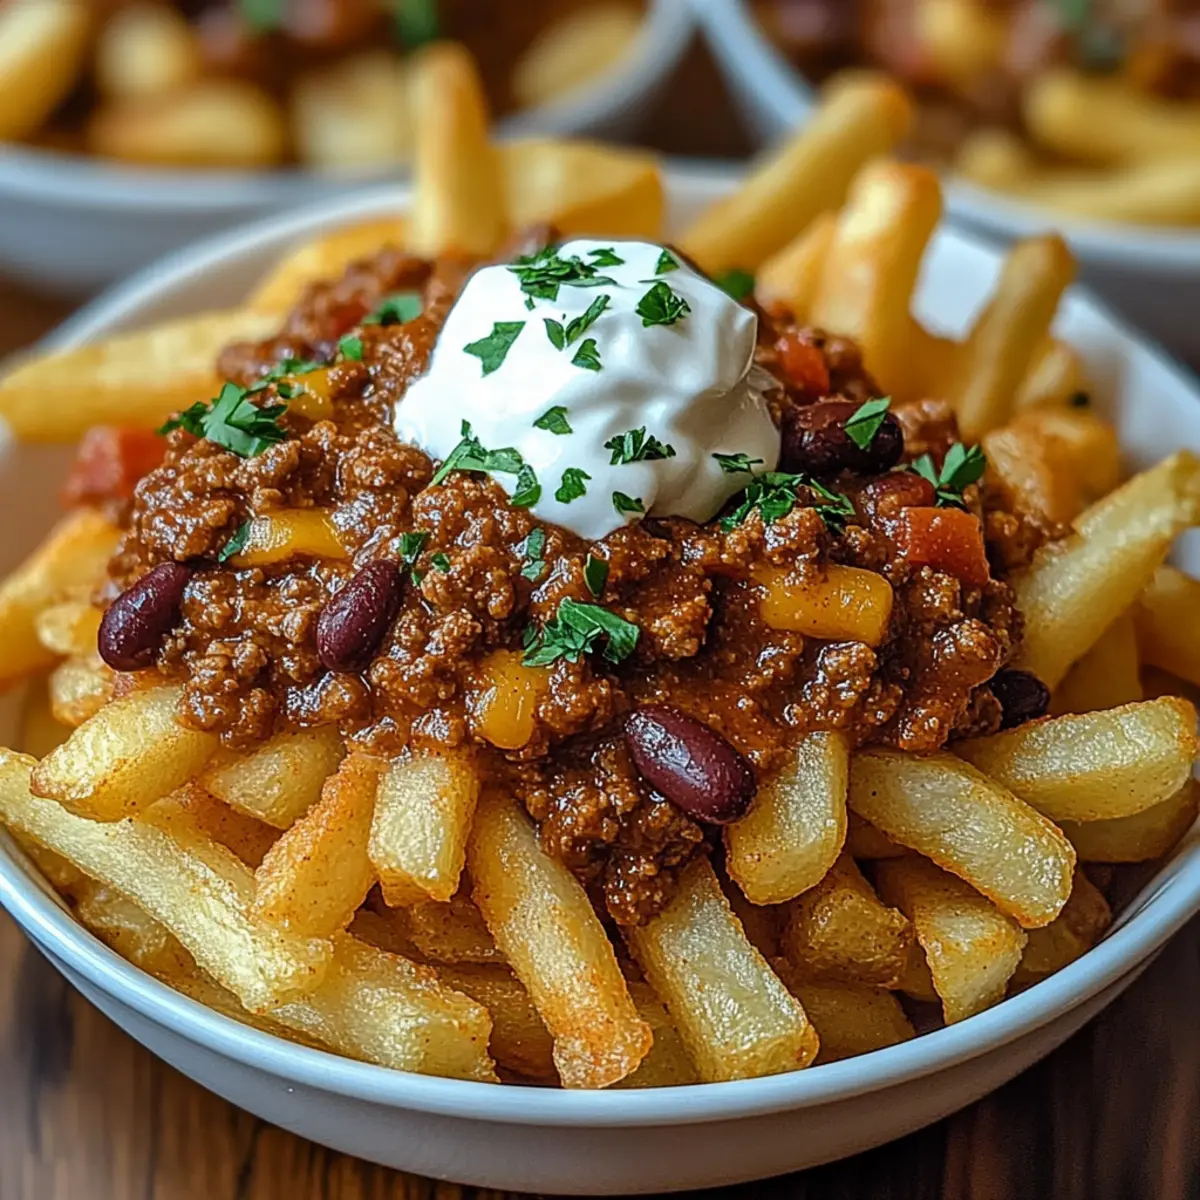
Feel free to let your creativity shine as you customize your chili cheese fries with these delightful twists!
-
Sweet Potato Fries: Substitute regular fries with sweet potato fries for a naturally sweet and delicious flavor profile. They add a unique taste while still delivering a satisfying crunch.
-
Spicy Kick: Add jalapeños or crushed red pepper flakes to your chili to take the heat level up a notch. This fiery addition will tantalize those who crave extra spice for their snack.
-
Vegetarian Delight: Use a hearty vegetarian chili in place of traditional meat-based chili for a meat-free option. It keeps all the flavor while catering to plant-based eaters and is just as comforting!
-
Dairy-Free Indulgence: Swap regular cheese for vegan cheese to keep these fries creamy and rich while catering to dairy-free diets. You won’t miss the dairy, and it’s sure to impress your vegan friends!
-
Fresh Toppings: Garnish your fries with diced tomatoes, sliced olives, or chopped green onions for added freshness and texture. It elevates the classic dish and adds that vibrant look!
-
Extra Creaminess: Opt for a dollop of Greek yogurt instead of sour cream for a healthier yet equally tangy alternative. It adds a lovely creamy texture that pairs perfectly with everything else.
-
Slow-Cooked Chili: For a deep, rich flavor, use slow-cooked chili instead of a quick option. The longer cooking time allows spices to meld beautifully, ensuring every bite bursts with flavor.
-
Cheesy Sauce: Drizzle a cheese sauce over the top instead of just shredded cheese for a gooey, over-the-top treat. Perfect for when you want to take your cheese game to the next level!
While you’re indulging in these delicious chili cheese fries, consider serving them alongside my flavorful Cottage Cheese Pizza or treat yourself with a slice of Ultimate Chocolate Cheesecake for dessert!
What to Serve with Ultimate Chili Cheese Fries
As you gather around the table for game day or a cozy night in, your Ultimate Chili Cheese Fries deserve delicious companions to round out the meal.
-
Crunchy Coleslaw: A light, tangy slaw adds freshness that balances the richness of the fries beautifully. Crisp vegetables provide a satisfying crunch, making every bite feel vibrant and lively.
-
Spicy Chicken Wings: The heat from hot wings creates an exciting contrast to the cheesy fries. Pairing them with different sauces lets your guests feel like they’re at a tailgate party!
-
Guacamole and Tortilla Chips: Creamy guacamole with crispy chips offers a delightful change in texture. Plus, the flavors of lime and avocado mesh wonderfully with the hearty chili.
-
Garlic Bread: Warm, buttery garlic bread serves as a great side to soak up any leftover chili. The herbaceous flavors blend perfectly with the spices, making every dip extra tasty.
-
Pickled Jalapeños: Adding a handful of pickled jalapeños brings zest and heat! These little bites add depth and a tantalizing kick, enhancing the overall flavor experience.
-
Crispy Onion Rings: The crunchy, savory onion rings bring a satisfying crunch alongside your fries. Serve them with a spicy dipping sauce for added flavor satisfaction.
-
Beer or Cider: Pairing this feast with a cold beer or a crisp cider elevates the game-day vibe. The carbonation cuts through the richness of the cheese and chili, refreshing your palate.
-
Chocolate Brownies: For dessert, indulge with fudgy chocolate brownies. Their rich, sweet flavor complements your chili cheese fries while creating a delightful end to the meal.
Make Ahead Options
Chili cheese fries are perfect for meal prep enthusiasts looking to save time during busy weeks! You can prepare the chili up to 3 days in advance; simply store it in an airtight container in the refrigerator to keep its rich flavor intact. Additionally, you can cut and soak the fries in water (to prevent browning) and refrigerate them for up to 24 hours before frying. When you’re ready to serve, just fry the potatoes until crispy, heat the chili, and combine with cheese as outlined in the steps. This way, you’ll have delicious, restaurant-quality chili cheese fries that are just as comforting and indulgent, but with minimal effort on game day!
Storage Tips for Chili Cheese Fries
-
Fridge: Store any leftovers in an airtight container in the fridge for up to 2 days. This will help maintain their flavor and texture.
-
Reheating: For the best results, reheat chili cheese fries in the oven at 350°F (175°C) for about 10-15 minutes. This helps restore crispiness.
-
Freezer: If you need to freeze, separate the fries from the chili and cheese. Store in airtight containers for up to 2 months.
-
Best Enjoyed Fresh: Chili cheese fries are most satisfying fresh, so assemble them just before serving for that ultimate comfort food experience!
Expert Tips for Chili Cheese Fries
-
Fry Temperature: Ensure your oil is at 350°F for perfectly crispy fries; too cold oil can lead to sogginess.
-
Chili Choices: Use a chili that you enjoy eating, whether homemade or canned—it greatly influences the flavor of your chili cheese fries.
-
Cheese Melting: Broil carefully to melt the cheese; keep an eye on it to avoid burning, because burnt cheese can ruin your delicious dish.
-
Season Fries: Before frying, sprinkle your fries with garlic powder or paprika for an extra flavor boost and to elevate the overall taste.
-
Proper Layering: For the best experience, layer your fries, chili, and cheese evenly, allowing every bite to deliver that comforting taste you crave!
-
Serve Fresh: These chili cheese fries are best enjoyed immediately, so gather your loved ones around the table to savor this indulgent snack together.
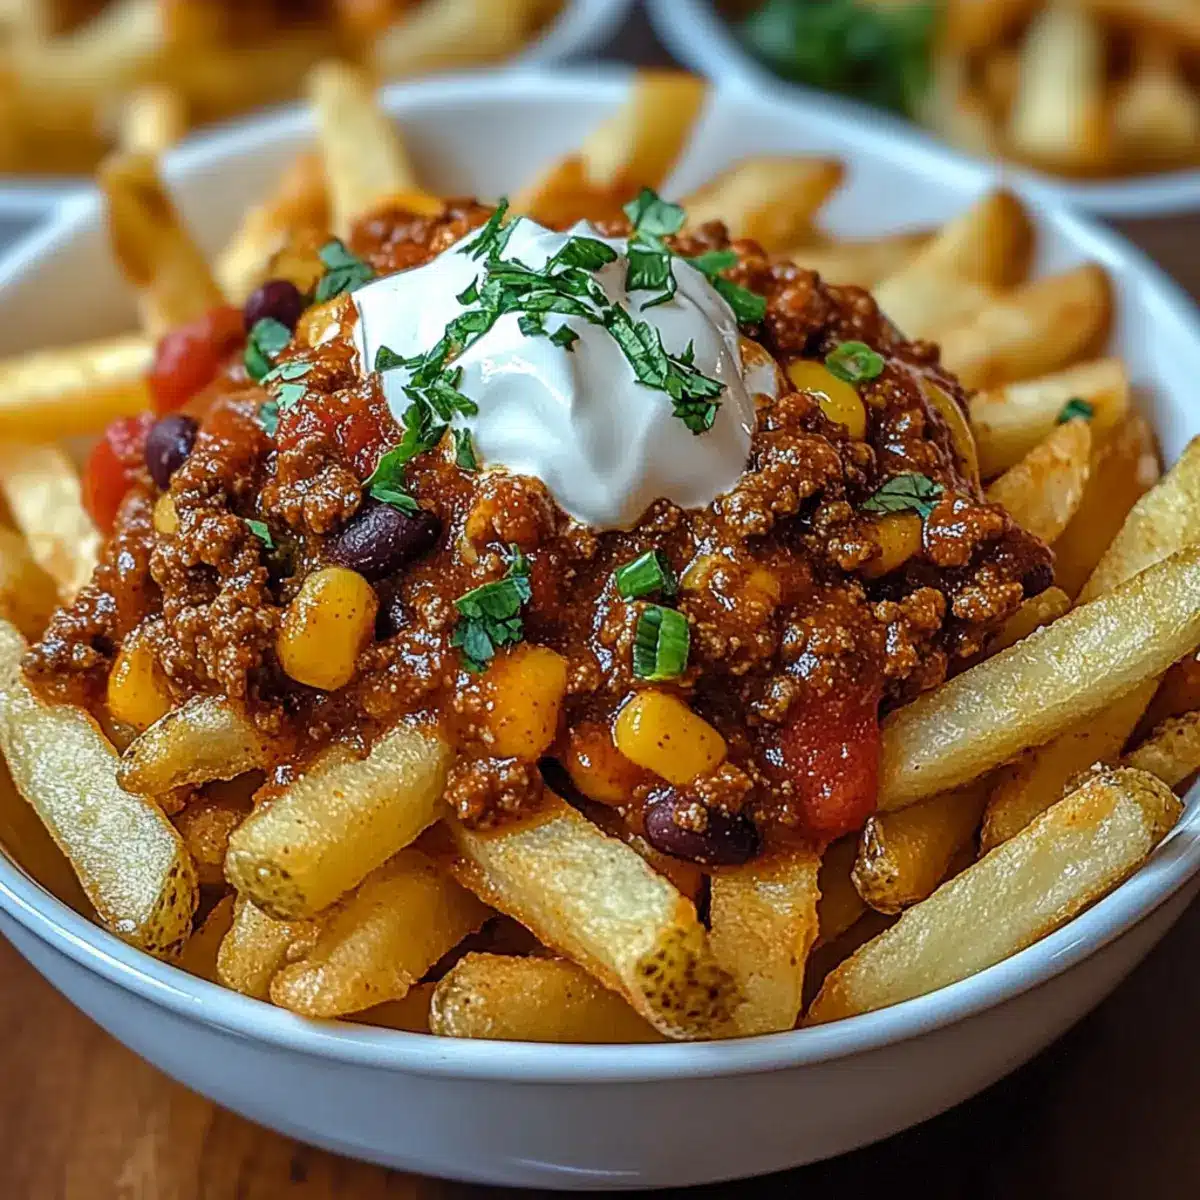
Ultimate Chili Cheese Fries Recipe FAQs
How do I choose the right potatoes for fries?
Absolutely! When selecting potatoes for chili cheese fries, look for starchy varieties like Russets or Idaho potatoes. These types have low moisture content and will yield crispy fries. For the best results, choose potatoes that are firm, without any dark spots or sprouting. If you’re in a pinch, frozen fries can be a quick substitute!
What’s the best way to store leftover chili cheese fries?
Very! To keep leftovers fresh, place them in an airtight container and store them in the fridge for up to 2 days. Make sure they’ve cooled down before sealing. When you’re ready to enjoy them again, reheat in an oven at 350°F (175°C) for about 10-15 minutes to bring back that crispy texture.
Can I freeze chili cheese fries?
Certainly! If you want to freeze your chili cheese fries, it’s best to separate the components. Store the prepared fries in an airtight container or freezer bag for up to 2 months. For the chili, do the same in a different container. When you’re ready to enjoy, reheat the fries in the oven while warming the chili on the stove until everything is hot and ready to serve!
What if my fries turn out soggy?
No worries! If your fries come out soggy, it could be because the oil was not hot enough, or they were crowded in the fryer. For crispy fries, ensure your oil is heated to 350°F (175°C) before adding them, and fry in batches for better frying circulation. Patting them dry with paper towels post-frying can also help remove excess moisture.
Are chili cheese fries suitable for everyone?
Absolutely! You can easily customize bean chili for a vegetarian option for those with dietary restrictions. As for allergens, be mindful of dairy in the cheese and sour cream. If anyone has a dairy allergy, try using vegan cheese and a dairy-free sour cream alternative. With all these modifications, you can enjoy delicious chili cheese fries with everyone!
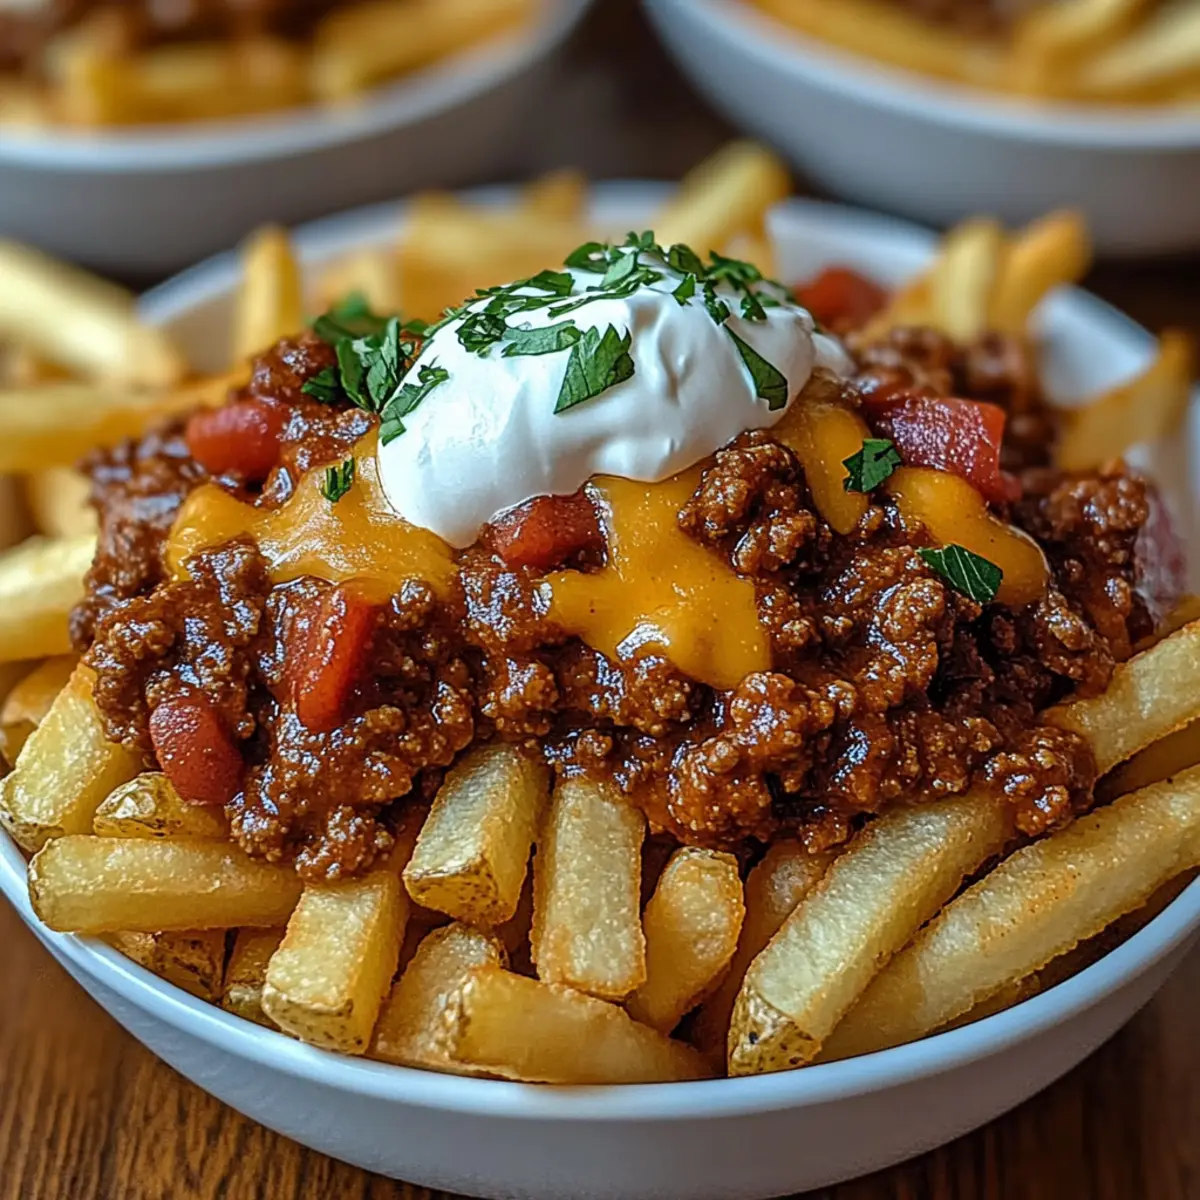
Irresistible Chili Cheese Fries for Your Next Game Day Feast
Ingredients
Equipment
Method
- Wash and cut potatoes into fry shapes, heat oil in deep fryer to 350°F, fry for 5-6 minutes until golden brown.
- In a medium saucepan, heat your chili over medium heat for 5-7 minutes until piping hot.
- Arrange fries in a large serving dish, spoon chili over fries, and sprinkle cheddar cheese on top.
- Preheat broiler and place topped fries under it for 1-2 minutes until cheese melts and bubbles.
- Let cool slightly, then add dollops of sour cream and serve immediately.
Leave a Reply