
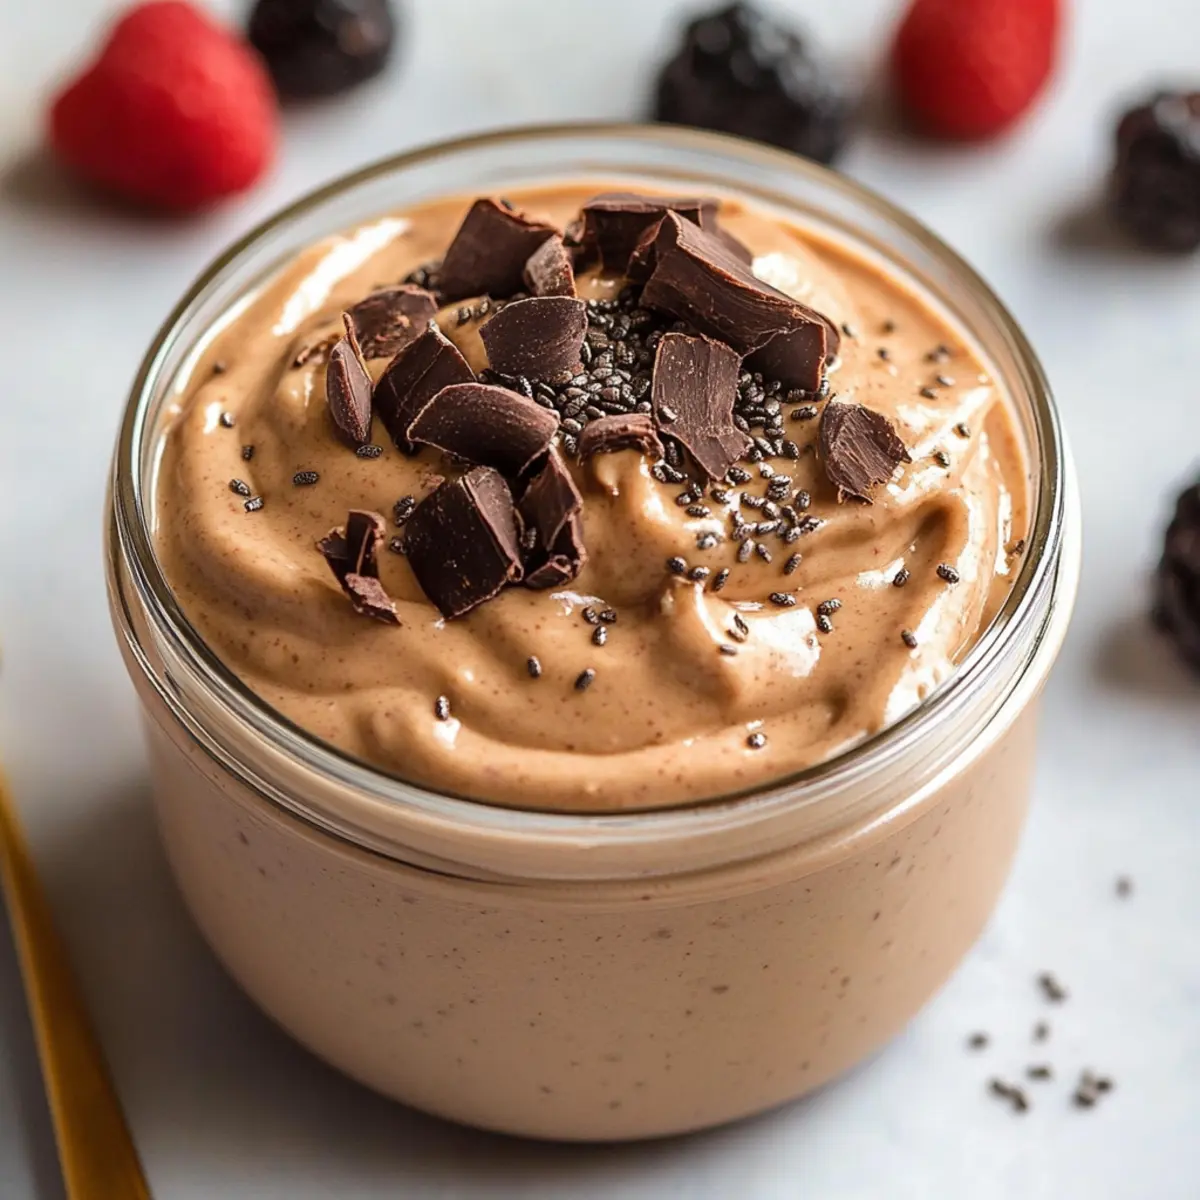
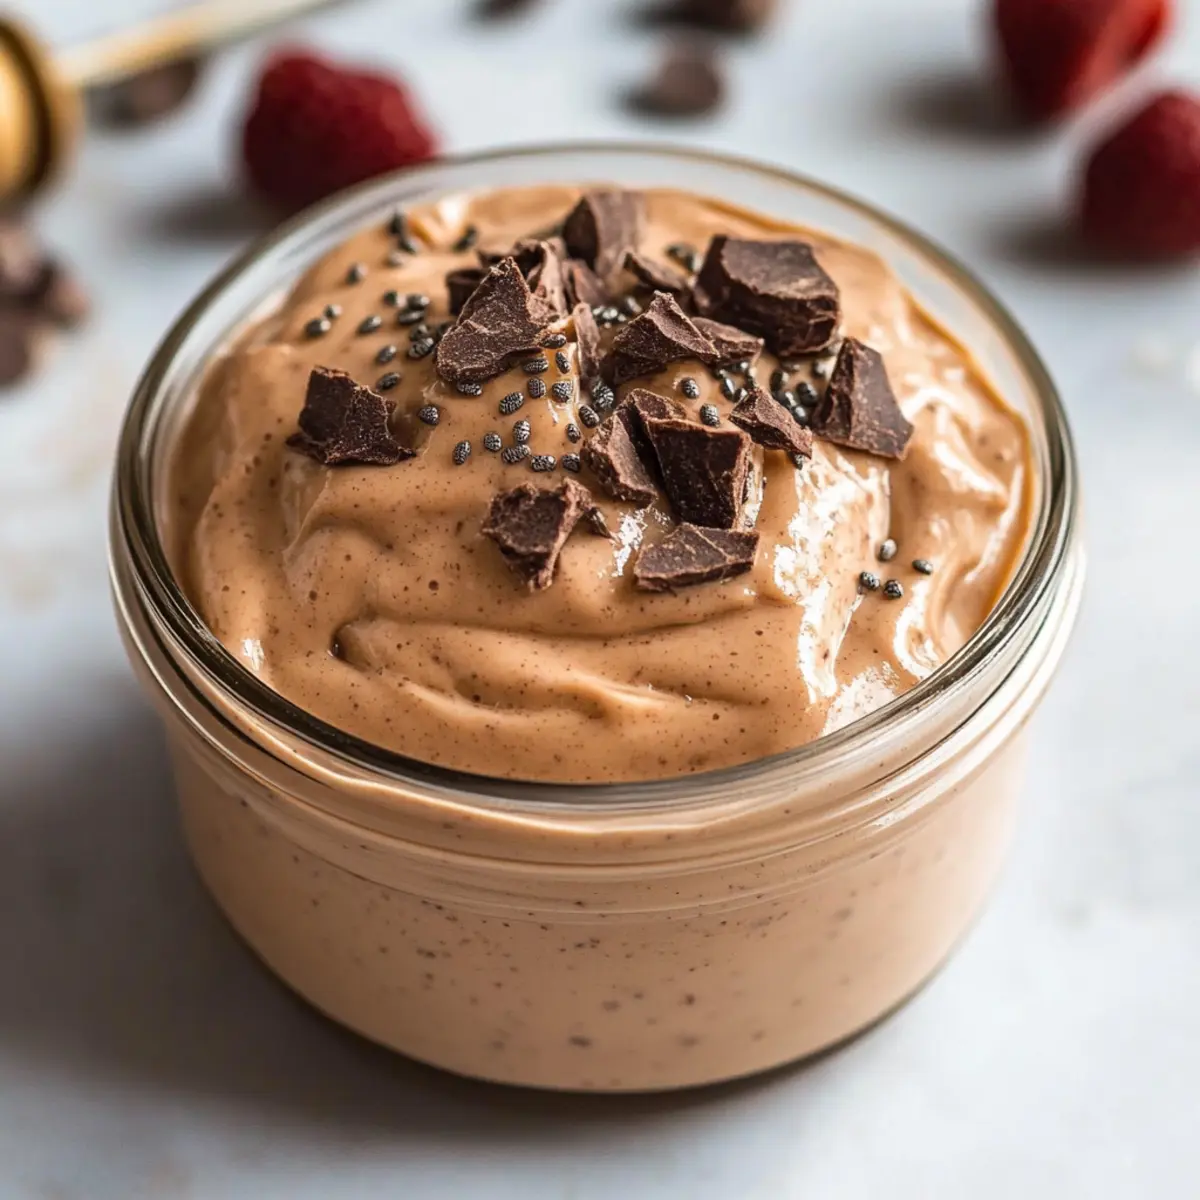
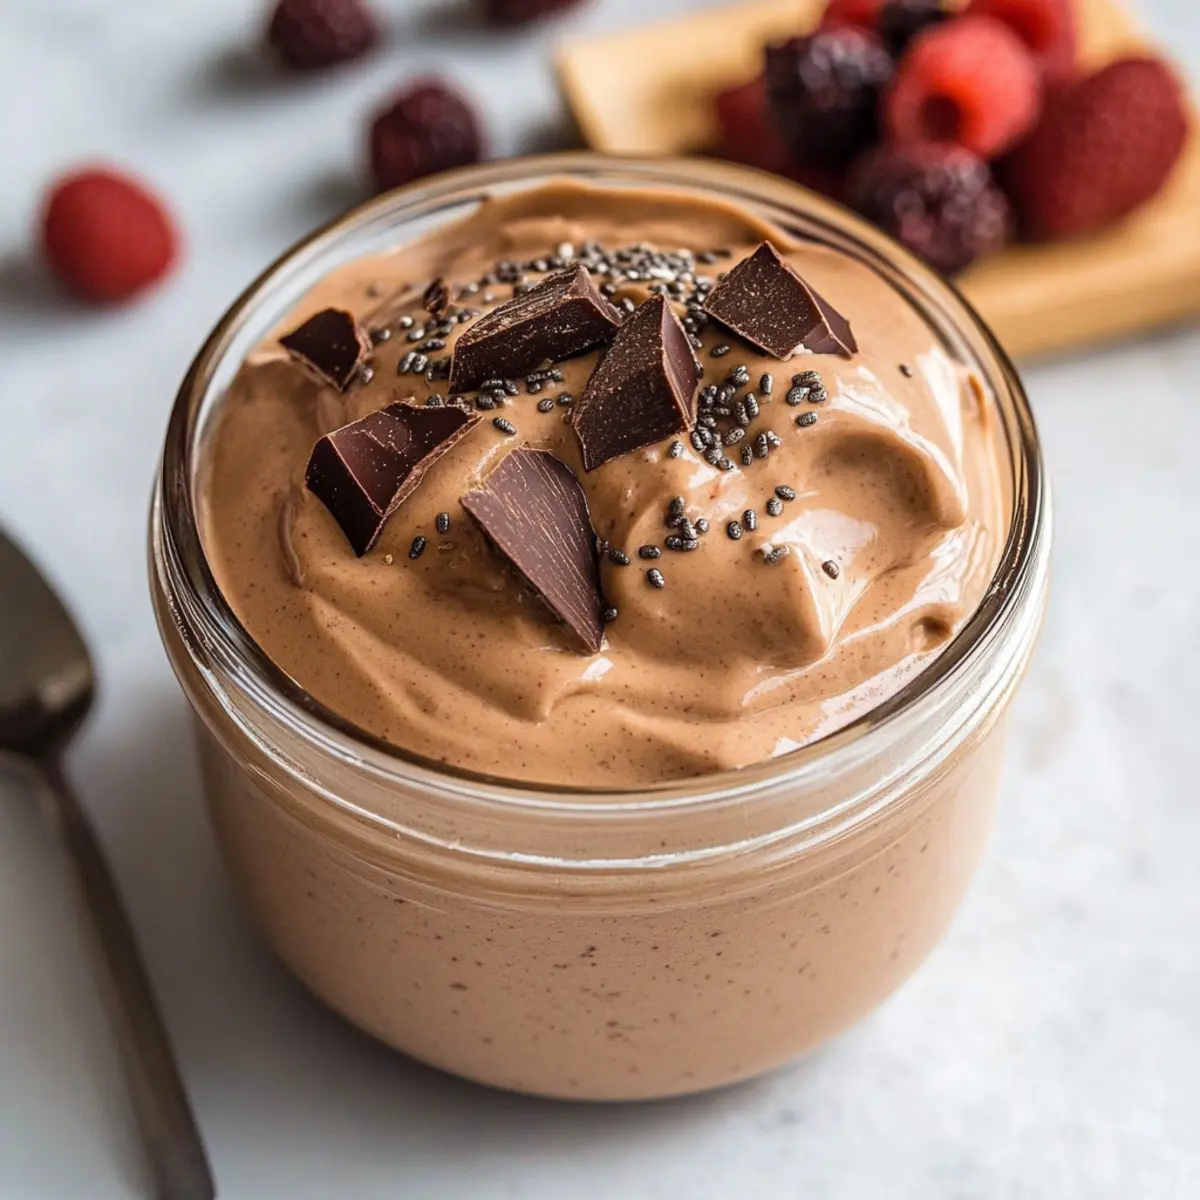
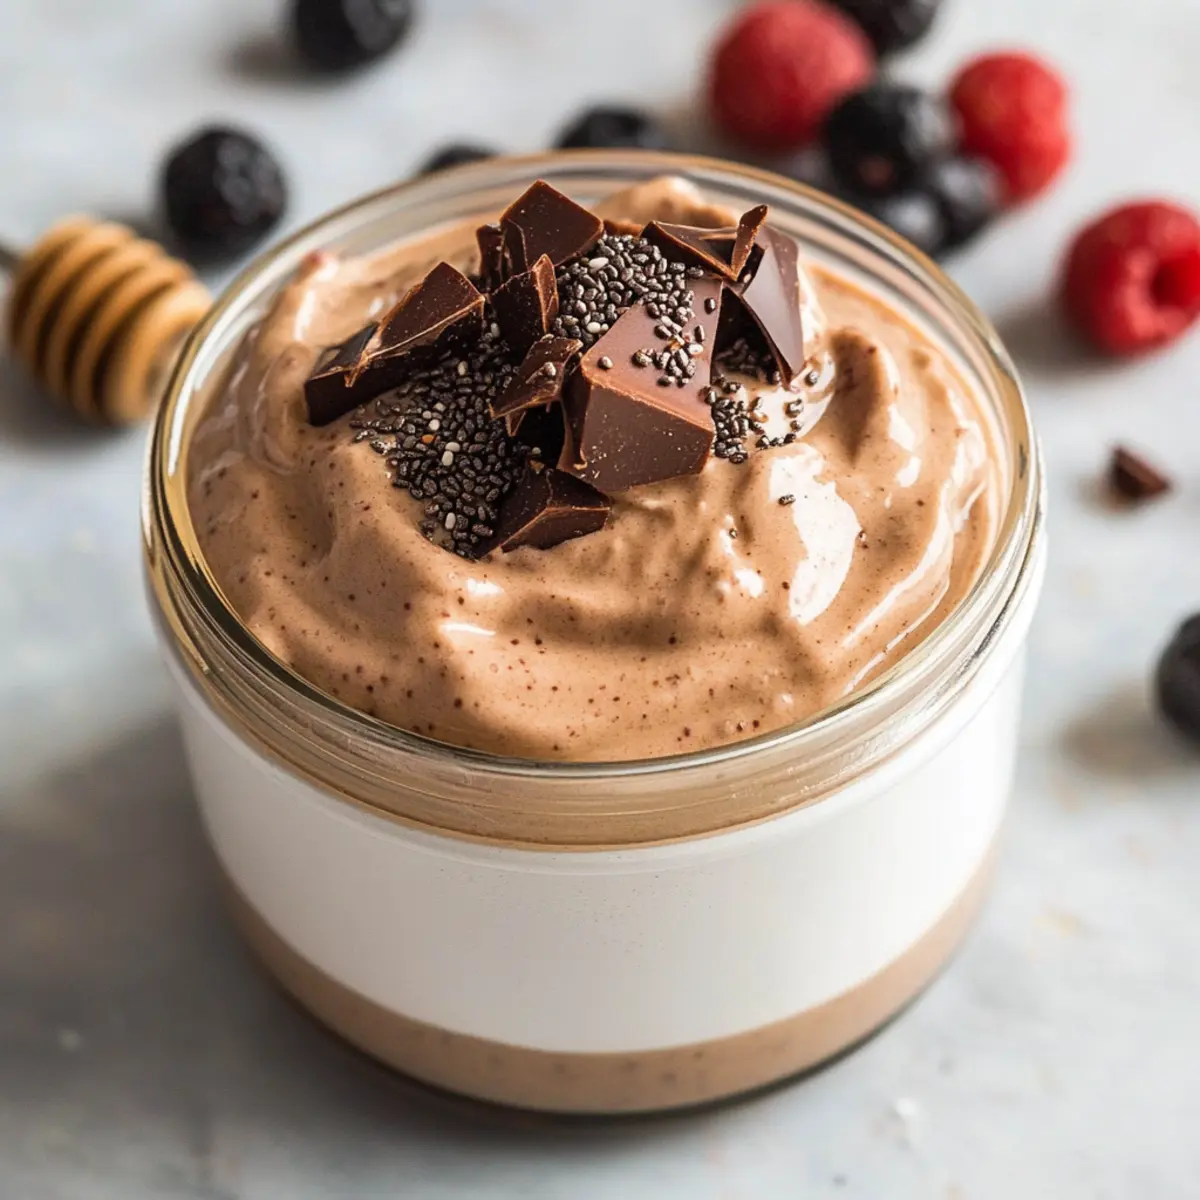
As I stood in my kitchen, I couldn’t help but marvel at how simple ingredients could transform into something so deliciously satisfying. Today, I’m excited to share my recipe for Protein Pudding, a creamy, indulgent treat that packs a high protein punch while being incredibly easy to whip up. With just a handful of ingredients, you can customize this versatile dessert to fit your taste buds—whether that’s a hint of vanilla, a sprinkle of chia seeds, or even rich cocoa powder. Not only does this pudding make for a perfect post-workout snack or a nourishing dessert option, but it’s also a breeze to prepare ahead of time, making meal prep feel less daunting. So, what flavor creation will you dream up first? Let’s dive into this delightful journey together!
Why is Protein Pudding a Must-Try?
Deliciously Creamy: This protein pudding offers a luxuriously smooth texture that will satisfy any dessert craving without the guilt.
Quick and Easy: With minimal ingredients and a straightforward method, you can whip this up in no time!
Customizable Options: Choose from a variety of flavor add-ins, from vanilla to cocoa powder, allowing you to craft a version that suits your palate perfectly.
High Protein Boost: Packed with protein, this pudding is not just tasty but also super nutritious, making it ideal for those looking to enhance their protein intake.
Meal Prep Friendly: Ideal for busy schedules, you can make a batch ahead of time, ensuring you have a delicious and healthy snack ready when you need it!
Crowd Pleasing: Whether you serve it post-workout or at a dinner party, your friends and family will rave about this delightful treat. For more delicious options, don’t forget to check out my Chewy Chocolate Chip cookies for a perfect sweet pairing!
Protein Pudding Ingredients
For the Pudding Base
- Whey Protein Powder – Provides a creamy texture and protein boost; substitute with plant-based protein for a vegan option as needed.
- Greek Yogurt – Acts as a base for creaminess; can be swapped with dairy-free yogurt for a dairy-free version.
- Milk (or Non-Dairy Alternative) – Thin the pudding to the desired consistency; coconut, almond, or oat milk work wonderfully as alternatives.
For Flavor Enhancement
- Vanilla Extract – Enhances sweetness and flavor depth; totally optional but highly recommended for that extra kick!
- Chia Seeds – Adds fiber and a bit of texture; optional, but a fantastic boost for the nutritional profile.
For Finishing Touches
- Sea Salt – Balances sweetness and enhances overall flavor; just a pinch goes a long way!
This delightful Protein Pudding recipe is not just easy to prepare, but it’s also loaded with potential variations to keep your taste buds excited. Enjoy experimenting!
Step‑by‑Step Instructions for Protein Pudding
Step 1: Combine the Base Ingredients
In a large mixing bowl, add your desired amount of whey protein powder and Greek yogurt. Using a whisk or electric mixer, blend the mixture until it becomes smooth and creamy, taking about 1-2 minutes. Ensure there are no lumps, as this will set the foundation for your delicious Protein Pudding.
Step 2: Incorporate the Liquid
Gradually pour in your choice of milk or non-dairy alternative while stirring continuously. Aim for a thick yet pourable consistency, which should take around 2-3 minutes. If the mixture appears too thick, add a little more milk gradually until you achieve the desired creamy texture that resembles traditional pudding.
Step 3: Enhance the Flavor
Once the base is creamy, it’s time to add a splash of vanilla extract along with the optional chia seeds for added nutrition and texture. Mix thoroughly for another 1-2 minutes, ensuring everything is well combined. The sweet, aromatic scent of vanilla will fill your kitchen, signaling that your Protein Pudding is nearly ready.
Step 4: Portion Your Pudding
Using a spatula, scoop the protein pudding mixture into airtight containers or mason jars. This step allows for easy storage and grab-and-go options later. Fill each container to leave a little space at the top to prevent overflow when refrigerated. You should aim to make about 4-6 servings depending on the sizes of your containers.
Step 5: Chill to Perfection
Once portioned, place the containers in the refrigerator. Allow the Protein Pudding to chill for at least 1 hour, though for the best flavor and texture, aim for 2-3 hours. This waiting period will help the pudding thicken up and enhance the overall flavor, making every bite deliciously satisfying.
Step 6: Serve and Enjoy
After chilling, your Protein Pudding is ready to serve! You can enjoy it as is, or add your favorite toppings like fresh berries, granola, or a drizzle of nut butter for extra flavor. Delight in the smooth and creamy texture, knowing your nutritious snack is both easy to prepare and absolutely delicious.
Expert Tips for Protein Pudding
Mix Thoroughly: Ensure a lump-free pudding by mixing well. Use a whisk or electric mixer to achieve a smooth consistency.
Adjust Liquid Wisely: Depending on your protein powder type, you may need to tweak the amount of milk used to achieve the perfect creamy texture for your protein pudding.
Experiment with Flavors: Don’t hesitate to try different add-ins like cocoa powder or fruit purees to create unique flavor profiles.
Storage Savvy: Use airtight containers for storage to keep your Protein Pudding fresh. It’s great for meal prep, lasting up to 3 days in the fridge.
Chill for Best Results: Allowing the pudding to chill for a few hours enhances the flavor and texture. Patience pays off in this delightful treat!
Make Ahead Options
These Protein Pudding cups are perfect for meal prep enthusiasts looking to save time during busy weeks! You can prepare the pudding mixture up to 3 days in advance, allowing the flavors to meld beautifully in the fridge. Simply combine the whey protein powder, Greek yogurt, milk, and flavor add-ins, then portion them into airtight containers for easy access. To maintain quality, ensure the containers are well-sealed and refrigerate immediately after preparation. When you’re ready to enjoy, just give it a gentle stir and add your favorite toppings like fresh fruit or granola. This way, you’ll have a nutritious and delicious snack ready to go whenever hunger strikes!
How to Store and Freeze Protein Pudding
Fridge: Keep your Protein Pudding in airtight containers for freshness. It can be stored in the refrigerator for up to 3 days, making it a convenient grab-and-go snack.
Freezer: For longer storage, freeze individual portions in airtight containers for up to 2 months. When ready to enjoy, thaw in the refrigerator overnight before serving.
Reheating: There’s no need to reheat; simply enjoy your pudding cold or at room temperature. If desired, add a splash of milk to restore creaminess after freezing.
Note: Always ensure the containers are sealed tightly to prevent freezer burn and maintain the delightful texture of your Protein Pudding!
What to Serve with High-Protein Creamy Protein Pudding?
Indulging in a creamy dessert is delightful, but pairing it with the right side can elevate your meal experience.
-
Fresh Berries: Adding strawberries or blueberries provides a refreshing contrast, enhancing the pudding’s creamy texture with vibrant sweetness.
-
Crunchy Granola: Tossing some granola on top gives a delightful crunch, balancing the creamy pudding while adding a nutritious boost.
-
Chopped Nuts: Almonds or walnuts add an earthy flavor and interesting texture, making each bite more filling and satisfying.
-
Nut Butter Drizzle: A sticky layer of peanut or almond butter enhances the richness and satisfies those who crave a protein-packed treat.
-
Dark Chocolate Shavings: For a decadent twist, sprinkle dark chocolate on top to deepen flavors and introduce a hint of bitterness that complements the sweetness.
-
Coconut Flakes: Toasted coconut brings a tropical flair, infusing warmth and chewiness that plays wonderfully against the pudding’s smoothness.
-
Mint Leaves: Fresh mint offers a burst of freshness that awakens the palate and makes every spoonful feel invigorating.
-
Fruit Puree: Swirling a vibrant fruit puree like mango or raspberry not only enhances presentation but adds lovely fruitiness that pairs nicely with creamy textures.
Protein Pudding Variations & Substitutions
Unlock the full potential of your protein pudding with these exciting twists—let your creativity run wild in the kitchen!
- Vegan Swap: Substitute whey protein powder with your favorite plant-based protein for a completely vegan dessert.
- Flavor Boost: Add 2 tablespoons of cocoa powder or melted dark chocolate for a rich chocolatey delight.
- Fruity Twist: Blend in 1/2 cup of fruit puree, like banana or mango, for a refreshing fruit-flavored pudding. It’s like a burst of sunshine in every spoonful!
- Nutty Addition: Stir in a tablespoon of almond butter or peanut butter for a satisfying nutty flavor and extra creaminess.
- Chia Seedy: Swap chia seeds for ground flaxseeds to give your pudding a different texture and added omega-3 fatty acids.
- Spicy Kick: Mix in a pinch of cinnamon or nutmeg for a warm spice sensation, perfect for a cozy evening treat.
- Top it Off: Finish your pudding with a sprinkle of granola, nuts, or seeds for an enjoyable crunch. The contrast of textures elevates your pudding experience!
- For Chocolate Lovers: Try adding chocolate chips or a drizzle of chocolate syrup on top of your protein pudding, creating a decadent dessert that feels indulgent.
Each variation is a delightful opportunity to tailor this delicious treat to your personal taste. With endless customization options, your protein pudding will never feel boring! For more delicious ideas, don’t forget to explore my Chewy Chocolate Chip cookie recipe for a perfect side treat!
Protein Pudding Recipe FAQs
What kind of protein powder should I use for Protein Pudding?
I recommend using whey protein powder for a creamy texture and robust flavor. If you’re aiming for a vegan option, opt for plant-based protein powders, but you may need to add some extra liquid to achieve the same creamy consistency.
How long can I store Protein Pudding in the fridge?
You can keep your Protein Pudding in airtight containers in the refrigerator for up to 3 days. For the best taste and freshness, eat it within that timeframe, as the texture can change over longer periods.
Can I freeze Protein Pudding?
Absolutely! To freeze your Protein Pudding, portion it into airtight containers or ice cube trays. It can be stored for up to 2 months. When you’re ready to enjoy, simply transfer the portion to the refrigerator and let it thaw overnight. You can also add a splash of milk after thawing to restore its creaminess.
What if my Protein Pudding is too thick?
If your pudding turns out too thick, don’t worry! Just stir in a little extra milk or non-dairy alternative, a tablespoon at a time, until you reach your desired creamy texture. This adjustment is key for ensuring the pudding feels light and fluffy.
Are there any dietary considerations for Protein Pudding?
Yes, while this Protein Pudding is generally a healthy treat, always be mindful of any allergies. The base contains dairy (Greek yogurt and milk), so you can substitute with dairy-free yogurt and non-dairy milk if you’re lactose intolerant or dairy-sensitive. Always check protein powder labels for potential allergens too!
Can I use fruit or other mix-ins in my Protein Pudding?
Definitely! You can enhance your Protein Pudding by adding fruit purees, chopped fruits, or even cocoa powder for a chocolate version. I often use fresh berries as a topping after it’s chilled to add a burst of flavor and nutrition!
Creamy Protein Pudding: Your Simple, Customizable Delight
Ingredients
Equipment
Method
- In a large mixing bowl, add whey protein powder and Greek yogurt. Blend until smooth and creamy, about 1-2 minutes.
- Gradually pour in your milk or non-dairy alternative while stirring continuously until thick yet pourable, about 2-3 minutes.
- Add vanilla extract and chia seeds, mixing for another 1-2 minutes to combine well.
- Scoop the mixture into airtight containers or mason jars, leaving space at the top.
- Chill in the refrigerator for at least 1 hour, ideally 2-3 hours for best flavor.
- Serve chilled, adding toppings like berries, granola, or nut butter if desired.
Leave a Reply