
As the first hints of fall appear, my mind drifts to cozy kitchens filled with the intoxicating aromas of spices and baked goods. There’s something magical about that annual transition, and nothing captures it better than this Moist & Flavorful Gluten-Free Pumpkin Bread. Trust me, your taste buds will rejoice at the moist, tender crumb and the warm, spiced flavors that dance through every bite. Quick to prepare, this delightful recipe is not only a great way to satisfy your cravings but also a fantastic option for anyone looking for gluten-free comfort that feels indulgent. Whether you’re enjoying a slice with your morning coffee or as a sweet afternoon snack, this pumpkin bread is sure to become a beloved fall staple in your home. Ready to dive into the pumpkin magic? Let’s get baking!

Why is Pumpkin Bread a Fall Favorite?
Autumn Vibes: There’s nothing quite like the aroma of pumpkin bread baking in your kitchen as fall settles in.
Flavor Explosion: The rich blend of cinnamon and nutmeg complements the sweet pumpkin beautifully, creating a flavor experience everyone will love.
Quick & Easy: With just a few simple steps, you can have this gluten-free treat ready in no time, perfect for busy weeknights!
Customizable: Enjoy it as is, or add your twist with nuts or chocolate chips, making it versatile for any occasion. Plus, if you’re in the mood for something different, try our Japanese Egg Sandwich for a fresh take!
Perfect for Sharing: This pumpkin bread is a hit at gatherings, ensuring it won’t last long on the table. Embrace the autumn season with this indulgent recipe!
Gluten-Free Pumpkin Bread Ingredients
• Discover the perfect mix for a moist, gluten-free pumpkin bread!
For the Bread
- Pumpkin Puree – Provides moisture and natural sweetness; both canned and homemade versions work wonderfully.
- Gluten-Free Flour Blend – Acts as the foundation; look for one with xanthan gum for the best texture.
- Sugar – Balances sweetness perfectly; substitute half with brown sugar for deeper flavor.
- Eggs – Bind the ingredients and give rise; for a vegan alternative, use flax eggs (1 tbsp ground flaxseed + 2.5 tbsp water per egg).
- Baking Powder & Baking Soda – Key leavening agents that lighten texture; always use fresh for the best rise.
- Cinnamon & Nutmeg – Infuse warmth and spice; feel free to adjust the amounts to suit your taste.
- Salt – Elevates flavor; don’t skip it for a well-rounded taste!
- Oil (or Melted Butter) – Adds that necessary moisture; coconut oil makes for a fantastic dairy-free option.
Enjoy diving into this delightful recipe that offers a comforting vibe while being gluten-free!
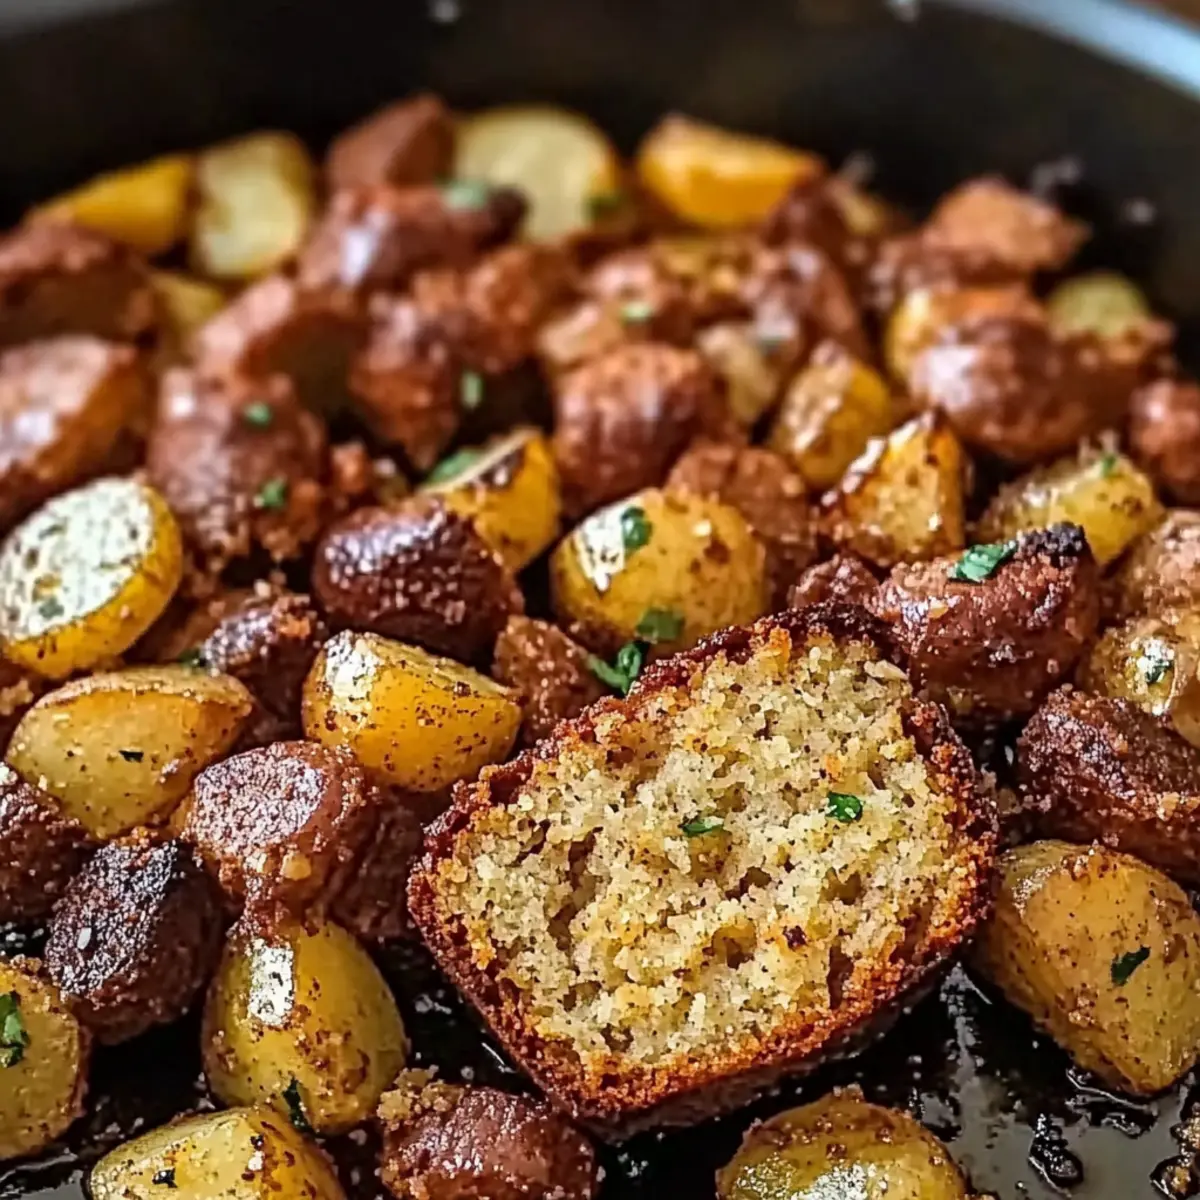
Step‑by‑Step Instructions for One Pan Kielbasa and Potatoes
Step 1: Preheat Your Oven
Start by preheating your oven to 400°F (200°C). While the oven warms up, grab a large baking sheet and line it with parchment paper for easy cleanup. This step ensures your One Pan Kielbasa and Potatoes cook evenly, developing a golden, crispy exterior that everyone will love.
Step 2: Prepare the Potatoes and Kielbasa
Next, wash and dice your potatoes into small cubes for even cooking. Slice the kielbasa into bite-sized pieces, ensuring they blend well with the potatoes. Arrange both the potatoes and kielbasa on the prepared baking sheet, creating a colorful mix that promises a satisfying meal.
Step 3: Add Seasonings and Oil
Drizzle the mixture with olive oil, ensuring each piece is well-coated for maximum flavor. Sprinkle with your favorite seasonings—try garlic powder, paprika, and a pinch of salt and pepper. Toss everything together on the baking sheet until the potatoes and kielbasa are beautifully seasoned and shiny.
Step 4: Roast the Mixture
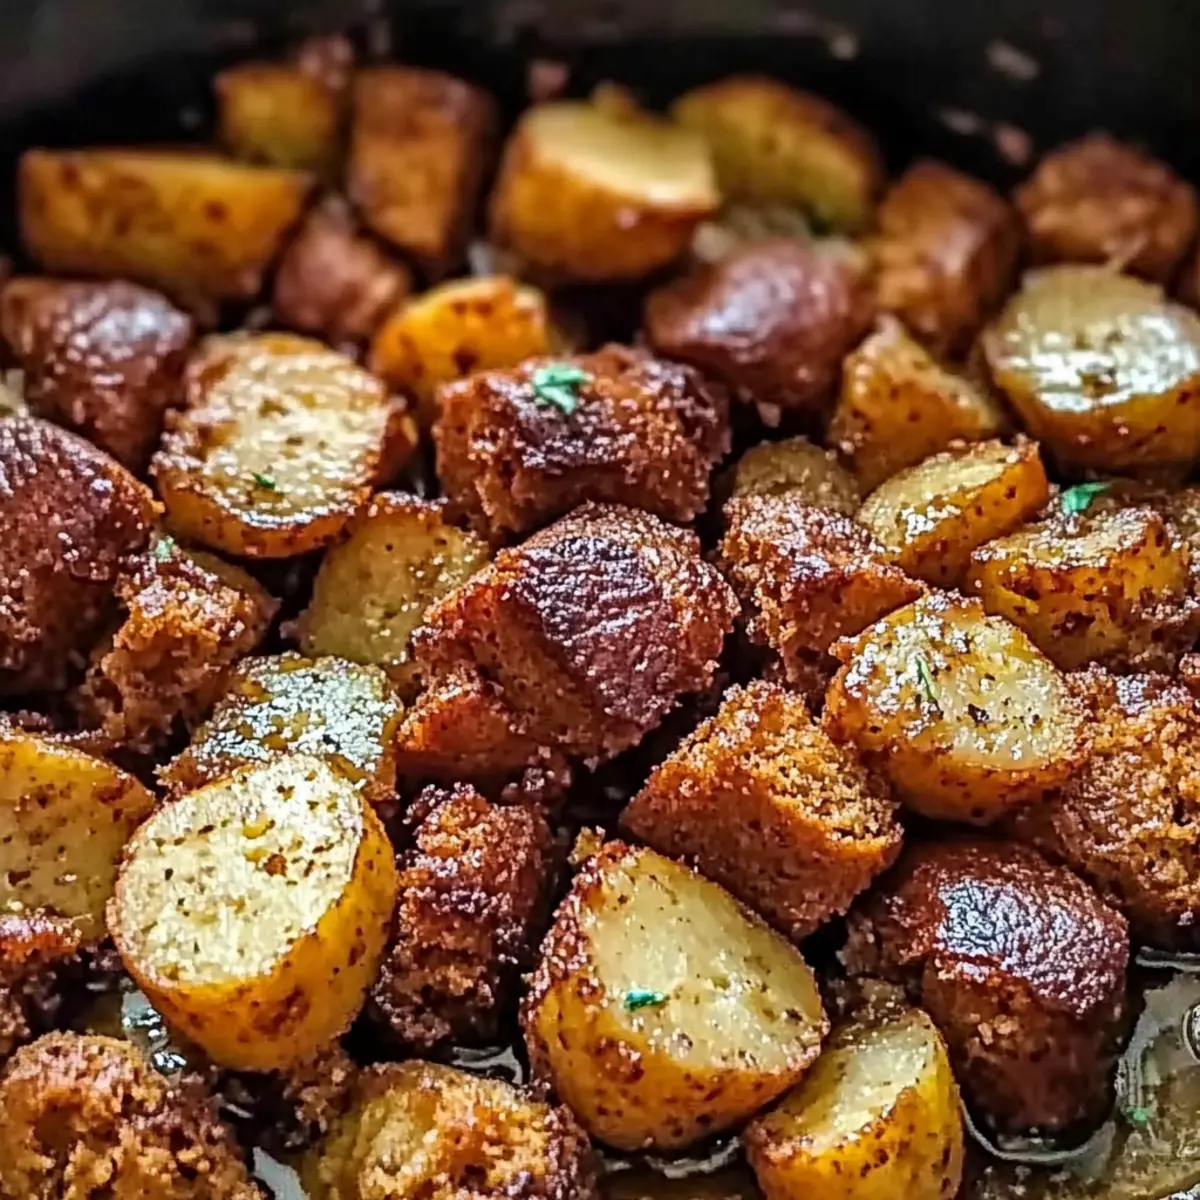
Place the baking sheet in the preheated oven and roast for 25-30 minutes, stirring halfway through. Look for the potatoes to turn tender and golden, while the kielbasa gets a deliciously crispy edge. This roasting process brings out the best flavors in your One Pan Kielbasa and Potatoes.
Step 5: Add Vegetables for Color
After the initial roasting, it’s time to add some vibrant vegetables. Toss in sliced bell peppers or broccoli, and give everything a gentle stir. Return the pan to the oven for an additional 10-15 minutes, allowing the veggies to soften and take on the savory flavors of the dish.
Step 6: Serve and Enjoy
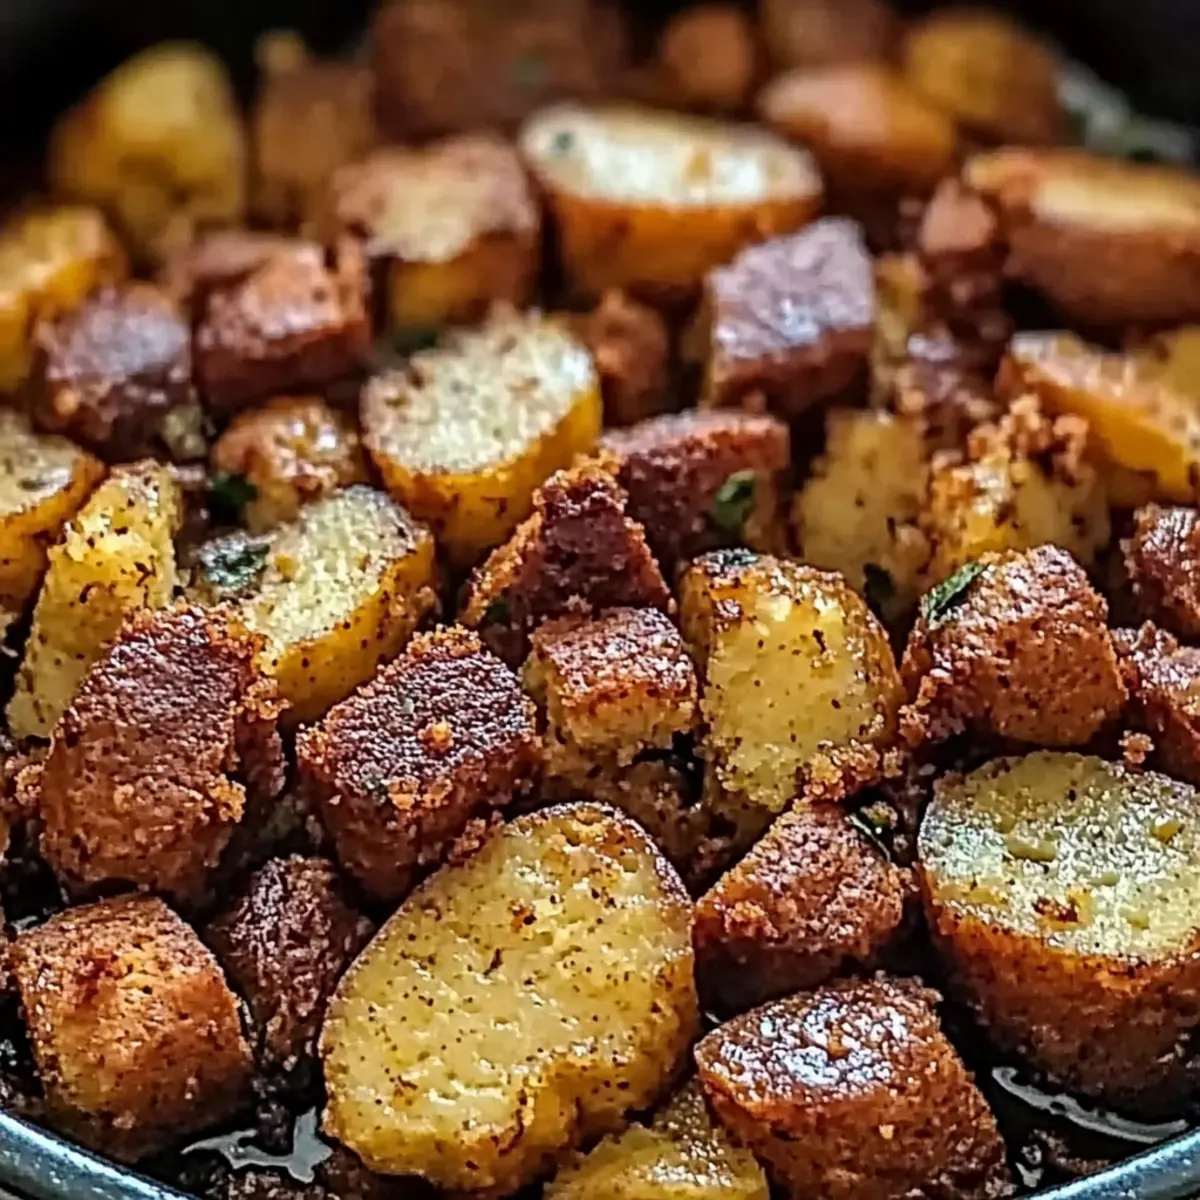
Once everything is cooked through and beautifully caramelized, carefully remove the baking sheet from the oven. Let it cool slightly before transferring your One Pan Kielbasa and Potatoes to a serving dish. The wonderful aroma will draw everyone in, making it perfect for a cozy family dinner!
Variations & Substitutions for Pumpkin Bread
Feel free to tailor this recipe to your taste or dietary needs while savoring the beautiful flavors of fall!
- Classic Twist: Use regular all-purpose flour instead of gluten-free for a traditional pumpkin bread experience.
- Sweet & Spicy: Add a teaspoon of ground ginger or cloves for a deeper spice profile that will warm your soul.
- Nutty Addition: Toss in your favorite nuts, such as walnuts or pecans, for a delightful crunch in every bite. The added texture complements the moist bread perfectly!
- Fruit Fusion: Substitute a portion of pumpkin puree with mashed bananas or applesauce to give it a fruity twist. The natural sweetness enhances the flavor!
- Vegan Version: Replace the eggs with flax eggs to keep everything plant-based while maintaining that delicious moisture.
- Rich Chocolate: Fold in chocolate chips before baking for a decadent twist that transforms traditional pumpkin bread into a dessert delight. Who can resist chocolate, especially combined with pumpkin?
- Herb-Infused: Add fresh herbs like rosemary or thyme for an unexpected savory note that balances the sweetness beautifully.
- Mini Loaves: Pour the batter into muffin tins instead of a loaf pan, adjusting the baking time for quick, individual servings that are perfect for sharing.
Discover endless possibilities with these variations, and don’t forget to check out some of our favorite recipes like Mojo Potatoes Crunchy for a delicious side dish or the light and airy Japanese Cheesecake that pairs wonderfully with a slice of this pumpkin bread!
Expert Tips for Gluten-Free Pumpkin Bread
-
Choose the Right Flour: Look for a gluten-free flour blend specifically made for baking, as this ensures the right texture without density.
-
Perfectly Measure Pumpkin: Use a kitchen scale for precise pumpkin puree measurement; too much can make the bread too moist and affect the rise.
-
Avoid Overmixing: Mix until just combined—overmixing can lead to a dense gluten-free pumpkin bread that lacks that perfect softness.
-
Fresh Leavening Agents: Always check your baking powder and baking soda for freshness; old leaveners can keep your bread from rising properly.
-
Cool Before Slicing: Allow the bread to cool completely in the pan. Cutting too early leads to squished slices instead of clean cuts.
-
Storage Tip: For those lovely flavors to last, store your bread in an airtight container at room temperature for up to 3 days; it can also be refrigerated for up to a week.
How to Store and Freeze Pumpkin Bread
Room Temperature: Store your pumpkin bread in an airtight container at room temperature for up to 3 days to retain its moisture and flavor.
Fridge: If you want to extend its life, refrigerate the bread in an airtight container for up to a week, ensuring it stays fresh and delicious.
Freezer: For longer storage, freeze the pumpkin bread wrapped in plastic wrap and aluminum foil for up to three months. Thaw at room temperature when ready to enjoy!
Reheating: To get that fresh-baked taste, gently reheat slices in the microwave for 10-15 seconds or in a toaster oven until warmed through, perfect for a cozy snack.
What to Serve with Moist & Flavorful Gluten-Free Pumpkin Bread
Indulging in a slice of pumpkin bread is just the beginning of a cozy fall feast; let’s explore what pairs beautifully with this seasonal delight!
-
Spiced Chai Latte: The warm spices in chai enhance the flavors of the pumpkin bread, creating a comforting drink to sip alongside.
-
Honey Butter: A dollop of sweet, creamy honey butter adds a luscious touch, complementing the bread’s moist texture with rich sweetness.
-
Apple Slices with Cinnamon: Crisp, juicy apples sprinkled with cinnamon provide a refreshing contrast to the soft, spiced bread, making for a well-rounded snack.
-
Creamy Cream Cheese Frosting: Spread a layer of this decadent frosting on warm slices for an irresistible combination that elevates your pumpkin experience.
-
Maple Glazed Pecans: These crunchy, sweet nuts provide a delightful textural contrast and a nutty flavor that enhances the pumpkin’s natural sweetness.
-
Hot Apple Cider: The warm, spiced apple cider brings out the cozy vibes of fall while pairing seamlessly with your moist pumpkin bread.
-
Chocolate Chip Cookies: For a sweet ending, serve double dessert with chocolate chip cookies; the chocolate’s richness complements the pumpkin’s sweetness perfectly.
-
Braised Greens: A side of sautéed greens lightly seasoned can provide a healthy balance, adding freshness and a slight bitterness to counteract sweetness.
-
Pumpkin Spice Milkshake: For a fun treat, blend up a pumpkin spice milkshake; it’s a creamy and festive way to enjoy fall flavors all around.
Make Ahead Options
These Moist & Flavorful Gluten-Free Pumpkin Bread loaves are perfect for meal prep enthusiasts! You can prepare the batter up to 24 hours in advance; simply mix your ingredients, cover the bowl tightly with plastic wrap, and refrigerate to keep it fresh. Additionally, you can bake the bread ahead of time, allowing it to cool completely before slicing and storing in an airtight container. This way, it will stay delightful for up to 3 days at room temperature or can be refrigerated for up to a week. When ready to serve, simply pop a slice in the toaster or microwave for a warm, comforting treat that’s just as delicious as when it was freshly baked!
Moist & Flavorful Gluten-Free Pumpkin Bread Recipe FAQs
How can I tell if my pumpkin puree is fresh and ripe?
Absolutely! Fresh pumpkin puree should have a deep, vibrant orange color and a thick, smooth texture. Avoid puree with dark spots or an off smell, which could indicate spoilage. If using canned puree, check the expiration date and opt for brands that use 100% pumpkin without additives for the best flavor.
What is the best way to store leftover pumpkin bread?
For optimal freshness, store your pumpkin bread in an airtight container at room temperature for up to 3 days. If you want it to last a bit longer, you can refrigerate it for up to a week. Just ensure it’s sealed well to prevent drying out.
Can I freeze pumpkin bread? If so, how?
Yes, you can freeze your gluten-free pumpkin bread for up to three months! Here’s how:
- Allow the bread to cool completely after baking.
- Wrap it tightly in plastic wrap, making sure there are no exposed areas.
- Then, wrap it in aluminum foil for added protection.
- When ready to enjoy, simply thaw it at room temperature for a few hours or overnight.
What should I do if my bread turns out too dense?
Very importantly! A dense pumpkin bread can happen for a few reasons:
- Make sure you’re using a gluten-free flour blend specifically designed for baking; this is crucial for texture.
- Avoid overmixing your batter; mix just until the dry ingredients are incorporated to keep it light.
- Check your leavening agents; if they’re outdated, they may not provide the rise your bread needs.
Is this recipe suitable for people with allergies?
Yes! This gluten-free pumpkin bread can be adapted for various dietary needs. For dairy-free needs, simply substitute oil for butter, and use flax eggs for a vegan option. Always double-check ingredient labels to ensure no cross-contamination or allergens are present if cooking for someone with food sensitivities.
Can I use a different type of flour for this recipe?
The more the merrier! While this recipe works best with a gluten-free flour blend, you could experiment with almond flour or oat flour. However, bear in mind that these options may alter the texture and flavor, so consider adding a binder like xanthan gum if not included in your flour blend.
One Pan Kielbasa and Potatoes for Effortless Weeknight Dinners
Ingredients
Equipment
Method
- Preheat your oven to 400°F (200°C) and line a large baking sheet with parchment paper.
- Wash and dice your potatoes into small cubes, slice the kielbasa into bite-sized pieces, and arrange them on the prepared baking sheet.
- Drizzle with olive oil and sprinkle with garlic powder, paprika, salt, and pepper. Toss everything to coat.
- Roast in the oven for 25-30 minutes, stirring halfway through, until the potatoes are tender and kielbasa is crispy.
- Add optional vegetables, stir gently, and return to the oven for an additional 10-15 minutes.
- Remove from the oven and let cool slightly before serving.
Leave a Reply