
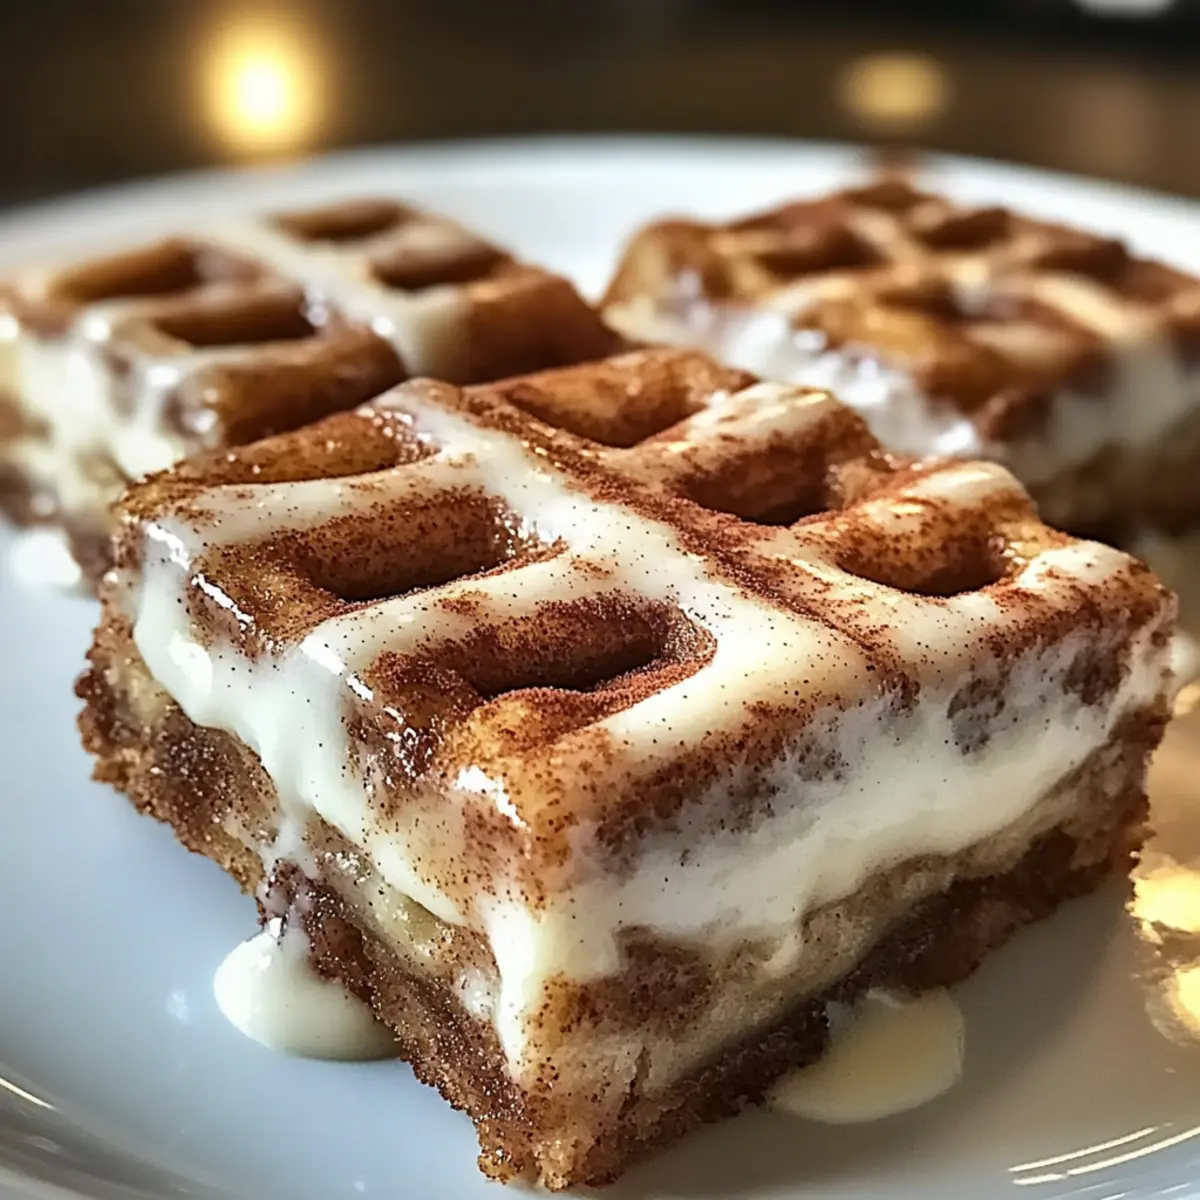
It’s a chilly afternoon, and the smell of cinnamon wafts through the house, wrapping me in memories of baking with my grandma. If you, like me, have ever wished for the taste of a freshly baked cinnamon roll but with a bit more convenience, then you’ll adore these Cinnamon Roll Bliss Bars. These bars offer a quick and indulgent dessert option, perfect for busy days when you crave something sweet without spending hours in the kitchen. In just 45 minutes, you can whip up a batch that’s delightfully chewy and topped with creamy frosting—making them an instant crowd-pleaser for family gatherings or cozy evenings at home. Curious about how to bring this warm dessert into your own kitchen? Let’s dive into this recipe!
Why are Cinnamon Roll Bliss Bars a must-try?
Irresistible Flavor: The sweet, warm notes of cinnamon combined with a creamy frosting create an unforgettable taste experience. Quick to Make: In just 45 minutes, you can enjoy a delicious dessert that feels like a warm hug. Family-Friendly: A delightful treat that even picky eaters will love, making it perfect for family gatherings. Easy to Serve: Forget messy plates; these bars are simple to cut and serve, just like brownies! Versatile Options: Feel free to customize with nuts or chocolate chips, or try adding a drizzle of chocolate ganache for an extra kick. You’ll find yourself coming back to this recipe time and again, just like our delightful Cinnamon Rolls Ready or Chocolate Cinnamon Rolls.
Cinnamon Roll Bliss Bars Ingredients
Discover everything you need to whip up these delightful Cinnamon Roll Bliss Bars!
For the Batter
- Butter – Provides richness and moisture to the bars; use unsalted for better salt control.
- Brown Sugar – Adds sweetness and a hint of caramel flavor; can be substituted with granulated sugar if needed.
- Granulated Sugar – Balances the flavor of the brown sugar; feel free to switch to cane or organic sugar.
- Eggs – Acts as a binder for structure; ensure they’re at room temperature for best mixing results.
- Sour Cream – Keeps the bars moist with a slight tang; Greek yogurt is a great substitute for a healthier twist.
- Vanilla Extract – Boosts the overall flavor; using pure vanilla delivers the best outcome.
- All-Purpose Flour – Essential for structure; swap with a gluten-free blend for a gluten-free option.
- Baking Powder – Helps the bars rise; ensure it’s fresh for optimal results.
- Baking Soda – Provides extra lift during baking.
- Ground Cinnamon – The star of the show, adding warmth; adjust the amount to suit your spice preference.
- Salt – Balances sweetness and enhances flavors.
For the Frosting
- Powdered Sugar – Key for making the creamy frosting; feel free to add milk or cream to achieve your desired consistency.
- Milk – Used to adjust the frosting’s consistency; add it gradually until you reach your desired smoothness.
- Vanilla Extract – Enhances the flavor of the frosting; use pure extract for the best taste.
Enjoy crafting your Cinnamon Roll Bliss Bars!
Step‑by‑Step Instructions for Cinnamon Roll Bliss Bars
Step 1: Preheat the Oven
Begin by preheating your oven to 350°F (175°C). While the oven warms up, grease a 9×13 inch baking pan, making sure to cover the bottom and sides thoroughly to prevent any sticking later. This step is crucial to ensure your Cinnamon Roll Bliss Bars come out seamlessly after baking.
Step 2: Cream the Sugars and Butter
In a large mixing bowl, combine softened unsalted butter, brown sugar, and granulated sugar. Using an electric mixer, cream these ingredients together on medium speed until the mixture is light and fluffy, about 2-3 minutes. The texture should become smooth, signaling it’s ready for the next ingredients.
Step 3: Mix in Wet Ingredients
Add room-temperature eggs, sour cream, and vanilla extract to the creamed sugar mixture. Mix on low speed until everything is well combined and creamy—around 1-2 minutes. This mixture should appear uniform and slightly thickened, revealing the richness that will enhance your Cinnamon Roll Bliss Bars.
Step 4: Prepare the Dry Ingredients
In a separate bowl, whisk together all-purpose flour, baking powder, baking soda, ground cinnamon, and salt. This step ensures that the leavening agents are evenly distributed, which is key to achieving a well-risen and tender texture in your bars. Set this bowl aside while you combine the mixtures.
Step 5: Combine Wet and Dry Mixtures
Gradually fold the dry ingredients into the wet mixture, stirring gently with a spatula or wooden spoon. Mix until just combined—be careful not to overmix, as this will help keep your Cinnamon Roll Bliss Bars soft and chewy. Stop mixing as soon as you see no dry flour remaining.
Step 6: Spread the Batter
Pour the thick batter into your prepared baking pan, using a spatula to spread it evenly across the surface. Make sure to smooth the top so the bars bake uniformly. It’s important to get this step right for an even texture in your final product.
Step 7: Prepare the Cinnamon Topping
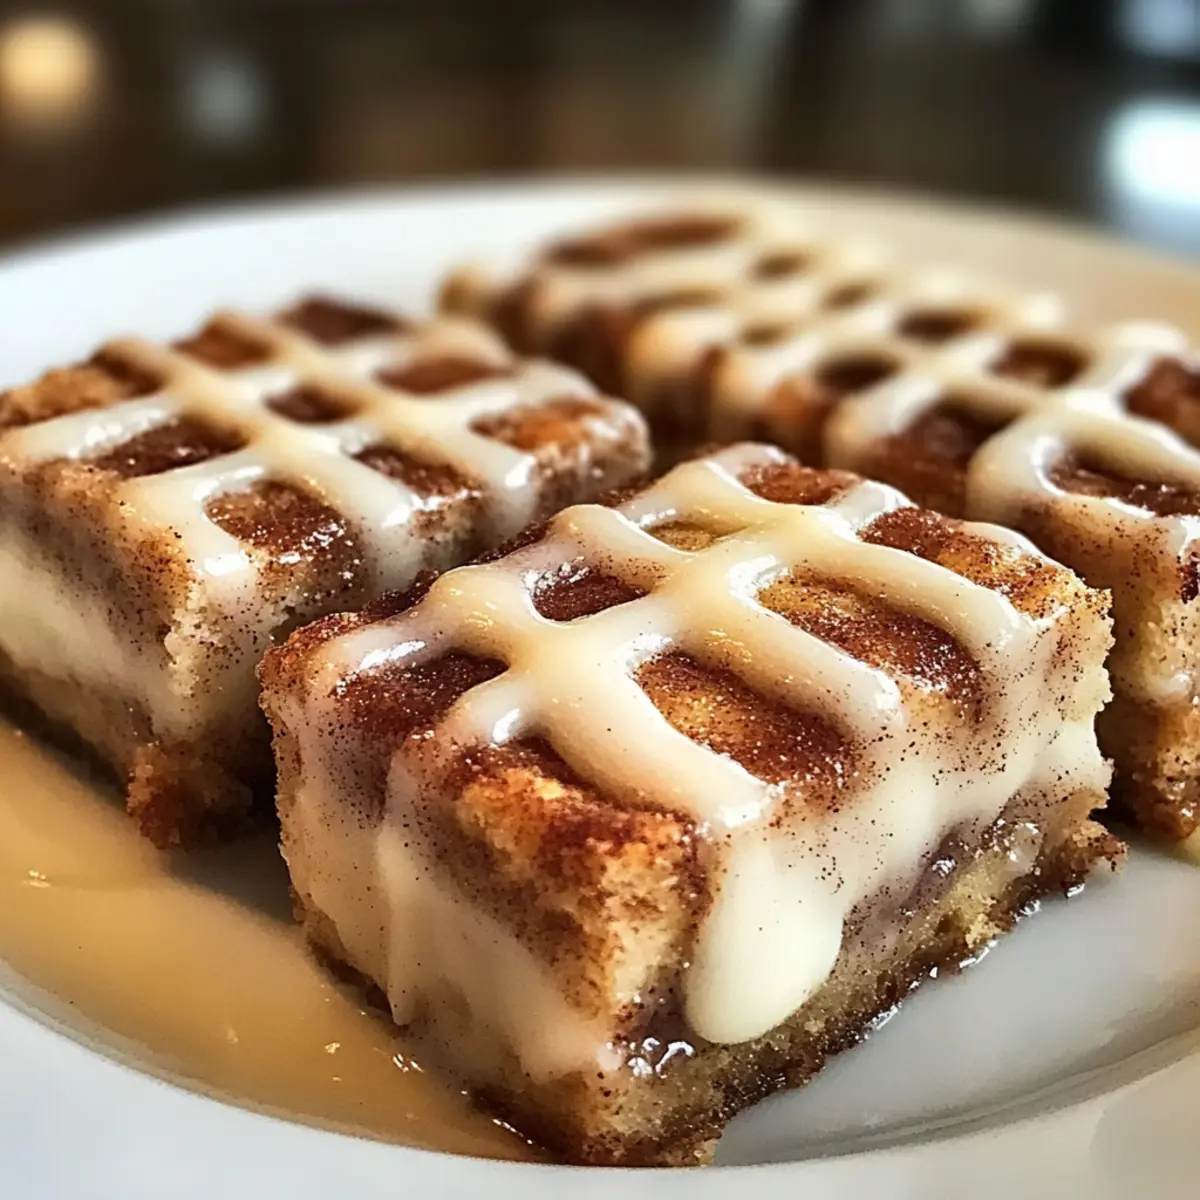
In a small bowl, mix together additional granulated sugar and ground cinnamon for the topping. Sprinkling this mixture generously over the batter adds a delightful sweet cinnamon crust that will add to the overall flavor of your Cinnamon Roll Bliss Bars, making them irresistible.
Step 8: Bake the Bars
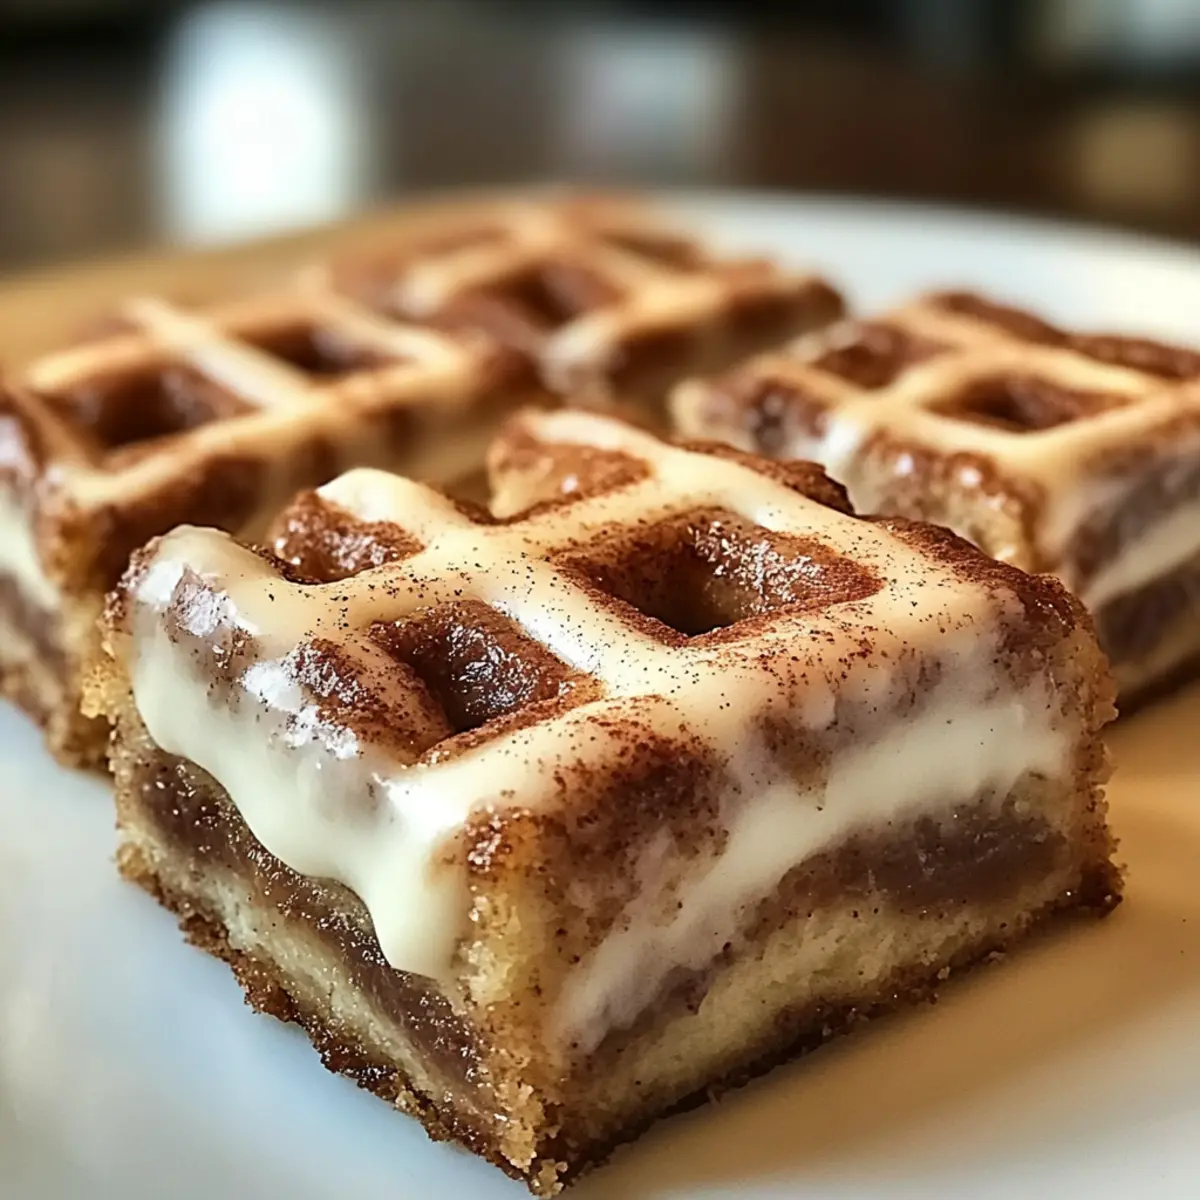
Carefully place the pan in your preheated oven and bake for 25-30 minutes. Keep an eye on the bars; they should turn golden brown around the edges, and a toothpick inserted in the center should come out clean when they’re done. This visual cue signals that your bars are perfectly baked.
Step 9: Cool and Frost
Once baked, take the pan out and allow the bars to cool completely in the pan, which takes about 15-20 minutes. This cooling period is essential to prevent the frosting from melting when you apply it. While cooling, you can prepare the frosting by mixing powdered sugar, milk, and vanilla extract to your desired consistency.
Step 10: Frost the Bliss Bars
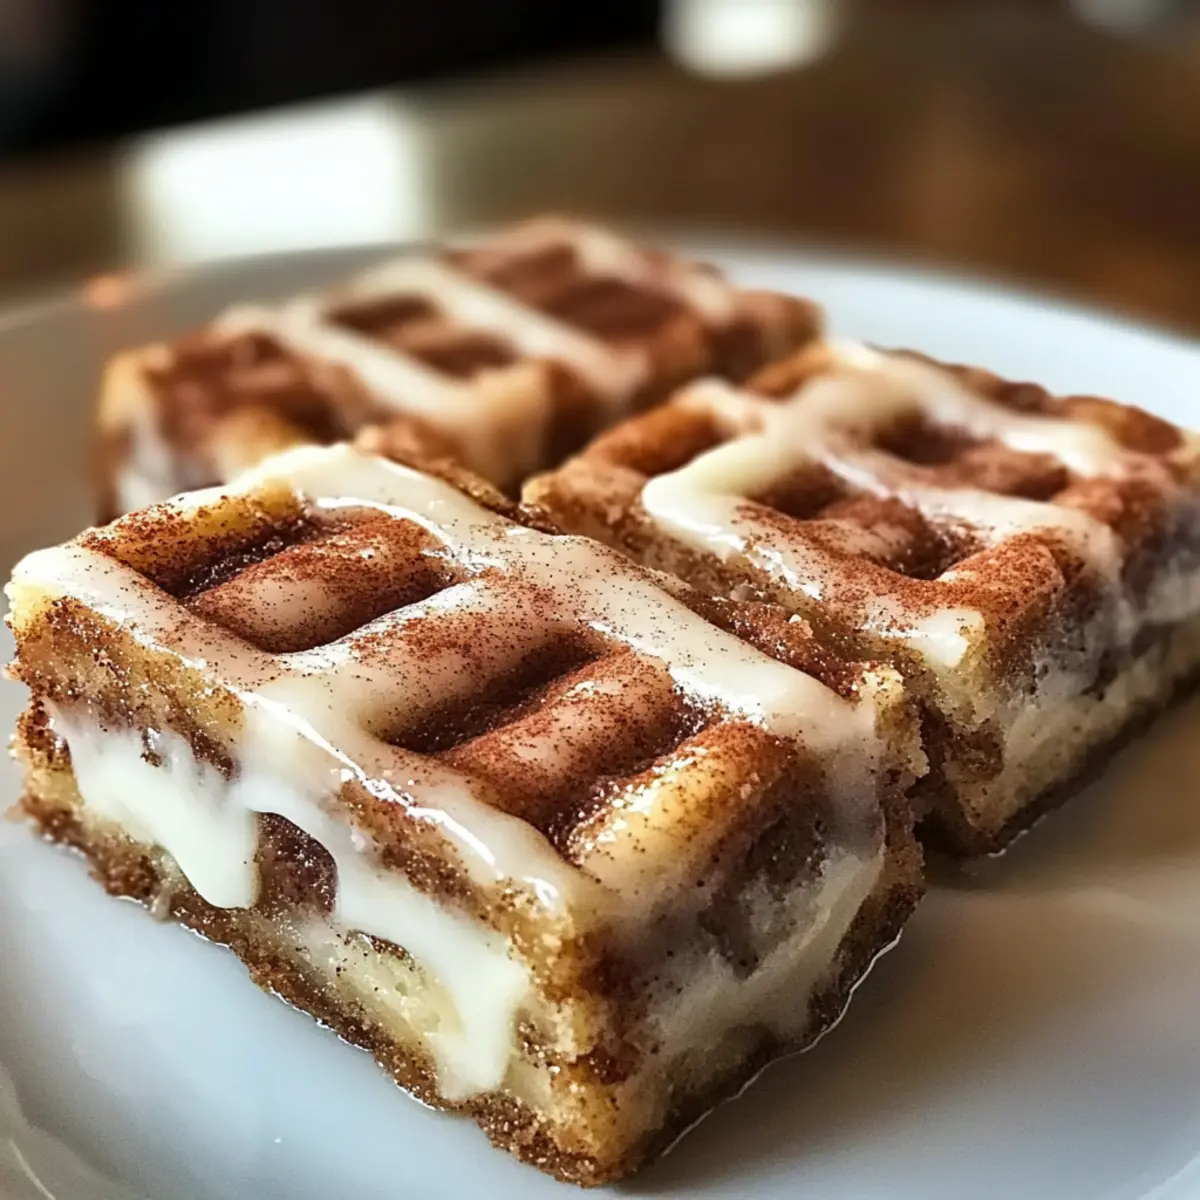
Once cooled, spread the creamy frosting over the top of your Cinnamon Roll Bliss Bars using a spatula. Aim for an even layer that will enhance each delicious bite. The contrast between the warm bars and the cool frosting creates a delightful sensation that’s sure to please family and friends alike.
What to Serve with Cinnamon Roll Bliss Bars
Imagine a cozy gathering where your Cinnamon Roll Bliss Bars are the star of the show, complemented perfectly by delightful side dishes and beverages.
-
Coffee: A classic pairing, the rich flavors of coffee enhance the sweetness of the bars, creating a comforting treat for your afternoon break.
-
Hot Cocoa: Indulge in a warm cup of cocoa; the sweetness complements the bars beautifully, evoking childhood memories of snowy days and treats.
-
Vanilla Ice Cream: A scoop of vanilla ice cream adds a creamy contrast that melts beautifully over warm bars, offering a luxurious texture combination.
-
Fresh Berries: Bright, juicy berries provide a refreshing, tart balance to the sweet bars, adding color and a burst of flavor to your dessert table.
-
Whipped Cream: A dollop of freshly whipped cream introduces a light, airy element that brightens the rich flavors of the bliss bars, enhancing each bite.
-
Cinnamon-Spiced Chai: This spiced tea echoes the flavors of the bars while offering warmth and comfort, making for a lovely evening drink pairing.
Serving these delightful pairings alongside your Cinnamon Roll Bliss Bars will create a full-sensory experience that your family and friends won’t forget!
How to Store and Freeze Cinnamon Roll Bliss Bars
- Room Temperature: Store the bars in an airtight container at room temperature for up to 3 days to maintain freshness and flavor.
- Fridge: If you prefer a firmer texture, refrigerate the bars in an airtight container for up to one week. Just let them sit at room temperature for a few minutes before serving.
- Freezer: Freeze the bars in an airtight container or wrap them tightly in plastic wrap for up to 2 months. To enjoy, thaw in the fridge overnight before serving.
- Reheating: Gently reheat in the microwave for about 10-15 seconds to warm them slightly, enhancing the soft, gooey goodness of your Cinnamon Roll Bliss Bars.
Expert Tips for Cinnamon Roll Bliss Bars
-
Don’t Overmix: Gently combine your ingredients to prevent tough bars. Overmixing can lead to a dense texture, so mix just until incorporated.
-
Cool Before Frosting: Allow the baked bars to cool completely in the pan to ensure the frosting doesn’t melt, preserving its creamy texture for the perfect finish.
-
Quality Ingredients Matter: Use fresh baking powder and pure vanilla extract to enhance flavors; old ingredients can affect taste and rise, impacting your delicious Cinnamon Roll Bliss Bars.
-
Flavor Variations: Experiment with different add-ins like chocolate chips, nuts, or even a layer of cream cheese frosting for a delightful twist that keeps your treats exciting.
-
Storage Solutions: Keep these bars in an airtight container at room temperature for up to three days, or freeze for future indulgence, thawing them overnight for best results.
Make Ahead Options
These Cinnamon Roll Bliss Bars are perfect for meal prep enthusiasts! You can prepare the batter up to 24 hours in advance by mixing the wet and dry ingredients separately. Keep the dry mixture stored in an airtight container to maintain freshness, while the wet ingredients can be refrigerated. When you’re ready to bake, simply combine the two mixtures and follow the baking instructions. Alternatively, bake the bars and allow them to cool completely, then store in an airtight container at room temperature for up to 3 days before frosting. Just frost before serving to keep that creamy top fresh and delightful—enjoy warm, homemade goodness without the rush!
Cinnamon Roll Bliss Bars Variations
Feel free to bring your own flair and creativity to these delicious Cinnamon Roll Bliss Bars!
-
Dairy-Free: Substitute butter with coconut oil and use a dairy-free milk for the frosting to make it accessible for everyone.
-
Nutty Twist: Fold in 1 cup of chopped pecans or walnuts into the batter for extra crunch and flavor.
-
Chocolate Delight: Add ½ cup of chocolate chips to the batter for a rich, decadent twist. Chocolate and cinnamon make an irresistible combination!
-
Gluten-Free: Replace all-purpose flour with a high-quality gluten-free flour blend, ensuring every bite remains soft and chewy.
-
Spiced Up: Add a pinch of nutmeg or cardamom to the cinnamon topping for an aromatic twist that elevates the flavor profile.
-
Fruity Addition: Incorporate 1 cup of fresh blueberries or diced apples into the batter for a delightful sweet and fruity surprise in every bite.
-
Cream Cheese Frosting: Swap the vanilla frosting for a tangy cream cheese frosting made from softened cream cheese, powdered sugar, and a splash of milk for a rich finish.
-
Cinnamon Sugar Swirl: Before baking, swirl in ¼ cup of cinnamon-sugar mixture into the batter for a marbled effect and extra flavor burst.
Whether you’re having a cozy night in or hosting friends, these delightful variations can make your Cinnamon Roll Bliss Bars your own. And if you’re in the mood for similar sweet treats, try our delicious Cinnamon Banana Bread or check out our tasty Chocolate Cinnamon Rolls!
Cinnamon Roll Bliss Bars Recipe FAQs
What should I look for when choosing eggs for this recipe?
For the best texture in your Cinnamon Roll Bliss Bars, opt for large eggs that are at room temperature. This allows them to blend more thoroughly into the batter. Fresh eggs usually have a richer flavor, enhancing the overall taste of your dessert.
How should I store leftover Cinnamon Roll Bliss Bars?
Store your leftover bars in an airtight container at room temperature for up to 3 days. If you want to keep them longer, refrigerate them, and they can last up to a week. Just let them sit out for a few minutes before enjoying to regain some softness and flavor!
Can I freeze Cinnamon Roll Bliss Bars?
Absolutely! To freeze, wrap the bars tightly in plastic wrap or place them in an airtight container. They’ll keep for up to 2 months. When you’re ready to enjoy them, simply thaw in the fridge overnight. If you prefer a warm treat, you can microwave a piece for 10-15 seconds to bring back that freshly-baked goodness.
What should I do if my batter is too thick?
If you find your batter is too thick, it might be due to over-measuring the flour. You can add a tablespoon of milk at a time until you achieve a pourable consistency. Remember, the batter should be thick but still spreadable. Mixing gently helps maintain the fluffy texture, so be cautious not to overdo it.
Are there any dietary considerations for this recipe?
Yes! This recipe is vegetarian-friendly, but if anyone has a gluten intolerance, you can easily make the bars gluten-free by substituting all-purpose flour with a gluten-free flour blend. Additionally, those concerned about allergies should note that the recipe contains eggs and dairy, but you can use substitutes such as flaxseed meal for eggs or coconut yogurt for a dairy-free option.
Why does the frosting melt when I apply it?
If you notice that the frosting is melting into the bars, it’s likely because the bars were still warm when you spread it on. To avoid this, allow the Cinnamon Roll Bliss Bars to cool completely—about 15-20 minutes—in the pan before frosting. This will help keep the delightful creamy texture intact!
Cinnamon Roll Bliss Bars: Your New Favorite Quick Treat
Ingredients
Equipment
Method
- Preheat the oven to 350°F (175°C) and grease a 9x13 inch baking pan.
- In a large mixing bowl, cream together softened butter, brown sugar, and granulated sugar until light and fluffy.
- Mix in room-temperature eggs, sour cream, and vanilla extract until well combined.
- In a separate bowl, whisk together flour, baking powder, baking soda, ground cinnamon, and salt.
- Gradually fold the dry ingredients into the wet mixture until just combined.
- Spread the batter evenly into the prepared baking pan.
- Mix additional sugar and cinnamon for the topping and sprinkle over the batter.
- Bake for 25-30 minutes until golden brown and a toothpick comes out clean.
- Allow bars to cool in the pan for 15-20 minutes before frosting.
- Once cool, mix powdered sugar, milk, and vanilla extract to make frosting, then spread over the bars.
Leave a Reply