
The aroma of freshly baked cookies wafting through the kitchen can whisk me back to cozy afternoons spent baking with family. Today, I’m excited to share my recipe for 4-Ingredient Crunchy Chocolate Oat Cookies—perfect for anyone ready to swap fast food for something homemade and wholesome. With just four simple ingredients, these cookies are not only easy to whip up, but they also cater to gluten-free lifestyles without compromising on taste. You’ll love how these little bites deliver a satisfying crunch combined with rich chocolatey goodness, making them an instant favorite. Whether you’re looking for a quick treat or a fun baking project, these cookies promise to be a delightful addition to your dessert repertoire. Ready to discover your new go-to cookie recipe?

Why Are These Cookies So Irresistible?
Simplicity at Its Best: With only four ingredients, these cookies offer a no-fuss approach to baking, making them perfect for busy schedules.
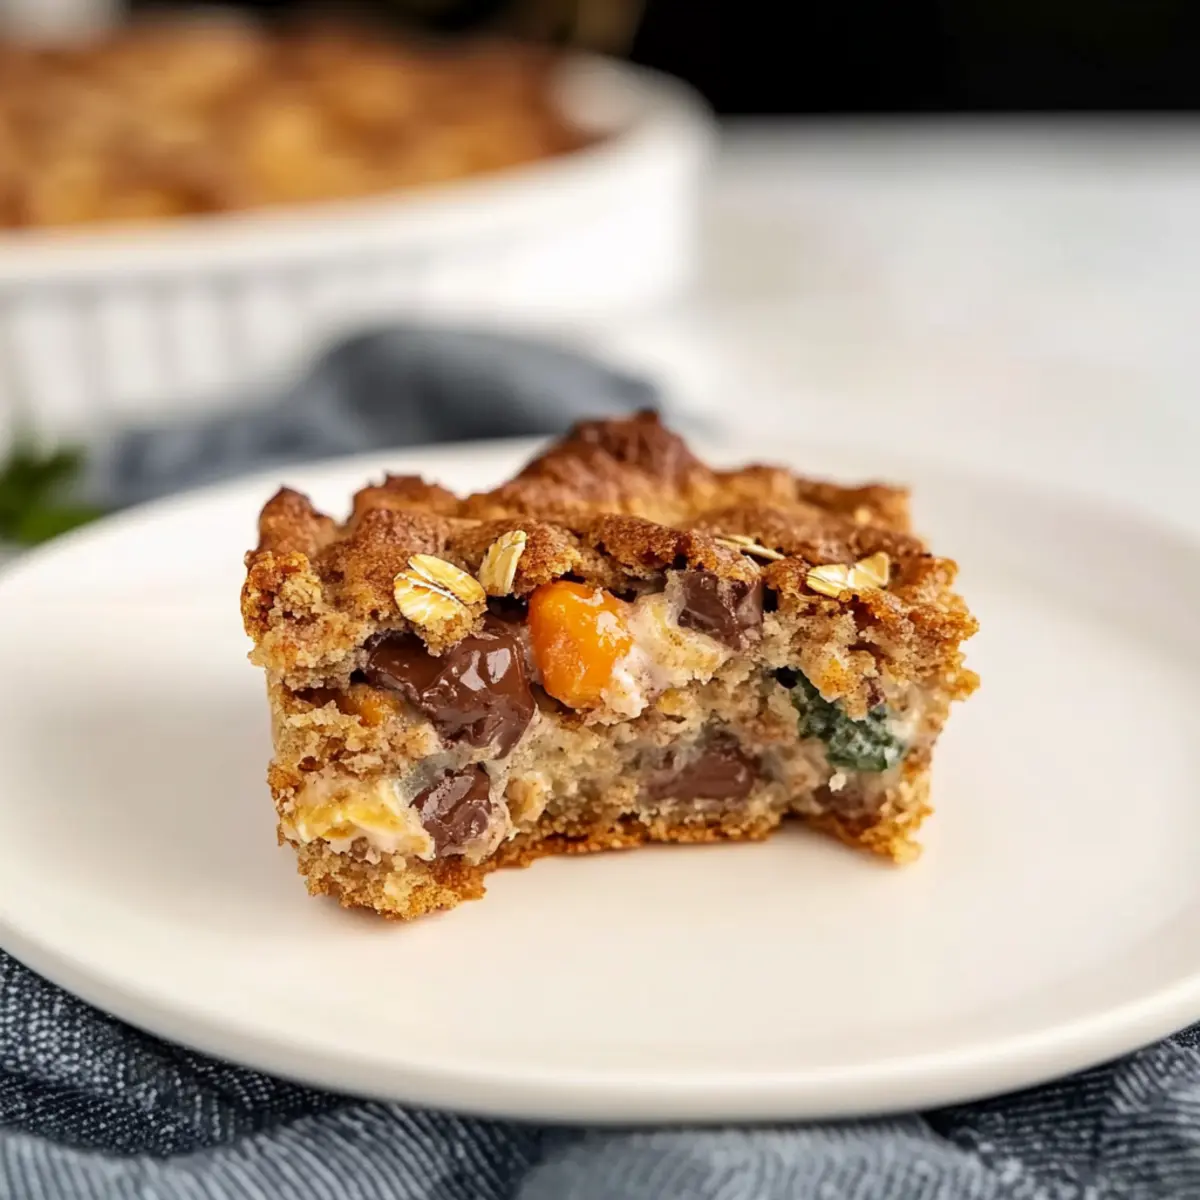
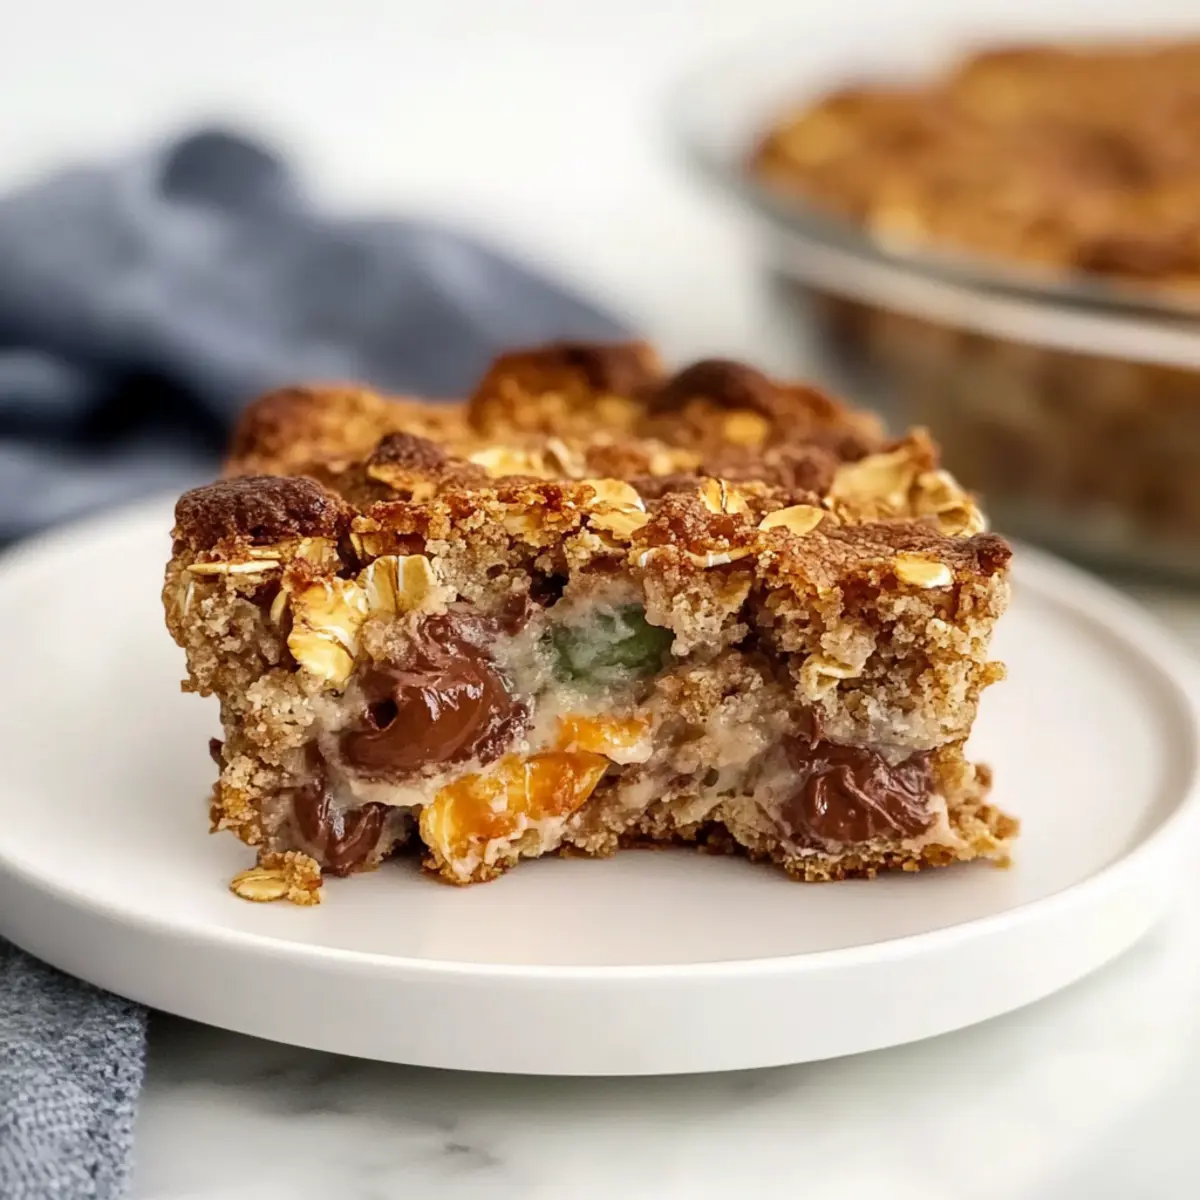
Crunchy and Chewy: Experience the delightful contrast of crunchy edges and a soft center—just like a granola cluster infused with chocolate decadence.
Versatile Sweetness: Feel free to swap chocolate chips for dried fruit or nuts, allowing you to customize these cookies to your taste.
Crowd-Pleasing Treat: These cookies are sure to impress friends and family, making them a hit at gatherings or a simple afternoon snack.
Quick and Easy: Whip them up in under 30 minutes, including baking time—perfect for last-minute dessert cravings or an everyday treat!
Check out the Deviled Egg Pasta for another easy recipe that’s sure to delight!
Chocolate Oat Cookie Ingredients
• Make sure to gather these essentials for your delightful bake!
For the Cookies
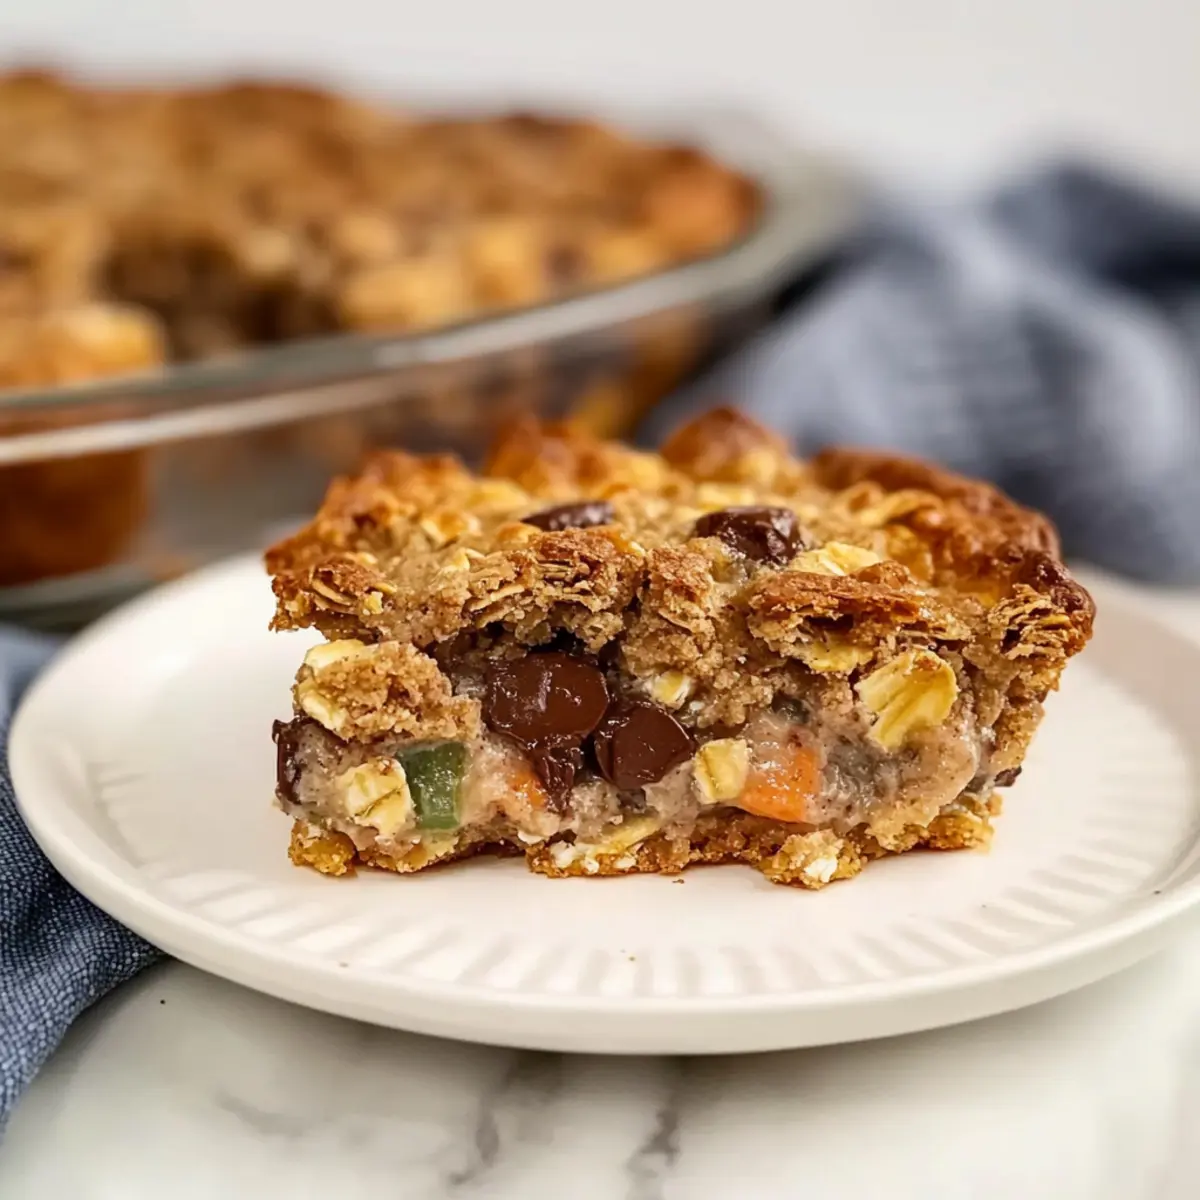
- Old-Fashioned Oats – Provides the perfect texture and chewiness that makes these cookies so satisfying.
- Nut Butter (e.g., almond or peanut butter) – Binds the ingredients together while adding healthy fats; feel free to substitute with sunflower seed butter if allergies are a concern.
- Honey or Maple Syrup – Adds natural sweetness and moisture; try agave syrup for a vegan-friendly option.
- Chocolate Chips – Infuses cookies with rich chocolate flavor; for a twist, substitute with dried fruit or nuts to explore different taste profiles.
Enjoy crafting these Chocolate Oat Cookies that are as delightful to share as they are to savor!
Step-By-Step Instructions for 4-Ingredient Crunchy Chocolate Oat Cookies
Step 1: Mix Dry Ingredients
In a large mixing bowl, combine 1 cup of old-fashioned oats and 1 cup of chocolate chips evenly. Make sure the oats are measured accurately to maintain perfect texture. Stir them with a wooden spoon or spatula, ensuring the chocolate chips are well distributed throughout the oats to create a delightful mix of flavors in your Chocolate Oat Cookies.
Step 2: Combine Wet Ingredients
In a separate bowl, scoop ½ cup of your chosen nut butter (like almond or peanut butter) and mix it with ½ cup of honey or maple syrup until smooth and creamy. Use a whisk or fork to blend these together thoroughly, ensuring a consistent texture. This mixture will act as the perfect binder, adding moisture and flavor to your cookies.
Step 3: Combine Mixtures
Pour the smooth nut butter and honey mixture into the bowl with the dry ingredients. Stir with a spoon until everything is well combined and there are no dry oats left visible. The dough should be slightly sticky and hold together well, forming the foundation for your Chocolate Oat Cookies.
Step 4: Shape Cookies
Preheat your oven to 350°F (175°C) while you prepare to shape the cookies. Use a tablespoon to scoop out portions of dough and place them on a parchment-lined baking sheet, leaving adequate space between each cookie. Aim for roughly the same size so they bake evenly, creating that irresistible crunchy exterior.
Step 5: Bake
Once your oven is preheated, place the baking sheet inside and bake the cookies for 12-15 minutes or until you notice a slight golden edge forming. Keep an eye on them; they should look set but still soft in the middle for that perfect combination of crunch and chewiness for your Chocolate Oat Cookies.
Step 6: Cool
After baking, remove the cookies from the oven and allow them to cool on the baking sheet for about 5 minutes. This cooling time helps them firm up more. Then, transfer them to a wire rack to cool completely. Enjoy the enticing aroma as they cool, and watch as they become the ideal treat to savor!
Chocolate Oat Cookies: Customizable Delights
Feel free to unleash your creativity and personalize these cookies with exciting variations that excite your taste buds!
-
Fruity Twist: Replace chocolate chips with raisins or dried cherries for a delightful burst of sweetness that pairs perfectly with the oats. Imagine the chewy texture and fruity flavors merging harmoniously!
-
Nutty Crunch: Add chopped nuts, such as walnuts or pecans, for an added crunch and richness. This simple swap elevates the cookie to an indulgent treat!
-
Spiced Up: Incorporate warm spices like cinnamon or nutmeg to infuse cozy flavors throughout the cookies. Just a pinch can transform your cookie experience into something special.
-
Vegan Friendly: Swap honey or maple syrup with agave syrup for a vegan version that retains all the deliciousness. It’s an easy and thoughtful change if you’re embracing plant-based foods!
-
Decadent Drizzle: Once cookies have cooled, drizzle melted dark chocolate over them for a touch of indulgence that takes these cookies to another level of sweetness. It’s a delightful surprise for chocolate lovers!
-
Coconut Bliss: Stir in unsweetened shredded coconut to introduce wonderful texture and coconut flavor. It’s like a tropical getaway in every bite!
While you’re enjoying these chewy delights, don’t forget to check out my Cheesesteak Casserole Comfort for another simple but delicious experience at home!
- Salty-Sweet Balance: Add a pinch of sea salt to the dough or sprinkle some on top before baking to enhance the chocolate flavor with a delightful contrast. It’s the ideal finishing touch!
Expert Tips for 4-Ingredient Cookies
Store Properly: Keep cookies in an airtight container at room temperature to maintain their crunchy edges and chewy centers for up to a week.
Measure Accurately: Use a kitchen scale or measuring cups to ensure the correct amounts of oats and nut butter for perfect texture in your Chocolate Oat Cookies.
Avoid Overbaking: Keep an eye on your cookies—remove them when slightly golden to maintain a deliciously chewy interior that contrasts the crunch.
Customize Your Mix-ins: Feel free to experiment! Swap chocolate chips with nuts or dried fruits to create unique flavor profiles, ensuring everyone enjoys these cookies.
Check for Gluten-Free: Always select certified gluten-free oats to avoid cross-contamination, especially if baking for those with sensitivities.
Add Flavor Boost: Enhance your Chocolate Oat Cookies by mixing in vanilla extract or a pinch of sea salt for extra depth of flavor.
Storage Tips for Chocolate Oat Cookies
Room Temperature: Store cookies in an airtight container at room temperature for up to 1 week to keep them fresh and crunchy.
Fridge: If you prefer even longer shelf life, place cookies in the fridge for up to 2 weeks; however, they may lose some of their crunch.
Freezer: For longer storage, freeze cookies in a single layer, then transfer to a freezer bag for up to 3 months; thaw at room temperature before enjoying.
Reheating: Microwave for 10-15 seconds if desired warm—this will bring back some of the original texture of your tasty Chocolate Oat Cookies.
What to Serve with 4-Ingredient Crunchy Chocolate Oat Cookies
Pairing these delightful cookies with the right accompaniments can elevate your snack time experience to new heights.
-
Milk: A classic choice, a chilled glass of milk perfectly complements the rich chocolate flavor while adding a creamy balance.
-
Coffee: The robust flavors of a freshly brewed cup of coffee create a delightful contrast to the sweetness of the cookies, making for a cozy pairing.
-
Ice Cream: Serve warm cookies alongside a scoop of vanilla ice cream for an indulgent dessert that melts effortlessly together.
-
Fresh Berries: Juicy raspberries or strawberries add a refreshing, tart contrast to the cookies’ sweetness, enhancing every bite.
-
Nut Butter Dip: For a protein-packed twist, serve with a side of creamy almond or peanut butter for an extra dose of deliciousness.
Imagine sinking your teeth into a warm cookie while enjoying a sip of coffee. The harmony of flavors dances on your palate, making every moment a little sweeter!
Make Ahead Options
These 4-Ingredient Crunchy Chocolate Oat Cookies are perfect for meal prep enthusiasts looking to save time during busy weeknights! You can prepare the cookie dough up to 24 hours in advance and refrigerate it in an airtight container to maintain freshness. To prevent browning and keep the dough from becoming too sticky, wrap it tightly with plastic wrap or transfer it to a Tupperware. When you’re ready to bake, simply scoop the chilled dough onto a lined baking sheet and bake as directed. This will deliver freshly baked cookies that are just as delicious and satisfying, making it easy to enjoy homemade treats without the last-minute rush!
Chocolate Oat Cookies Recipe FAQs
What type of oats should I use for these cookies?
Absolutely! I recommend using old-fashioned oats for the best chew and texture. Quick oats may become too mushy, while steel-cut oats won’t blend well in this cookie recipe.
How should I store the cookies to maintain their freshness?
Very simply! Store these Chocolate Oat Cookies in an airtight container at room temperature for up to 1 week. If you want them to last longer, you can refrigerate them for up to 2 weeks, although they may lose some crunchiness.
Can I freeze these cookies and if so, how?
Yes, you can freeze these delicious cookies! To freeze, lay them in a single layer on a baking sheet until solid, then transfer them to a freezer bag. They can last up to 3 months in the freezer. When you want to eat them, simply thaw them at room temperature or microwave for 10-15 seconds for a warm treat.
What if I don’t have nut butter—are there alternatives?
Certainly! If nut allergies are a concern, you can substitute nut butter with sunflower seed butter. This will maintain texture and bind the ingredients together while keeping the cookies nut-free, yet delicious.
How can I adjust the sweetness of the cookies?
You can easily adjust the sweetness to your liking! Instead of honey or maple syrup, you can use agave syrup for a vegan option or reduce the amount of sweetener if you prefer less sweetness. You can also consider adding spices, like cinnamon, which can bring out a natural sweetness without extra sugar.
What should I do if the cookies flatten or spread too much while baking?
If you find your cookies spreading too much, it could be due to your nut butter being too warm or too much sweetener. Ensure that you measure accurately, use cold nut butter, and allow the cookie dough to chill in the fridge for about 30 minutes before baking to help them hold their shape better.
Sausage and Egg Casserole: A Cozy Breakfast Delight
Ingredients
Equipment
Method
- Preheat the oven to 350°F (175°C).
- In a large mixing bowl, whisk together the eggs, milk, salt, and pepper.
- In a skillet, cook the sausage over medium heat until browned; drain excess fat.
- Layer the cooked sausage in a baking dish and pour the egg mixture over the top.
- Sprinkle shredded cheese evenly over the mixture.
- Bake for 30 minutes or until the casserole is set and golden on top.
- Let cool for 5 minutes before slicing and serving.
Leave a Reply