
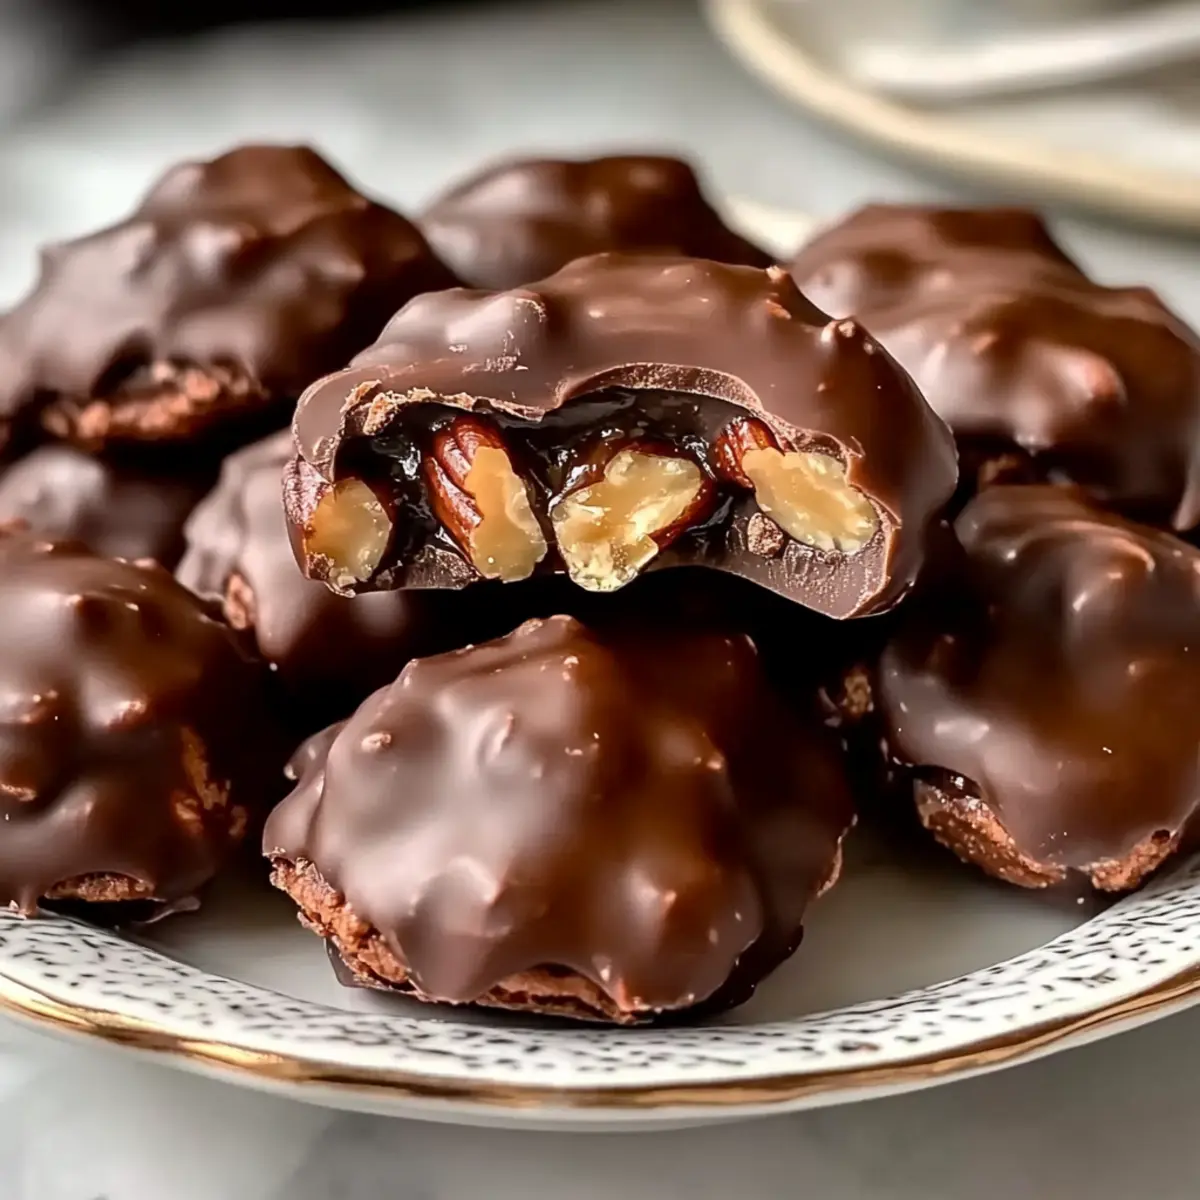
As I walked through the local market, the scent of roasted nuts and rich chocolate wafted through the air, instantly igniting my cravings for something sweet. That’s when the idea struck me: Homemade Chocolate Turtles. This beloved treat combines chewy caramel, crunchy pecans, and a smooth chocolate coating, making it the perfect indulgence for anyone tired of store-bought confections. Best of all, this easy recipe allows you to whip up a batch in no time—ideal for gifting or holiday gatherings. Imagine sharing these delightful bites with loved ones, or simply savoring them during a cozy evening at home. Are you ready to take your dessert game to the next level?

Why Homemade Chocolate Turtles?
Indulgence Awaits: Homemade Chocolate Turtles deliver a decadent experience with every bite, combining rich caramel and crunchy pecans.
Quick and Easy: This simple recipe allows you to create gourmet-style candy without fuss—perfect for those with busy schedules!
Perfect for Gifting: Package these charming treats in decorative boxes, and they become heartfelt gifts anyone would cherish.
Versatile Treat: Feel free to swap in your favorite nuts or mix chocolate varieties for a personalized twist.
Satisfying Sweet Craving: With their delightful textures and flavors, these turtles are sure to impress your taste buds and friends alike, just like our Brown Butter Chocolate cookies or Chocolate Peanut Butter bars!
Homemade Chocolate Turtles Ingredients
For the Caramel
- Salted Butter – Adds richness and creaminess; you can substitute with unsalted butter and add a pinch of salt if desired.
- Light Brown Sugar – Provides sweetness with a hint of molasses flavor; can be altered with more granulated sugar, but this will change the flavor profile.
- Granulated Sugar – Sweetens and helps create caramel; standard sugar works perfectly without substitutions.
- Sweetened Condensed Milk – Gives a creamy texture to the caramel; evaporated milk with sugar can be used, but it will alter sweetness.
- Light Corn Syrup – Prevents crystallization for a smooth caramel; honey or maple syrup can be good alternatives.
- Vanilla Extract – Enhances the overall flavor; opt for pure extract for the best taste, or substitute with almond extract for a unique touch.
For the Turtles
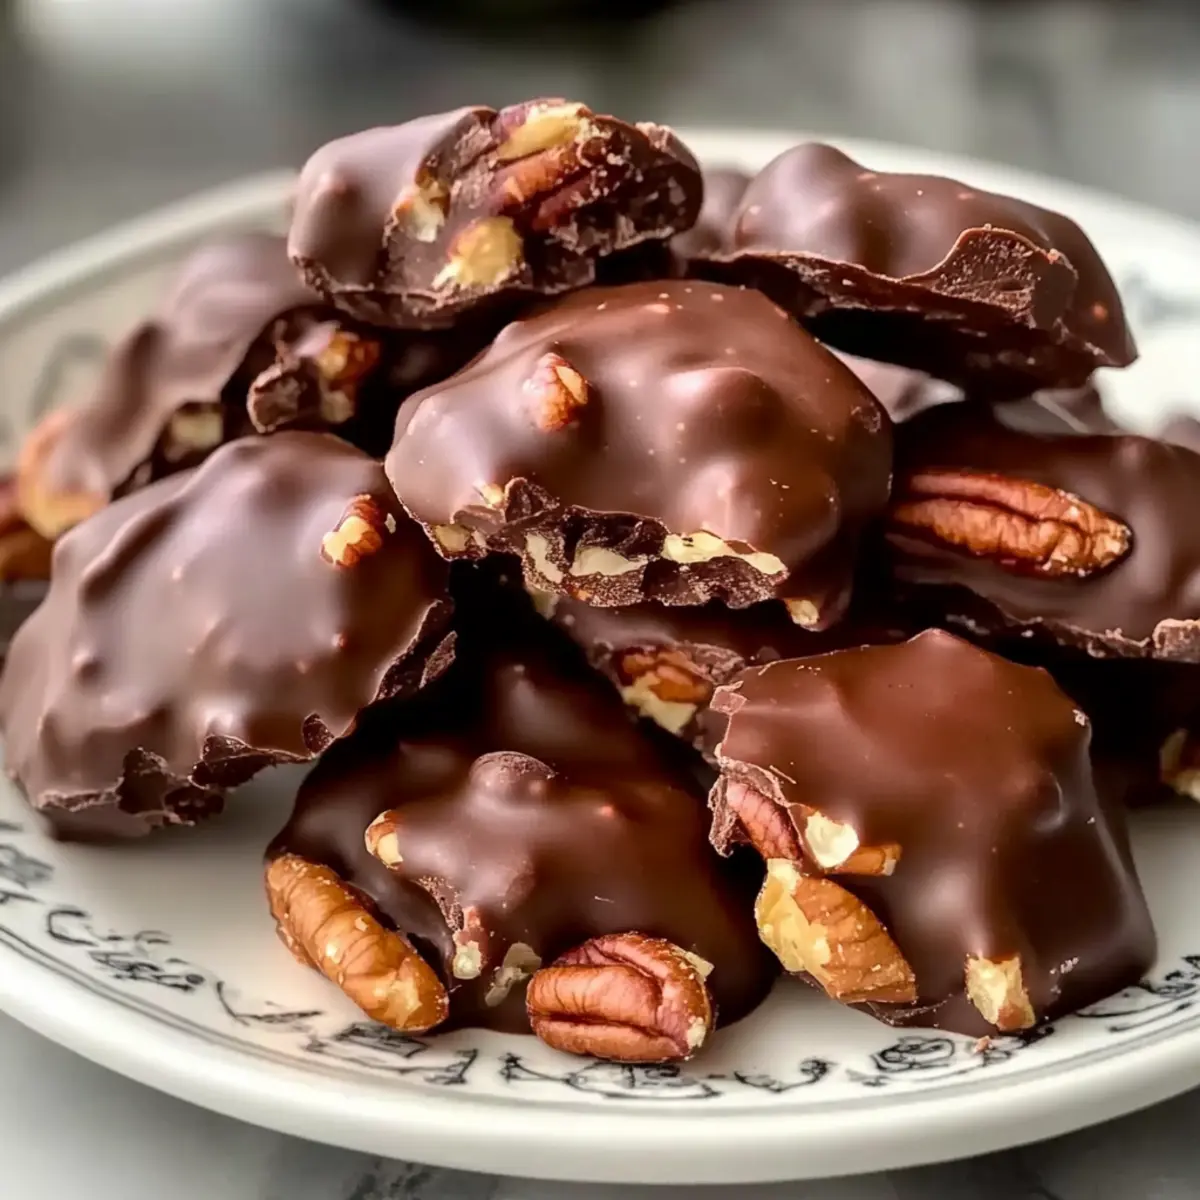
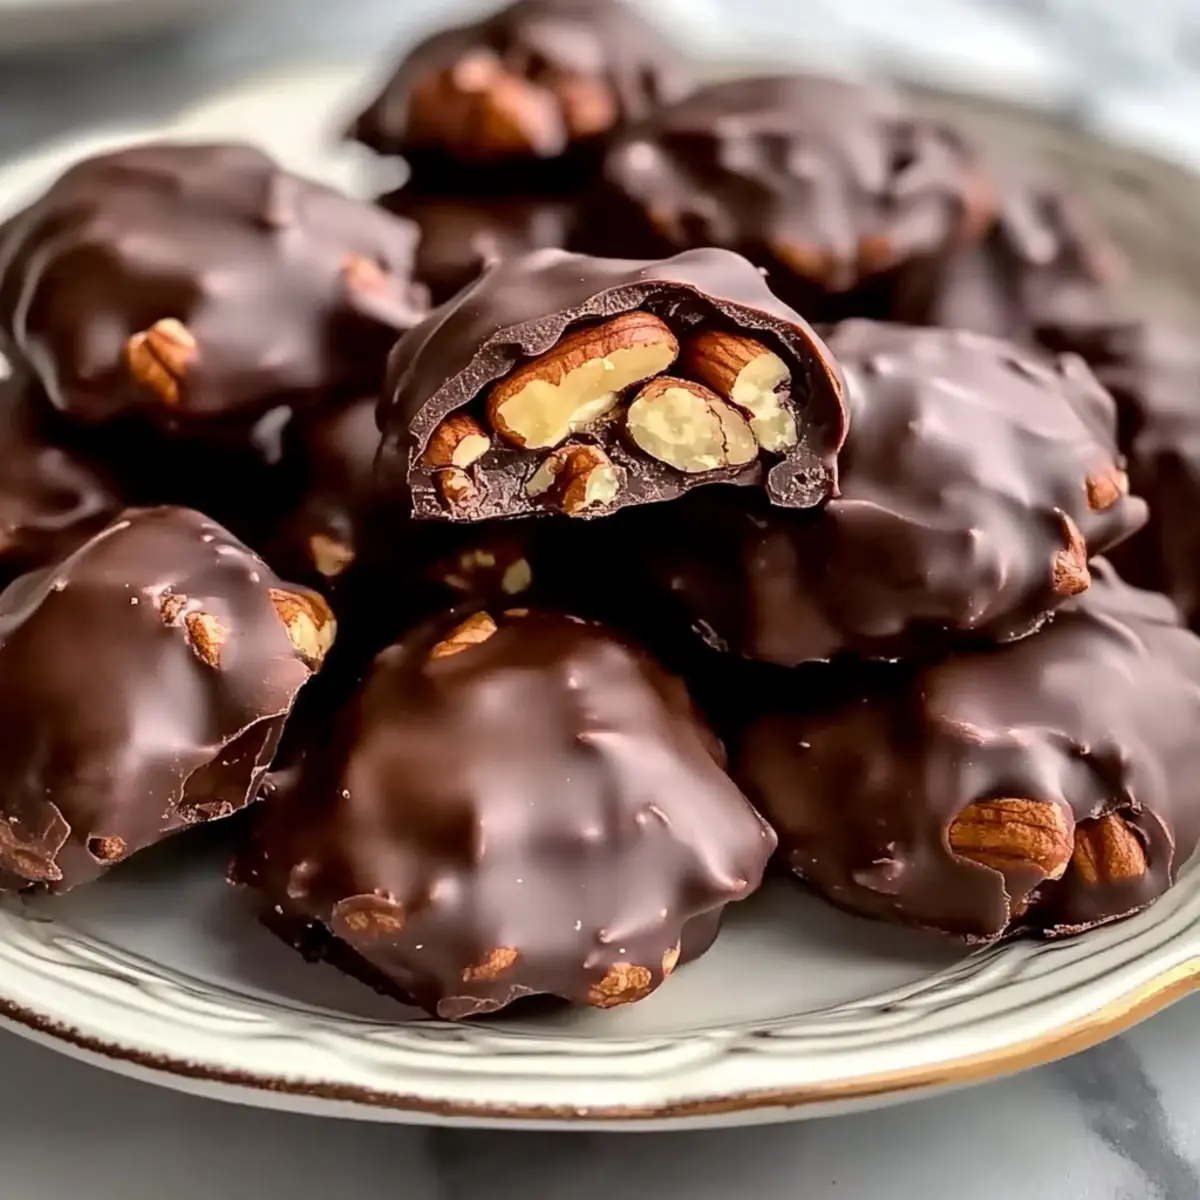
- Pecan Halves – Provide a delightful crunch and flavor; you can swap them with walnuts or other nuts if desired.
- Almond Bark or High-Quality Chocolate – Coats the turtles with a smooth finish; feel free to use dark or milk chocolate based on your preference and ensure it’s tempered for the best results.
Indulge in the sweetness of Homemade Chocolate Turtles and enjoy the delightful process of creating these festive treats!
Step‑by‑Step Instructions for Homemade Chocolate Turtles
Step 1: Preheat the Oven & Prepare Pecans
Preheat your oven to 350°F (175°C). While the oven warms, spread your pecan halves on a baking sheet in a single layer. Toast them for about 8-10 minutes, stirring once halfway, until they become fragrant and lightly golden. Keep an eye on them to prevent burning—you want that nutty aroma to fill your kitchen!
Step 2: Make the Caramel
In a medium saucepan over medium heat, combine the salted butter, light brown sugar, granulated sugar, sweetened condensed milk, light corn syrup, and vanilla extract. Stir constantly until it reaches a gentle boil, then cook for about 5-7 minutes, allowing the mixture to thicken slightly. You’ll know it’s ready when you see bubbles forming and the caramel becomes a beautiful amber color.
Step 3: Form Turtles
Once your caramel is ready, remove it from the heat and let it cool for a couple of minutes. Drop spoonfuls of the warm caramel mixture onto a parchment-lined baking sheet, spacing them out to form clusters. Immediately place a toasted pecan half atop each caramel blob, gently pressing down to create your irresistible Homemade Chocolate Turtles.
Step 4: Melt Chocolate
Next, prepare to coat your turtles! In a microwave-safe bowl or a double boiler, melt the almond bark or high-quality chocolate. Heat in 30-second intervals in the microwave, stirring after each interval until smooth and fully melted. The chocolate should be glossy and silky, with no lumps remaining—this is what will give your turtles that decadent finish.
Step 5: Dip Turtles
After the caramel has set and cooled for a bit, carefully dip each turtle cluster into the melted chocolate, using a fork to help coat completely. Allow any excess chocolate to drip off before placing the turtles back onto the parchment paper. It’s essential to ensure all the caramel is covered, creating a rich envelope of chocolate for each delicious bite.
Step 6: Store
Once you’ve dipped all the turtle clusters, allow them to cool completely on the wax paper. This usually takes about 30 minutes at room temperature. After they’re fully set, transfer your Homemade Chocolate Turtles to an airtight container for storage. They can last for up to 2-3 weeks, but I doubt they’ll last that long, as they’re simply irresistible!
What to Serve with Homemade Chocolate Turtles?
Imagine the warmth of a cozy gathering, where sweet treats create lasting memories. These delightful bites are perfect to compliment with a variety of indulgent items.
-
Rich Hot Cocoa: The creamy chocolate notes of hot cocoa enhance the turtles’ flavors, making each sip a joy. It’s like a warm hug in a mug!
-
Vanilla Ice Cream: Serve alongside a scoop of vanilla ice cream for a delightful contrast of temperatures and textures. The creamy base of the ice cream beautifully balances the rich caramel.
-
Coffee or Espresso: A cup of freshly brewed coffee or a shot of espresso offers a lovely bitterness that pairs wonderfully with the sweet turtles. The caffeine kick also adds to your holiday cheer!
-
Chocolate Fondue: For a chocolate lover’s dream, set up a warm chocolate fondue station. Guests can dip fruits or marshmallows while enjoying the homemade turtles together.
-
Chopped Nuts: A sprinkle of crushed pecans or almonds atop each turtle not only adds visual appeal but an extra crunch that enhances their texture.
-
Chewy Caramel Brownies: For the ultimate dessert table, serve these turtles with fudgy caramel brownies. They harmonize perfectly with the turtles and create an all-star dessert lineup.
-
Spiced Apple Cider: Warm spiced apple cider creates a comforting atmosphere—its fruity notes enhance the caramel, making every bite sweeter.
-
Candied Ginger: For a zingy twist, add some candied ginger on the side. Its spicy sweetness contrasts beautifully with the turtles’ flavors, adding depth to your dessert experience.
-
Gourmet Chocolate Truffles: Pair them with a variety of rich chocolate truffles. Combining different chocolates elevates the experience into a luxurious treat.
-
Dark Chocolate Lavender Cookies: These aromatic cookies add a floral complexity that melds well with the turtles, offering an intriguing balance of flavors.
How to Store and Freeze Homemade Chocolate Turtles
Airtight Container: Store your Homemade Chocolate Turtles in an airtight container to maintain freshness; they will stay delicious for up to 2–3 weeks on the counter.
Fridge: If you prefer a firmer texture, refrigerate the turtles in an airtight container for up to 3 weeks. Just remember to let them sit at room temperature for a few minutes before enjoying.
Freezer: For longer storage, place the turtles in a single layer on a baking sheet to freeze, then transfer them to a freezer-safe bag for up to 2 months.
Reheating: Allow frozen turtles to thaw in the fridge overnight, or at room temperature for about 1 hour. Avoid microwaving directly, as this may ruin the texture of the chocolate.
Expert Tips for Homemade Chocolate Turtles
-
Quality Matters: Use high-quality chocolate for coating your Homemade Chocolate Turtles to enhance flavor and texture—tempered chocolate ensures a smooth finish.
-
Watch the Caramel: Avoid overcooking the caramel by closely monitoring its color and texture. It should have a rich amber hue without burning for the best taste.
-
Nut Options: Feel free to substitute pecans with your favorite nuts like almonds or walnuts, but remember to adjust the toasting time as needed.
-
Chilling Time: Allow your chocolate-covered turtles to cool completely on parchment paper to prevent sticking. This will ensure that the chocolate sets perfectly!
-
Gift with Love: Pack your turtles in decorative tins or boxes for heartfelt gifts during the holidays, as they look as amazing as they taste!
Make Ahead Options
These Homemade Chocolate Turtles are fantastic for meal prep and can save you time during busy holiday seasons! You can prepare the caramel up to 24 hours in advance—just keep it in an airtight container in the refrigerator to maintain its rich flavor and prevent hardening. Additionally, you can toast the pecans a few days ahead (they stay fresh for about 3 days) and store them in a separate airtight container. When you’re ready to finish the turtles, simply reheat the caramel over low heat until it’s pliable, form the turtles as directed, and dip them in melted chocolate. You’ll have these delightful treats ready with minimal effort, perfect for gifting or enjoying at home!
Homemade Chocolate Turtles Variations
Explore delightful ways to customize your Homemade Chocolate Turtles, elevating your culinary adventure with unique twists!
-
Nut Alternatives: Switch out pecans for almonds or walnuts to create different textures and flavors. Each nut brings its own charm!
-
Chocolate Fusion: Mix dark and white chocolate for a visually stunning layering effect that adds depth to each bite. The contrasting flavors will delight chocolate lovers.
-
Salted Caramel Boost: Sprinkle a pinch of sea salt on top after dipping in chocolate for a delicious salted caramel version that balances sweetness perfectly.
-
Spicy Kick: Add a dash of cayenne pepper to the caramel for a surprising heat that distinguishes your turtles from traditional recipes. This twist adds complexity and intrigue!
-
Fruit Infusion: Incorporate dried cherries or cranberries into the caramel for a fruity burst among the nuts. The sweet-tart elements meld beautifully with the rich chocolate.
-
Chocolate Chip Turtles: Fold in mini chocolate chips into the caramel before forming clusters for an extra chocolatey surprise inside your turtles.
-
Vegan Version: Use coconut oil instead of butter, and opt for dairy-free chocolate to create delicious vegan turtles that everyone can enjoy!
-
Mini Treats: Make bite-sized turtles using smaller dollops of caramel, perfect for portion control and a lovely addition to dessert trays at gatherings.
Catering to diverse tastes can make your homemade treats shine! For more delightful chocolate recipes, check out Chocolate Cheesecake Forever or indulge in Easy Chocolate Chip Cookies. Happy baking!
Homemade Chocolate Turtles Recipe FAQs
How do I select ripe and fresh pecans for my Homemade Chocolate Turtles?
When choosing pecans, look for ones that are plump and firm with a rich color. Avoid nuts with dark spots or a rancid smell, as these indicate spoilage. Fresh pecans should ideally be stored in a cool, dry place to maintain their crunch.
How should I store my Homemade Chocolate Turtles to keep them fresh?
To keep your Homemade Chocolate Turtles fresh, store them in an airtight container at room temperature. They will stay delicious for about 2–3 weeks. If you notice the chocolate getting dull, that’s a sign they need to be eaten soon!
Can I freeze my Homemade Chocolate Turtles?
Absolutely! To freeze your turtles, place them in a single layer on a lined baking sheet and freeze until solid. Once frozen, transfer them to a freezer-safe bag, ensuring you remove as much air as possible. They can be stored for up to 2 months. Just remember to let them thaw in the fridge overnight or at room temperature for about an hour before enjoying.
What should I do if my caramel isn’t setting properly?
If your caramel is too runny, it may need to be cooked a little longer. Return it to medium heat and keep stirring until it thickens and reaches a soft-ball stage (you can test this by dropping a spoonful into ice water; it should form a soft ball). Keep an eye on it to prevent burning!
Are Homemade Chocolate Turtles suitable for people with nut allergies?
Unfortunately, these treats are not suitable for individuals with nut allergies due to the pecans. However, you can modify the recipe by substituting the nuts with seeds like sunflower seeds or omitting them altogether to create a nut-free version. Just be aware that the flavor and texture will change.
What kind of chocolate is best for coating Homemade Chocolate Turtles?
For the best results, use high-quality chocolate or tempered almond bark. Dark chocolate offers a rich flavor, while milk chocolate provides a sweeter option. Tempering the chocolate ensures it remains smooth and glossy, enhancing the final presentation of your turtles.
Homemade Chocolate Turtles: Sweet Treats for Every Occasion
Ingredients
Equipment
Method
- Preheat your oven to 350°F (175°C). Spread pecan halves on a baking sheet and toast for about 8-10 minutes.
- In a medium saucepan, combine salted butter, light brown sugar, granulated sugar, sweetened condensed milk, light corn syrup, and vanilla extract. Stir until it reaches a gentle boil.
- Once caramel is ready, drop spoonfuls onto a parchment-lined baking sheet and place a toasted pecan half on each.
- Melt the almond bark or high-quality chocolate in a microwave-safe bowl, stirring until smooth.
- Dip each turtle cluster into the melted chocolate and allow excess chocolate to drip off.
- Cool the dipped turtles on wax paper for about 30 minutes before transferring to an airtight container.
Leave a Reply