
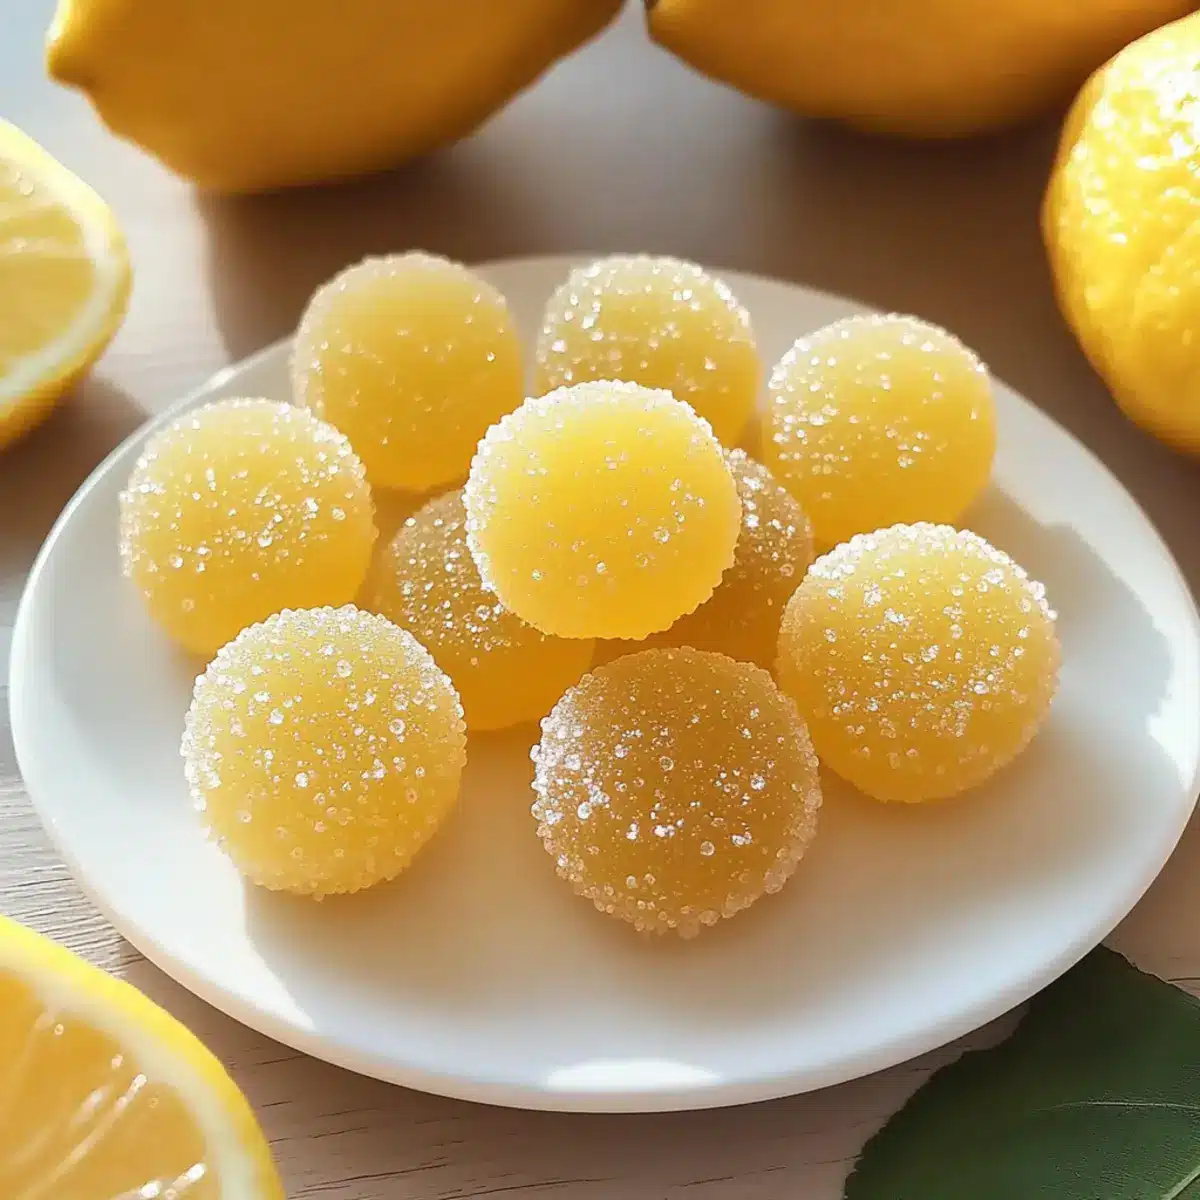
In a world where life can feel overwhelmingly busy, there’s something so satisfying about the craft of candy-making, especially when it involves a burst of zesty goodness like homemade lemon drops. This delightful recipe is more than just a sweet treat; it’s a nostalgic journey back to sun-drenched summers, filled with laughter and the refreshing zing of citrus. With just a handful of simple ingredients and no special equipment, you can create these shiny, vibrant candies that are both crowd-pleasers and perfect for gifting. Plus, the best part? You can easily customize them with flavors like lavender or spicy ginger for a fun twist! Are you ready to brighten your day with homemade lemon drops? Let’s dive into the joyful process of making these irresistible sweets!
Why Make Homemade Lemon Drops?
Simplicity at its Finest: With just a few straightforward ingredients, you’ll be amazed at how easy it is to whip up these delightful treats.
Customize Flavors: Whether you prefer the soothing taste of lemon-lavender or a kick from spicy ginger-lemon, you can easily tweak this recipe to your liking!
Perfect for Gifting: These beautiful, tangy sweets are ideal for sharing—wrap them up in a cute jar for friends or family.
Crowd-Pleasing Appeal: Their vibrant look and refreshing taste make them a hit at any gathering, brightening up your dessert table.
Nostalgic Joy: Enjoy a candy-making adventure that brings the taste of summer right to your kitchen with every zesty bite! Get ready to indulge in a homemade experience that beats fast food any day.
Homemade Lemon Drops Ingredients
• Here’s everything you need to make these delightful candies!
For the Syrup
- Granulated Sugar – Essential for sweetness and structure; ensure it’s fully dissolved for the best texture.
- Light Corn Syrup – Prevents crystallization; you can substitute it with golden syrup if necessary.
- Water – Serves as a medium to help dissolve sugar; using filtered water enhances flavor.
For the Flavor
- Fresh Lemon Juice – Provides the primary tangy flavor; fresh lemons are preferred over bottled for superior taste.
- Lemon Zest – Adds depth of citrus flavor; Meyer lemon zest is recommended for a sweeter profile.
- Lemon Extract – Enhances the lemon flavor; can be omitted for a subtler taste or replaced with lemon oil for a stronger kick.
- Yellow Food Coloring – Optional for aesthetic appeal, giving your homemade lemon drops a bright, cheerful look.
For Coating
- Additional Granulated Sugar – Used to coat the drops after formation, preventing sticking and adding sweetness.
Step‑by‑Step Instructions for Homemade Lemon Drops
Step 1: Prep the Baking Sheet
Begin by lining a baking sheet with parchment paper to prevent sticking. Lightly dust the surface with granulated sugar to prepare for your homemade lemon drops. This initial step ensures your candies will be easy to remove once they cool, so take a moment to make this surface ready while you prepare the syrup.
Step 2: Cook the Syrup
In a medium saucepan, combine granulated sugar, light corn syrup, and water. Heat the mixture over medium heat, stirring consistently until the sugar fully dissolves, which should take about 3-4 minutes. You’ll know the sugar is dissolved when the mixture appears clear. This step is crucial for achieving the right texture in your candies.
Step 3: Achieve Hard Crack Stage
Once the sugar is dissolved, stop stirring and allow the syrup to boil. Monitor the temperature using a candy thermometer, watching for it to reach 300°F, which will take about 10-15 minutes. Stay close to the stove to prevent overflow, and look for a golden color that signals you’re approaching the hard crack stage for your lemon drops.
Step 4: Add Flavors
Remove the saucepan from heat as soon as the syrup reaches 300°F. Carefully stir in the fresh lemon juice, lemon zest, lemon extract, and optional yellow food coloring. Be prepared for bubbling as the ingredients mix; this indicates the flavors are melding beautifully into your homemade lemon drops. Stir quickly to combine the flavors thoroughly before proceeding to the next step.
Step 5: Form Drops
Using a spoon, carefully drop small amounts of the syrup onto your prepared baking sheet. Ensure they are spaced apart to allow for expansion. If the syrup begins to harden too quickly, gently reheat it on low to maintain pouring consistency. This is the fun part, where your lemon drops begin to take shape!
Step 6: Sugar Coating
Once the drops have cooled slightly but are still warm, roll each one in additional granulated sugar to coat. This will help prevent them from sticking together and add an extra touch of sweetness. Make sure each candy is fully covered, as this gives an enticing finish to your homemade lemon drops.
Step 7: Cool Completely
Allow the lemon drops to set at room temperature for about 20-30 minutes. This cooling period ensures they firm up properly and develop the right texture. Once cooled, your homemade lemon drops will be shiny, firm, and ready to be enjoyed or beautifully packaged as gifts for friends and family.
Homemade Lemon Drops: Fun Variations!
Feel free to explore these delightful modifications that can elevate your homemade lemon drops into something even more spectacular!
-
Lemon-Lavender: Add a hint of dried culinary lavender for a calming floral note that complements the citrus beautifully.
The soothing essence will evoke a lovely garden vibe with each bite, making your drops feel elegant and unique. -
Spicy Ginger-Lemon: Incorporate fresh grated ginger or ginger extract for a spicy kick that balances the sweetness of the lemon.
This zesty twist will warm up your palate, making your homemade lemon drops truly unforgettable! -
Honey Sweetener: Swap half of the granulated sugar with honey for a more natural sweetness, giving a different taste profile.
Honey brings a lovely floral note that pairs harmoniously with lemon, creating a unique flavor experience. -
Meyer Lemon Magic: Use Meyer lemons instead of regular lemons for a sweeter, less acidic candy flavor.
This simple switch will transform your drops into a refined treat, perfect for sophisticated taste buds. -
Herbal Infusions: Consider infusing the syrup with fresh herbs like mint or rosemary during the cooking process for a refreshing surprise.
A hint of herbal flavor adds intrigue and pairs surprisingly well with the tartness of the lemon! -
Colored Sugar Coating: Instead of just using white sugar, try coating your drops in colored sugar for a fun, festive look.
Not only does it add a pop of color, but it also creates a delightful crunch as you savor each candy. -
Zesty Citrus Mix: Mix in the zest and juice of other citrus fruits such as limes or oranges for a vibrant citrus medley.
This variation bursts with layers of flavor, bringing a refreshing twist that transports you to a sunny beach! -
Chili-Lemon Mix: For spice lovers, add a pinch of cayenne pepper or chili powder to the mixture for a spicy-sour experience.
This unexpected combination creates an exciting fusion that tickles your taste buds and keeps you coming back for more!
If you’re craving something a bit chillier, consider whipping up a batch of Fil Frosted Lemonade for a refreshing drink to enjoy alongside these zesty treats!
Storage Tips for Homemade Lemon Drops
- Room Temperature: Store your homemade lemon drops in an airtight container at room temperature for up to 2-3 weeks, keeping them away from direct sunlight to maintain freshness.
- Fridge: If you live in a humid climate, consider refrigerating them to prevent sticking. Ensure they are in a well-sealed container to avoid moisture.
- Freezer: For longer storage, freeze the lemon drops in an airtight container for up to 3 months. Just allow them to thaw at room temperature before enjoying.
- Reheating: If the drops stick together, gently separate them using your fingers or a fork once they’re at room temperature.
Expert Tips for Homemade Lemon Drops
- Use Accurate Thermometer: A reliable candy thermometer is crucial for reaching the hard crack stage at 300°F for perfect texture.
- No Stirring After Boil: Avoid stirring once the syrup begins to boil; this prevents unwanted crystallization, ensuring a smooth candy consistency.
- Bubble Caution: When adding lemon juice, expect bubbling. Stir quickly to incorporate flavors, and be cautious of spills.
- Prevent Stickiness: If your lemon drops become sticky during storage, incorporate a silica gel packet to absorb moisture or refrigerate them in humid climates.
- Flavor Variations: Experiment with adding lavender or ginger to your homemade lemon drops for a unique twist that delights taste buds.
What to Serve with Homemade Lemon Drops
Elevate your candy-making experience by pairing these deliciously zesty lemon drops with treats and beverages that complement their bright flavors.
-
Herbal Tea: The warmth and soothing nature of herbal tea offer a cozy contrast to the tangy sweetness of lemon drops, perfect for a quiet afternoon.
-
Cheese Plate: A selection of creamy cheeses, like brie or goat cheese, paired with artisanal crackers can provide a delightful balance of savory and sweet flavors when enjoyed with lemon drops.
-
Fruit Salad: A refreshing mix of seasonal fruits, such as strawberries, oranges, and berries, accentuates the citrus notes of your lemon candies, adding brightness to your dessert table.
-
Chocolate Dipped Strawberries: The sweet, rich chocolate pairs wonderfully with the tartness of lemon drops, creating a delightful play of flavors and textures.
-
Sparkling Water: A glass of chilled sparkling water with a slice of lemon offers an invigorating drink option, enhancing the citrus theme and refreshing your palate.
-
Vanilla Ice Cream: Creamy vanilla ice cream complements the brightness of lemon drops beautifully, making for a satisfying contrast that’s perfect for dessert.
-
Nut Mix: A toasted nut mix adds a delightful crunch and earthy notes that pair well with the candy’s sweetness; it’s an excellent option for a snack platter.
-
Mint Chocolate Brownies: Decadent mint chocolate brownies create a rich alternative that contrasts beautifully with the lemon’s brightness, appealing to those who love a sweet and tart combination.
Make Ahead Options
These Homemade Lemon Drops are perfect for busy home cooks looking to save time! You can prepare the syrup up to 24 hours in advance and store it in an airtight container in the fridge. Just make sure to let it come to room temperature before forming your drops, as this helps maintain their glossy texture. You can also spoon the drops onto the baking sheet and let them cool for a few minutes, then coat them in sugar and refrigerate them for up to 3 days. When you’re ready to serve, simply let them sit at room temperature for about 15 minutes to regain their texture, and you’ll enjoy the same delightful zesty goodness! This way, you can have homemade candy any time, without the hassle!
Homemade Lemon Drops Recipe FAQs
How do I select the best lemons for homemade lemon drops?
Absolutely! When choosing lemons, look for ones that are firm and heavy for their size, indicating they are juicy. Fresh lemons should have a bright yellow color with a smooth skin—avoid any with dark spots or dryness. Meyer lemons are a fantastic option as they provide a sweeter flavor profile, which can be very pleasant in your lemon drops.
What is the best way to store homemade lemon drops?
To maintain freshness, store your homemade lemon drops in an airtight container at room temperature for up to 2-3 weeks. If you’re in a humid environment, refrigeration is a wise choice; just be sure the container is well-sealed to prevent moisture from making them sticky.
Can I freeze homemade lemon drops?
Yes, you can freeze your lemon drops for up to 3 months. To do so, place them in an airtight container, ensuring they are not packed too tightly to avoid sticking. When you’re ready to enjoy them, let them thaw at room temperature for a perfect treat that brightens your day!
What can I do if my lemon drops are too sticky?
If you find that your lemon drops have become sticky, it’s usually due to humidity or improper storage. To remedy this, try adding a silica gel packet to the container to absorb excess moisture. Alternatively, storing them in the refrigerator can help maintain the right texture. If they are too hard or sticky after thawing from the freezer, gently use your fingers or a fork to separate them once they reach room temperature.
Are homemade lemon drops safe for pets or those with allergies?
While homemade lemon drops are a delightful treat for humans, they are not suitable for pets, especially dogs, as citrus can cause digestive issues. Additionally, if you or someone you’re gifting them to has citrus allergies, be sure to omit any lemon extract or juice from the recipe—though they will lose the signature flavor. Always check labels for ingredients if using any packaged items to ensure all dietary considerations are met.
Homemade Lemon Drops: Brighten Your Day with Zesty Candies
Ingredients
Equipment
Method
- Prep the Baking Sheet: Line a baking sheet with parchment paper and dust with granulated sugar.
- Cook the Syrup: Combine granulated sugar, light corn syrup, and water in a saucepan. Heat over medium until dissolved.
- Achieve Hard Crack Stage: Allow the syrup to boil without stirring until it reaches 300°F.
- Add Flavors: Stir in fresh lemon juice, lemon zest, lemon extract, and food coloring.
- Form Drops: Drop small amounts of syrup onto the baking sheet, ensuring space between them.
- Sugar Coating: Roll each warm drop in additional granulated sugar to coat.
- Cool Completely: Let drops set at room temperature for 20-30 minutes.
Leave a Reply