
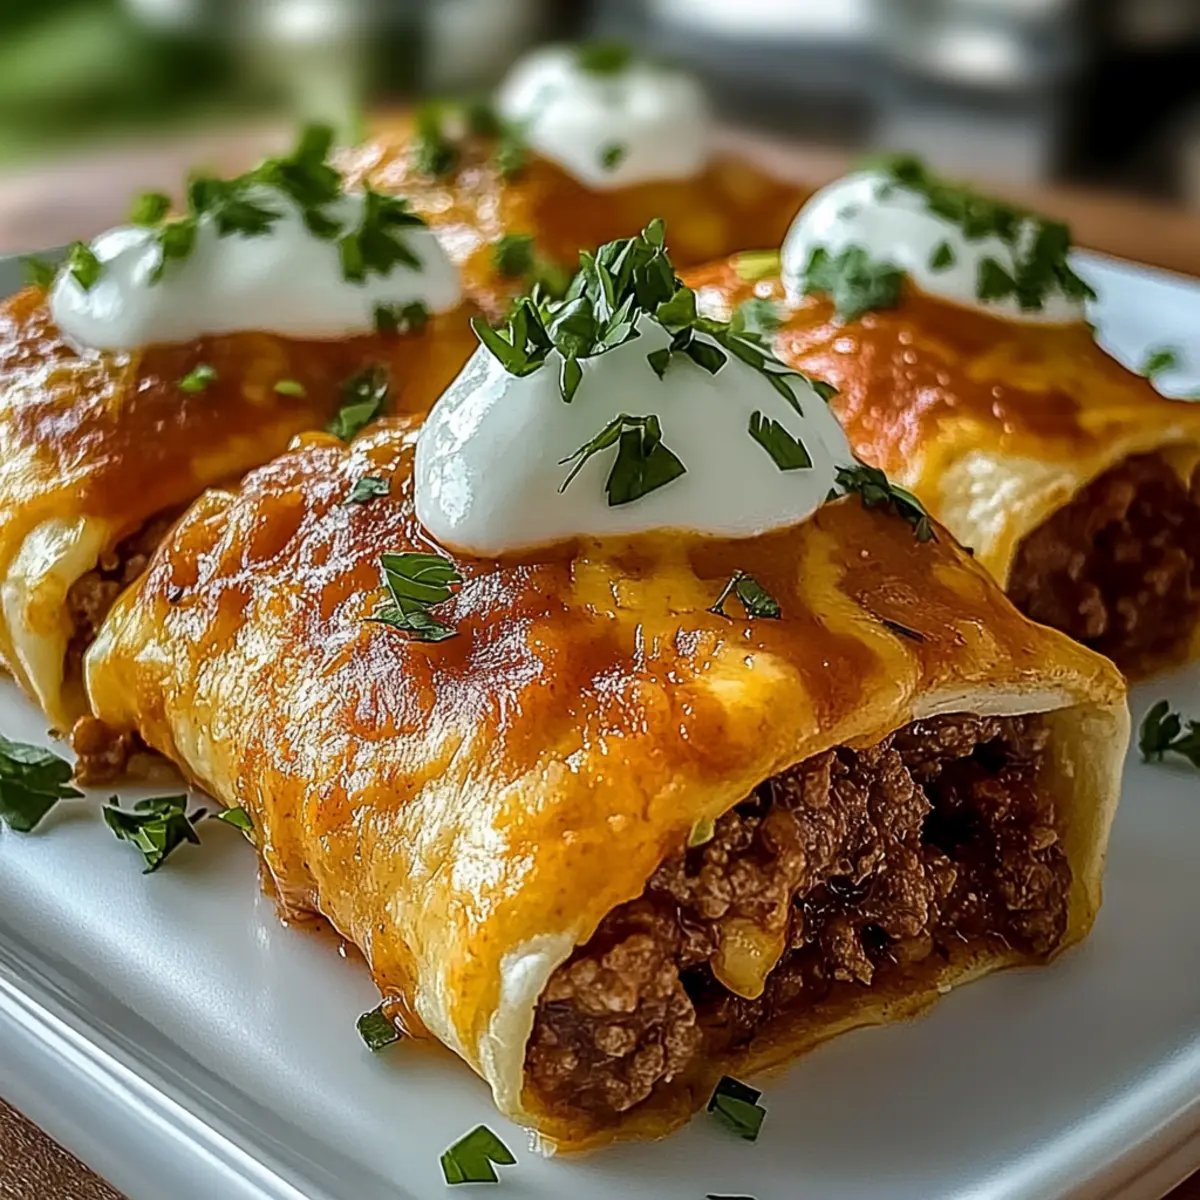
The tantalizing aroma of spices dancing in the air can transport you straight to the heart of a bustling Mexican kitchen. That’s exactly what I felt the first time I unwrapped a warm, crispy cheesy beef chimichanga, and I haven’t looked back since! These irresistible handheld delights are not just a crowd-pleaser; they’re a quick dinner solution that brings comfort through simplicity. With a flavorful filling of juicy beef and melty cheese all wrapped in a crunchy tortilla, you’ll love that they bake up perfectly golden without the need for frying. Plus, they’re freezer-friendly, making it easy to whip up a batch ahead of time for those busy nights when you crave something homemade. Curious about how to make this deliciousness at home? Let’s dive into this recipe!
Why are Crispy Cheesy Beef Chimichangas perfect?
Easy preparation: This recipe requires minimal cooking skills, making it accessible even for novice cooks.
Flavor explosion: The harmony of seasoned beef, cheese, and spices ensures every bite is packed with deliciousness.
Make-ahead convenience: These chimichangas are freezer-friendly, allowing you to prepare them ahead of time for those busy weeknights when you want homemade comfort.
Versatile options: Swap ingredients like ground beef with shredded chicken or mix in beans for a personalized twist.
Crowd-pleaser: They’re ideal for family dinners or gatherings, with everyone loving these crispy treats! If you’re looking to expand your meal ideas, check out my Ground Beef Hot or Indian Ground Beef for more tasty options.
Crispy Cheesy Beef Chimichangas Ingredients
For the Filling
- Ground Beef – Provides protein and a savory base for the filling; feel free to substitute with turkey or lentils for a lighter option.
- Yellow Onion – Adds sweetness and depth of flavor; shallots or green onions can easily be used instead.
- Garlic – Enhances flavor and aroma; fresh garlic is ideal, but powdered garlic works in a pinch.
- Taco Seasoning – Offers a blend of spices that impart Mexican flavor; consider using homemade seasoning if preferred.
- Cream Cheese – Adds creaminess to the filling, helping to bind ingredients; Neufchâtel is a lighter substitute.
- Shredded Sharp Cheddar Cheese – Contributes robust flavor; feel free to use Monterey Jack or any melting cheese as an alternative.
- Shredded Monterey Jack Cheese – Provides meltiness; swap with pepper jack for an added kick.
For the Wrapping
- Flour Tortillas – Encases the filling; corn tortillas are a gluten-free alternative, though they may crack more easily.
- Olive Oil Spray or Melted Butter – Helps crisp the chimichangas during baking; try avocado oil spray for a different flavor profile.
These Crispy Cheesy Beef Chimichangas are not just about great flavor but also the joy of creating something delightful at home!
Step‑by‑Step Instructions for Crispy Cheesy Beef Chimichangas
Step 1: Preheat Oven
Begin by preheating your oven to 400°F (200°C). While the oven warms up, line a baking sheet with parchment paper to create a non-stick surface for your Crispy Cheesy Beef Chimichangas. This helps ensure the chimichangas achieve that perfect golden crisp during baking.
Step 2: Cook Beef
In a large skillet, over medium heat, add your ground beef and diced yellow onion. Cook for about 6–8 minutes, stirring occasionally, until the beef is browned and the onion is soft. Drain any excess grease to keep your filling light and flavorful, ensuring a delicious base for your filling.
Step 3: Add Flavor
Now, stir in minced garlic and taco seasoning to the beef mixture. Cook for an additional minute, allowing the spices to become fragrant and envelop the beef. This step infuses your filling with rich, zesty flavors that are essential for your Crispy Cheesy Beef Chimichangas.
Step 4: Mix Filling
Lower the heat and mix in the cream cheese along with half of both shredded cheeses. Stir continuously until melted and fully integrated, creating a creamy, cohesive filling. This texture will ensure every bite of your chimichangas is both cheesy and packed with flavor.
Step 5: Prepare Tortillas
To make folding easier, place your flour tortillas on a microwave-safe plate and microwave them for about 20 seconds. This softens the tortillas, making them pliable and ready to embrace the flavorful beef mixture without cracking.
Step 6: Assemble Chimichangas
Set up an assembly line with your tortillas and beef filling. Scoop 2-3 tablespoons of the beef mixture into the center of each tortilla. Fold in the sides and roll tightly to secure the filling. It’s important to keep them snug so they bake evenly and stay crispy.
Step 7: Bake
Place the assembled chimichangas seam-side down on the parchment-lined baking sheet. Generously spray them with olive oil or brush with melted butter to enhance crispiness. Bake in the preheated oven for about 20 minutes, flipping halfway through, until they are golden brown and crispy on all sides.
Step 8: Finish with Cheese
For an extra cheesy touch, if desired, sprinkle the remaining shredded cheese on top of the chimichangas during the last 2 minutes of baking. Return them to the oven to melt the cheese perfectly before removing them to serve hot and crispy, ready to enjoy!

How to Store and Freeze Crispy Cheesy Beef Chimichangas
- Room Temperature: Let the chimichangas cool completely before storing at room temperature for up to 2 hours if you’re planning to serve them right away.
- Fridge: Store any leftovers in an airtight container for up to 4 days. Reheat in the oven or air fryer to restore that crispy texture.
- Freezer: For longer storage, freeze assembled but unbaked chimichangas in a single layer on a baking sheet, then transfer to a freezer bag for up to 3 months.
- Reheating: To reheat frozen chimichangas, bake them directly from the freezer at 400°F (200°C) for 25-30 minutes until heated through and crispy. Enjoy your delightful Crispy Cheesy Beef Chimichangas any time!
Expert Tips for Crispy Cheesy Beef Chimichangas
• Tortilla Tip: Warm tortillas beforehand to prevent cracking; this makes folding them a breeze and ensures a neat, crispy finish.
• Fill Sparingly: Use just enough filling—about 2-3 tablespoons per tortilla—to maintain shape and make rolling easy. Overfilling can lead to messy chimichangas.
• Crisp Alternative: For added crunch, consider using an air fryer at 375°F (190°C) for 10-12 minutes instead of the oven, ensuring a lighter crisp.
• Flavor Boost: Experiment with homemade taco seasoning for a unique flavor; this personalized touch can elevate your crispy cheesy beef chimichangas to new heights.
• Storage Savvy: These chimichangas are freezer-friendly! Prepare a batch to enjoy later, making weeknight dinners even more convenient.
What to Serve with Crispy Cheesy Beef Chimichangas
The perfect dish deserves delightful companions to elevate your mealtime experience!
- Sour Cream: This classic topping adds a cool, creamy contrast that perfectly balances the chimichangas’ heat and spice.
- Fresh Guacamole: Creamy and rich, guacamole brings wholesome avocado goodness, making each bite even more satisfying.
- Pico de Gallo: A burst of fresh tomatoes, onions, and cilantro adds brightness and acidity, enhancing the overall flavor profile delightfully.
- Mexican Street Corn Salad: This flavorful side brings crunch and sweetness, complementing the hearty chimichangas beautifully. The creamy dressing ties everything together into a refreshing delight.
- Cilantro-Lime Rice: Flavorful and zesty, this dish provides a light, fluffy base that pairs seamlessly with the rich chimichangas, making for a winning combination.
- Crispy Coleslaw: A crunchy slaw with a tangy dressing offers a refreshing contrast to the warm, cheesy filling, balancing textures like a pro.
- Margaritas: For a fun drink option, these refreshing cocktails add a festive vibe to your meal, echoing the Mexican flavors of your dinner.
- Chocolate Flan: End on a sweet note with this creamy dessert! The velvety texture and rich flavor create a wonderful finale to your comforting meal.
Make Ahead Options
These Crispy Cheesy Beef Chimichangas are perfect for busy weeknights and meal prep enthusiasts! You can prepare the filling up to 24 hours in advance by cooking the beef and mixing in the cream cheese and shredded cheeses. Simply let it cool, then store it in an airtight container in the refrigerator. The tortillas can also be prepped; just keep them wrapped in a damp paper towel to prevent drying out. When you’re ready to bake, assemble the chimichangas by filling the soft tortillas, rolling them up, and baking them as directed. This way, you’ll have a fulfilling homemade dinner with minimal effort!
Variations & Substitutions for Crispy Cheesy Beef Chimichangas
Feel free to customize these chimichangas to suit your taste buds and dietary needs!
- Dairy-Free: Use a dairy-free cream cheese alternative and omit cheese for a plant-based delight. Enjoy the same satisfying crunch with a comforting filling!
- Spicy Twist: Incorporate diced jalapeños or a splash of hot sauce into the beef mixture for a fiery kick that’s sure to awaken your senses.
- Vegetarian: Swap ground beef with black beans or lentils, combining them with spices for a hearty, meatless option that’s still packed with flavor.
- Grain-Free: Substitute flour tortillas with corn tortillas or lettuce wraps for a lighter, gluten-free take on these chimichangas. They’re both delicious in their unique way!
- Extra Crunch: For an added texture twist, sprinkle crushed tortilla chips inside the chimichangas before folding. This simple addition brings delightful crunch in every bite!
- Flavor Blast: Replace taco seasoning with a homemade blend of cumin, chili powder, and paprika for a fresher, personalized flavor profile.
- Citrus Zest: Add lime juice and zest to the beef mixture for a lively twist that will brighten the overall taste, making it even more refreshing!
These variations show how versatile Crispy Cheesy Beef Chimichangas can be! Dive into some fun alternatives while keeping the same beloved crunch. For more delicious inspiration, consider trying my Ground Beef Cucumber or Eggs in Crispy Hash Brown Baskets for your next meal!
Crispy Cheesy Beef Chimichangas Recipe FAQs
What should I look for when selecting ground beef?
Absolutely! When choosing ground beef for your chimichangas, look for meat with a little fat content for optimal flavor—typically an 80/20 blend (80% meat and 20% fat) works best. Check for a bright red color without dark spots, which indicate age. If you see or feel a bit of liquid in the packaging, it’s perfectly fine as long as it doesn’t have a sour smell.
How should I store leftovers?
Very straightforward! To store your leftover crispy cheesy beef chimichangas, let them cool completely before placing them in an airtight container in the fridge. They can last up to 4 days. When you’re ready to enjoy them again, reheat in the oven at 375°F (190°C) or air fryer for that freshly baked crispy texture!
Can I freeze leftover chimichangas?
Absolutely! I recommend freezing unbaked chimichangas for the best quality. After assembling them, place them on a baking sheet lined with parchment paper and freeze individually for about 1-2 hours. Then, transfer them to a freezer-safe bag or container for up to 3 months. You can bake them straight from frozen; just remember to add a few extra minutes to the baking time.
What can I do if my chimichangas are not crispy?
If your chimichangas aren’t coming out as crispy as you’d like, there are a few tips to try! Firstly, make sure to spray them generously with olive oil or brush with melted butter before baking. This oil helps achieve that delightful crunch. Also, ensure you’re not overcrowding the baking sheet; giving them enough space allows for air circulation. If you prefer, try an air fryer for enhanced crispiness at a lower cooking time—just cook at 375°F (190°C) for 10-12 minutes.
Are there any allergy concerns with this recipe?
Definitely worth checking! This recipe contains common allergens like dairy from the cheeses and gluten from the flour tortillas. I recommend using corn tortillas to make them gluten-free if needed. For dairy-free options, consider using non-dairy cream cheese and cheeses made from nuts or soy. Always check labels for any additional allergens, especially if serving to guests.
How can I add more flavor to the beef filling?
Very easy! You can enhance the flavor of the beef filling by incorporating extra spices or ingredients like chopped bell peppers, jalapeños for heat, or even a sprinkle of lime juice before serving. Another option is to make your own taco seasoning with cumin, chili powder, and paprika—it can make a significant difference in taste! Feel free to get creative and add what you love!
Crispy Cheesy Beef Chimichangas for a Cozy Dinner Night
Ingredients
Equipment
Method
- Preheat your oven to 400°F (200°C) and line a baking sheet with parchment paper.
- In a large skillet, cook the ground beef and diced yellow onion over medium heat for about 6–8 minutes.
- Stir in minced garlic and taco seasoning, cooking for an additional minute.
- Mix in the cream cheese and half of both shredded cheeses until melted and fully combined.
- Warm flour tortillas in the microwave for about 20 seconds to soften them.
- Scoop 2-3 tablespoons of the beef mixture into each tortilla, fold in the sides, and roll tightly.
- Place seam-side down on the baking sheet, spray with olive oil or brush with melted butter, and bake for about 20 minutes.
- During the last 2 minutes of baking, sprinkle remaining shredded cheese on top, then serve hot and crispy.
Leave a Reply