
The aroma of warm apples and cinnamon wafts through your kitchen as the golden crust begins to bake—who can resist that? It’s moments like these that led me to create these delightful Apple Pie Bars. They blend the traditional comfort of homemade apple pie with the convenient charm of a bar dessert, making them a perfect addition to any gathering or cozy night in. Not only are these bars incredibly easy to whip up, but they also allow you to enjoy that classic pie flavor without the fuss of a full pie crust. Packed with a gooey, spiced apple filling and finished with a crumbly, buttery topping, each bite is both satisfying and delightful. Ready to elevate your dessert game? You won’t want to miss my tips on making these bars gluten-free or adding a sweet drizzle on top!
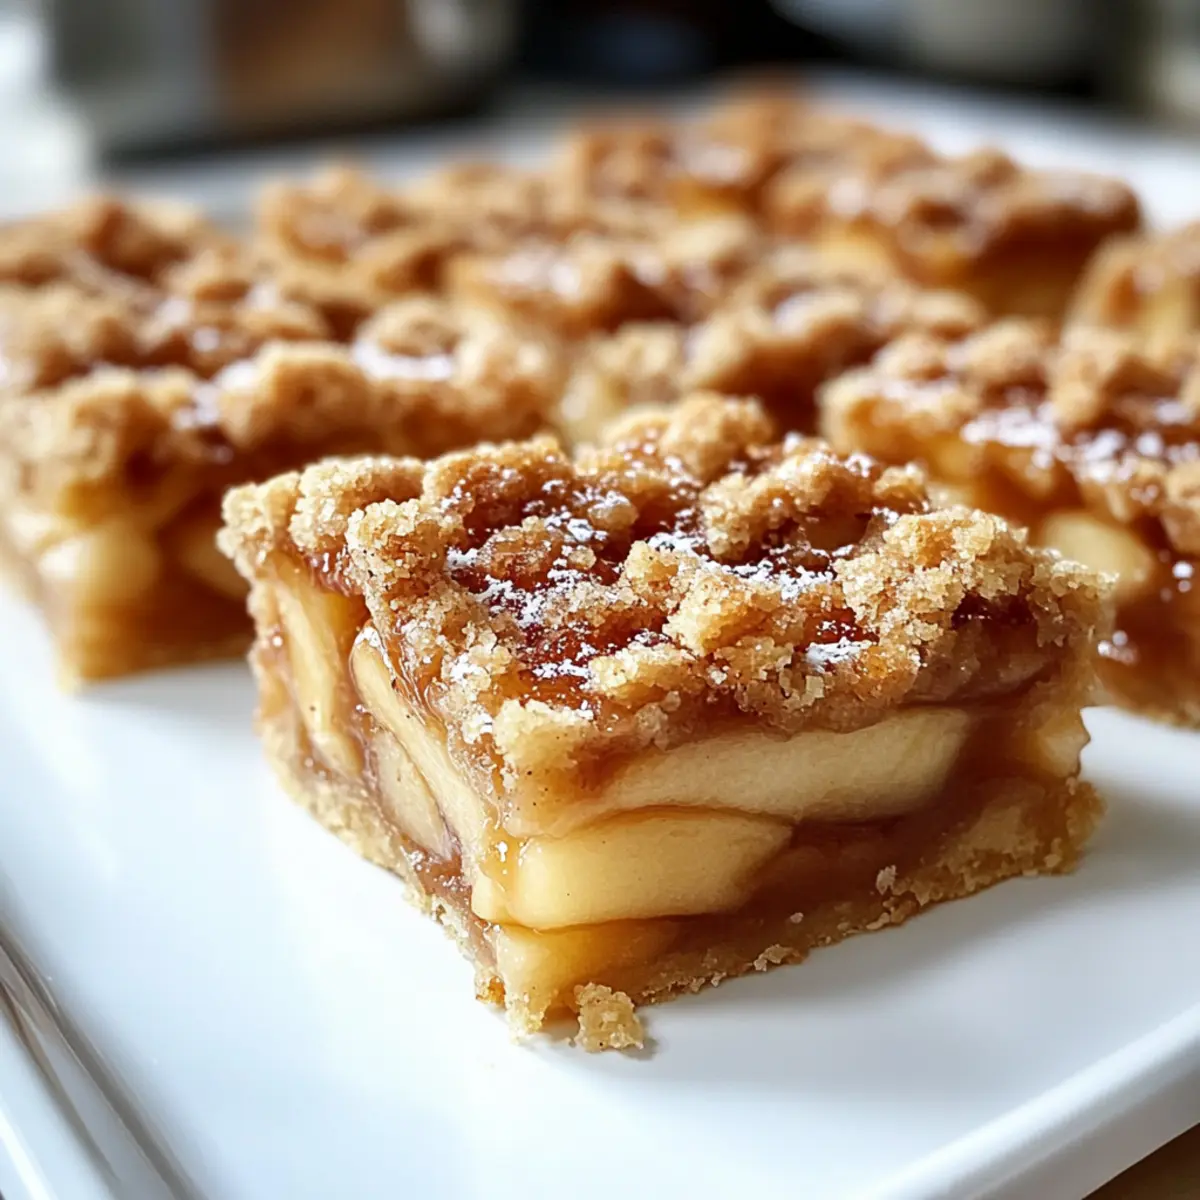
Why Are These Apple Pie Bars Irresistible?
Delightful Aroma: The fragrant combination of baked apples and warm spices fills your home, creating an inviting atmosphere perfect for any occasion.
Easy Preparation: With just a few simple steps, you can create these bars in no time, making them an ideal treat for busy weeknights or last-minute gatherings.
Crowd Pleaser: Their delightful texture and sweet flavor make them a favorite among friends and family, ensuring they won’t last long at any get-together.
Homemade Comfort: Experience the nostalgia of traditional apple pie, but in a format that’s easy to grab and enjoy. Serve warm with vanilla ice cream or a drizzle of caramel sauce for an extra special treat.
Versatile Options: Not only can you make these Apple Pie Bars gluten-free, but you can also customize them by using different apple varieties or adding nuts for added crunch. Bring a taste of fall to your kitchen with these scrumptious bars!
Apple Pie Bars Ingredients
Here’s everything you need to create these delightful Apple Pie Bars that will charm your family and friends.
For the Crust and Topping
- All-Purpose Flour – Provides a sturdy base for the crust; swap with gluten-free flour for a gluten-free option.
- Granulated Sugar – Adds sweetness to both the crust and topping; feel free to adjust based on your taste.
- Salt – A crucial element that enhances the flavor of the crust.
- Cold Butter – Essential for a flaky texture; remember to chill it for the best results.
For the Filling
- Brown Sugar – Contributes a rich sweetness and depth to the apple filling.
- Ground Cinnamon & Nutmeg – These warm spices elevate the flavor profile; fresh nutmeg will provide the best taste.
- Cornstarch – Thickens the filling to prevent it from being runny.
- Lemon Juice – Brightens the sweetness of the apples and adds a nice balance.
- Vanilla Extract – Infuses the filling with aromatic sweetness, creating a delightful aroma when baked.
- Apples (Granny Smith & Honeycrisp suggested) – A blend of tart and sweet varieties enhances the overall flavor of your apple pie bars.
Step‑by‑Step Instructions for Apple Pie Bars
Step 1: Preheat and Prepare the Pan
Begin by preheating your oven to 350°F (175°C). While it warms up, take a 9×13 inch baking pan and line it with parchment paper, allowing the edges to overhang. This will make it easier to lift the Apple Pie Bars out later. Make sure the pan is ready to go for the crust you’ll be preparing next.
Step 2: Make the Crust Mixture
In a large mixing bowl, combine the all-purpose flour, granulated sugar, and salt. Use a pastry cutter to cut in the cold butter until the mixture resembles coarse crumbs. Remember, you’re creating that buttery texture, essential for the base of your Apple Pie Bars. Reserve one-third of the mixture for the topping before moving on to the next step.
Step 3: Bake the Crust
Press the two-thirds of the mixture firmly into the bottom of the prepared pan to form a crust. Place it in the preheated oven and bake for about 15 minutes or until it starts to turn a light golden brown. This initial baking is crucial for achieving a firm base that will hold all the delicious apple filling.
Step 4: Prepare the Apple Filling
While the crust bakes, wash and slice your apples. In a large bowl, toss the sliced apples with brown sugar, ground cinnamon, nutmeg, cornstarch, lemon juice, and vanilla extract until well coated. This mixture will create a sweet and spiced filling for your Apple Pie Bars, making it extra delicious when baked.
Step 5: Assemble the Bars
Once the crust is slightly cooled, layer the apple mixture evenly over the baked crust. Sprinkle the reserved crumble topping evenly over the apple filling, making sure to cover it well. This step ensures that each bite of these Apple Pie Bars is balanced with both gooey apples and a crumbly topping.
Step 6: Bake the Bars
Return the assembled Apple Pie Bars to the oven and bake for an additional 35-40 minutes. Watch closely for the top to turn a lovely golden brown and the apples to become tender. The aroma will fill your kitchen, hinting at the mouthwatering treat that’s about to emerge.
Step 7: Cool and Slice
After baking, remove the pan from the oven and let it cool completely on a wire rack. This step is essential for the bars to set properly. Once cooled, lift the Apple Pie Bars out using the parchment paper overhang. Use a sharp knife to slice them into bars, revealing the delightful layers of crust and filling inside.
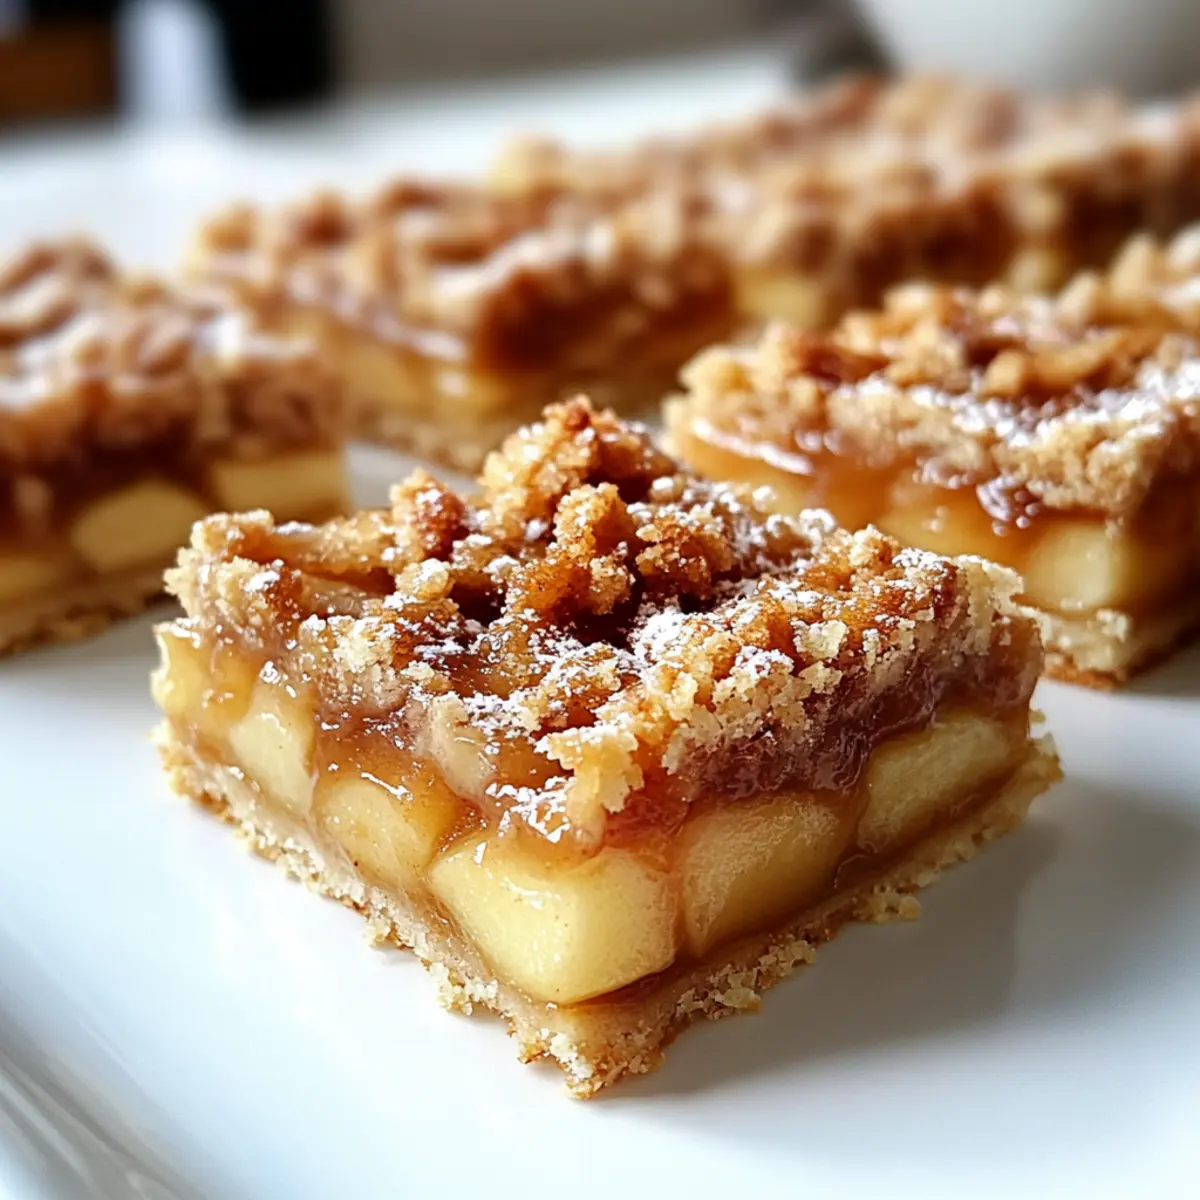
How to Store and Freeze Apple Pie Bars
Room Temperature: Store unfrosted Apple Pie Bars in an airtight container for up to 3 days at room temperature. Avoid direct sunlight to keep them fresh.
Fridge: For longer storage, keep the Apple Pie Bars in the fridge for up to a week. Make sure they’re wrapped in plastic wrap or kept in an airtight container to prevent drying out.
Freezer: Freeze the Apple Pie Bars for up to 3 months in an airtight container. Place parchment paper between layers to avoid sticking, ensuring they stay perfectly delicious.
Reheating: To enjoy, thaw overnight in the fridge and reheat in the oven at 350°F (175°C) for about 10-15 minutes, bringing back that cozy warmth.
Expert Tips for Apple Pie Bars
Chill the Butter: Ensure your butter is cold before cutting it into the flour to create a flaky crust and topping.
Apple Variety: Combine tart and sweet apple varieties for a more complex flavor, like Granny Smith and Honeycrisp.
Pre-Bake the Crust: Don’t skip the initial baking step; this ensures a firm base that holds up against the juicy apple filling.
Thickening Agent: Use cornstarch liberally to prevent your apple filling from becoming too runny, ensuring perfectly structured bars.
Caramel Drizzle: Elevate your presentation by drizzling warm caramel sauce over the cooled Apple Pie Bars for an added touch of sweetness.
Make Ahead: These Apple Pie Bars taste even better the next day, so consider making them in advance for gatherings.
Apple Pie Bars: Delicious Substitutions
Feel free to personalize these bars to suit your taste and dietary needs—each variation brings its own delightful twist!
-
Gluten-Free: Substitute all-purpose flour with a gluten-free blend for a safe option without sacrificing flavor.
-
Dairy-Free: Swap butter with a plant-based margarine or coconut oil to create a dairy-free version everyone can enjoy.
-
Nutty Crunch: Add in chopped walnuts or pecans to the crumble topping for a delightful crunch that enhances texture and flavor.
-
Different Fruits: Experiment with other fruits like pears or cranberries to create a unique filling that adds a new layer of deliciousness.
-
Heat It Up: Sprinkle in a pinch of cayenne or chili powder for a surprising kick that complements the sweetness of the apples beautifully. This fiery twist elevates the whole dish!
-
Caramel Drizzle: For an extra indulgent touch, bring an added layer of sweetness with a generous drizzle of caramel sauce, perfect for impressing guests.
-
Seasonal Spices: Feel free to swap in autumn spices like cloves or allspice to add an unexpected depth to your warm apple filling.
If you’re craving more delightful ideas, don’t forget to check out my Chocolate Peanut Butter Oatmeal Bars or revisit the joy of warm flavors with these Apple Fritter Bites for your next sweet fix!
What to Serve with Apple Pie Bars
Indulging in the warm, spiced flavors of these bars feels like a cozy embrace—perfect for pairing with delightful accompaniments.
-
Vanilla Ice Cream: The creamy, cool texture of ice cream provides the perfect contrast to the warm, spiced bars while enhancing the overall sweetness. A scoop melting on top creates a dreamy dessert experience.
-
Caramel Sauce: A warm drizzle of caramel adds a rich sweetness that complements the apple filling beautifully. This sweet touch elevates the bars to a whole new level of indulgence.
-
Whipped Cream: Light and airy, whipped cream adds a fluffy texture that balances the dense apple filling. A sprinkle of cinnamon on top can enhance the comforting flavors even further.
-
Coffee or Tea: A hot cup of coffee or herbal tea offers a comforting beverage that pairs wonderfully with the sweet, spiced flavors of the bars. The warmth of these drinks complements the fall-inspired dessert perfectly.
-
Cheese Platter: Include slices of sharp cheddar or brie; their richness contrasts nicely with the sweetness of the bars. This pairing provides a sophisticated twist to your dessert table.
-
Apple Cider: For those looking to double down on the apple experience, serve warm apple cider alongside your bars. The spiced notes in the cider echo the flavors of the dessert, creating a rustic fall feel.
-
Graham Cracker Crust: For a crunchy side, serve graham crackers on the plate. Their texture contrast adds a fun element that’s reminiscent of other desserts while harmonizing in flavors.
-
Chocolate Drizzle: A light drizzle of melted dark chocolate adds a touch of antioxidative goodness along with a decadent sweetness that pairs unexpectedly well with the fruity flavors.
-
Seasonal Fruit Salad: A fresh fruit salad with seasonal fruits like pears or berries refreshes the palate after each bite, balancing the sweetness, and adding vibrant colors to your serving table.
Make Ahead Options
These Apple Pie Bars are perfect for busy home cooks who want to save time while still enjoying homemade desserts! You can prepare the crust and topping up to 24 hours in advance; simply store them separately in airtight containers in the refrigerator. The apple filling can also be prepped and refrigerated for up to 3 days—just mix the sliced apples with the sweet spices and cornstarch and keep them covered. When you’re ready to bake, assemble the layers and pop them in the oven. This way, you’ll have warm, gooey Apple Pie Bars that taste just as delicious without the last-minute stress!
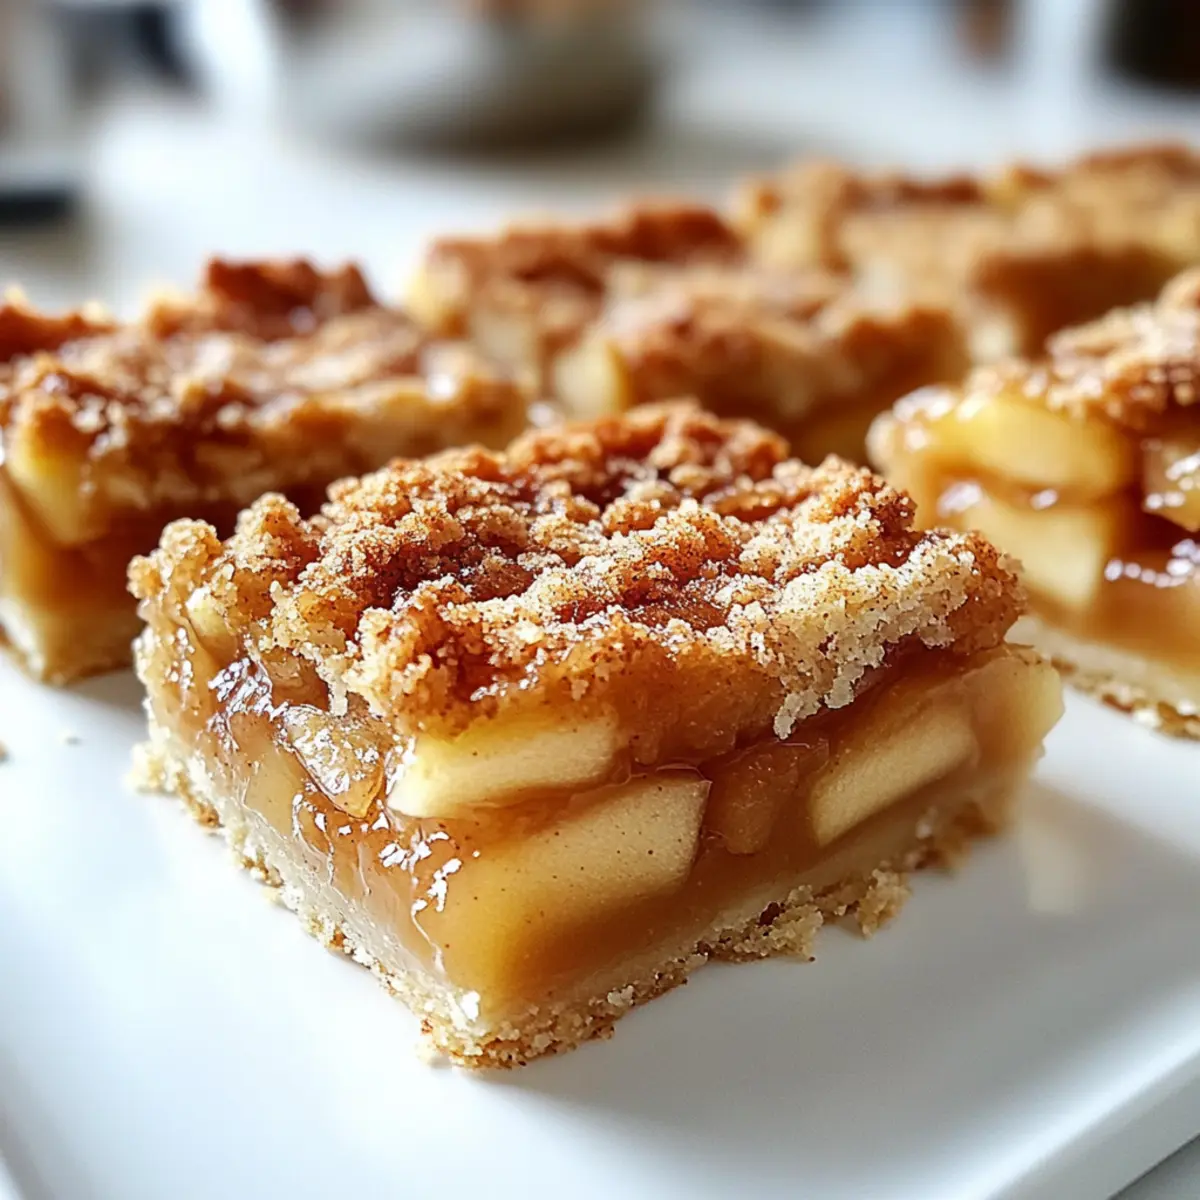
Apple Pie Bars Recipe FAQs
How do I choose the right apples for my Apple Pie Bars?
Absolutely! I recommend using a mix of Granny Smith and Honeycrisp apples. The tartness of Granny Smith complements the sweetness of Honeycrisp, creating a balanced flavor. Look for firm apples without dark spots or bruises for the best results!
How should I store my Apple Pie Bars?
To keep your Apple Pie Bars fresh, store them in an airtight container at room temperature for up to 3 days. If you want to extend their life a bit longer, place them in the fridge where they can last up to a week. Just make sure to wrap them well to prevent drying out!
Can I freeze Apple Pie Bars?
Very! You can freeze the Apple Pie Bars for up to 3 months in an airtight container. To do this, layer parchment paper between the bars to prevent them from sticking together. When you’re ready to enjoy them, thaw overnight in the fridge and reheat in the oven at 350°F (175°C) for about 10-15 minutes.
What should I do if my apple filling turns out runny?
If you encounter a runny filling, it often means the cornstarch wasn’t enough to thicken the apples. To fix this for next time, ensure you use the recommended amount of cornstarch and toss your apple slices evenly in the mixture. Also, letting the apple mixture sit for 10-15 minutes before layering can help draw out excess moisture.
Are these Apple Pie Bars suitable for gluten-free diets?
Absolutely! Simply substitute the all-purpose flour with a gluten-free all-purpose blend. Ensure that all other ingredients, like the baking powder (if used), and vanilla extract, are also gluten-free. Your delicious Apple Pie Bars will still turn out beautifully!
Can I make these Apple Pie Bars dairy-free?
Absolutely! To make your Apple Pie Bars dairy-free, replace the cold butter with a plant-based butter substitute. This way, you still achieve that delightful flaky texture while accommodating dietary needs—all without sacrificing flavor!
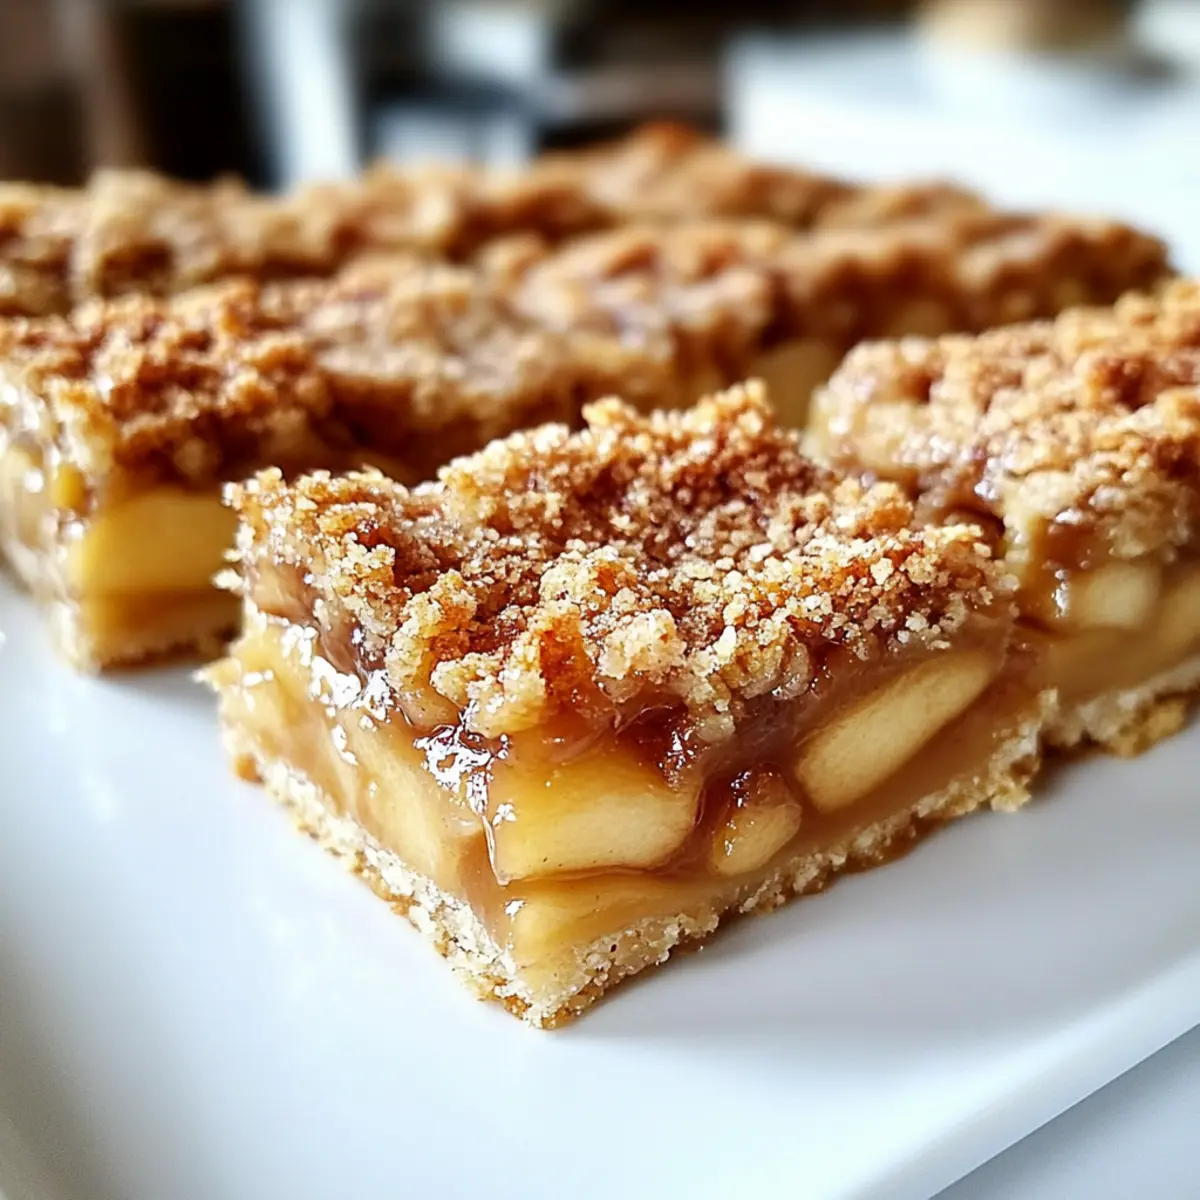
Delicious Apple Pie Bars: Your New Fall Dessert Favorite
Ingredients
Equipment
Method
- Preheat your oven to 350°F (175°C) and prepare the 9x13 inch baking pan with parchment paper.
- In a large mixing bowl, combine flour, sugar, and salt. Cut in the cold butter until it resembles coarse crumbs. Reserve one-third for topping.
- Press the remaining mixture into the bottom of the pan and bake for 15 minutes until light golden brown.
- Slice the apples and toss with brown sugar, cinnamon, nutmeg, cornstarch, lemon juice, and vanilla extract.
- Layer the apple mixture over the baked crust and sprinkle with reserved crumble topping.
- Bake for an additional 35-40 minutes until the top is golden and apples are tender.
- Cool completely on a wire rack, then slice into bars to serve.
Leave a Reply