
On a chilly evening, there’s something undeniably magical about filling your kitchen with the aroma of simmering spices and savory beef. This is where my journey to creating the Best Chili began—a hearty, comfort food classic that never fails to warm my soul. It’s the kind of dish that’s perfect for cozy nights in or gatherings with friends, and the magic lies in its incredible adaptability. With the power to customize spiciness and choose your favorite beans, this chili is not only easy to whip up but also ensures that everyone at your table feels included. Plus, it’s packed with high protein and can easily be made gluten-free depending on your broth choice. Are you ready to dive into the world of comforting flavors and discover how simple it is to make chili that will impress everyone? Let’s get cooking!
Why is this chili recipe a must-try?
Hearty Comfort: This chili envelops you in warmth with its rich blend of spices and tender beef. Customizable Heat: Control the spice level to suit your taste, from mild to fiery! Nutrition-packed: A high-protein option that satisfies without sacrificing flavor. Versatile Ingredients: Feel free to substitute beans or add extra veggies based on what you have. It’s a fantastic way to use up pantry items or leftovers. For a complete meal, don’t forget to serve it with cornbread or a baked potato for a delightful pairing!
Best Chili Ingredients
• Dive into the essential components that make this chili truly the best chili you’ll ever make!
For the Base
- Olive Oil – Adds fat for sautéing the aromatics; substitute with vegetable oil if needed.
- Medium Yellow Onion – Provides a sweet and flavorful base; shallots or red onions can be a great alternative.
- Lean Ground Beef – The heart of this dish for richness and protein; ground turkey or chicken make for leaner options.
- Garlic – Enhances flavor with aromatic qualities; use fresh minced garlic for the best results.
For the Spice Blend
- Chili Powder – Essential for heat and depth; use 1 tablespoon for mild and 2 for spicy. Adjust to your preference!
- Ground Cumin – Adds earthy tones that round out the flavor profile.
- Brown Sugar – Balances tomato acidity; key for depth, use less for a less sweet taste.
- Dried Oregano – Introduces a subtle herbaceous note.
- Salt & Black Pepper – Fundamental seasonings that enhance overall flavor.
For the Chili Texture
- Tomato Paste – Contributes thickness and richness to your chili.
- Low Sodium Beef Broth – Provides moisture and is the base for this dish; chicken broth works in a pinch.
- Fire Roasted Crushed Tomatoes – Infuses a smoky flavor; diced tomatoes can also be used.
For the Beans
- Red Kidney Beans – Adds texture and fiber; highly nutritious and classic for chili.
- Pinto Beans – Complements kidney beans and adds an extra layer of flavor; can be swapped out for black beans or omitted for a bean-less chili.
For Toppings
- Shredded Cheddar Cheese – Melts beautifully on top, adding creaminess.
- Sour Cream – A classic garnish for cooling down the spice.
- Avocado – Brings creaminess and fresh flavor to each bite.
- Chopped Onions & Cilantro – Add freshness and crunch; use as desired for garnish.
Step‑by‑Step Instructions for Best Chili
Step 1: Sauté the Aromatics
Heat 2 tablespoons of olive oil in a large Dutch oven over medium-high heat. Once shimmering, add one chopped medium yellow onion and sauté for about 2 minutes until softened and translucent. The pleasing aroma will fill your kitchen.
Step 2: Brown the Beef
Add 1 pound of lean ground beef to the pot, breaking it apart with a spatula. Cook for approximately 5 minutes, stirring occasionally, until the beef is browned and no longer pink. Drain any excess grease to keep your chili from being too fatty.
Step 3: Add Garlic and Spices
Stir in 3 cloves of minced garlic to the pot and cook for about 30 seconds until fragrant. Then, sprinkle in 1 tablespoon of chili powder, 1 teaspoon of ground cumin, 1 tablespoon of brown sugar, 1 teaspoon of dried oregano, and a pinch of salt and black pepper. Mix well to coat the beef and let the spices toast for 1-2 minutes.
Step 4: Incorporate Tomato Paste
Add 2 tablespoons of tomato paste to the mixture, stirring to combine. This will enhance the richness of your Best Chili. Allow it to cook for another minute, deepening the color and flavor.
Step 5: Add Broth and Tomatoes
Pour in 4 cups of low-sodium beef broth while scraping the bottom of the pot to deglaze and pick up any flavorful browned bits. Then, add one can of fire-roasted crushed tomatoes, stirring to incorporate everything.
Step 6: Mix in the Beans
Introduce 1 can each of red kidney beans and pinto beans to the pot, stirring well. This will give your chili a hearty texture and added nutrition. Allow the mixture to come to a gentle boil.
Step 7: Simmer the Chili
Once boiling, reduce the heat to low, cover the pot, and let the chili simmer for 1 to 2 hours. Stir occasionally to prevent sticking, and enjoy the intoxicating aromas filling your home.
Step 8: Thicken the Chili
For the last 30 minutes of cooking, uncover the pot to allow your Best Chili to thicken. Keep an eye on it, stirring as needed, and adjust seasoning if desired.
Step 9: Serve with Toppings
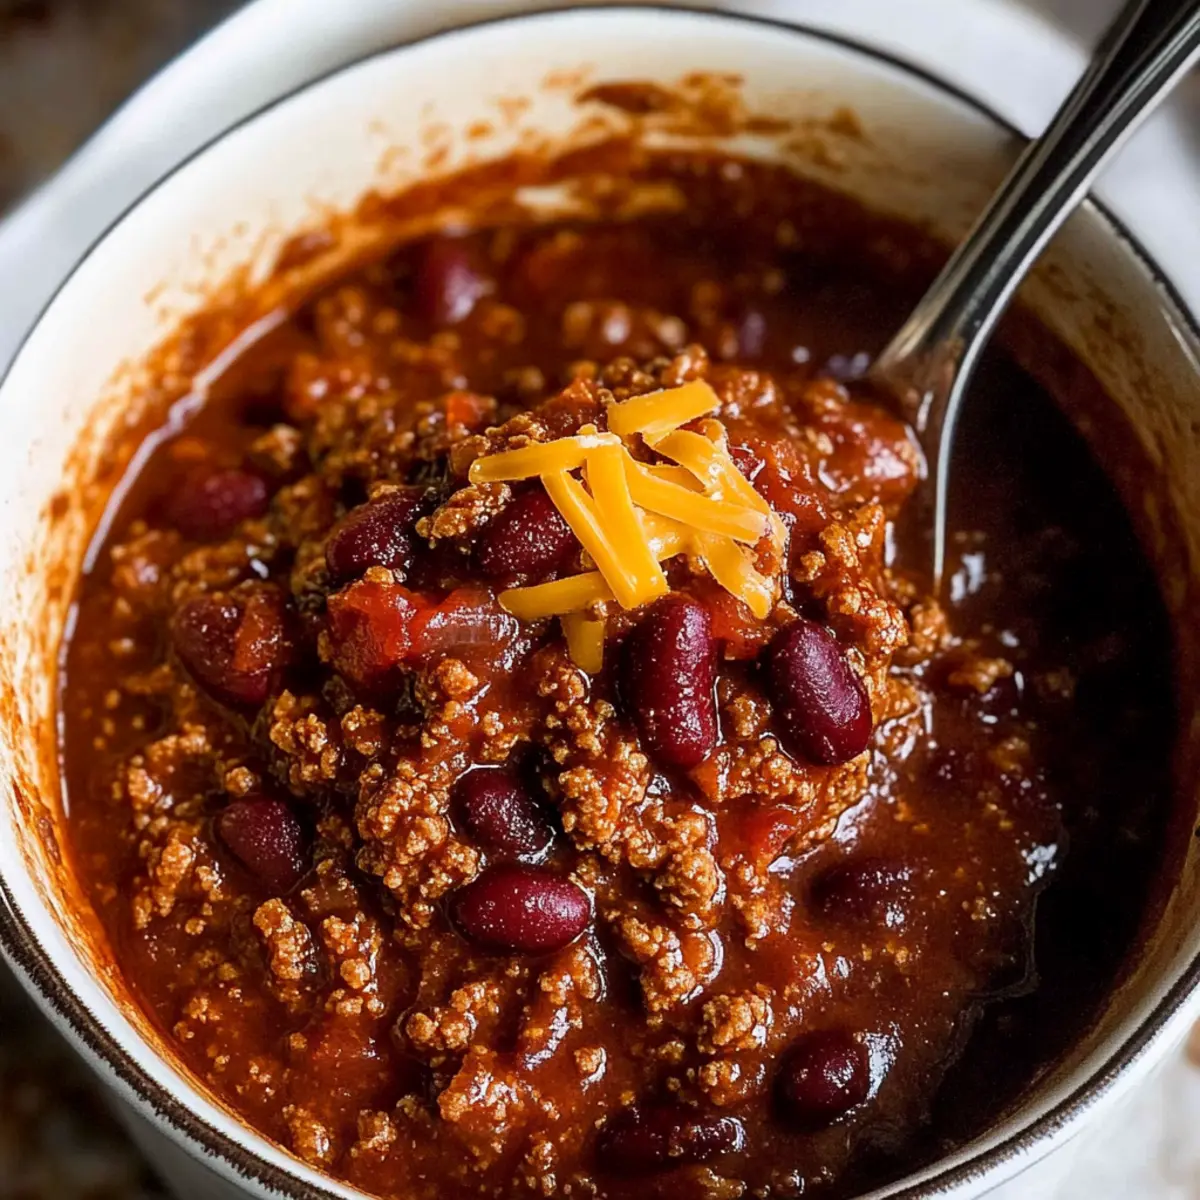
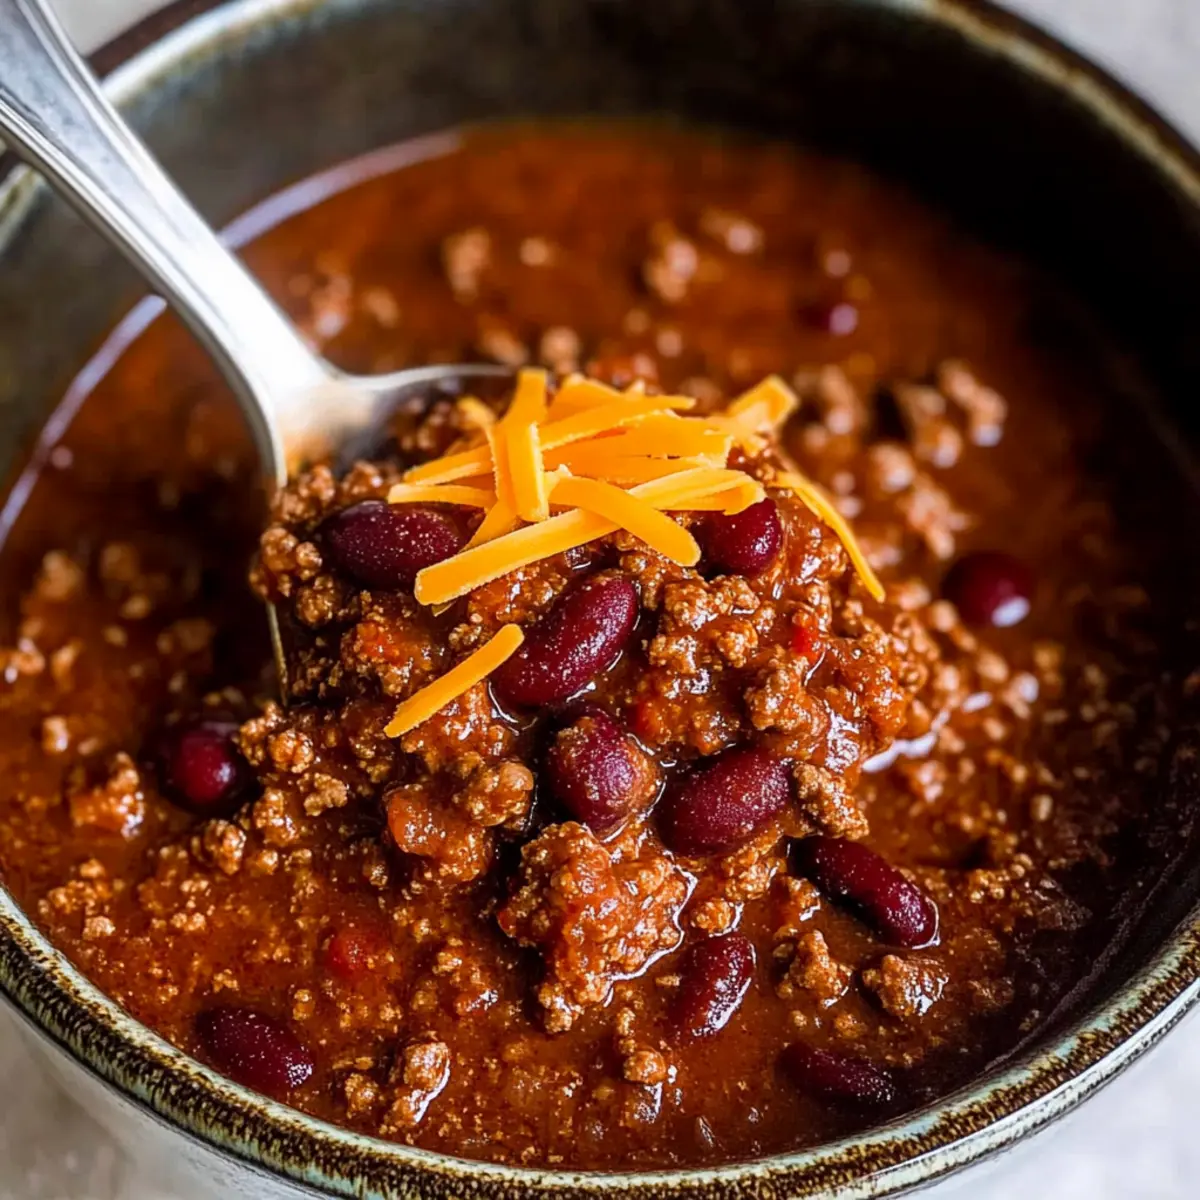
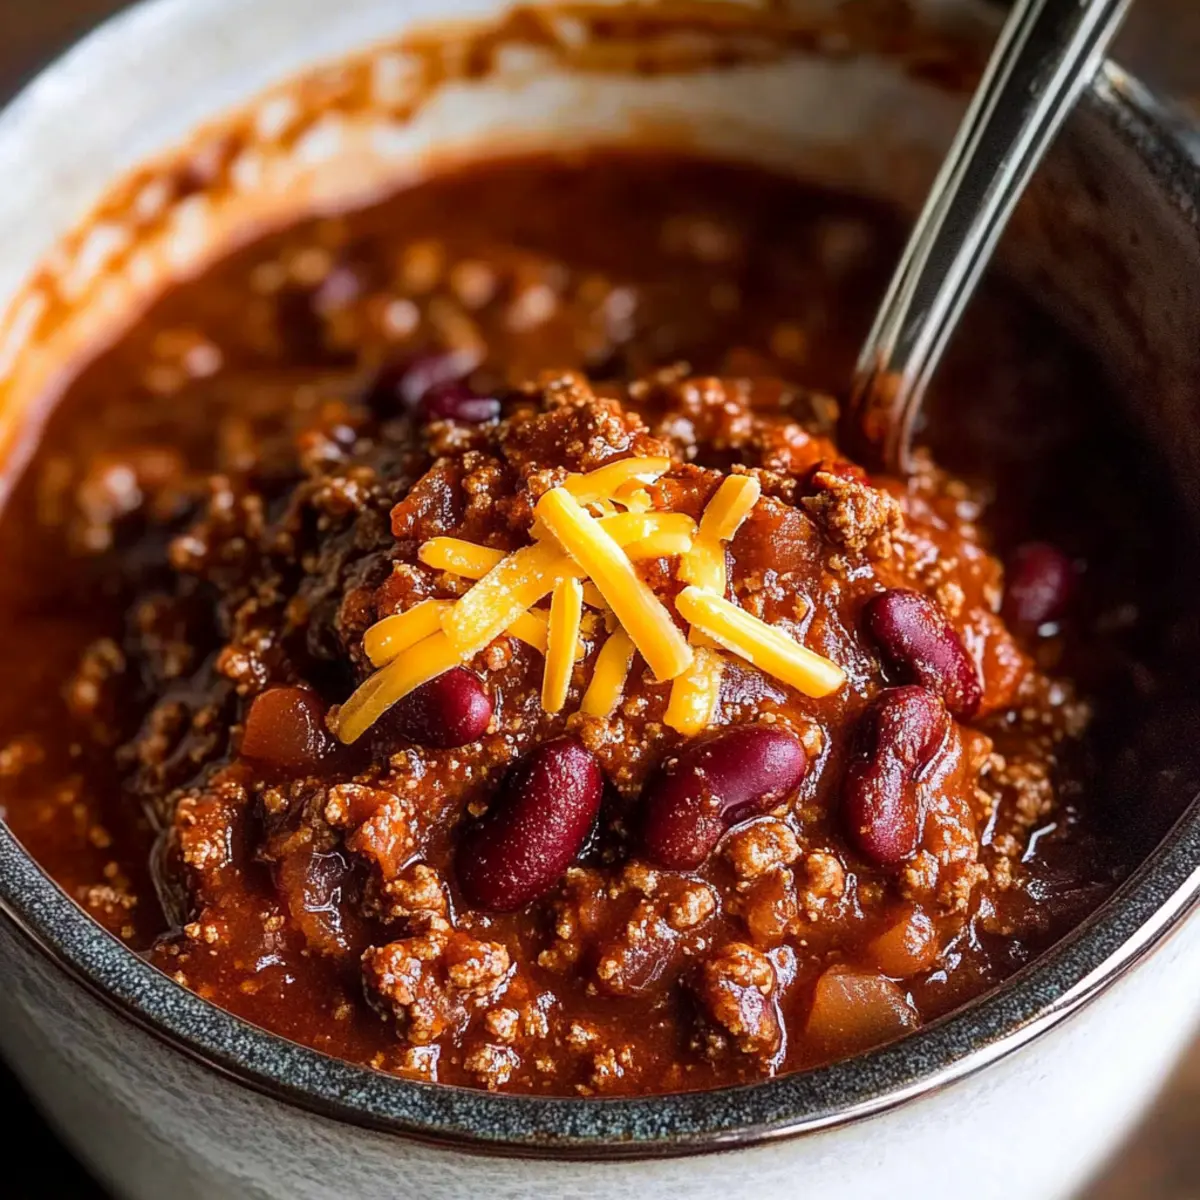
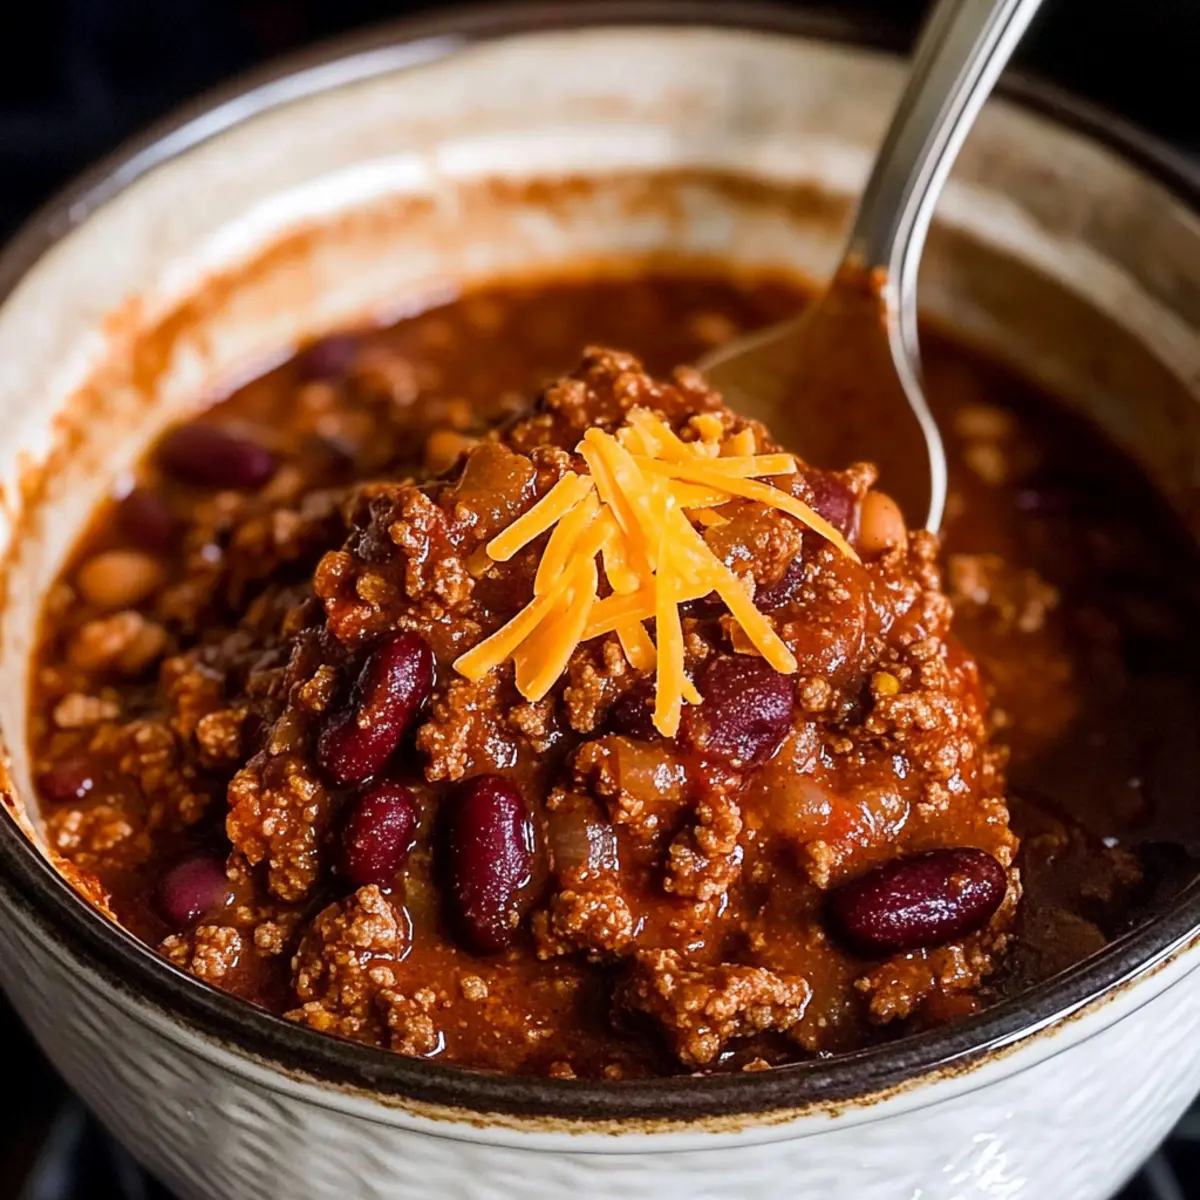
Once thickened and bubbling, ladle the chili into bowls and serve hot. Top with shredded cheddar cheese, a dollop of sour cream, diced avocado, or any of your favorite toppings to elevate the experience.
How to Store and Freeze Best Chili
Fridge: Store chili in an airtight container for up to 4 days. It’s perfect for meal prep and quick dinners!
Freezer: Freeze your Best Chili in individual portions or a large container. It can last up to 3 months, ensuring you have comforting meals ready to go.
Reheating: Thaw overnight in the fridge before reheating on the stove or in the microwave. Stir occasionally to ensure even heating.
Labeling: Always label your containers with the date and contents for easy access and organization in your freezer.
Expert Tips for the Best Chili
- Adjust the Spice: Start with less chili powder, as each brand varies in heat. You can always add more to suit your taste!
- Thicken Wisely: For a thicker chili, leave the lid off during the last 30 minutes of cooking. It helps reduce moisture and intensify flavors.
- Bean Substitutions: Feel free to swap beans based on what you have on hand. Black beans or chickpeas work well if you’re looking for a different texture!
- Simmer Time: The longer your chili simmers, the richer the flavor. Aim for at least 1 hour, but it’s even better after two!
- Freezing Leftovers: Store any leftover chili in individual portions. It can be frozen for up to 3 months—perfect for future busy nights!
Best Chili Variations & Substitutions
Feel free to explore different twists with this chili recipe that will delight your senses and suit your preferences!
- Spicy Kick: Add cayenne pepper or fresh jalapeños for a fiery kick that’ll ignite your taste buds. Adjust the amount based on how much heat you can handle!
- Extra Veggies: Toss in bell peppers, corn, or zucchini towards the end of cooking to boost flavor, nutrition, and color. Every bite becomes a delightful surprise!
- Bean-Free Option: For a heartier chili without beans, double the ground beef or use lentils for an alternative protein source. This keeps it hearty while satisfying different dietary choices.
- Gluten-Free Version: Use gluten-free beef broth and check the spice labels to ensure there are no hidden gluten ingredients. Your taste buds won’t feel left out!
- Smoky Flavor: Incorporate smoked paprika or a splash of liquid smoke for a deeper smoky undertone. It adds a unique twist that everyone will love.
- Herbaceous Note: Fresh bay leaves or cilantro can be added while simmering for a burst of fresh flavor. Remove bay leaves before serving, but enjoy the aromatic essence!
- Dairy-Free Delight: Omit cheese or use nut-based alternatives for a dairy-free chili that tastes just as satisfying. Toppings like avocado work wonders too!
- Vegetarian Friendly: Swap out the ground beef for a mix of mushrooms and lentils for a fulfilling veggie chili option. Flavorful and hearty, you won’t miss the meat!
For a comforting side to complement your meal, try pairing this delightful chili with cornbread or enjoy it over a baked potato for a satisfying dinner everyone will enjoy.
Make Ahead Options
These make-ahead options for the Best Chili are ideal for busy home cooks looking to save time without sacrificing flavor! You can prepare the chili base (without beans or toppings) up to 24 hours in advance. Simply follow the first eight steps of the instructions, allow the chili to cool, then refrigerate it in an airtight container. When you’re ready to serve, gently reheat the chili on the stove over medium heat, adding the beans in the last 15 minutes to warm through while maintaining their texture. This prep-ahead method ensures that your chili is just as delicious, delivering restaurant-quality results with minimal effort on the day you plan to serve it!
What to Serve with The Ultimate Hearty Chili Recipe
There’s nothing quite like the cozy comfort of a warm bowl of savory chili, especially paired with delightful sides sure to elevate your homemade feast!
-
Cornbread: The sweet, crumbly texture of cornbread complements the spicy chili beautifully, providing a satisfying contrast with each bite. It’s the classic pairing that adds warmth to any gathering.
-
Baked Potatoes: Fluffy baked potatoes offer a neutral base that soaks up the chili flavors. Top them with shredded cheese and sour cream for an unforgettable experience.
-
Fresh Salad: A light, crisp salad with mixed greens and a zesty vinaigrette balances the hearty richness of chili. The fresh elements create a refreshing counterpoint to the warm bowl of comfort.
-
Avocado Toast: Creamy avocado toast delivers a delightful twist, providing healthy fats that liven up each mouthful. The contrasting textures and flavors are harmonious and so satisfying!
-
Garlic Bread: Crispy garlic bread is a fantastic addition, perfect for dipping into the chili. Its buttery richness enhances the overall dining experience.
-
Beer or Red Wine: Pair your chili with a cold beer or a glass of red wine to enhance the flavors. The bitterness of beer or the fruitiness of wine make excellent companions for the spicy warmth.
-
Dessert Options: Finish the meal with something sweet like pecan pie or brownies. The earthy sweetness is the perfect ending, rounding off a meal that warms both body and soul.
Best Chili Recipe FAQs
What kind of beans should I use for the best chili?
Absolutely! For the best chili, I recommend using red kidney beans and pinto beans for a classic texture and flavor. If you’re looking for alternatives, you can also use black beans or chickpeas. For a bean-free version, simply double the amount of ground beef or try using lentils as a protein-packed substitute.
How do I store leftover chili?
Store your chili in an airtight container in the refrigerator for up to 4 days. If you want to enjoy it later, you can freeze it! Just portion the chili into individual servings, and place them in freezer-safe containers or bags. It can last up to 3 months. Always label your containers with the date so you can keep track!
Can I adjust the spice level in the chili recipe?
Very! You can easily customize the spice level by adjusting the amount of chili powder used. For a milder taste, start with 1 tablespoon, and for extra heat, you can go up to 2 tablespoons or more. Adding cayenne pepper or fresh jalapeños during cooking also gives a delightful kick!
How do I freeze homemade chili properly?
To freeze your best chili for future meals, allow it to cool completely before packing it into containers. Portioning into individual servings works wonderfully for quick reheating! Ensure to leave some space at the top of your containers, as the chili will expand when frozen. Seal tightly and store for up to 3 months.
Can I make this chili gluten-free?
Yes, you can! This chili can easily be made gluten-free by using gluten-free broth. Just double-check the labels on your spices and other ingredients to ensure they don’t contain gluten. Your chili will still pack a flavor punch without any gluten!
How can I thicken my chili if it’s too watery?
If your chili turns out too watery, don’t worry! You can uncover the pot and let it simmer for an additional 30 minutes, stirring occasionally. The moisture will reduce, and the flavors will deepen. Alternatively, you can mash some of the beans with a fork to thicken the chili while stirring—perfect for that hearty texture!
Best Chili Recipe: Hearty Comfort with Custom Spice Levels
Ingredients
Equipment
Method
- Heat olive oil in a large Dutch oven over medium-high heat, add chopped onion, and sauté until softened.
- Add lean ground beef, breaking apart, and cook until browned, about 5 minutes.
- Stir in minced garlic and cook until fragrant, then add chili powder, cumin, brown sugar, oregano, salt, and pepper. Mix well and toast spices for 1-2 minutes.
- Add tomato paste to the mixture, stirring well and cooking for an additional minute.
- Pour in beef broth and add crushed tomatoes, stirring to incorporate.
- Introduce red kidney beans and pinto beans to the pot, and bring to a gentle boil.
- Reduce heat to low, cover, and simmer for 1 to 2 hours, stirring occasionally.
- Uncover for the last 30 minutes to thicken the chili.
- Serve hot with shredded cheddar, sour cream, avocado, and any favorite toppings.
Leave a Reply