
There’s something magical about the sound of cookies baking, filling the kitchen with warmth and nostalgia. While I often find myself on a quest for the perfect comfort food, nothing beats a batch of Classic Chocolate Chip Cookies, soft and chewy, just like the ones from my childhood. This recipe is your secret weapon for whipping up these delightful treats, because they’re not only incredibly easy to follow but also quick to prepare—perfect for those last-minute cravings or family gatherings. Plus, you can easily swap in gluten-free or nut-free options, making them accessible to everyone in your life. So, what’s your favorite twist—add a sprinkle of sea salt or throw in some delightful nuts? Let’s dive into this classic recipe that’s sure to spark joy in every bite!
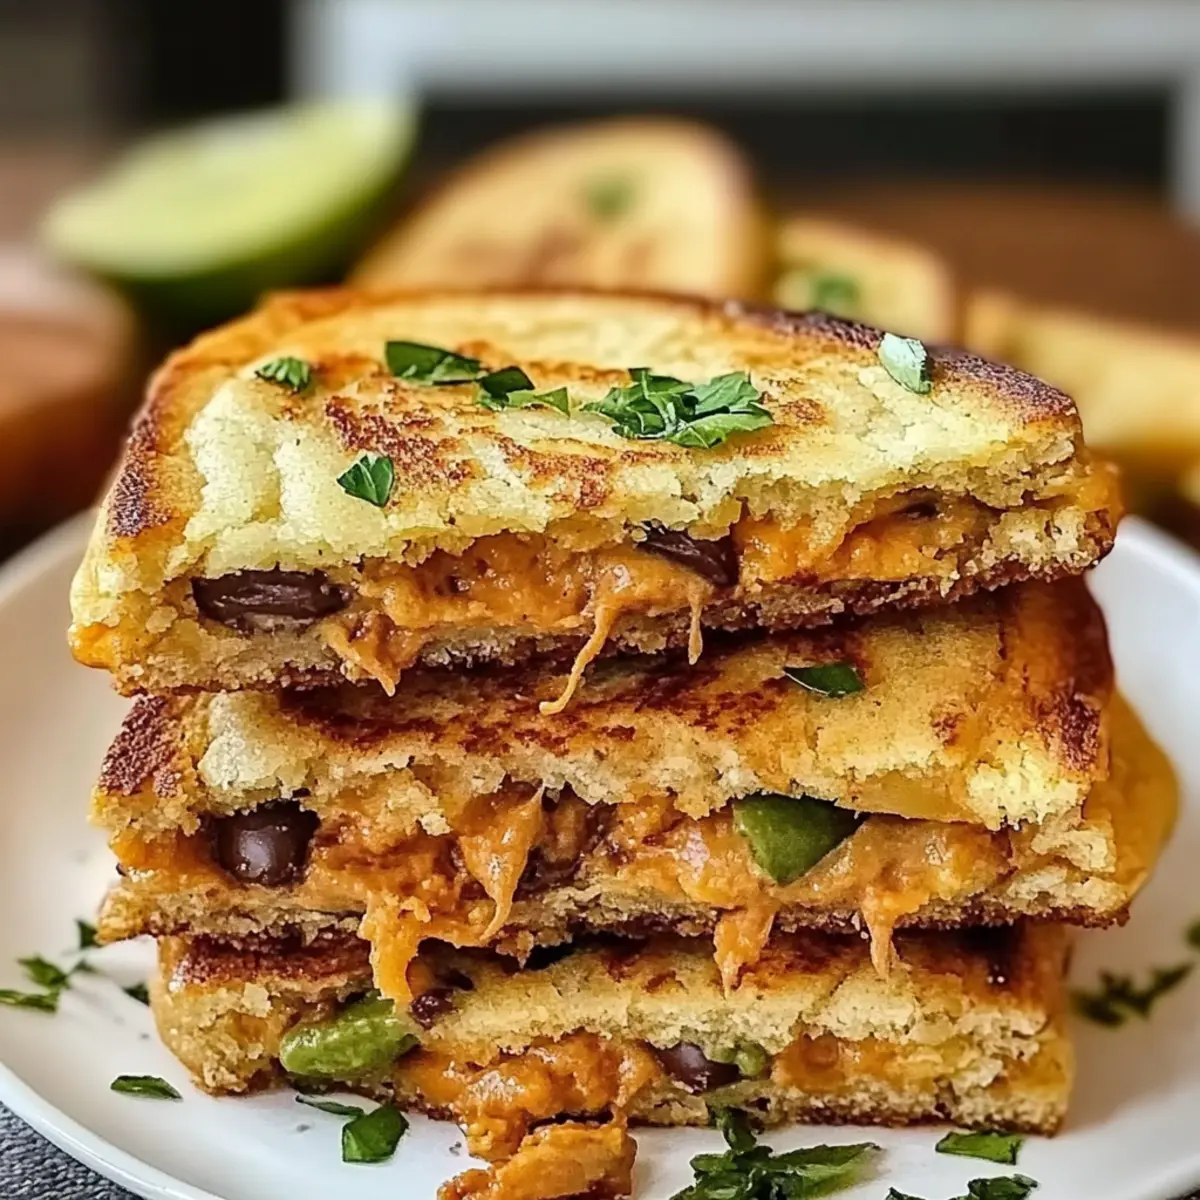
Why Do Classic Cookies Bring Joy?
Nostalgic Vibes: The aroma of fresh cookies will take you back to your childhood, making baking a therapeutic experience.
Quick and Easy: With just a few simple steps, you can have warm cookies ready in no time. Perfect for those unexpected cravings!
Versatile Options: Whether you need gluten-free or nut-free variations, this recipe adapts to fit everyone’s needs.
Crowd-Pleasing Treat: These cookies are a hit at gatherings—who can resist a homemade cookie? Enjoy them warm with a glass of milk or even try them with Buffalo Chicken Crescent for a savory twist!
Rich, Gooey Chocolate: Each bite is bursting with melted chocolate chips, offering a delightful taste experience that’s hard to beat.
Classic Chocolate Chip Cookie Ingredients
For the Dough
- Unsalted Butter – Adds richness and moisture; substitute with margarine for a dairy-free option.
- Granulated Sugar – Sweetens the cookies and contributes to their crisp edges; coconut sugar can replace it for a lower glycemic index.
- Brown Sugar – Provides depth and chewiness thanks to its molasses content; light or dark brown sugar can be used interchangeably.
- Large Eggs – Binds ingredients and adds moisture; a flax egg (1 tbsp flaxseed meal + 2.5 tbsp water) works as an egg replacement.
- All-Purpose Flour – Gives structure to the cookies; for gluten-free cookies, use a gluten-free flour blend.
- Baking Soda – Acts as a leavening agent, providing height and chew to the cookies.
- Salt – Enhances the overall flavor; it can be substituted with sea salt or omitted for a low-sodium option.
- Semi-Sweet Chocolate Chips – Offers sweetness and melty texture; feel free to swap with dark chocolate or dairy-free chocolate chips for variation.
Optional Add-Ins
- Nuts (e.g., Walnuts, Pecans) – Add crunch and texture; these can be included for a delightful nutty twist.
- Flavored Chips (e.g., White Chocolate, Butterscotch) – Provide an extra layer of sweetness and flavor; experiment with different types for a unique cookie.
- Seasonal Spices (e.g., Cinnamon, Nutmeg) – Add a festive touch; these spices can elevate the flavor profile for special occasions.
Enjoy baking these classic chocolate chip cookies that are sure to bring joy with every bite!
Step‑by‑Step Instructions for Classic Chocolate Chip Cookies
Step 1: Preheat Your Oven
Begin by preheating your oven to 350°F (175°C). This is essential to ensure that your Classic Chocolate Chip Cookies bake evenly from the moment they hit the oven. While the oven warms up, gather a baking sheet and line it with parchment paper to create a non-stick surface for your cookies.
Step 2: Cream the Butters and Sugars
In a large mixing bowl, combine 1 cup of softened unsalted butter, ½ cup granulated sugar, and ½ cup brown sugar. Using a handheld mixer, cream these ingredients together at medium speed for about 3-5 minutes until the mixture is light and fluffy. The pale yellow color you achieve here indicates that you’re well on your way to delicious cookies!
Step 3: Incorporate the Eggs
Next, add in 2 large eggs, one at a time, and continue mixing on low speed until fully incorporated. This should take about 1 minute per egg. The batter will become slightly more liquid, allowing for the perfect binding of the Classic Chocolate Chip Cookies’ other ingredients.
Step 4: Mix Dry Ingredients
In a separate bowl, whisk together 2 ½ cups of all-purpose flour, 1 tsp of baking soda, and ½ tsp of salt. This step ensures that the leavening agent is evenly distributed throughout the flour, which will help your cookie dough rise beautifully as it bakes.
Step 5: Combine Wet and Dry Ingredients
Gradually add the dry mixture to the wet ingredients, mixing gently until just combined. For best results, stop mixing when you no longer see flour—overmixing can lead to tough cookies. At this stage, your Classic Chocolate Chip Cookie dough will start to come together beautifully.
Step 6: Fold in the Chocolate Chips
Gently fold in 2 cups of semi-sweet chocolate chips using a spatula. Be careful not to overwork the dough—this gentle folding motion helps keep the cookies airy and tender. You should see chocolate chips peeking throughout the dough, ready to melt into gooey pockets of chocolate goodness.
Step 7: Shape the Dough
Using a tablespoon or cookie scoop, drop rounded spoonfuls of dough onto the prepared baking sheet. Space them about 2 inches apart to allow for spreading during baking. You should have about 12 cookies per sheet. If you’re feeling creative, you could sprinkle some sea salt on top for an extra flavor boost!
Step 8: Bake the Cookies
Place the baking sheet in the oven and bake for 10-12 minutes. You’ll know they’re ready when the edges are golden brown and the centers still look slightly soft. This combination will ensure that your Classic Chocolate Chip Cookies remain chewy and delicious!
Step 9: Cool Before Serving
After baking, let the cookies cool on the baking sheet for 5 minutes, allowing them to set slightly. Then, gently transfer them to wire racks to cool completely. This resting time is essential for achieving the perfect texture, so resist the temptation to dive in just yet!
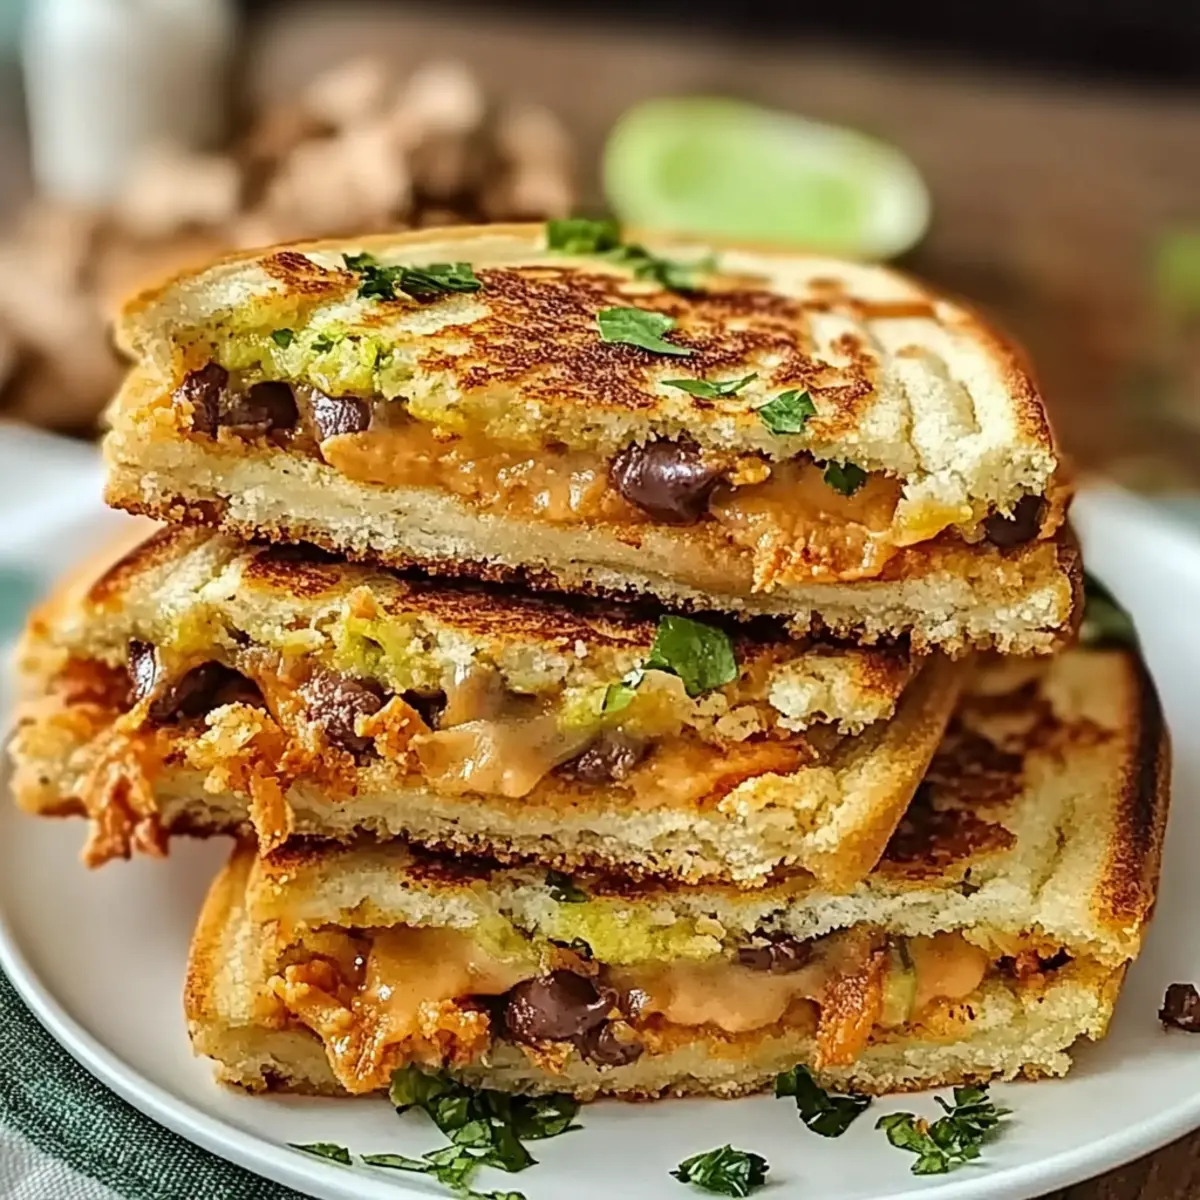
What to Serve with Classic Chocolate Chip Cookies?
The perfect accompaniment can elevate your cookie experience and create a cozy atmosphere that warms the heart.
- Cold Glass of Milk: Nothing beats the classic pairing of cookies and milk; the creamy texture beautifully complements the rich chocolate.
- Fresh Berries: The tartness of strawberries or raspberries refreshes your palate, balancing sweetness with a burst of vibrant flavor.
- Vanilla Ice Cream: Serve warm cookies over a scoop of vanilla ice cream for an indulgent twist; the melting ice cream creates a delightful contrast.
- Homemade Hot Chocolate: Cozy up with a cup of rich, creamy hot chocolate; it enhances the chocolate flavor of the cookies and invites a sense of nostalgia.
- Flavored Coffee: A warm cup of coffee, whether vanilla or hazelnut, adds depth to your snacking experience while balancing the sweetness of the cookies.
- Cheese Plate: Try pairing with mild cheeses like Brie or Gouda; their creaminess adds a gourmet element, perfect for adventurous palettes.
- Chewy Granola Bars: For a healthier option, offer homemade granola bars as a crunchy companion; they provide a delightful textural contrast.
- Nutty Trail Mix: A bowl of trail mix adds salty and savory notes, creating a balanced snack spread that complements sweet treats.
- Lemonade or Iced Tea: Serve with a glass of refreshing lemonade or iced tea for a bright, invigorating contrast to the decadent cookies.
- Seasonal Fruit Salad: Fresh seasonal fruits can lighten up the dessert table—a colorful, juicy side that beautifully enhances the sweets!
Storage Tips for Classic Chocolate Chip Cookies
- Room Temperature: Store freshly baked cookies in an airtight container at room temperature for up to 1 week. Ensure they are completely cooled to prevent moisture buildup.
- Refrigerator: If you want to keep them longer, you can refrigerate cookies for up to 2 weeks. Just be sure to wrap them tightly to avoid absorbing odors.
- Freezer: Frozen cookie dough can be stored for up to 3 months. Roll dough into balls, flash freeze, then place them in a freezer bag. Bake directly from frozen, adding a minute or two to the baking time.
- Reheating: To enjoy your cookies warm again, gently reheat them in the microwave for about 10-15 seconds or in a preheated oven at 300°F (150°C) for 5-7 minutes. Indulge in the irresistible taste of your favorite chocolate chip cookies!
Classic Chocolate Chip Cookies Variations
Feel free to put your creative spin on these cookies; it’s all about enhancing that delightful taste and texture!
-
Gluten-Free: Swap all-purpose flour for a gluten-free blend to enjoy these cookies without the gluten.
-
Nut-Free: Omit any nuts and use sunflower seeds or pumpkin seeds for texture instead, making them safe for nut allergies.
-
Dairy-Free: Substitute butter with coconut oil or a dairy-free margarine for a delicious dairy-free option.
-
Dark Chocolate Delight: For a richer flavor, replace semi-sweet chocolate chips with dark chocolate chunks.
-
Sweet and Savory: Add a sprinkle of sea salt on top before baking to enhance the sweetness and create a sophisticated balance.
-
Fun Flavor Twists: Incorporate flavored chips like butterscotch or peanut butter chips for an unexpected burst of flavor.
-
Seasonal Spices: Mix in a teaspoon of cinnamon or nutmeg for a warm, festive touch—perfect for holiday baking or cozy nights.
-
Chunky Extras: Throw in a handful of oats for chewy texture or dried fruits for a fruity dimension; they’re delightful additions!
Whether you prefer the classic approach or one of these enticing variations, every bite of these cookies is bound to bring joy. Pair them with a glass of milk for a comforting treat, or if you’re in the mood for a savory escapade, try them alongside a delicious Street Corn Chicken for a unique twist!
Make Ahead Options
These Classic Chocolate Chip Cookies are perfect for meal prep enthusiasts! You can prepare the dough up to 3 days in advance; simply wrap it tightly in plastic wrap and refrigerate. To maintain that signature soft and chewy texture, ensure the dough is well-covered to prevent drying out. Alternatively, you can freeze the cookie dough for up to 3 months. When you’re ready to bake, just scoop the dough directly from the freezer onto your baking sheet, adding an extra minute or two to the baking time. This way, you’ll indulge in fresh, homemade cookies with minimal effort—just pop them in the oven, and you’ll have warm treats ready in no time!
Expert Tips for Classic Chocolate Chip Cookies
-
Room Temperature Butter: Ensure your unsalted butter is softened to room temperature for optimal creaming. Cold butter can lead to dense cookies.
-
Don’t Overmix: After adding the flour, mix just until the ingredients are combined. Overmixing can make your cookies tough rather than soft and chewy.
-
Use Parchment Paper: Line your baking sheets with parchment paper to prevent cookies from sticking and to help achieve a perfectly golden bottom.
-
Check for Doneness: Keep an eye on the baking time; cookies are done when edges are golden and centers look slightly underbaked for that ideal chewy texture.
-
Cooling is Key: Allow your cookies to cool on the baking sheet before transferring them to a wire rack. This helps them set properly and enhances chewiness.
-
Experiment with Add-Ins: Feel free to add a sprinkle of sea salt or fold in nuts for additional flavor and texture in your classic chocolate chip cookies.

Classic Chocolate Chip Cookies Recipe FAQs
How do I choose the best chocolate chips for my cookies?
Absolutely! When selecting chocolate chips, look for high-quality semi-sweet chips for the classic taste. You can also opt for dark chocolate for a deeper flavor or even dairy-free chips if you’re accommodating allergies. The size of the chips can vary, so try mixing mini and regular chips for extra texture!
How should I store my chocolate chip cookies?
To keep your Classic Chocolate Chip Cookies fresh, store them in an airtight container at room temperature for up to 1 week. Before storing, ensure they are completely cooled to avoid moisture buildup. If preferred, you can refrigerate them for up to 2 weeks, just wrap them tightly!
Can I freeze chocolate chip cookie dough?
Yes, you can! For freezing, roll the cookie dough into balls and place them on a baking sheet lined with parchment paper. Flash freeze for about 1 hour, then transfer the dough balls to a freezer bag for up to 3 months. When ready to bake, simply bake them straight from frozen, adding an extra minute or two to the baking time.
What if my cookies spread too much while baking?
Very! If you find your cookies spreading too much in the oven, it could be due to soft butter or overmixing the dough. Ensure your butter is at room temperature, not melted, and mix the dough just until combined after adding the flour. Additionally, try chilling the dough for about 30 minutes before baking to help maintain shape!
Are these chocolate chip cookies safe for my pets?
It’s important to note that chocolate is toxic to dogs and other pets. Never share your Classic Chocolate Chip Cookies with them. If you’re looking for pet-friendly treats, consider baking cookies specifically formulated for pets using ingredients that are safe and healthy for them!

Savor the Flavor: Chicken Avocado Melt Sandwich Delight
Ingredients
Equipment
Method
- Preheat your oven to 350°F (175°C) and line a baking sheet with parchment paper.
- In a large mixing bowl, cream together the butter, granulated sugar, and brown sugar for 3-5 minutes.
- Add in the eggs one at a time, mixing on low until fully incorporated.
- In a separate bowl, whisk together the flour, baking soda, and salt.
- Gradually mix the dry ingredients into the wet ingredients until just combined.
- Gently fold in the chocolate chips.
- Drop rounded spoonfuls of dough onto the prepared baking sheet, spacing them 2 inches apart.
- Bake for 10-12 minutes until edges are golden and centers are slightly soft.
- Cool on the baking sheet for 5 minutes before transferring to wire racks.
Leave a Reply