
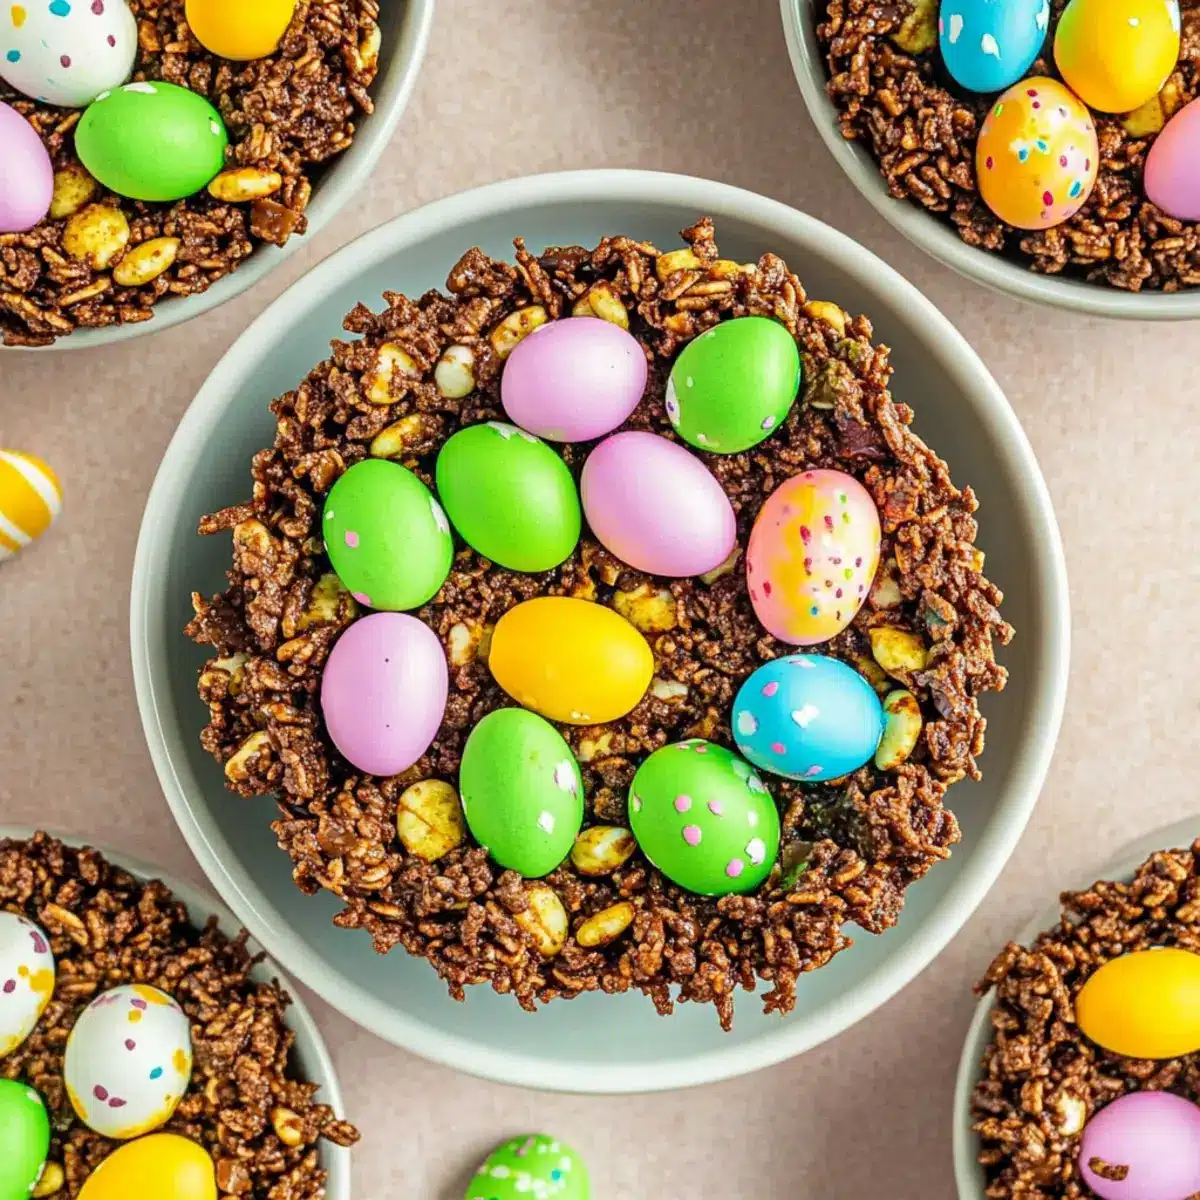
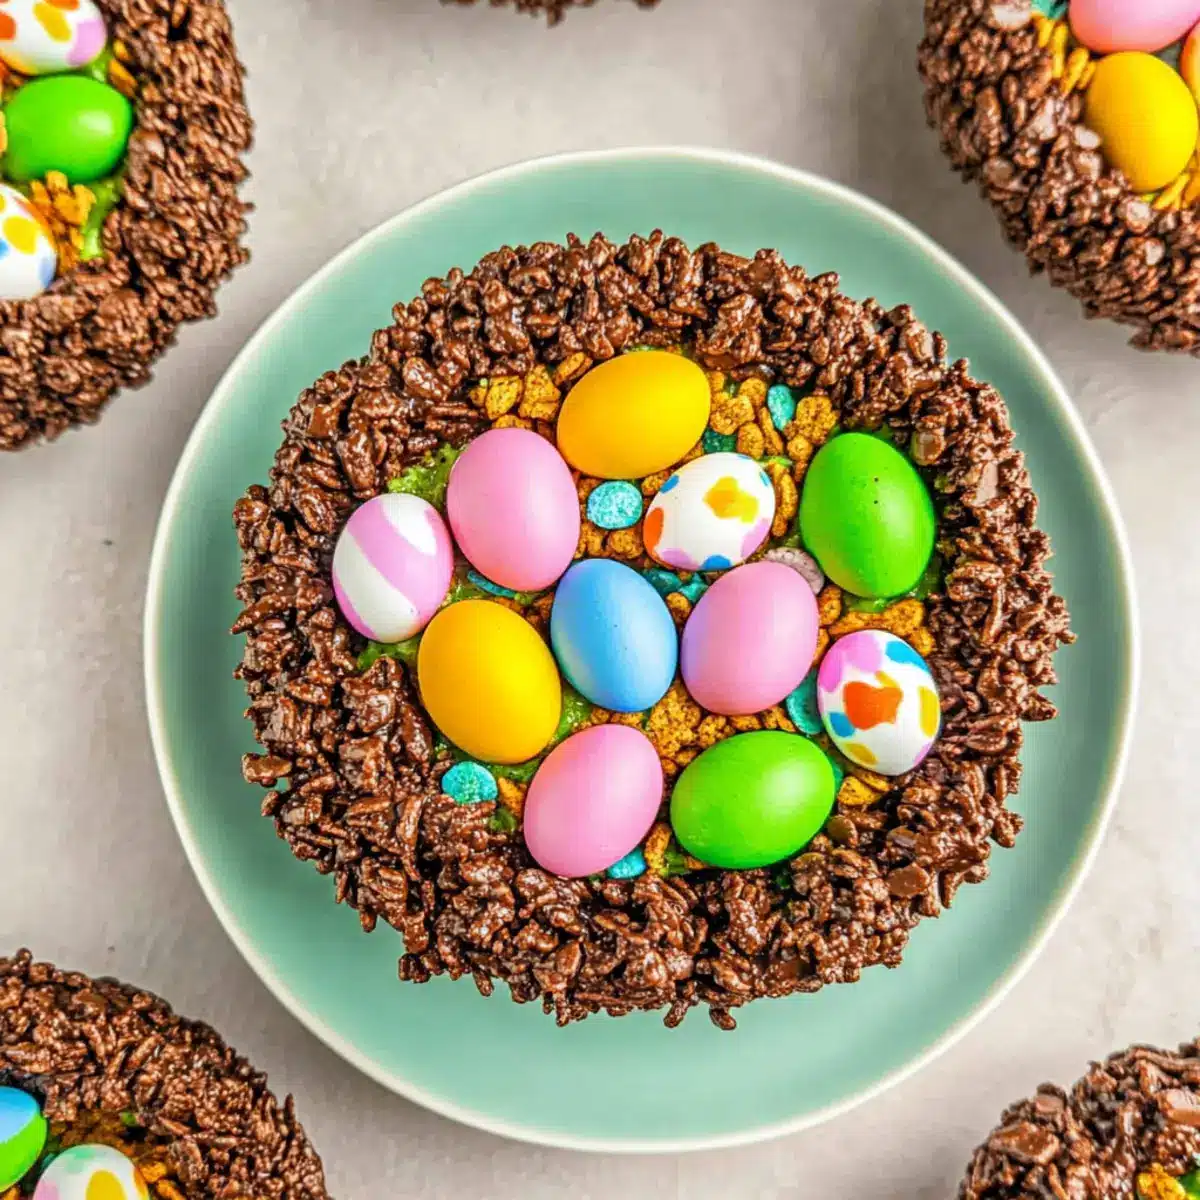
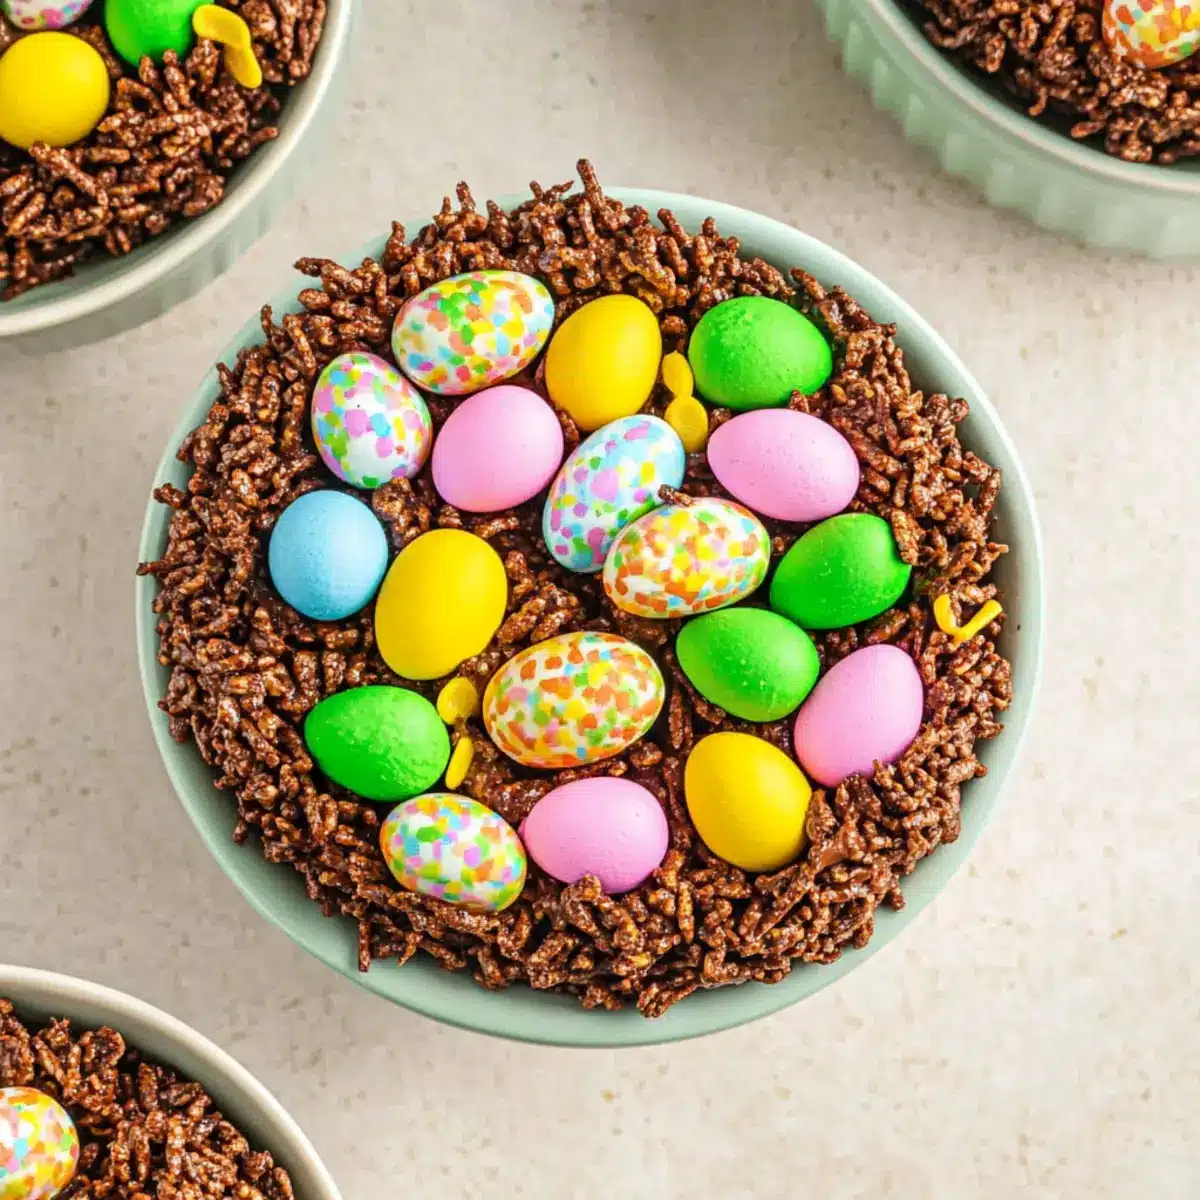
Nestled among the whimsical decorations of Easter, a simple yet delightful creation has been taking the stage this season: the Cocoa Pebbles Easter Nests. As I crunched into one of these delightful treats, I was instantly transported to joyful family gatherings filled with laughter and a dash of chaos. What makes this recipe a real winner is its easy preparation—no baking required and ready in under an hour! Not only do these chocolate nests make for a wonderfully fun family activity, but they also serve as a sweet surprise for your holiday gatherings. Imagine the smiles on your loved ones’ faces as they enjoy these delightful, crunchy morsels filled with creamy peanut butter and topped with mini Cadbury eggs. Are you ready to make some delightful memories this Easter? Let’s dive into this fun, no-bake recipe together!

Why are Cocoa Pebbles Easter Nests a must-try?
Easy to Make: This no-bake recipe allows you to whip up festive treats with minimal effort and time, perfect for busy holiday preparations.
Kid-Friendly Fun: Engage the whole family in creating these whimsical nests—watch as kids mold and decorate their own unique treats!
Deliciously Sweet: A mouthwatering blend of crunchy Cocoa Pebbles and creamy peanut butter delivers a delightful salty-sweet experience.
Versatile Variations: Feel free to swap cereals or toppings; you can easily customize these treats to suit your family’s preferences.
Perfect for Celebrations: These adorable nests not only look festive but also serve as a delightful conversation starter at any Easter gathering.
Cocoa Pebbles Easter Nests Ingredients
For the Base
• Unsalted Butter – Binds ingredients together and adds richness; substitute with salted butter by omitting additional salt.
• Salt – Enhances flavor; use ⅛ teaspoon in the recipe, can be omitted if using salted butter.
• Mini Marshmallows – Provide sweetness and create a sticky base; approximately ¾ of a 10 oz bag is needed (4 cups).
• Cocoa Pebbles Cereal – Main structure and chocolaty flavor; can substitute with Rice Krispies or Fruity Pebbles.
For the Filling
• Creamy Peanut Butter – Adds a rich, smooth filling; about 18 tablespoons (1 cup +). Alternatives include Nutella, cookie butter, or spreads like cinnamon toast crunch spread.
For the Topping
• Sprinkles – Optional decorative topping for added color and festivity.
• Mini Cadbury Eggs – Topping to enhance sweetness and visual appeal; approximately 54 eggs (3 per nest). Can swap for any chocolate eggs, jellybeans, or Easter-themed candies.
Get ready to create these delightful Cocoa Pebbles Easter Nests, where sweet memories and delicious flavors come together!
Step‑by‑Step Instructions for Cocoa Pebbles Easter Nests
Step 1: Prepare the Muffin Tins
Start by lightly greasing two 12-cup muffin tins with cooking spray. This will prevent your Cocoa Pebbles Easter Nests from sticking and ensure easy removal later. Take a moment to ensure that the spray evenly coats each cup, so the treat releases smoothly once set.
Step 2: Melt Butter and Salt
In a large pot, melt ½ cup of unsalted butter over low heat. Add ⅛ teaspoon of salt to enhance the flavor. Stir occasionally until the butter is completely melted, but be cautious not to let it boil. This should take about 3 to 5 minutes, creating a lovely, buttery base for your marshmallow mixture.
Step 3: Incorporate Mini Marshmallows
Once the butter is melted, toss in approximately ¾ of a 10 oz bag of mini marshmallows. Stir continuously over low heat until the marshmallows are fully melted and smooth, around 4 to 6 minutes. Remove the pot from the heat once the mixture resembles a glossy, sticky sauce, allowing the sweetness to shine through.
Step 4: Fold in Cocoa Pebbles
Gently fold in 6 cups of Cocoa Pebbles cereal into the melted marshmallow mixture using a spatula. Make sure each piece is coated without crushing the cereal, creating a delightful crunch. This should take about 2 minutes; you’ll know it’s ready when the cereal is thoroughly covered in the marshmallow mixture.
Step 5: Shape the Nests
Spoon about 3 to 4 tablespoons of the mixture into each muffin cup, pressing gently to mold the mixture while creating a dip in the center. This hollow space will hold the delicious peanut butter filling later. Aim for a firm but not overly compressed nest to maintain the light, crispy texture, taking about 5 minutes to shape all nests.
Step 6: Cool and Set
Let the nests sit at room temperature for about 30 minutes until they firm up. Avoid placing them in the fridge as it can make them too hard. You’ll know they are ready when they hold their shape well and are easy to remove from the muffin tin.
Step 7: Fill with Peanut Butter
Once your nests have set, add about 1 tablespoon of creamy peanut butter to the center of each nest. This adds a rich, delectable surprise that pairs beautifully with the crunchy Cocoa Pebbles. Allow another minute or two for the peanut butter to soften slightly in the warm nests.
Step 8: Decorate with Toppings
Top each nest with colorful sprinkles and place 3 mini Cadbury eggs in the center for that festive touch. This step not only adds sweetness and visual appeal but also invites creativity in how you decorate each nest. This should take around 5 minutes for all nests.
Step 9: Remove from Muffin Tins
Carefully use a butter knife or wooden skewer to gently loosen the nests from the muffin tin. Place them onto a serving platter, arranging them for a beautiful presentation. Enjoy the satisfaction of your hard work creating these charming Cocoa Pebbles Easter Nests, ready to share with family and friends!
Storage Tips for Cocoa Pebbles Easter Nests
Room Temperature: Store leftover Cocoa Pebbles Easter Nests in an airtight container at room temperature for up to 2 days to maintain their delightful crunch.
Refrigerator: If you need to keep them longer, you can refrigerate the nests, but they may become firmer; consume within 5 days.
Freezer: For extended storage, freeze the nests in a single layer in an airtight container for up to 2 months. Thaw at room temperature for about an hour before enjoying.
Reheating: If desired, place the nests in a warm oven for a few minutes to soften them slightly, but avoid overbaking to prevent hardening.
Cocoa Pebbles Easter Nests Variations
Feel free to let your creativity shine by customizing these delightful nests to suit your taste and dietary needs!
- Dairy-Free: Swap the unsalted butter for coconut oil and use dairy-free chocolate eggs for a dairy-free treat.
- Gluten-Free: Replace Cocoa Pebbles with gluten-free rice or corn cereal to enjoy a gluten-free version of these nests without losing flavor.
- Nut-Free: Use sun butter or tahini in place of peanut butter to keep these treats nut-free, appealing to those with allergies.
- Extra Crunch: Add a handful of chopped nuts or seeds for added texture and a nutritious boost— almonds or sunflower seeds work wonderfully!
- Indulgent Chocolate: Drizzle melted chocolate over the nests before adding toppings for an extra chocolatey treat; it’s pure decadence!
- Fruity Twist: Mix in some dried fruits like cranberries or raisins before forming nests for a sweet and tangy surprise with every bite.
- Spicy Kick: Sprinkle a little cinnamon or cayenne pepper to the melted butter for a daring twist that adds warmth and complexity.
- Personal Touch: Let the kids decorate with their favorite candies or colors of sprinkles for a fun, personalized touch to every nest!
These variations not only lend a delightful twist to your original recipe, but they also make it possible for everyone to enjoy these festive treats. Remember, creativity is the key—why not explore our tips for kid-friendly cooking or look into unique dessert ideas for your gatherings?
Expert Tips for Cocoa Pebbles Easter Nests
-
Butter Melting: Melt the butter slowly over low heat to avoid burning. Rapid heating can lead to an unpleasant burnt flavor for your Cocoa Pebbles Easter Nests.
-
Marshmallow Consistency: Stir the marshmallows until smooth and glossy. If they start to harden before fully melted, you can return them to low heat for a minute to get that perfect sticky base.
-
Gentle Mixing: When folding in the Cocoa Pebbles, be gentle! Over-mixing can crush the cereal, diminishing its delightful crunch and texture.
-
Pressing Technique: While shaping your nests in the muffin tins, press gently but ensure they hold their shape. If they’re too packed, they may become hard instead of light and crispy.
-
Creative Toppings: Don’t hesitate to mix up the toppings! Use jelly beans or chocolate-covered treats for unique twists on your Cocoa Pebbles Easter Nests, making them even more festive.
What to Serve with Cocoa Pebbles Easter Nests?
Create a festive spread that complements your delightful chocolate nests and brings joy to the table!
- Fruity Yogurt Parfaits: Creamy yogurt layered with fresh berries add a refreshing contrast to the sweet nests, perfect for a wholesome touch.
- Grasshopper Brownies: These fudgy brownies with mint frosting provide a rich chocolate component, balancing the lighter, crispy texture of the nests beautifully.
- Spring Salad: A vibrant mix of mixed greens, strawberries, and a light vinaigrette introduces freshness and adds a vital crunch to your dessert table.
- Chocolate Milk: This classic beverage enhances the sweet chocolatey flavor of the nests, creating a nostalgic experience for both kids and adults alike.
- Lemonade Sparkler: A zesty lemonade mixed with sparkling water offers a refreshing fizz that perfectly offsets the sweetness of the nests.
- Mini Fruit Skewers: Colorful fruit kebabs add a fun, playful element to your dessert spread, providing a fresh bite that contrasts the decadent nests.
- Frozen Hot Chocolate: Rich, creamy, and refreshing, this treat pairs wonderfully with the crunchy texture of the Cocoa Pebbles nests, perfect for a sweet finish.
- Easter-themed Cookies: Decoratively iced sugar cookies add whimsy to your dessert table, keeping the festive spirit alive and providing a delightful crunch.
- Carrot Cake Bites: These moist, spiced treats add a lovely contrast of flavor while staying true to the Easter theme, ensuring a delightful end to your meal.
- Cotton Candy: A whimsical touch, this fluffy treat is a sweet addition that adds a fun element for kids and adults alike, ensuring smiles all around!
Make Ahead Options
These Cocoa Pebbles Easter Nests are perfect for meal prep, allowing you to enjoy the festive flavors with ease! You can prepare the nests up to 24 hours in advance by following the first six steps, then let them cool and set before storing them in an airtight container at room temperature. This ensures they stay light and crispy. When you’re ready to serve, simply add the creamy peanut butter filling and toppings just before your guests arrive—this keeps everything fresh and delicious. With this prep method, you’ll save valuable time, making family gatherings a breeze while ensuring your holiday treats are just as delightful!
Cocoa Pebbles Easter Nests Recipe FAQs
How do I choose the right Cocoa Pebbles for this recipe?
Absolutely! When selecting your Cocoa Pebbles, ensure the box is fresh and dry. Check for any damage or dark spots on the packaging. Fresh cereal brings the best crunchy texture to your nests.
How should I store leftover Cocoa Pebbles Easter Nests?
Store leftover nests in an airtight container at room temperature for up to 2 days. This way, they’ll maintain their delightful crunch. If you need to keep them longer, refrigerate for up to 5 days, though they may firm up a bit.
Can I freeze Cocoa Pebbles Easter Nests?
Yes, you can freeze them! To do this, place the nests in a single layer in an airtight container and freeze for up to 2 months. When you’re ready to enjoy, simply thaw them at room temperature for about an hour. Remember, don’t refreeze them once thawed!
What should I do if the marshmallow mixture turns hard?
If the marshmallow mixture hardens, it may be due to overcooking. For a smoother texture, add a splash of milk or water and return to low heat until it softens. Stir gently until you regain that lovely sticky consistency, which will coat the Cocoa Pebbles perfectly.
Are Cocoa Pebbles Easter Nests safe for kids with peanut allergies?
Very! If you’re making these nests for children with peanut allergies, substitute the creamy peanut butter with nut-free alternatives like sun butter or soy nut butter. Additionally, check all candy toppings for potential allergens to ensure a safe treat.
What variations can I try for the cereal or toppings?
Feel free to mix it up! You can substitute Cocoa Pebbles with Rice Krispies or even Fruity Pebbles for a colorful twist. As for toppings, swap the mini Cadbury eggs with jellybeans or M&Ms. The more the merrier, so let your creativity lead the way!
Cocoa Pebbles Easter Nests: Easy No-Bake Chocolate Treats
Ingredients
Equipment
Method
- Prepare the Muffin Tins: Lightly grease two 12-cup muffin tins with cooking spray.
- Melt Butter and Salt: Melt ½ cup of unsalted butter over low heat with ⅛ teaspoon of salt.
- Incorporate Mini Marshmallows: Add ¾ of a 10 oz bag of mini marshmallows and stir until melted.
- Fold in Cocoa Pebbles: Gently fold in 6 cups of Cocoa Pebbles cereal into the melted marshmallow mixture.
- Shape the Nests: Spoon about 3 to 4 tablespoons of the mixture into each muffin cup.
- Cool and Set: Let the nests sit at room temperature for about 30 minutes.
- Fill with Peanut Butter: Add about 1 tablespoon of creamy peanut butter to the center of each nest.
- Decorate with Toppings: Top each nest with sprinkles and 3 mini Cadbury eggs.
- Remove from Muffin Tins: Carefully loosen the nests from the muffin tin and place them onto a serving platter.
Leave a Reply