
As I sat on my porch, the sultry summer breeze whisking past, I couldn’t help but crave something refreshing and satisfying. Enter Coconut Milk Ice Cream—a delightful creation that not only cools you down but also fits seamlessly into a low-carb, dairy-free lifestyle. This creamy treat comes together quickly with just two main ingredients and requires no ice cream maker, which makes it a win for busy weeknights or spontaneous gatherings. Plus, it’s completely sugar-free, letting you indulge without the guilt. Imagine scooping into a bowl of rich, velvety goodness and discovering playful variations like chocolate or fruity twists along the way. Are you ready to learn how to whip up this easy, delicious dessert?
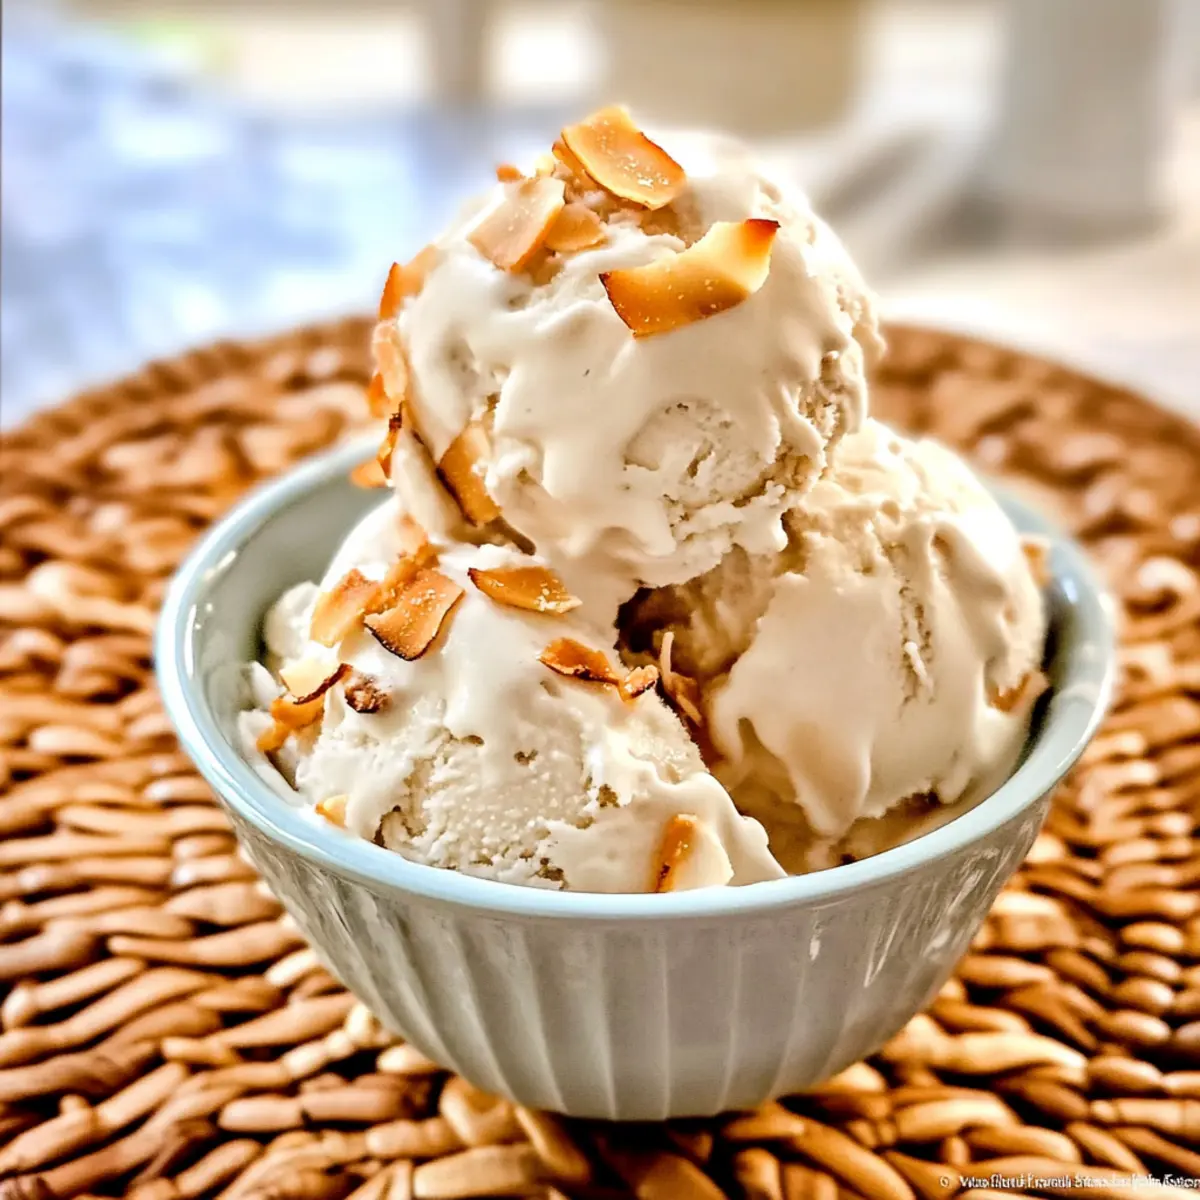
Why is Coconut Milk Ice Cream a Must-Try?
Simplicity: With just two main ingredients, making this delicious ice cream is a breeze; no complicated techniques here.
Versatility: Create endless variations by adding your favorite flavors—think chocolate, fruity purees, or even espresso.
Health-Conscious: This ice cream is dairy-free, sugar-free, and low-carb, perfect for anyone embracing a healthier lifestyle.
Time-Saving: No ice cream maker required! Just blend, freeze, and enjoy your creamy creation in a matter of hours.
Crowd-Pleasing: Serve it at gatherings, and watch everyone swoon over this guilt-free treat, making it a standout dessert. For more delightful low-carb options, check out our Healthy Tuna Egg recipe or our delicious Pasta Salad for a complete meal!
Coconut Milk Ice Cream Ingredients
For the Ice Cream Base
• Coconut Milk – This creamy base is essential; opt for full-fat canned coconut milk for the best texture.
• Low-Carb Sweetener – Use a favorite sweetener like allulose; it keeps the ice cream creamy without crystallizing.
Optional Flavor Enhancers
• Vanilla Extract – Adding this boosts flavor with a classic warmth, making the coconut even more delightful.
• Sea Salt – Just a pinch lifts all the flavors, making every spoonful of coconut milk ice cream truly indulgent.
Variation Ideas
• Cocoa Powder – Mix in 2-3 tablespoons for a delightful chocolate version of coconut milk ice cream.
• Fruit Puree – Blend in ½ to 1 cup of your favorite fruit puree, like strawberries or mango, for a refreshing twist.
• Espresso – Add for a unique kick, perfect for coffee lovers wanting to enjoy a cold treat.
Step‑by‑Step Instructions for Coconut Milk Ice Cream
Step 1: Chill Your Container
Start by placing a loaf pan or freezer-safe container in the freezer for about 30 minutes. This quick chilling action will help your Coconut Milk Ice Cream achieve a creamy texture, ensuring that it freezes evenly without ice crystals. You’ll know it’s ready when it’s noticeably cold to the touch.
Step 2: Blend the Ingredients
In a high-speed blender, combine the full-fat canned coconut milk, your chosen low-carb sweetener, a splash of vanilla extract, and a pinch of sea salt. Blend the mixture on high until it becomes completely smooth and well combined, which should take about 1-2 minutes. You’ll want to see a silky texture with no lumps for the best ice cream experience.
Step 3: Pour and Cover
Once blended, carefully pour the creamy mixture into your pre-chilled container. Make sure to scrape down the sides of the blender to get every bit of that luscious Coconut Milk Ice Cream mixture. After pouring, cover the container tightly with a lid or plastic wrap to prevent freezer burn, ensuring that your treat stays fresh.
Step 4: Freeze the Mixture
Place the covered container in the freezer and allow the mixture to freeze for at least 3 hours. For the best results, try to avoid opening the freezer frequently during this time. You’ll know it’s ready when the top is firmly frozen and the outside is slightly solidified, maintaining a delightful texture.
Step 5: Soften Before Serving
When you’re ready to scoop into your Coconut Milk Ice Cream, remove it from the freezer and let it sit at room temperature for about 10-15 minutes. This resting period will slightly soften the ice cream, making it much easier to scoop while still holding its creamy form. Enjoy your delicious homemade treat!
Make Ahead Options
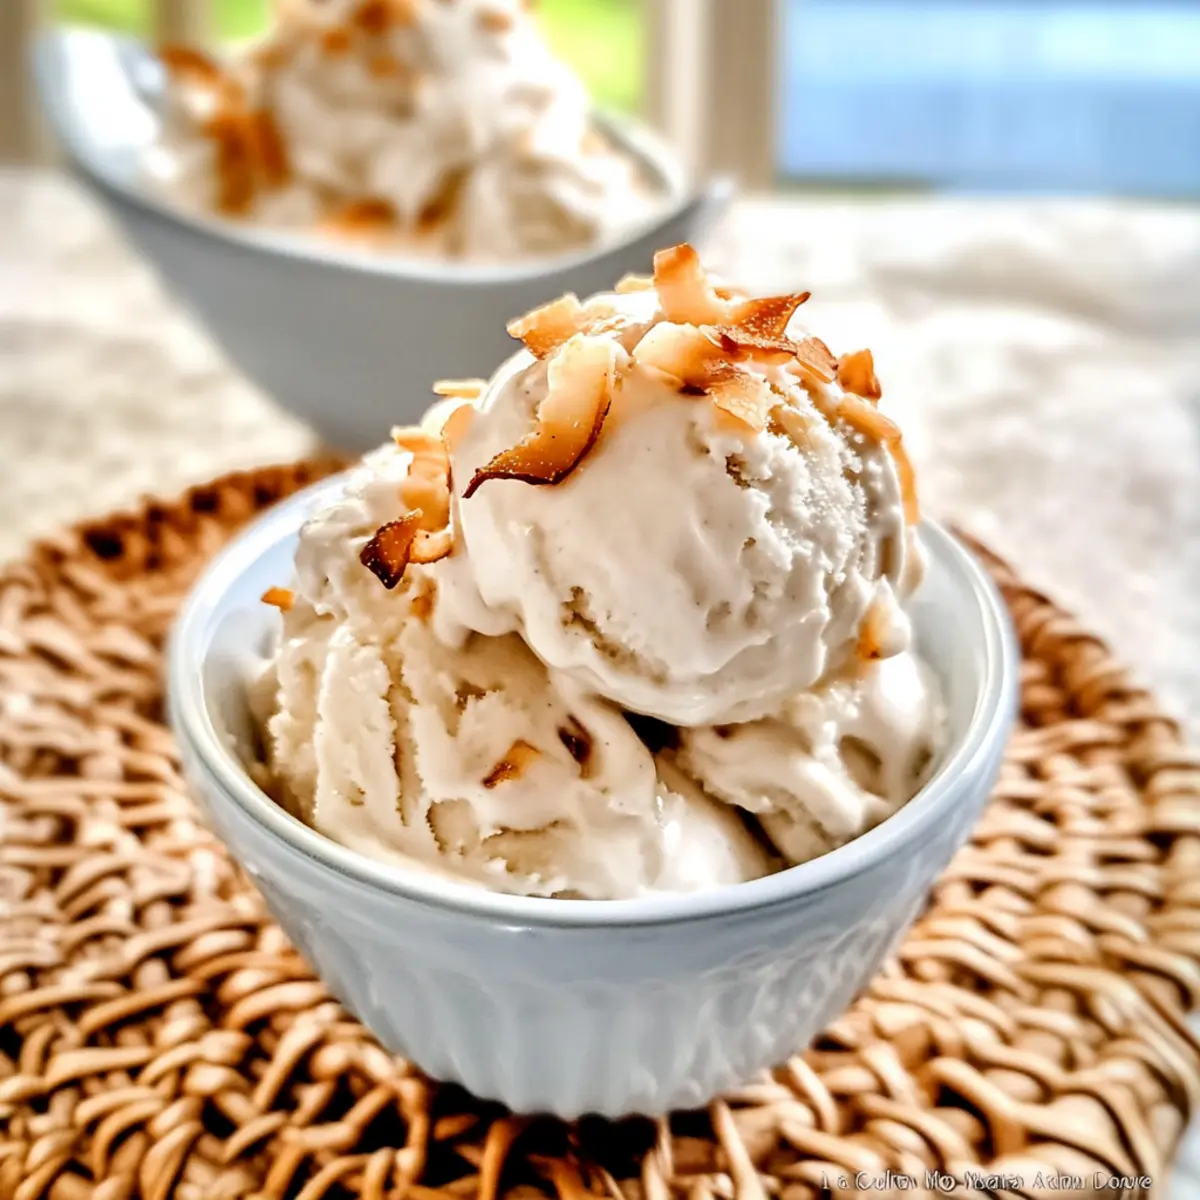
These Coconut Milk Ice Cream delights are perfect for busy home cooks looking to save time! You can prepare the base mixture up to 24 hours in advance, simply blend your full-fat coconut milk, low-carb sweetener, vanilla extract, and sea salt ahead of time. Store the mixture in the freezer-safe container, tightly covered, to prevent freezer burn. When ready to enjoy, pour the prepped mixture into a chilled container to freeze for at least 3 hours. For the best flavor and texture, remember to let the ice cream sit at room temperature for about 10-15 minutes before serving. This way, you’ll have a creamy, delicious dessert that’s just as delightful as if made fresh!
What to Serve with Coconut Milk Ice Cream
Indulge your senses in a delightful meal experience that perfectly complements the creamy sweetness of your homemade dessert.
-
Fresh Berries: The tartness of strawberries, blueberries, or raspberries adds a beautiful contrast to the creamy ice cream that will tantalize your taste buds. Serve them fresh for a vibrant, juicy burst of flavor.
-
Chocolate Drizzle: A rich, melted dark chocolate drizzle over your ice cream makes for a sumptuous treat. The decadent sweet and bitter balance with coconut elevates every scoop into pure bliss.
-
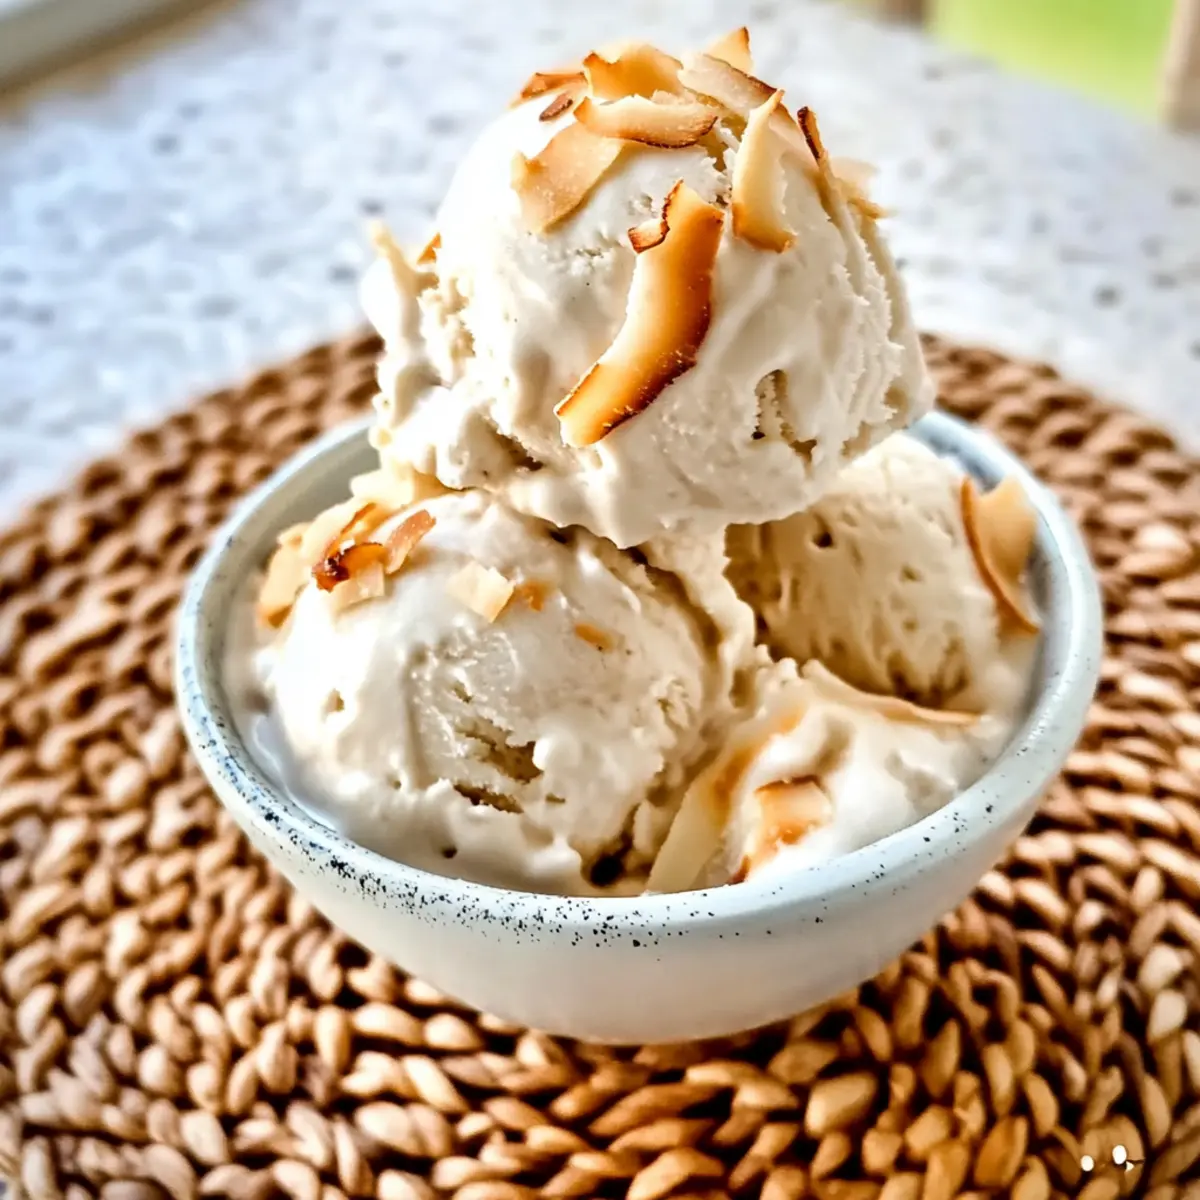
Toasted Coconut Flakes: These bring a delightful crunch and enhance the tropical essence. Sprinkle them atop your ice cream for an irresistible texture and nutty flavor that marries beautifully.
-
Nutty Granola: A scoop of granola adds chewiness and satisfying texture. Opt for a low-carb variety; it contributes a hearty element while keeping your dessert light and delicious.
-
Mint Leaves: For freshness, garnish with a few mint leaves. They add an aromatic kick that balances the creaminess of the ice cream, making each bite refreshing.
-
Almond Milk Latte: Pair your ice cream with a cozy cup of almond milk latte. The warm, nutty flavors complement the cold, creamy dessert perfectly, making for an indulgent end to any meal.
Coconut Milk Ice Cream Variations
Feel free to let your creativity shine and modify this delightful recipe to suit your taste preferences!
- Chocolate Twist: Blend in 2-3 tablespoons of cocoa powder for a rich, chocolatey version that will satisfy your sweet tooth.
- Fruity Delight: Add ½ to 1 cup of pureed fruit, like strawberries or mango, to infuse a refreshing burst of flavor. The sweet aroma of fresh fruit makes every scoop a joy!
- Espresso Kick: Mix in a shot of espresso for a deliciously caffeinated treat, perfect for afternoons needing a pick-me-up.
- Nutty Flavor: Stir in a tablespoon of almond or peanut butter for a nutty twist, adding depth and creaminess that pairs perfectly with coconut.
- Tropical Blend: Combine in diced pineapple or coconut flakes for an added tropical feel, turning your ice cream into a sunny treat.
- Maple-Infused: Substitute your sweetener with sugar-free maple syrup for a unique flavor that echoes cozy mornings.
- Spiced Treat: Incorporate a pinch of cinnamon or nutmeg for a warm, spiced version, perfect for cooler evenings.
- Vodka Splash: Add a splash of vodka to keep your ice cream extra scoopable and prevent freezing too hard, mixing fun and function beautifully.
For even more ideas, you might want to try this creamy pairing with our delicious Lasagna Soup or make your meal complete with a refreshing Pasta Salad. Enjoy customizing your coconut milk ice cream!
Expert Tips for Coconut Milk Ice Cream
- Choose Full-Fat: Always select full-fat canned coconut milk to achieve a rich and creamy texture that mimics traditional ice cream. Avoid the lighter options as they won’t yield the same result.
- Sweetener Matters: Opt for allulose as your low-carb sweetener; it prevents those pesky ice crystals from forming and keeps your Coconut Milk Ice Cream perfectly smooth.
- Chill Properly: Make sure your container is well-chilled before pouring in the mixture. This helps prevent ice crystals and ensures a creamier final product.
- Experiment with Flavors: Don’t hesitate to play with flavors! Adding cocoa powder or fruit purees enhances your ice cream’s taste while keeping it healthy.
- Storage Savvy: Store your ice cream in an airtight container, topped with parchment paper to prevent freezer burn, ensuring it stays fresh for up to 3 months.
Storage Tips for Coconut Milk Ice Cream
- Freezer: Store your Coconut Milk Ice Cream in an airtight container for up to 3 months. To maintain its freshness, place a layer of parchment paper on top before sealing.
- Thawing: When ready to enjoy, let the ice cream sit at room temperature for 10-15 minutes before serving to soften it for easier scooping.
- Serving Size: Scoop out what you need and promptly return the container to the freezer to prevent excessive thawing, ensuring the remainder stays creamy.
- Texture Preservation: For best results, avoid repeated thawing and refreezing of the ice cream, as this may affect its smooth texture and flavor.
Coconut Milk Ice Cream Recipe FAQs
What type of coconut milk should I use?
Absolutely! Always opt for full-fat canned coconut milk when making Coconut Milk Ice Cream. This provides the rich and creamy texture that replicates traditional ice cream. Avoid using carton coconut milk, as it tends to be too thin and won’t yield the desired results.
How long can I store Coconut Milk Ice Cream?
You can store your Coconut Milk Ice Cream in an airtight container in the freezer for up to 3 months. To keep it fresh and prevent freezer burn, make sure to press a layer of parchment paper directly onto the surface before sealing the container. This will help maintain its delicious flavor and creamy texture.
Can I freeze leftover Coconut Milk Ice Cream?
Yes! If you have leftover ice cream, simply follow the storage instructions by placing it in an airtight container and storing it in the freezer. Just remember to let it sit out for 10-15 minutes before serving. This will make scooping much easier and ensure that the texture remains smooth.
What can I do if my ice cream is too hard?
If your Coconut Milk Ice Cream becomes too hard after freezing, you can address this easily! Just remove it from the freezer and let it sit at room temperature for about 10-15 minutes. This will soften it enough to scoop. Alternatively, try adding a splash of vodka next time to lower the freezing point, which can help maintain a creamier texture.
Is Coconut Milk Ice Cream safe for people with dairy allergies?
Very! Coconut Milk Ice Cream is a fantastic option for anyone with dairy allergies, as it’s completely dairy-free. However, always check the other ingredients, especially the sweeteners or flavorings you choose, to ensure they don’t contain any allergens. This treat opens the door to delicious dessert options for everyone!
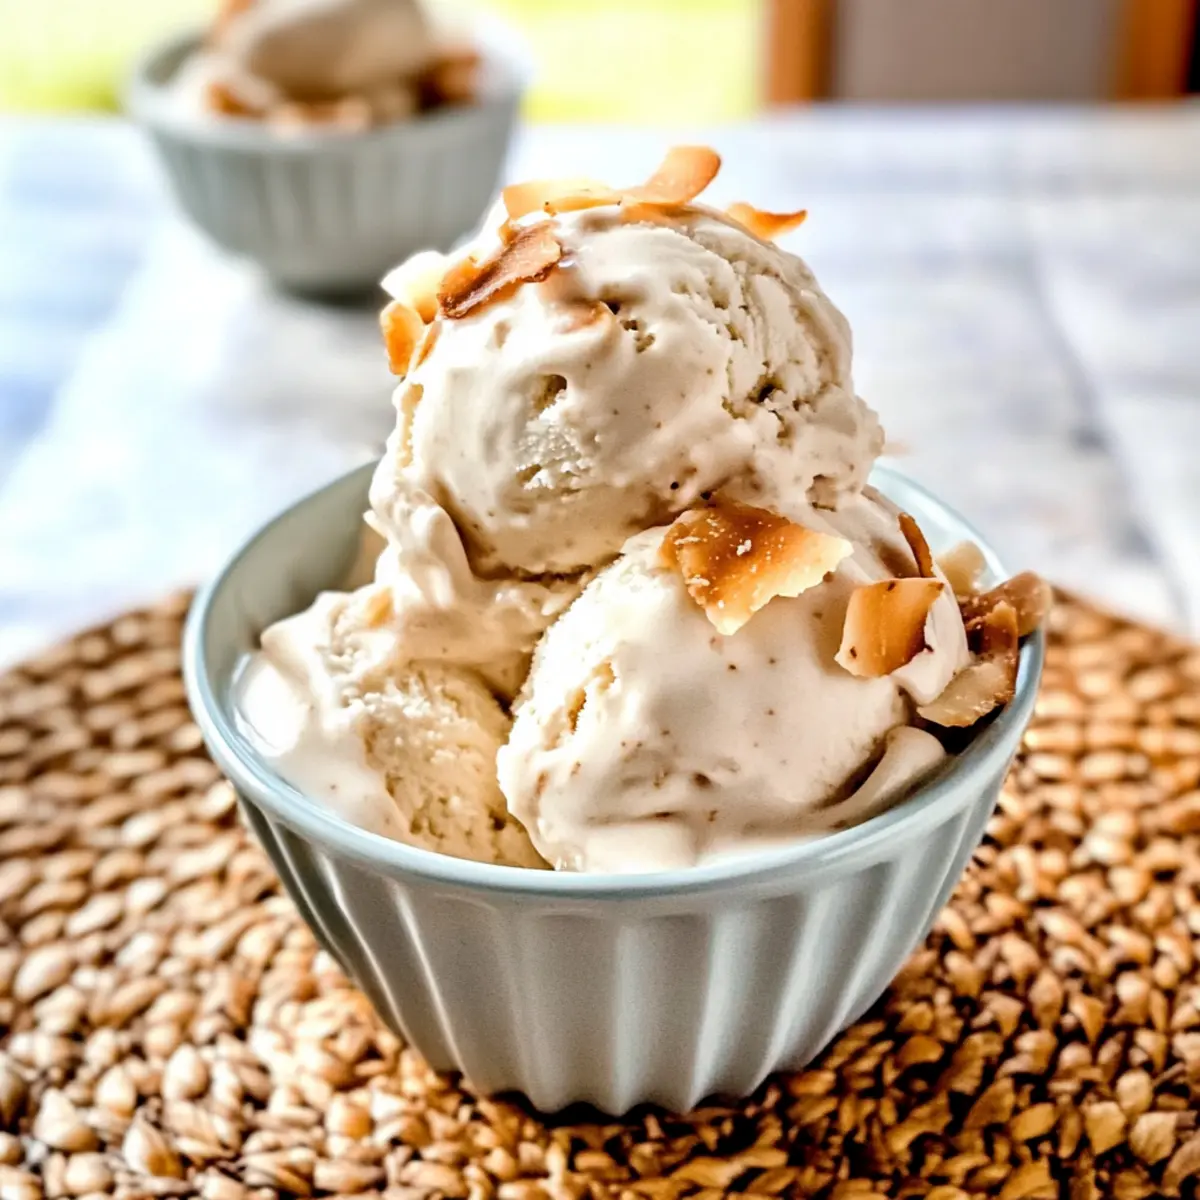
Creamy Coconut Milk Ice Cream: No Maker Needed for Blissful Treats
Ingredients
Equipment
Method
- Chill Your Container: Place a loaf pan or freezer-safe container in the freezer for about 30 minutes.
- Blend the Ingredients: Combine coconut milk, sweetener, vanilla extract, and sea salt in a blender. Blend until smooth.
- Pour and Cover: Pour the mixture into the pre-chilled container, scraping down the sides of the blender. Cover tightly.
- Freeze the Mixture: Place the container in the freezer and let it freeze for at least 3 hours.
- Soften Before Serving: Let the ice cream sit at room temperature for 10-15 minutes before scooping.
Leave a Reply