
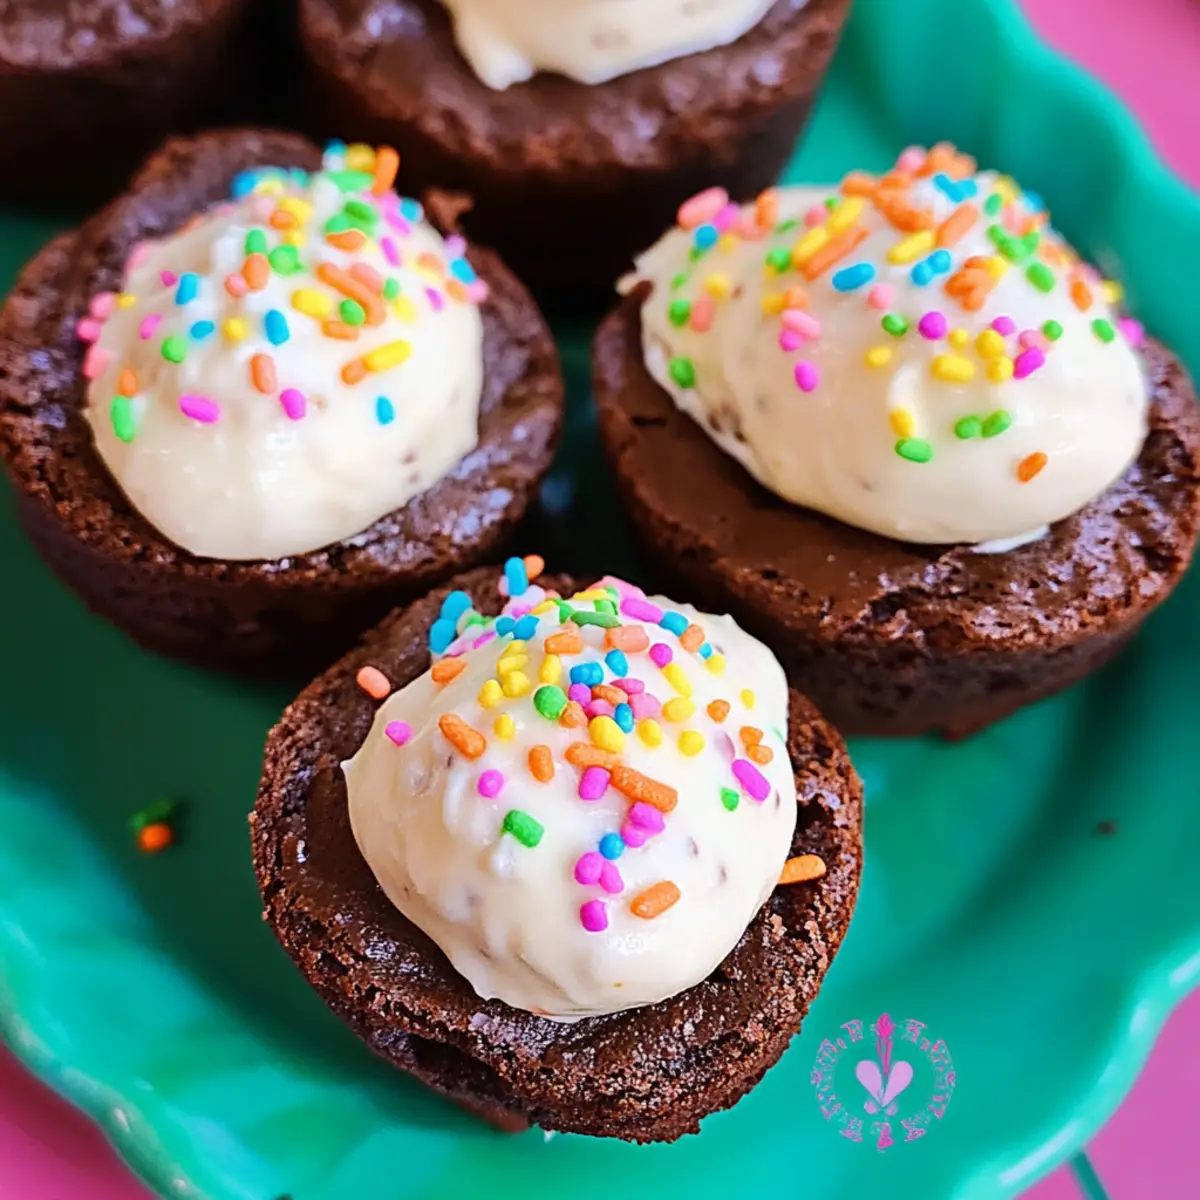
Spring has a magical way of igniting our desire for sweets, and that’s where these Deviled Brownies come into play. Imagine a rich chocolate brownie, shaped like an egg and filled with a luscious cream cheese and marshmallow filling, perfectly balancing sweetness and tang. Not only are these delightful treats easy to whip up using a simple box mix, but they also bring festive cheer to any Easter gathering. With their unique texture and playful design, they’re bound to steal the spotlight on your dessert table. Plus, their creamy filling invites you to experiment with flavor variations, making each batch a delightful surprise. Ready to impress your family and friends with these chocolatey wonders? Let’s dive into the recipe!
Why Are These Deviled Brownies Special?
Simplicity in Preparation: These brownies are made using a simple box brownie mix, making them easy enough for any home cook, even beginners.
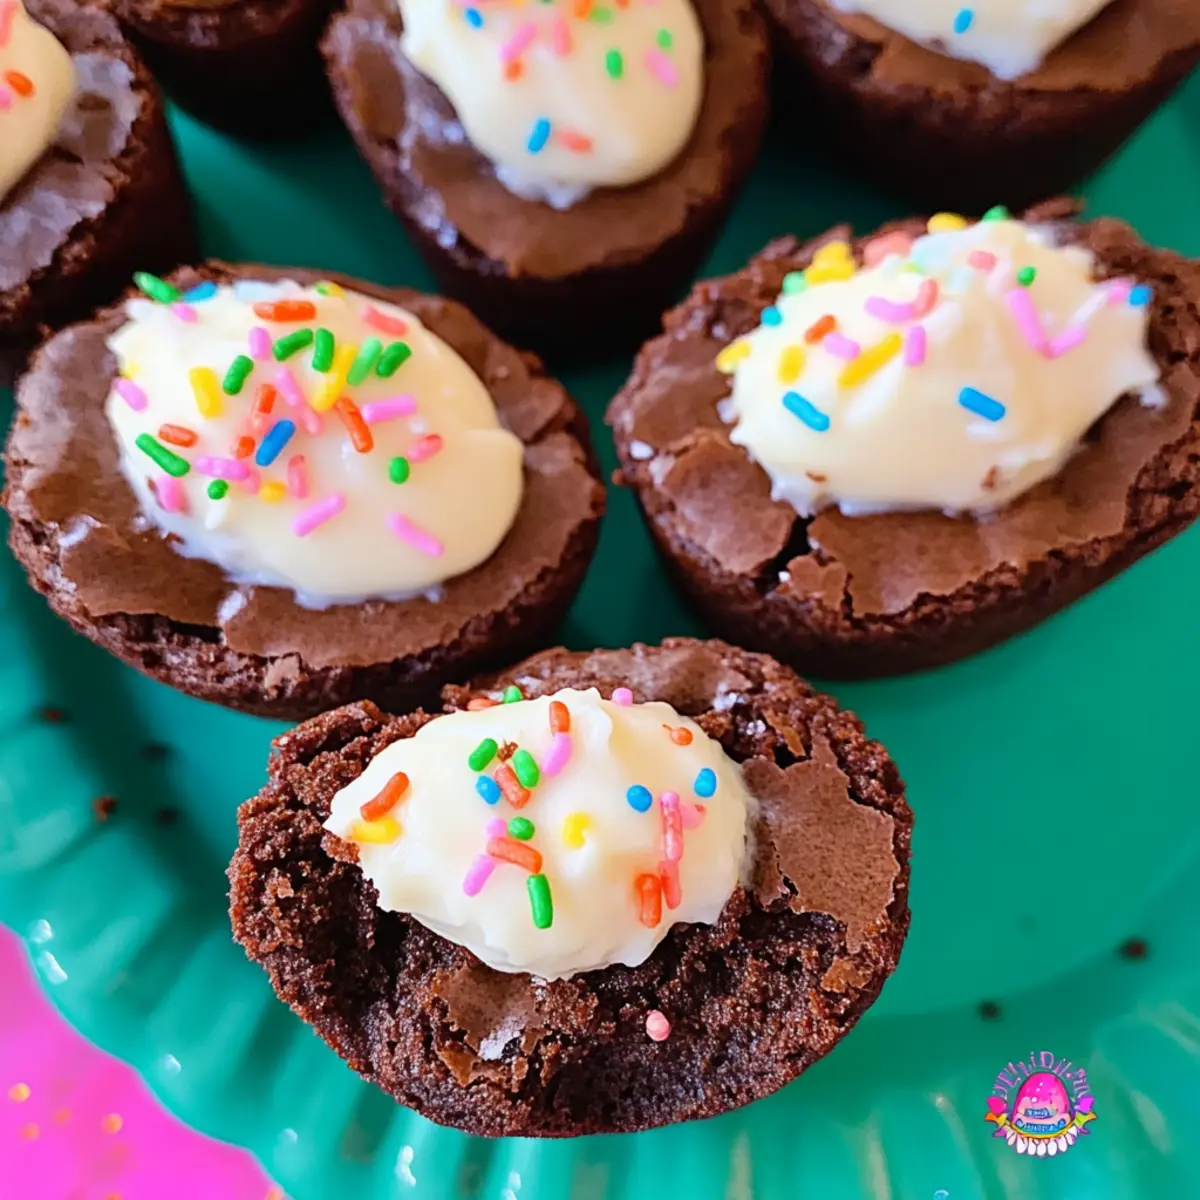
Festive Presentation: Shaped like eggs, they add a charming touch to your Easter celebrations, ensuring they’re not just delicious but also fun to look at.
Delightful Creamy Filling: The creamy cream cheese and marshmallow filling provides a perfect contrast to the rich brownie, creating a harmonious blend of flavors.
Versatile Variations: Feel free to experiment with the filling—try peanut butter or cookie butter for a unique twist, ensuring each batch feels new and exciting.
Crowd-Pleasing Treat: These Deviled Brownies are sure to impress your guests—perfect for Easter parties or family gatherings, they cater to both young and old alike.
Easy Storage: Leftovers (if there are any!) can be kept refrigerated for days, so you can enjoy them whenever the craving hits. Pair them with a refreshing springtime punch, or enjoy them alongside a slice of Banana Bread Brownies for even more deliciousness!
Deviled Brownies Ingredients
• Your guide to creating delightful treats!
For the Brownie Base
- Brownie Mix – Use any preferred brand for a rich chocolate flavor; follow package instructions for water, oil, and eggs.
- Nonstick Cooking Spray – Generously grease your molds to prevent sticking and ease removal of the brownies.
For the Creamy Filling
- Cream Cheese – Soften before mixing to ensure a smooth, creamy texture that enhances the filling’s tanginess.
- Marshmallow Cream – Adds a sweet, fluffy element; can be substituted with buttercream for a different flavor profile.
For Decoration (Optional)
- Sprinkles – Choose festive colors to enhance presentation; add just before serving to avoid color bleeding into the filling.
These Deviled Brownies are an easy and festive dessert, sure to be a hit at your Easter gathering!
Step‑by‑Step Instructions for Deviled Brownies
Step 1: Preheat the Oven
Start by preheating your oven to 350°F (175°C). This is the perfect temperature to achieve that moist and fudgy texture in your Deviled Brownies. While the oven heats, you can gather your ingredients and silicone molds to ensure everything is ready for the next steps.
Step 2: Prepare the Brownie Batter
In a large mixing bowl, follow the package instructions for your brownie mix, adding the required water, oil, and eggs. Stir until the mixture is well-combined and smooth, avoiding any lumps. You’ll want to see a thick, glossy batter that reveals its rich chocolatey goodness, ready to fill the egg-shaped molds.
Step 3: Grease the Molds
Generously spray your egg-shaped silicone molds with nonstick cooking spray. This step is crucial to prevent the Deviled Brownies from sticking to the molds later. Make sure to coat every surface well, so when your brownies are baked, they come out effortlessly and maintain their charming shape.
Step 4: Fill the Molds
Using a 2-tablespoon portion scoop, evenly fill each cavity in the silicone molds with the brownie batter. Aim to fill each mold just to the top, allowing for even baking and perfect egg shapes. You’ll want to see a glossy surface as the batter settles, ready to transform into delicious brownies.
Step 5: Bake the Brownies
Place the filled molds in the oven and bake for 24-26 minutes. To check for doneness, insert a toothpick into the center of one brownie; it should come out clean or with a few moist crumbs. Keep an eye on them, as the aroma of chocolate begins to fill your kitchen!
Step 6: Create the Divots
Once baked, carefully remove the brownies from the oven and, while still warm, gently press a teaspoon into the center of each brownie to create a divot. This will hold the delightful cream cheese filling. Be cautious as the molds will be hot, but you want to make that perfect space for the next step.
Step 7: Cool the Brownies
Allow the brownies to cool completely in their molds on a wire rack. This cooling step is essential for achieving the right texture and ensuring they hold their shape when removed. Patience here will pay off, as warm brownies may crumble during removal.
Step 8: Release the Brownies
Once cooled, gently pull back the sides of the silicone molds to release the Deviled Brownies. If needed, slightly flatten the bottoms to ensure they sit nicely on a serving platter. The smooth, chocolatey tops should shine, inviting everyone to taste them.
Step 9: Prepare the Creamy Filling
In a mixing bowl, beat the softened cream cheese and marshmallow cream together until smooth and fluffy. This should take about 3-5 minutes. You’ll want the filling to be creamy and easy to pipe, perfect for filling those divots we created earlier in the brownie.
Step 10: Fill the Brownies
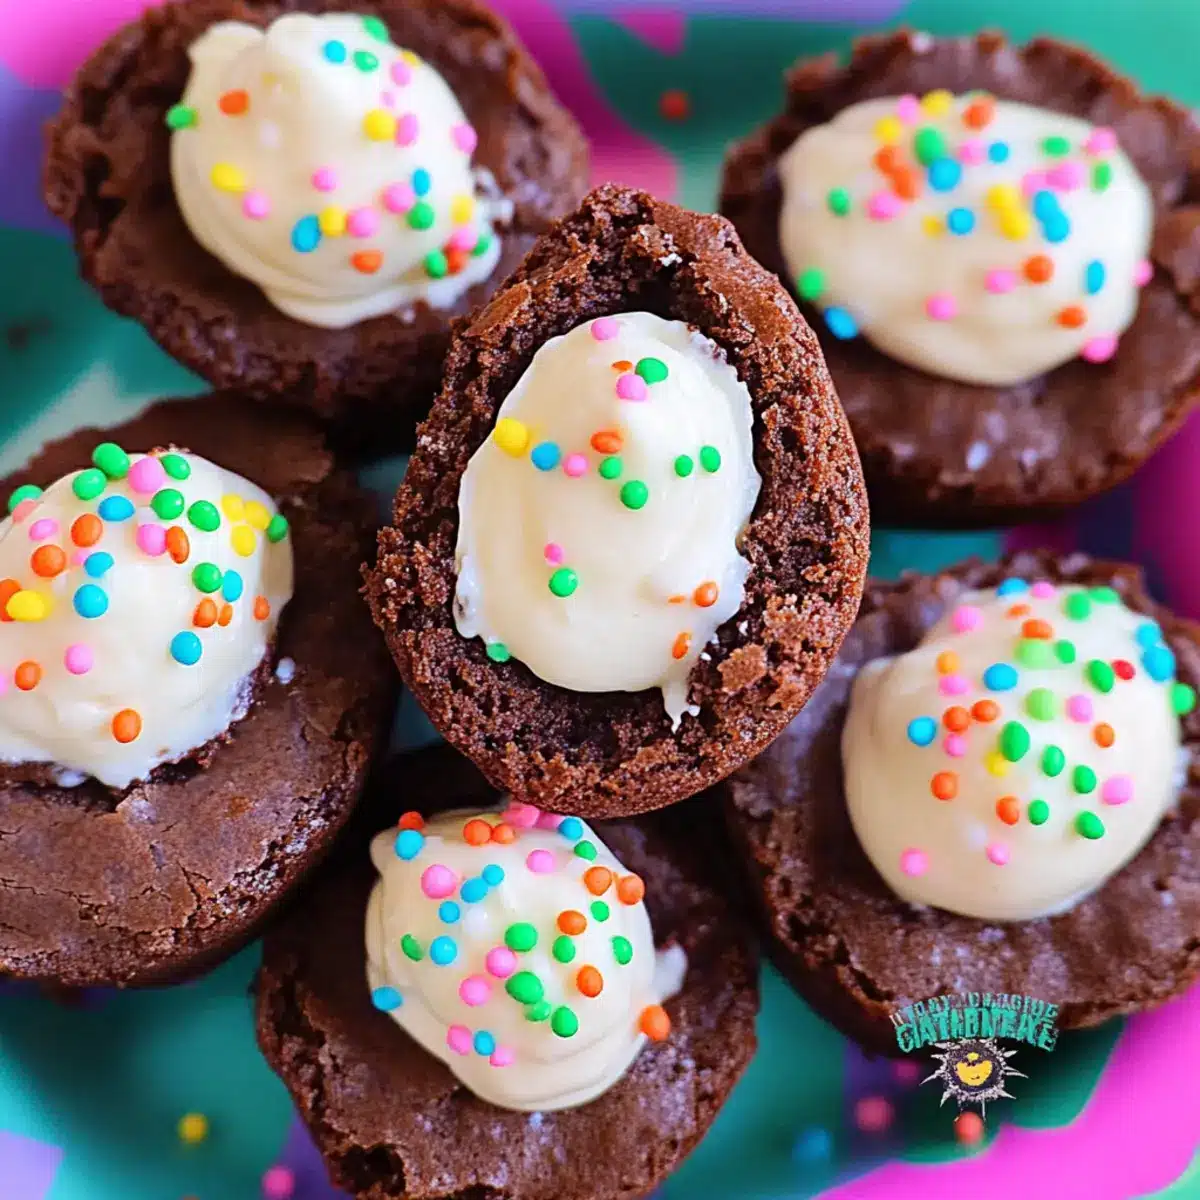
Transfer the creamy filling into a piping bag and carefully pipe it into the center of each cooled brownie. Fill each divot generously; it should overflow slightly, showcasing that luscious creaminess. The contrast between the rich chocolate and the creamy filling is what makes these Deviled Brownies so irresistible.
Step 11: Decorate and Chill
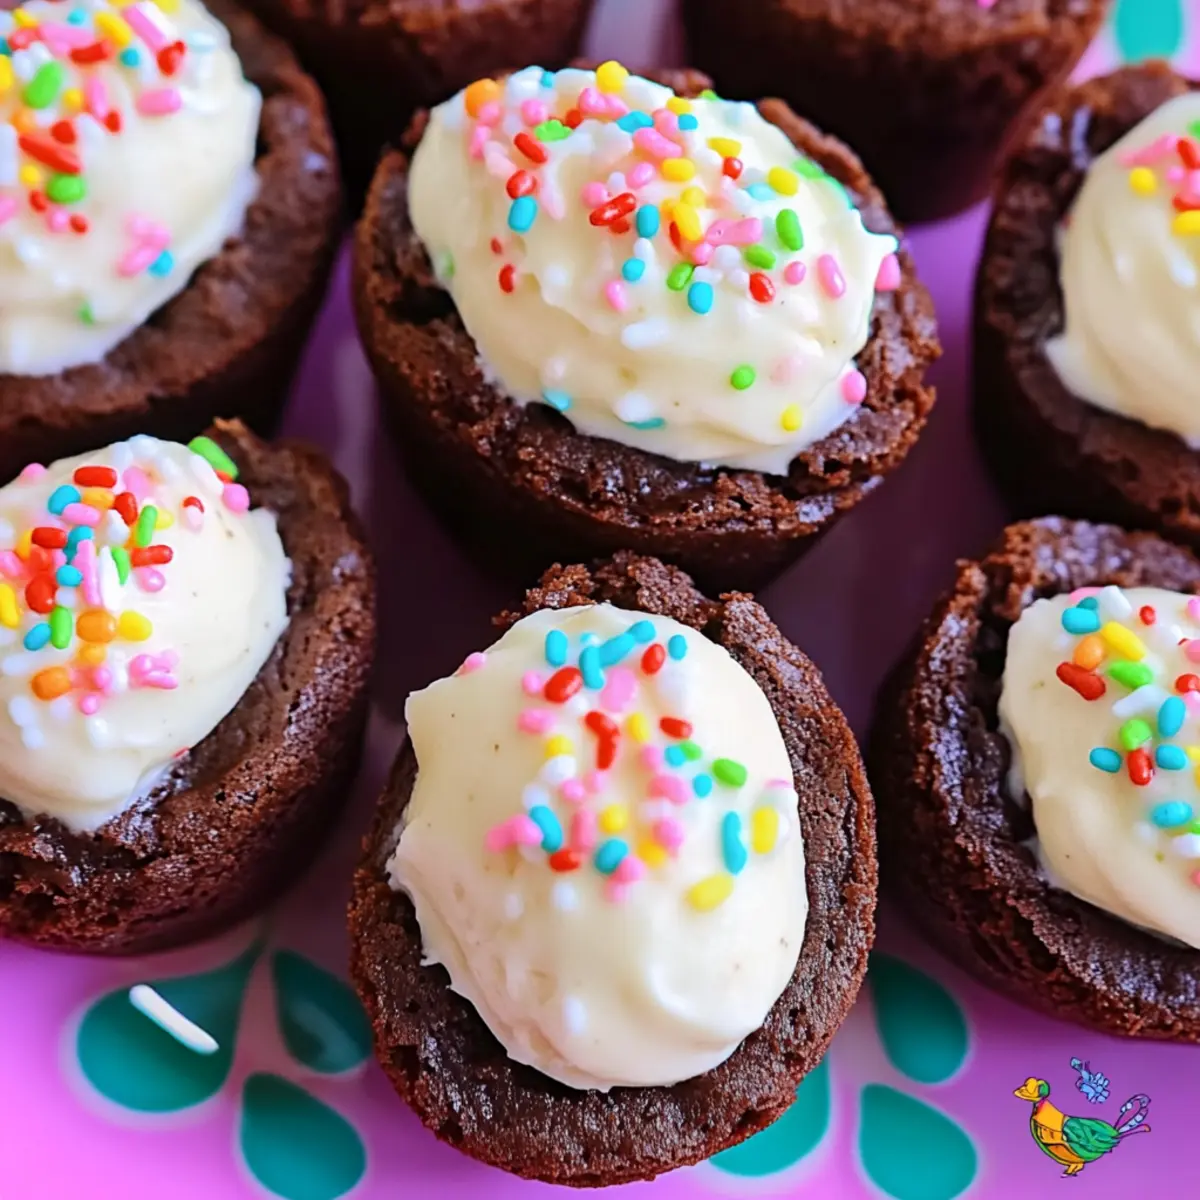
If desired, sprinkle festive colors over the filled brownies for an added touch of cheer. Refrigerate the finished Deviled Brownies for at least 30 minutes to allow the filling to set. This step also gives the brownies a chance to chill, enhancing their delightful flavors.
Step 12: Serve and Enjoy
Once chilled, serve your Deviled Brownies at your Easter gathering or family celebration. Their blend of fudgy brownie and fluffy cream cheese filling is sure to be a hit, creating sweet smiles all around. Remember, these treats can be stored in the refrigerator for days, so they can be enjoyed whenever the craving strikes!
Make Ahead Options
These Deviled Brownies are fantastic for meal prep, allowing you to enjoy delicious treats without the last-minute rush. You can prepare the brownie base up to 24 hours in advance—simply bake and cool the brownies, then store them in an airtight container at room temperature. The cream cheese and marshmallow filling can also be made ahead of time and refrigerated for up to 3 days; just ensure it’s well-covered to maintain its creamy texture. When you’re ready to serve, pipe the filling into the brownies, decorate with sprinkles, and refrigerate them briefly to let everything set. This way, your delicious Deviled Brownies will be just as delightful and fresh as if made that day!
What to Serve with Deviled Brownies
Spring celebrations call for indulgent delights that bring smiles to every face, and these sweet treats are sure to steal the show!
- Fresh Berries: The tartness of strawberries and raspberries beautifully balances the richness of the brownies.
- Vanilla Ice Cream: Creamy and cool, this classic pairing melts perfectly over the warm, fudgy brownies for an irresistible dessert.
- Mint Tea: A refreshing cup of mint tea cleanses the palate, making it a lovely complement to chocolatey treats.
- Whipped Cream: Light and fluffy, fresh whipped cream adds a delightful texture that enhances your brownies’ creamy filling.
These pairings not only elevate the festive experience but create a symphony of flavors and textures that everyone will love. Enjoy creating those perfect combinations!
Expert Tips for Deviled Brownies
• Room Temperature Cream Cheese: Ensure your cream cheese is at room temperature to avoid lumps in the filling, creating a smooth texture that melts in your mouth.
• Cooling Time is Crucial: Don’t rush the cooling step! Let the brownies cool completely in the molds to maintain their shape and prevent crumbling when you release them.
• Fill Generously: When piping in the cream cheese filling, aim to overflow slightly; this not only looks appealing but also enhances the scrumptious creaminess of your Deviled Brownies!
• Sprinkle Strategically: Add sprinkles just before serving to prevent them from bleeding into the filling. This keeps your brownies looking festive and fresh.
• Flavor Experimentation: Feel free to try different filling variations, such as cookie butter or peanut butter, for unique Deviled Brownies that will surprise and delight your guests!
How to Store and Freeze Deviled Brownies
Fridge: Keep your Deviled Brownies covered in the refrigerator for up to 3-4 days to maintain their freshness and creamy filling.
Freezer: If you want to store them longer, freeze the brownies in an airtight container for up to 2 months. Thaw in the fridge before serving.
Reheating: If desired, enjoy them warmed slightly in the microwave for about 10-15 seconds—this enhances the fudgy brownie texture.
Serving Suggestion: For the freshest flavor, serve chilled. Add sprinkles right before serving to maintain their vibrant color!
Deviled Brownies Variations & Substitutions
Feel free to get creative with your Deviled Brownies and make them even more delightful!
-
Peanut Butter: Incorporate creamy peanut butter into the filling for a nutty flavor kick. This delicious twist adds a rich, savory contrast to the sweet brownie base.
-
Cookie Butter: Swap marshmallow cream for cookie butter, delivering a warm, spiced flavor that enhances the overall chocolate experience. The addition of this sweet spread will have your guests begging for the recipe!
-
Flavored Cream Cheese: Experiment with flavored cream cheese like strawberry or raspberry for a fruity filling. It’s an unexpected yet refreshing delight that will bring a pop of fruitiness to your festive brownies.
-
Colorful Tints: Use food coloring to tint the cream cheese filling, creating vibrant layers. This is a charming way to personalize your Deviled Brownies for any holiday, making them extra fun for kids and adults alike!
-
Add Spices: Stir in a pinch of cinnamon or nutmeg to the brownie batter for a warm, comforting aroma. Spices can elevate the classic chocolate flavor, adding depth and complexity that truly surprises!
-
Sprinkle Variety: Instead of classic sprinkles, use crushed nuts, coconut flakes, or crushed cookies for texture and flavor. This will add a delightful crunch and visual appeal to your brownies.
-
Chili Flakes: For a daring touch, sprinkle a few chili flakes on top of the filling. It creates a sweet-spicy combination that balances beautifully with the richness of the chocolate.
If you’re loving these variations, don’t forget to try them out in other recipes like the delightful Deviled Egg Pasta or enjoy a sweet treat like Banana Bread Brownies for a different experience!
Deviled Brownies Recipe FAQs
What type of brownie mix should I use for these Deviled Brownies?
Absolutely! You can use any brand of brownie mix that you prefer, as long as it yields a rich chocolate flavor. Check the package instructions for the right amounts of water, oil, and eggs to add. I personally love using a fudge brownie mix for an extra gooey texture!
How should I store leftover Deviled Brownies?
To keep your Deviled Brownies fresh, store them in an airtight container in the refrigerator for up to 3-4 days. Make sure they’re covered well to prevent them from drying out. They’re best served chilled, but you can also enjoy them at room temperature for a softer filling, if you prefer!
Can I freeze Deviled Brownies?
Very! You can freeze your Deviled Brownies for later enjoyment. After they’ve cooled completely, place them in an airtight container or wrap them tightly in plastic wrap. They can be frozen for up to 2 months. To thaw, simply transfer them to the fridge for a few hours or overnight before serving.
What if my brownies stick to the molds?
To prevent sticking, make sure to grease your egg-shaped silicone molds generously with nonstick cooking spray before pouring in the brownie batter. If they still stick, run a small butter knife around the edges of each brownie to help loosen them. Patience is key—take your time in cooling them completely to maintain their shape!
Can I use low-fat cream cheese for the filling?
Absolutely! You can use low-fat cream cheese in your filling if you’re looking to lighten things up a bit. Just keep in mind that it may slightly alter the texture and creaminess. For a delicious alternative, try combining half a cup of Greek yogurt with your cream cheese for an extra tangy twist!
What are some creative filling variations for my Deviled Brownies?
The more the merrier! Feel free to mix things up—try using cookie butter in place of marshmallow cream for a unique flavor. You can also swirl in some peanut butter for a nutty richness. If you want to make it festive throughout the year, consider adding food coloring to your cream cheese filling to match different holiday themes!
Deviled Brownies: Easy Easter Treats with Creamy Delight
Ingredients
Equipment
Method
- Preheat your oven to 350°F (175°C).
- In a large mixing bowl, follow the package instructions for your brownie mix, adding the required water, oil, and eggs. Stir until smooth.
- Generously spray your egg-shaped silicone molds with nonstick cooking spray.
- Using a 2-tablespoon portion scoop, evenly fill each cavity in the silicone molds with the brownie batter.
- Place the filled molds in the oven and bake for 24-26 minutes. Check for doneness with a toothpick.
- Once baked, gently press a teaspoon into the center of each brownie to create a divot.
- Allow the brownies to cool completely in their molds on a wire rack.
- Once cooled, gently pull back the sides of the silicone molds to release the brownies.
- In a mixing bowl, beat the softened cream cheese and marshmallow cream together until smooth.
- Transfer the creamy filling into a piping bag and carefully pipe it into the center of each brownie.
- If desired, sprinkle festive colors over the filled brownies. Refrigerate for at least 30 minutes.
- Once chilled, serve your Deviled Brownies and enjoy!
Leave a Reply