
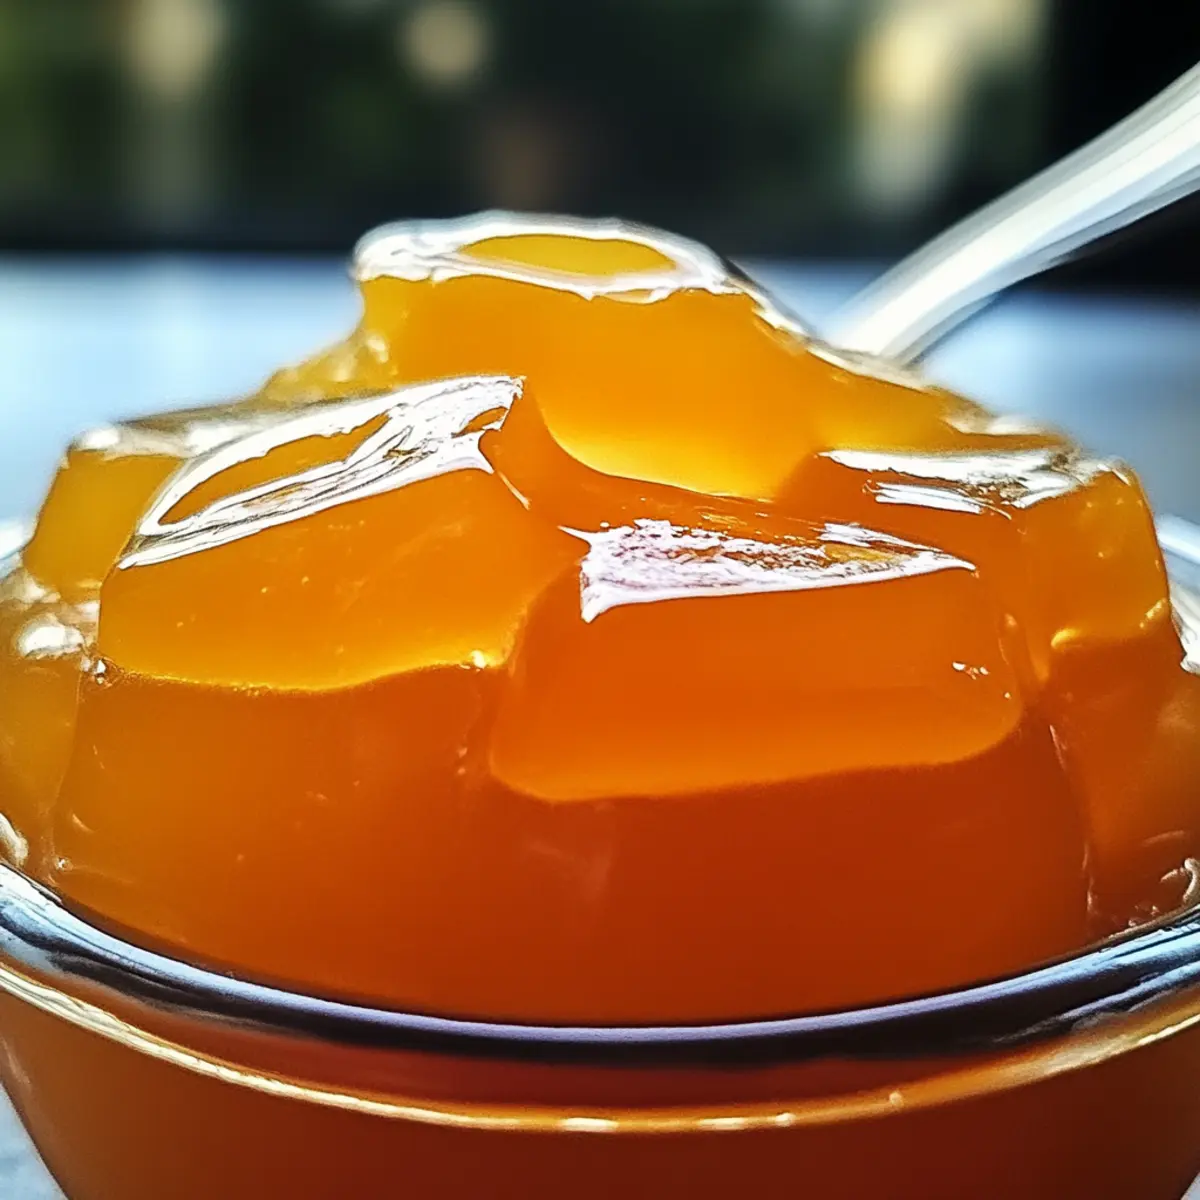
As I was reminiscing about sun-soaked summers, a certain taste came to mind—one that perfectly captures those carefree days: Dreamsicle Jelly. This vibrant dessert combines the zingy freshness of orange with a luscious swirl of creamy vanilla, transforming nostalgia into a delightful treat that brightens any occasion. Not only is this gorgeous jelly a showstopper for gatherings, but it’s also a wonderful way to bring a touch of whimsy to your afternoon snack routine. Plus, it’s vegetarian-friendly and easy to whip up with just a handful of ingredients! Are you ready to take a trip down memory lane and impress your friends with a unique dessert that feels like a mini vacation?
Why is Dreamsicle Jelly a Must-Make?
Nostalgic flavors whisk you back to childhood with each bite of this delightful dessert. Simplicity reigns here; you only need a few basic ingredients to create a charming treat that impresses everyone. Versatile recipes are a bonus! Feel free to experiment with citrus flavors or mix in your favorite extracts. Perfect for gatherings, it’s sure to wow guests, whether at summer barbecues or cozy dinners. Plus, you can easily prepare it ahead of time, allowing you to relish the compliments without the last-minute stress. Dive into this whimsical world of Dreamsicle Jelly and treat yourself to a comforting nostalgia that’s truly unforgettable!
Dreamsicle Jelly Ingredients
Discover the delightful ingredients that create this refreshing dessert!
For the Jelly
- Orange Juice – Provides refreshing citrus flavor; bottled juice can work in a pinch!
- Gelatin – Creates the jelly’s signature jiggly texture; opt for unflavored gelatin or vegetarian-friendly agar-agar.
- Sugar – Adds the perfect sweetness to balance the orange juice’s tartness; adjust to your liking with substitutes like Stevia.
For the Cream Layer
- Heavy Cream – Gives a rich, smooth texture to the vanilla layer; substitute with coconut milk for a dairy-free twist.
- Vanilla Extract – Infuses creamy vanilla flavor; for a bolder taste, consider using vanilla bean!
Now that you have the ingredients ready, you’re one step closer to making this delicious Dreamsicle Jelly!
Step‑by‑Step Instructions for Dreamsicle Jelly
Step 1: Dissolve the Gelatin
In a small saucepan over medium heat, combine 1 cup of fresh orange juice and 1/2 cup of sugar. Stir continuously until the sugar dissolves completely, which should take about 3-5 minutes. Once the mixture is hot but not boiling, sprinkle in 2 tablespoons of unflavored gelatin and stir until fully dissolved. This creates the vibrant jelly base for your Dreamsicle Jelly.
Step 2: Chill the Orange Layer
Carefully pour the orange gelatin mixture into individual molds or jars. Allow them to cool to room temperature, which usually takes about 15-20 minutes. Once cooled, transfer the molds to the refrigerator and let the jelly set for at least 2 hours. You’ll know they’re ready when they feel firm to the touch, like a smooth, jiggly delight.
Step 3: Prepare the Vanilla Cream Layer
While the orange jelly is setting, use another saucepan to gently heat 1 cup of heavy cream over low heat. Add 1 teaspoon of vanilla extract to enhance the flavor. After a few minutes, gradually stir in 2 tablespoons of gelatin until it is completely dissolved. Remove from heat, and let this creamy mixture cool slightly before layering it onto the orange jelly.
Step 4: Layer the Vanilla Cream
Once the orange jelly has set firmly, carefully pour the cooled vanilla cream layer over the top. Ensure it spreads evenly and avoid disturbing the orange layer beneath. Place the jars or molds back into the refrigerator for another 2 hours, allowing the vanilla layer to firm up and meld beautifully with the Dreamsicle Jelly underneath.
Step 5: Serve and Enjoy
After chilling, remove the Dreamsicle Jelly from the fridge. To serve, gently run a knife around the edges of the jelly if needed, and invert it onto a plate for an eye-catching presentation. Enjoy this refreshing treat chilled, optionally topped with a dollop of whipped cream and a slice of fresh orange for that extra burst of flavor.
Make Ahead Options
These Dreamsicle Jelly treats are perfect for busy cooks looking to save time! You can prepare the orange jelly base up to 24 hours in advance by following Steps 1 and 2, allowing it to set in the refrigerator. The vanilla cream layer can also be made up to 3 days ahead. Just remember to cover your molds tightly in plastic wrap to keep them fresh and prevent any unwanted odors. When you’re ready to serve, simply finish with Step 4, layering the cream over the set jelly, and let it chill for another 2 hours. This way, you’ll enjoy a delightful dessert without the last-minute rush, impressing your guests with minimal effort!
Expert Tips for Dreamsicle Jelly
-
Temperature Matters: Heat the orange juice until hot but avoid boiling to preserve gelatin’s setting capability.
-
Setting Time: Be patient! Allow at least 4 hours total for both jelly layers to ensure they firm up properly.
-
Experiment with Flavors: Don’t limit yourself! Swap orange juice for lemon or lime, or use flavored extracts to create your unique Dreamsicle Jelly.
-
Mold Creativity: Use fun shapes or clear glasses for serving to enhance presentation; it makes the jelly visually appealing and even more enjoyable!
-
Quality Ingredients: Always choose fresh juice and pure vanilla extract for the best flavor; these small details really enhance the nostalgic experience.
What to Serve with Dreamsicle Jelly?
Dreamsicle Jelly is a refreshing and playful dessert that pairs beautifully with a variety of side dishes and drinks.
-
Light Fruit Salad: A mix of berries and citrus complements the jelly’s creamy sweetness while adding vibrant freshness to each bite.
-
Crispy Vanilla Wafer Cookies: The crunchy texture of these cookies adds a delightful contrast to the soft jelly, making every mouthful exciting.
-
Scoop of Sorbet: A zesty lemon or orange sorbet enhances the citrus notes in the jelly and makes for a cooling treat on warm days.
-
Creamy Whipped Dream: A dollop of lightly sweetened whipped cream brings an indulgent touch to your serving, echoing the vanilla layer in the jelly.
-
Iced Herbal Tea: Enjoy a refreshing glass of iced mint or chamomile tea alongside your jelly for a calming accompaniment. The subtle flavors will enhance the jelly without overpowering it.
-
Chocolate-Covered Strawberries: The sweet bitterness of chocolate finds a perfect companion in the tartness of orange jelly, creating a delightful flavor contrast.
-
Sunshine Mimosa: Toast with a bubbly mimosa made from orange juice and champagne, perfectly echoing the jelly’s citrusy charm and elevating any gathering.
-
Almond Biscotti: The nutty crunch of almond biscotti pairs beautifully with the creamy texture of the jelly, offering a satisfying crunch alongside the delicate dessert.
Dreamsicle Jelly Variations & Substitutions
Feel free to get creative and tailor your Dreamsicle Jelly to your taste buds with these delightful twists!
-
Lemon Twist: Swap orange juice with fresh lemon juice for a zesty surprise that still delivers a refreshing punch.
-
Coconut Cream: Replace heavy cream with creamy coconut milk for a tropical flair that beautifully complements the citrus base.
-
Almond Extract: Infuse the vanilla layer with a teaspoon of almond extract for a unique, nutty flavor that adds a lovely depth.
-
Berry Burst: Fold in pureed strawberries or raspberries into the vanilla layer for a fruity explosion that not only tastes great but looks stunning too!
-
Spicy Kick: Add a pinch of cayenne pepper to the orange juice mixture before setting for a surprising touch of heat that gives a whole new dimension.
-
Herbal Note: Incorporate fresh mint or basil into the vanilla layer for a refreshing herbal aroma that lifts the overall flavor profile.
-
Adult Version: For an orangey adult treat, blend in a splash of Grand Marnier or another orange liqueur into the orange layer.
-
Nut-Free Option: Replace any cream with a nut-based alternative like oat cream to keep it allergy-friendly while maintaining a creamy texture.
These variations are an excellent way to adapt the classic Dreamsicle Jelly into something uniquely yours! Plus, check out some of our other creative dessert ideas linked to delightful summer treats and explore how to make charming desserts that will brighten your day!
How to Store and Freeze Dreamsicle Jelly
Fridge: Store leftover Dreamsicle Jelly in an airtight container for up to 3 days. This keeps it fresh and ready for your next delightful treat.
Freezer: If you want to enjoy your jelly later, freeze it for up to 2 months. Just remember to pour it into freezer-safe containers, leaving some space for expansion.
Thawing: When you’re ready to enjoy the frozen jelly, thaw it in the fridge overnight. Avoid microwaving as it may alter the jelly’s texture.
Reheating: Serve chilled directly from the fridge; the refreshing taste will transport you to sunny memories!

Dreamsicle Jelly Recipe FAQs
What type of orange juice should I use for Dreamsicle Jelly?
Absolutely! Freshly squeezed orange juice offers the best flavor and brightness, but if you’re short on time, bottled juice works just fine in a pinch. Just make sure it’s 100% orange juice without added sugars or preservatives for the best results.
How long can I store leftover Dreamsicle Jelly?
You can store your leftover Dreamsicle Jelly in an airtight container in the fridge for up to 3 days. This keeps it fresh and ready for your next delightful treat. If you want to savor it beyond this timeframe, consider freezing!
Can I freeze Dreamsicle Jelly? If so, how?
Yes, you can freeze Dreamsicle Jelly! Just pour it into freezer-safe containers, leaving some space for expansion, and it can be stored for up to 2 months. When you’re ready to enjoy, thaw it in the fridge overnight—this helps maintain its texture. Avoid microwaving as it may alter the jelly’s delightful consistency.
What should I do if my jelly doesn’t set properly?
If your Dreamsicle Jelly doesn’t set, it might be due to the gelatin not being fully dissolved or the mixture not being hot enough without boiling. Ensure the orange juice is heated until hot but not boiling before adding the gelatin. If the jelly is still too runny after refrigeration, you may need to add more gelatin, dissolving it in an additional small amount of hot water and gently mixing it in.
Is Dreamsicle Jelly suitable for people with dietary restrictions?
Definitely! This recipe is vegetarian when using agar-agar instead of gelatin. If you’re accommodating dairy-free needs, switch out heavy cream for coconut milk or a plant-based cream. Always check labels for any potential allergens in ingredients, especially if you’re hosting guests with specific dietary restrictions.
Can I add other flavors to the jelly?
Very! Feel free to experiment with substituting orange juice for other citrus juices like lemon, lime, or even grapefruit. You could also mix in flavored extracts, such as almond or coconut, to customize your Dreamsicle Jelly. The more the merrier, especially when aiming for playful, unique twists!
Dreamsicle Jelly: A Refreshing Summer Dessert Delight
Ingredients
Equipment
Method
- In a small saucepan over medium heat, combine 1 cup of fresh orange juice and 1/2 cup of sugar. Stir continuously until the sugar dissolves completely, which should take about 3-5 minutes. Once the mixture is hot but not boiling, sprinkle in 2 tablespoons of unflavored gelatin and stir until fully dissolved.
- Carefully pour the orange gelatin mixture into individual molds or jars. Allow them to cool to room temperature, which usually takes about 15-20 minutes. Once cooled, transfer the molds to the refrigerator and let the jelly set for at least 2 hours.
- While the orange jelly is setting, use another saucepan to gently heat 1 cup of heavy cream over low heat. Add 1 teaspoon of vanilla extract. Gradually stir in 2 tablespoons of gelatin until completely dissolved.
- Once the orange jelly has set firmly, carefully pour the cooled vanilla cream layer over the top. Ensure it spreads evenly.
- After chilling, remove the Dreamsicle Jelly from the fridge. Gently run a knife around the edges of the jelly if needed and invert onto a plate.
Leave a Reply