
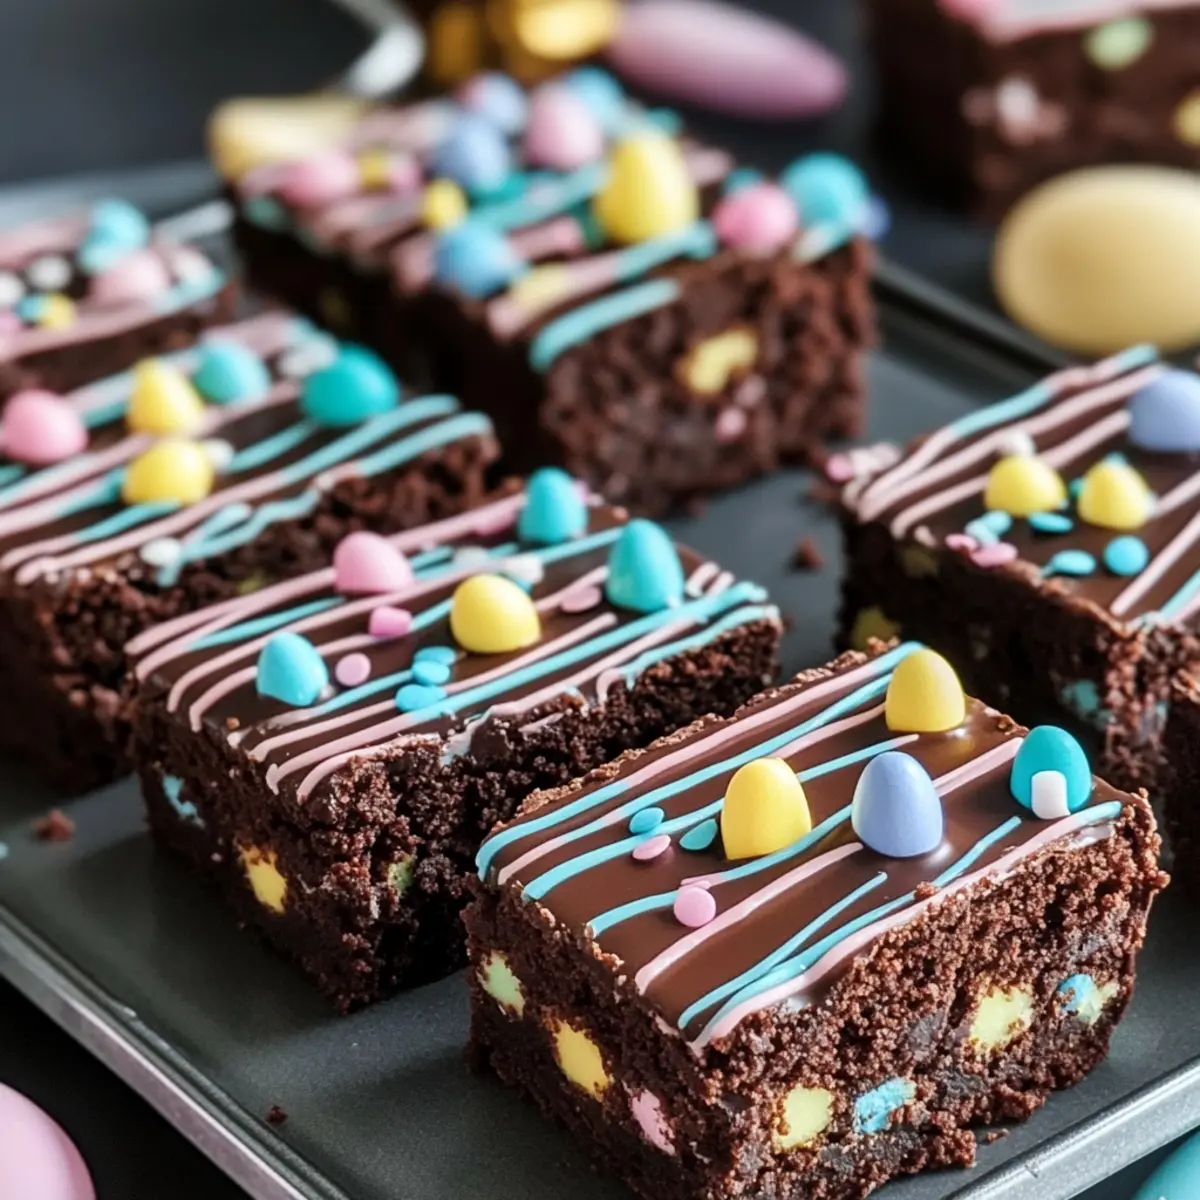
The scent of chocolate swirling through the kitchen brings back fond memories of family gatherings during Easter. This recipe for Chewy Chocolate Easter Brownies takes that nostalgia to a whole new level, blending rich, fudgy textures with a delightful layer of glossy chocolate ganache and the playful cheer of vibrant pastel decorations. Not only are these brownies a jaw-dropping center point for your dessert table, but they’re also super simple to whip up—perfect for both seasoned chefs and those still finding their groove in the kitchen. Plus, they’re easily made ahead of time, so you can focus on enjoying the festivities. Curious to see how a splash of coffee can elevate this classic treat? Let’s dive into the deliciousness!
Why Are These Easter Brownies Special?
Decadent Fudge: Each brownie is dense and fudgy, infused with rich chocolate and a secret hint of coffee that elevates the flavor to new heights.
Vibrant Decoration: The colorful pastel toppings not only make these brownies visually stunning but also add a festive touch, making them perfect for holiday gatherings.
Quick & Easy: With straightforward steps, even novice bakers will find joy in making these treats. If you’re looking for more delicious baked goods, don’t miss out on our Banana Bread Brownies!
Make Ahead: Prepare them a day in advance to save time and reduce stress during the celebration, allowing you to focus on creating wonderful holiday memories with friends and family.
Treat for Everyone: Whether served at a potluck or a family Easter brunch, these brownies are sure to impress and delight a crowd with every indulgent bite.
Easter Brownies Ingredients
• Let’s create these festive treats!
For the Brownies
- Granulated Sugar – Provides sweetness and creates that luscious crisp top layer.
- Brown Sugar – Contributes moisture and promotes a chewy, melt-in-your-mouth center.
- Butter – Adds richness; melt it first for a beautifully smooth batter.
- Eggs – Helps incorporate air, leading to a thicker, richer texture.
- Vanilla Extract – Elevates the chocolate flavor with a sweet aroma.
- All-Purpose Flour – Creates the structure; precision in measurement is key.
- Cocoa Powder – Packs deep chocolate flavor that balances sweetness with a touch of bitterness.
- Salt – Enhances the overall flavor, offsetting the sweetness perfectly.
- Chocolate Chips – Provides pockets of indulgent chocolate throughout; feel free to mix it up with your favorite type!
For the Ganache
- Chocolate Chips – The star of the ganache, offering a rich chocolate finish.
- Coconut Oil – Used to create a glossy finish when melting the chocolate, making it irresistible!
For Decoration
- Gel Food Coloring – Perfect for adding vibrant pastel hues without changing the consistency of the ganache.
- Sprinkles or Mini Candy Eggs – Add a fun festive flair to your Easter brownies!
This ingredient list sets the stage for your delightful Easter Brownies, ensuring they turn out as memorable as the spring celebrations themselves!
Step‑by‑Step Instructions for Easter Brownies
Step 1: Preheat the Oven
Begin by preheating your oven to 350°F (175°C). This ensures that your oven reaches the ideal temperature for the perfect bake. Prepare a 9×13-inch baking pan by lining it with parchment paper for easy removal of your festive Easter brownies later on.
Step 2: Melt the Butter
In a medium saucepan over low heat, melt the butter gently until completely liquefied, taking care not to let it brown. Once melted, remove from heat and stir in the granulated and brown sugar until the mixture is smooth and well combined, adding to the rich texture of your brownies.
Step 3: Incorporate Eggs and Vanilla
Allow the melted butter-sugar mixture to cool slightly before adding the eggs, one at a time, mixing thoroughly after each addition to achieve a thick and luscious batter. Next, pour in the vanilla extract, blending it into the mixture to enhance the overall flavor profile of the Easter brownies.
Step 4: Sift the Dry Ingredients
In a separate bowl, sift together the all-purpose flour, cocoa powder, and salt to remove any lumps. Gradually add this dry mixture to the wet ingredients, mixing gently until just combined. Be careful not to overmix, as you want to maintain the fudgy texture that characterizes these delightful brownies.
Step 5: Fold in the Chocolate Chips
Now it’s time to add the chocolate chips to your brownie batter. Using a spatula, gently fold the chocolate chips into the mixture, allowing them to spread evenly throughout. This creates pockets of melty chocolate in your Easter brownies, making each bite even more indulgent.
Step 6: Bake the Brownies
Pour the batter into the prepared baking pan, spreading it evenly. Place the pan in the oven and bake for 30–35 minutes. To check for doneness, insert a toothpick into the center; it should come out with a few moist crumbs attached—this indicates the rich fudginess is just right.
Step 7: Cool Before Topping
Once baked, remove the pan from the oven and let the brownies cool in the pan for about 15 minutes. After that, transfer them to a wire rack to cool completely. This step is crucial as it allows the brownies to set properly before you pour on the luscious chocolate ganache.
Step 8: Prepare the Ganache Topping
While the brownies cool, melt the remaining chocolate chips with coconut oil in a microwave-safe bowl. Microwave in 30-second intervals, stirring in between until smooth. This mixture will create a beautiful glossy ganache that perfectly complements your Easter brownies.
Step 9: Decorate Your Brownies
Once the ganache has a silky consistency, pour it over the cooled brownies, spreading evenly to cover the surface. Allow the ganache to set for about 30 minutes at room temperature. After that, use gel food coloring to create vibrant pastel designs and finish with sprinkles or mini candy eggs for festivity!
How to Store and Freeze Easter Brownies
Room Temperature: Keep your Easter brownies in an airtight container at room temperature for up to 3 days to maintain their rich and fudgy texture.
Fridge: Storing in the fridge will extend their freshness for up to a week. Just ensure they’re well-wrapped to avoid drying out.
Freezer: For longer storage, freeze the brownies wrapped tightly in plastic wrap and then foil for up to 3 months. Thaw in the fridge overnight before enjoying.
Reheating: If you like them warm, simply microwave for about 10-15 seconds or warm them in an oven at 300°F (150°C) for a few minutes to get that fresh-baked taste back!
What to Serve with Chewy Chocolate Easter Brownies?
Elevate your Easter gathering with delightful pairings that bring out the festive charm of these rich treats.
-
Vanilla Ice Cream: The creamy texture and sweet flavor create a perfect contrast to the brownies, balancing richness with a refreshing touch.
-
Fresh Berries: Succulent strawberries or raspberries add a burst of tangy sweetness, grounding the chocolate decadence with their bright acidity.
-
Whipped Cream: Light and airy, freshly whipped cream complements fudgy brownies beautifully, offering a delightful creaminess in every bite.
-
Coffee: A warm cup of coffee enhances the chocolate flavor and the hint of coffee in the brownies, making for a cozy pairing.
-
Chocolate Milkshake: Indulge further with a thick chocolate milkshake that mirrors the brownies’ flavors, creating a sweet finish that kids and adults will love.
-
Mint Chocolate Chip Cookies: These cookies offer a fun twist with their cool mint flavor, providing a refreshing contrast to the brownies – a wonderful take on classic chocolate pairings!
-
Carrot Cake: Celebrate the season with a slice of carrot cake. The spiced layers and creamy frosting make for an inviting addition to your dessert table.
-
Sparkling Lemonade: This bright, zesty beverage refreshes your palate and stands out with the sweet richness of the brownies, making it a lively accompaniment.
-
Chocolate Fondue: For a fun interactive dessert, serve alongside warm chocolate fondue with fruits, marshmallows, or pretzels for dunking—a delightful way to enjoy your brownies!
-
Pistachio Ice Cream: The unique flavor and crunch of pistachio ice cream provide a delightful contrast to the rich, fudgy brownies; perfect for adventurous dessert lovers!
Easter Brownies Variations & Substitutions
Delight in personalizing these Easter brownies to suit your taste and preferences. The possibilities are as colorful as the decorations themselves!
-
Nutty Twist: Add chopped walnuts or pecans for a delightful crunch that complements the fudgy texture.
-
Dairy-Free Option: Substitute butter with coconut oil and use dairy-free chocolate chips to make these brownies completely dairy-free.
-
Minty Fresh: Incorporate a few drops of peppermint extract into the batter for a refreshing twist that pairs beautifully with chocolate.
-
Spicy Kick: Add a pinch of cayenne pepper or chili powder to the brownie batter for an unexpected heat that elevates the chocolate flavor.
-
Fruit Infusion: Toss in some dried cranberries or cherries for a fruity burst that contrasts the richness of chocolate.
-
Coffee Boost: If you love coffee, elevate your brownies with an extra shot of espresso instead of water in the batter. It’ll enhance the chocolate experience!
-
Vegan Version: Replace eggs with flaxseed meal mixed with water or use applesauce for moisture without the eggs.
-
Decorative Fun: Use different colored sprinkles or edible glitter for a dazzling visual presentation worthy of any celebration!
Feel free to explore these variations for a unique take on your Easter brownies! If you’re interested in similar delightful baked goods, check out our recipe for Banana Bread Brownies or consider mixing in your favorite flavors for a personalized touch. Exciting creations await you!
Make Ahead Options
These Easter Brownies are perfect for busy home cooks looking to save time during the holiday festivities! You can bake the brownies up to 24 hours in advance, allowing them to cool completely before covering them tightly with plastic wrap to maintain their moist texture. The chocolate ganache can also be prepared the day before; simply refrigerate it until you are ready to finish your brownies. When it’s time to serve, just bring the ganache back to room temperature before pouring it over the brownies. This way, you’ll have show-stopping Easter Brownies ready with minimal last-minute effort, letting you focus on enjoying the celebrations with loved ones!
Expert Tips for Easter Brownies
-
Butter Temperature: Make sure your butter is fully melted before mixing; this ensures a smooth batter and prevents lumps in your brownies.
-
Gel Food Coloring: Use gel food coloring instead of liquid; it provides vibrant colors without affecting the ganache’s consistency.
-
Cool Before Cutting: Patience is key! Allow the brownies to cool completely for clean, professional-looking slices that maintain their shape.
-
Storage Method: Keep your Easter brownies in an airtight container at room temperature for up to three days to retain their fudgy texture; they will taste even better the next day.
-
Additions & Variations: Feel free to experiment with chocolate chip types or add nuts for additional flavor and texture surprises.

Easter Brownies Recipe FAQs
What is the best way to choose ripe ingredients for Easter Brownies?
Absolutely! When selecting your ingredients, ensure that your butter is fresh and unsalted for the best flavor. The eggs should be at room temperature for optimal mixing and texture. While shopping for chocolate chips, look for high-quality brands; semi-sweet or dark chocolate can elevate the richness of your brownies.
How should I store my Easter Brownies and for how long?
Store your Easter brownies in an airtight container at room temperature for up to 3 days. If you’re hoping to prolong their freshness, you can refrigerate them for up to a week. Just be sure they’re properly wrapped to maintain their delightful moistness!
Can I freeze Easter Brownies? If so, how?
Yes, you can freeze your Easter brownies! Start by cutting them into squares and wrapping each piece tightly in plastic wrap. Next, place them in an airtight container or a resealable freezer bag, ensuring you remove as much air as possible. They can be frozen for up to 3 months. To thaw, simply move them to the fridge overnight; warm them up in the microwave for about 10-15 seconds for that just-baked taste!
What if my Easter Brownies come out too dry?
Very! If your brownies turn out dry, it may be due to overbaking or inaccurate measurements. To avoid this, always perform a toothpick test at the 30-minute mark; you want moist crumbs to cling to the toothpick. If baking a second batch, consider reducing the bake time or adding a bit more fat like melted butter to enhance moisture.
Are there any common allergens in Easter Brownies?
The traditional recipe contains dairy, eggs, and gluten. For a more allergy-friendly option, consider substituting the butter with coconut oil or a vegan butter alternative, using flax eggs instead of chicken eggs, and opting for gluten-free flour. Make sure to check labels for any added ingredients, especially if addressing nut allergies!
Easter Brownies That Will Make Your Spring Celebrations Sweet
Ingredients
Equipment
Method
- Preheat your oven to 350°F (175°C) and prepare a 9x13-inch baking pan by lining it with parchment paper.
- Melt the butter gently in a medium saucepan over low heat until fully liquefied, then stir in granulated and brown sugar until smooth.
- Allow the butter-sugar mixture to cool slightly, then add eggs one at a time, mixing thoroughly after each addition. Pour in vanilla extract.
- Sift together flour, cocoa powder, and salt in a separate bowl, then gradually add to the wet ingredients, mixing gently until just combined.
- Fold chocolate chips into the brownie batter using a spatula.
- Pour the batter into the prepared pan and bake for 30–35 minutes, checking for doneness with a toothpick.
- Cool the brownies in the pan for 15 minutes, then transfer to a wire rack to cool completely.
- Melt chocolate chips with coconut oil in a microwave-safe bowl, stirring until smooth to make the ganache.
- Pour the ganache over the cooled brownies, spreading evenly, then let it set. Use gel food coloring for decoration and finish with sprinkles.
Leave a Reply