
As I watched the kids chase each other around the yard, laughter mixed with the warm summer breeze created a perfect backdrop for a gathering. That’s when the thought of crafting an Easy Colorful Ice Cream Cake for Summer Celebrations popped into my mind. This no-bake dessert is a crowd-pleaser, offering a delightful combination of creamy ice cream layers and a rich chocolate cake base. It’s perfect for those busy afternoons when you want to impress family and friends without spending hours in the kitchen. Not only is it quick to assemble, but its customizable nature means you can switch up flavors for every occasion. Whether you’re hosting a barbecue or a birthday party, this vibrant cake will surely steal the spotlight. Are you ready to dive into the layers of deliciousness? Let’s make some sweet memories!
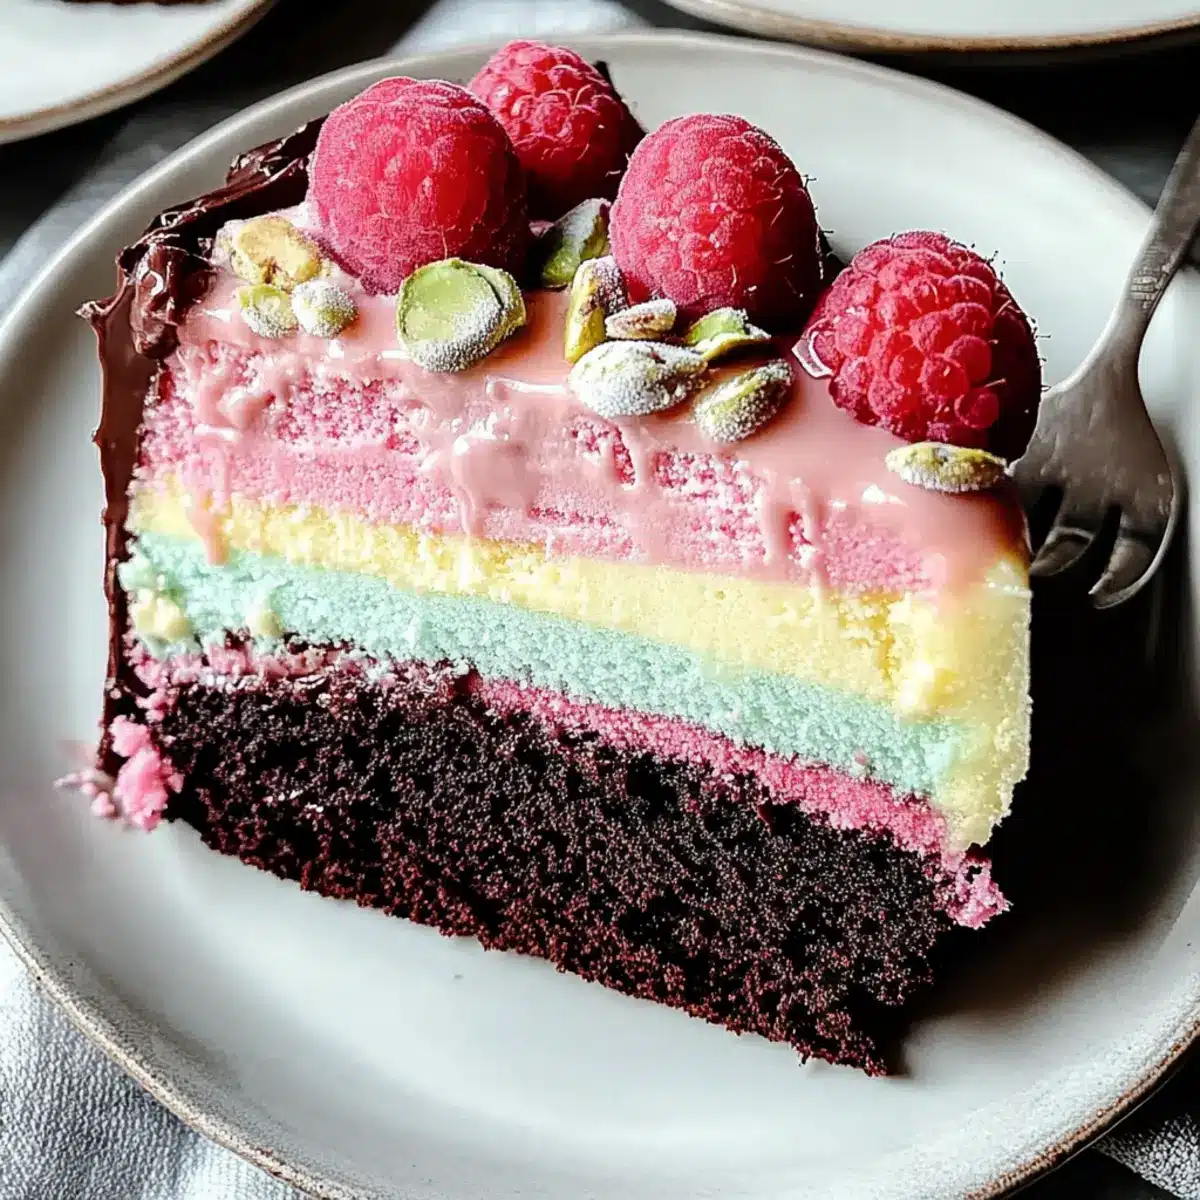
Why Is This Ice Cream Cake a Must-Make?
Easy to Assemble: The no-bake method makes this ice cream cake a breeze, allowing you to whip it up quickly without any fuss.
Customizable Flavors: With endless variations in ice cream and cake options, you can easily tailor this recipe to fit any occasion.
Crowd-Pleasing Delight: It’s guaranteed to be a hit with both kids and adults alike, making it perfect for gatherings!
Visual Appeal: The vibrant layers not only taste fantastic but also create a stunning centerpiece for your dessert table.
Time-Saving Treat: Prepare it in advance, so you can savor your time with friends and family without the stress of last-minute dessert prep.
Perfect for Summer: This refreshing treat captures the essence of summertime, making it ideal for barbecues and outdoor celebrations, just like our easy breakfast potatoes for a complete festive meal!
Easy Colorful Ice Cream Cake Ingredients
For the Cake Base
• Vegan Chocolate Cake – This stable base can be made from your favorite chocolate cake recipe or from a store-bought vegan option.
For the Ice Cream Layers
• Pistachio Gelato – Provides a nutty and creamy flavor; feel free to substitute with any nut-based gelato you adore.
• Salted Caramel Ice Cream – Rich and sweet, this adds depth; regular caramel ice cream is a perfect alternative.
• Raspberry Sorbet – Offers a fresh, tangy kick; swap it with any fruity sorbet or sherbet for variety.
For the Decoration
• Fresh Raspberries – Adds a pop of color and flavor; alternative berries or edible flowers can also lighten the presentation.
Feel free to explore these ingredients as you craft your Easy Colorful Ice Cream Cake for Summer Celebrations!
Step‑by‑Step Instructions for Easy Colorful Ice Cream Cake for Summer Celebrations
Step 1: Prepare Chocolate Cake
Preheat your oven to 350°F (175°C) and grease a 9×5-inch loaf pan. Pour your vegan chocolate cake batter into the prepared pan and bake for 18-22 minutes, or until a toothpick inserted into the center comes out clean. Once baked, allow the cake to cool completely in the pan on a wire rack.
Step 2: Freeze the Base
After the cake has cooled, line the bottom of the loaf pan with parchment paper. Gently return the cooled chocolate cake to the pan and place it in the freezer for at least 3 hours. This step ensures a firm base for your Easy Colorful Ice Cream Cake, setting the foundation for the creamy layers to come.
Step 3: Pistachio Gelato Layer
Take out the pistachio gelato and let it soften for about 10 minutes. Once softened, spread it evenly over the frozen chocolate cake layer using a spatula, ensuring it covers the entire surface. Place the cake back in the freezer and allow the gelato layer to freeze for an additional 4 hours, creating a decadent layer.
Step 4: Salted Caramel Layer
Next, soften the salted caramel ice cream for around 10 minutes to make it easy to spread. Layer the softened ice cream over the frozen pistachio gelato, smoothing it out carefully for an even top. Freeze the cake once more for at least 4 hours, solidifying this delicious layer.
Step 5: Raspberry Sorbet Layer
Allow the raspberry sorbet to soften slightly at room temperature for about 5-10 minutes for easier spreading. Once it’s pliable, gently spread it over the salted caramel layer, ensuring the entire surface is covered. Freeze the cake overnight to achieve a perfect, firm consistency for slicing later.
Step 6: Serve
When ready to serve your Easy Colorful Ice Cream Cake, remove it from the freezer and let it sit at room temperature for about 5 minutes. Invert the cake onto a baking sheet, using a gentle motion to release it from the pan. For a clean cut, slice the cake with a hot knife, revealing the beautiful, colorful layers inside.
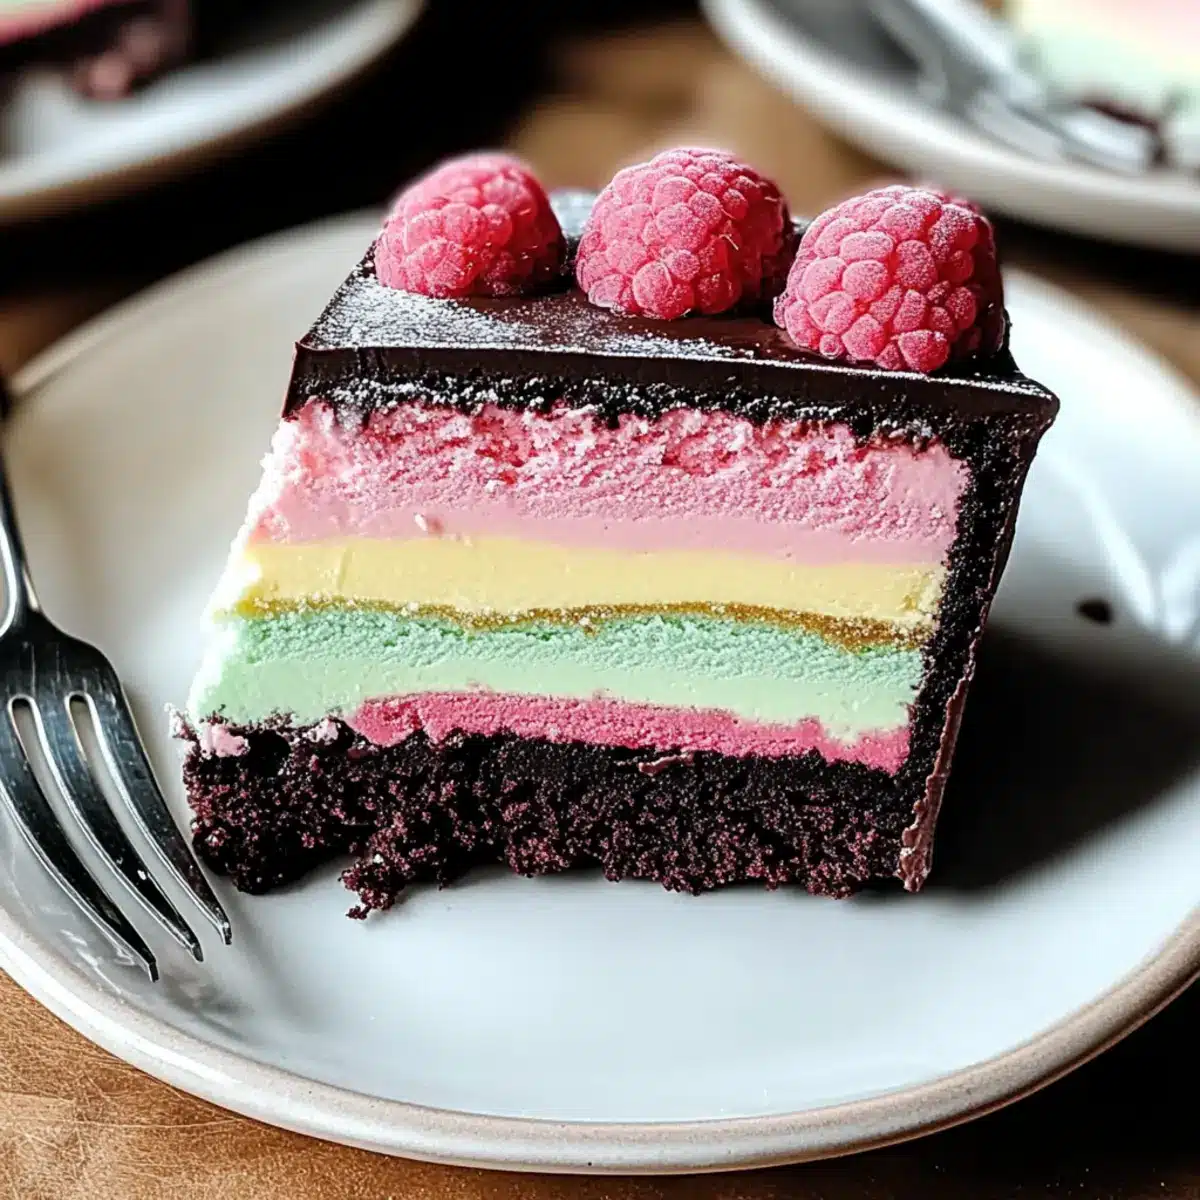
Expert Tips for Easy Colorful Ice Cream Cake
Freeze Layers Fully: Ensure each ice cream layer is completely frozen before adding the next. This will maintain distinct layers and prevent them from merging into one another.
Hot Knife Slicing: Use a hot knife to slice your cake for clean cuts. It allows you to smoothly cut through the layers without melting them.
Prep Ahead: Prepare this Easy Colorful Ice Cream Cake a day before your celebration. Letting it freeze overnight enhances flavor melding and ensures it’s ready when you are.
Experiment with Flavors: Don’t hesitate to swap out the flavors! Use different gelatos, sorbets, or even a lighter sponge cake base to customize it for any occasion.
Additional Presentation: Top with fresh berries or edible flowers for an extra touch of color and elegance, bringing even more summer flair to your dessert.
Make Ahead Options
Preparing your Easy Colorful Ice Cream Cake for Summer Celebrations ahead of time is a fantastic way to save precious minutes when entertaining! You can bake the vegan chocolate cake up to 24 hours in advance, allowing it to cool completely before freezing, ensuring a firm base. Additionally, the gelato and ice cream layers can be softened and prepared separately, then layered and refrozen for up to 3 days prior to serving. To maintain the ice cream’s texture and flavor, make sure each layer is fully frozen before adding the next and keep the assembled cake in an airtight container in the freezer. When you’re ready to serve, simply let the cake sit at room temperature for about 5 minutes before slicing, and treat your guests to this crowd-pleasing dessert with minimal last-minute effort!
How to Store and Freeze Easy Colorful Ice Cream Cake
Fridge: Store leftovers in an airtight container in the fridge for up to 3 days to maintain freshness and flavor.
Freezer: For longer storage, freeze individual slices wrapped tightly in plastic wrap for up to 3 months. This way, you can enjoy your Easy Colorful Ice Cream Cake anytime!
Thawing: Before serving, thaw frozen slices at room temperature for 10-15 minutes. This allows the cake to soften slightly, making it easier to enjoy.
Reheating: There’s no need to reheat your ice cream cake! Just serve chilled for the best taste and texture experience.
What to Serve with Easy Colorful Ice Cream Cake for Summer Celebrations
Elevate your summer gathering with delightful pairings that will complement every vibrant slice of this ice cream cake.
-
Fresh Berries: These juicy gems add a burst of flavor and a lovely contrast to the rich cake layers. They make for a refreshing, sweet bite with each forkful.
-
Mint-Infused Whipped Cream: Light and airy, this creamy topping introduces an invigorating flavor that balances the richness of the cake perfectly, making every slice feel light.
-
Chocolate Drizzle: A warm stream of chocolate sauce brings a luscious addition to the dessert, appealing to chocolate lovers and enhancing the cake’s rich flavors.
-
Sparkling Lemonade: A fizzy drink with a zesty kick will refresh your palate, offering a delightful contrast that echoes the fruity notes of the raspberry sorbet section.
-
Ladyfinger Cookies: These tender, airy cookies provide a delightful crunch alongside the creamy cake, creating a textural balance that keeps things interesting.
-
Vanilla Ice Cream Scoop: For those who can never get enough ice cream, a simple vanilla scoop on the side adds a classic touch and complements all the flavors elegantly.
-
Toasted Almonds: A sprinkle of these crunchy nuts adds an enticing texture and a nutty aroma that harmonizes with the pistachio gelato layer.
Each pairing comes together, crafting a charming experience that transforms a simple dessert into a standout moment!
Easy Colorful Ice Cream Cake Variations
Feel free to unleash your creativity and make this dessert your own with these delightful variations!
-
Light Sponge Cake: Swap the chocolate cake for a fluffy sponge cake for a lighter texture. This change brightens the dessert, making it even more inviting on a hot summer day.
-
Seasonal Berries: Use any seasonal berries you have on hand, like strawberries or blueberries, instead of raspberries. Each fruit layer adds a unique flair and freshness that’s sure to please.
-
Nutty Twist: Incorporate finely chopped nuts like almonds or walnuts into the ice cream layers for an extra crunch. It adds a delightful texture contrast that everyone will love.
-
Vegan Options: For a fully plant-based dessert, make sure to use vegan ice creams and gels. There are fantastic nut-based options available that won’t sacrifice taste for dietary preferences.
-
Chocolate Drizzle: Before serving, drizzle melted chocolate over the top for an indulgent touch. This delicious addition is a beautiful way to elevate the dessert visually and flavor-wise.
-
Citrus Zest: Add a hint of zesty lemon or orange peel to the gelato layers for a refreshing burst of flavor. The vibrant citrus notes really enhance the summer feel!
-
Mint Chocolate Chip: Swap out the pistachio gelato for mint chocolate chip ice cream. This refreshing flavor will bring a classic twist that everyone adores.
Consider these variations as you craft your own version of this Easy Colorful Ice Cream Cake for Summer Celebrations, and enjoy the smiles it brings! You can also think about serving it alongside warm, fluffy chocolate chip cookies or cheesecake for a delightful dessert spread at your gathering. Happy baking!
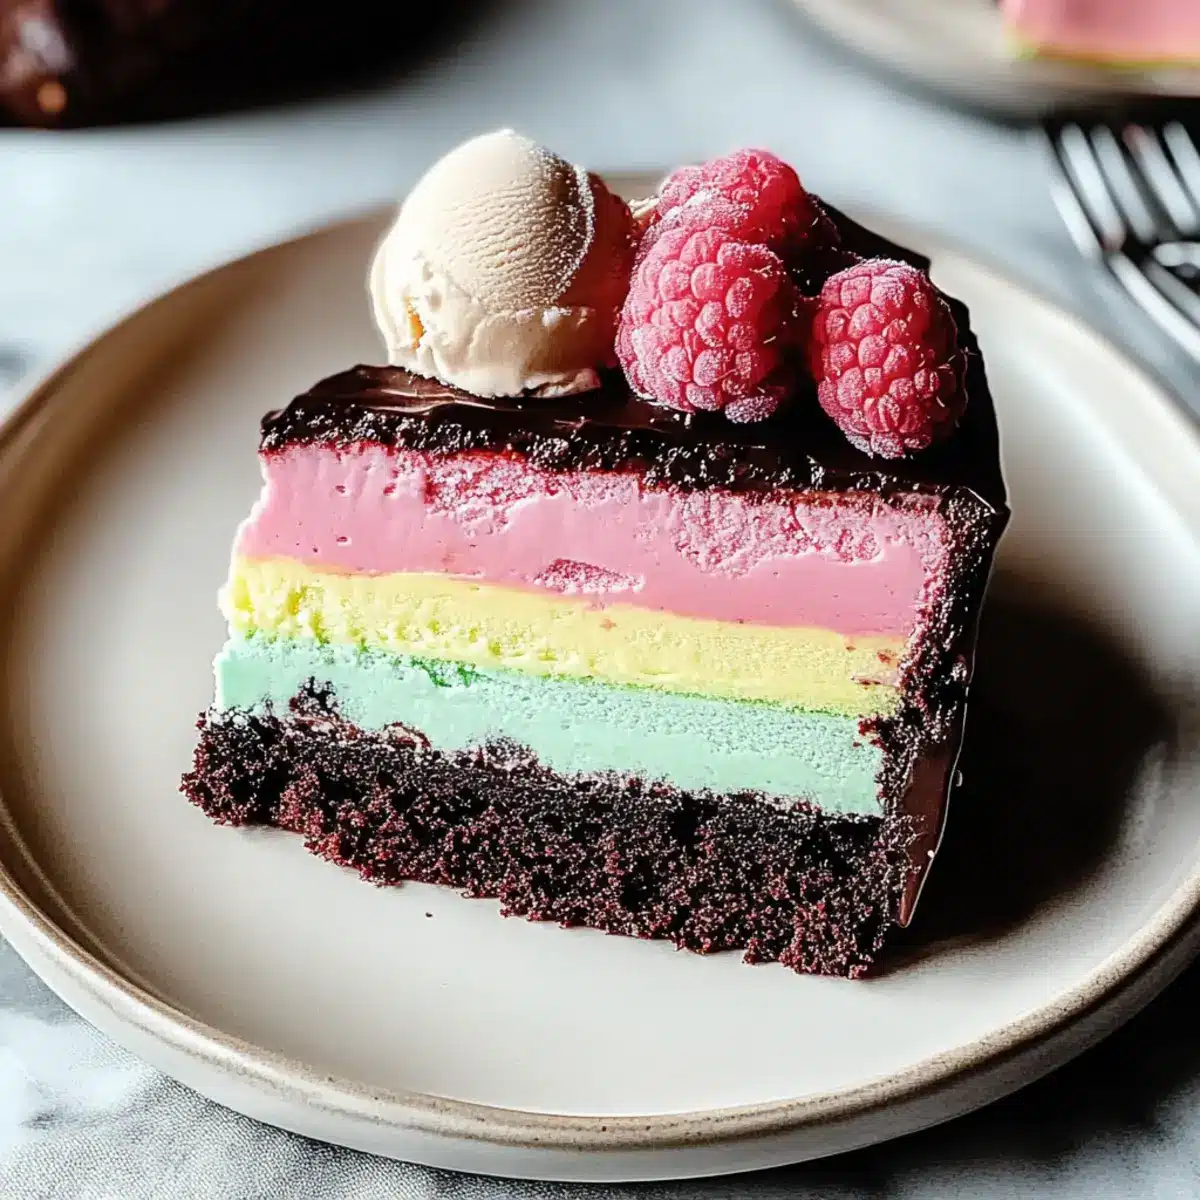
Easy Colorful Ice Cream Cake Recipe FAQs
How should I select the ice cream flavors for my cake?
Absolutely! When choosing your ice cream flavors, consider complementary tastes. For instance, the nutty richness of pistachio gelato pairs beautifully with the sweetness of salted caramel. Be sure to choose high-quality ice creams for the best flavor. Seasonal favorites, like fresh fruit sorbets, can be a delightful twist, making your cake even more vibrant!
What’s the best way to store leftovers?
For optimal freshness, you can store any leftover Easy Colorful Ice Cream Cake in an airtight container in the fridge for up to 3 days. If you’d like to enjoy it for longer, wrap individual slices tightly in plastic wrap and freeze them for up to 3 months. This way, the cake is still just a quick thaw away!
Can I freeze this cake, and if so, how?
Yes, definitely! To freeze your cake, ensure it’s completely assembled and frozen overnight. Then, wrap the entire cake in plastic wrap or foil to maintain its texture and flavor. If you prefer, you can also cut it into slices, wrap each piece individually, and freeze them. Just remember, for the best experience, let each slice thaw at room temperature for about 10-15 minutes before serving!
What should I do if my cake layers don’t freeze properly?
Very! If your cake layers are merging or not freezing properly, you might need to check your freezer’s temperature. It should be set to 0°F (-18°C) or lower. Ensure that each layer has been fully frozen—ideally, wait at least 4 hours before adding the next layer. If it’s too soft when spreading, a little extra time in the freezer can help!
Are there any dietary considerations for this recipe?
Of course! This Easy Colorful Ice Cream Cake can easily accommodate various dietary needs. For a vegan-friendly version, use plant-based ice cream and ensure your cake base is free of animal products. If you have guests with nut allergies, you can swap out the pistachio gelato for another flavor, like vanilla or chocolate, and enjoy a nut-free delight!
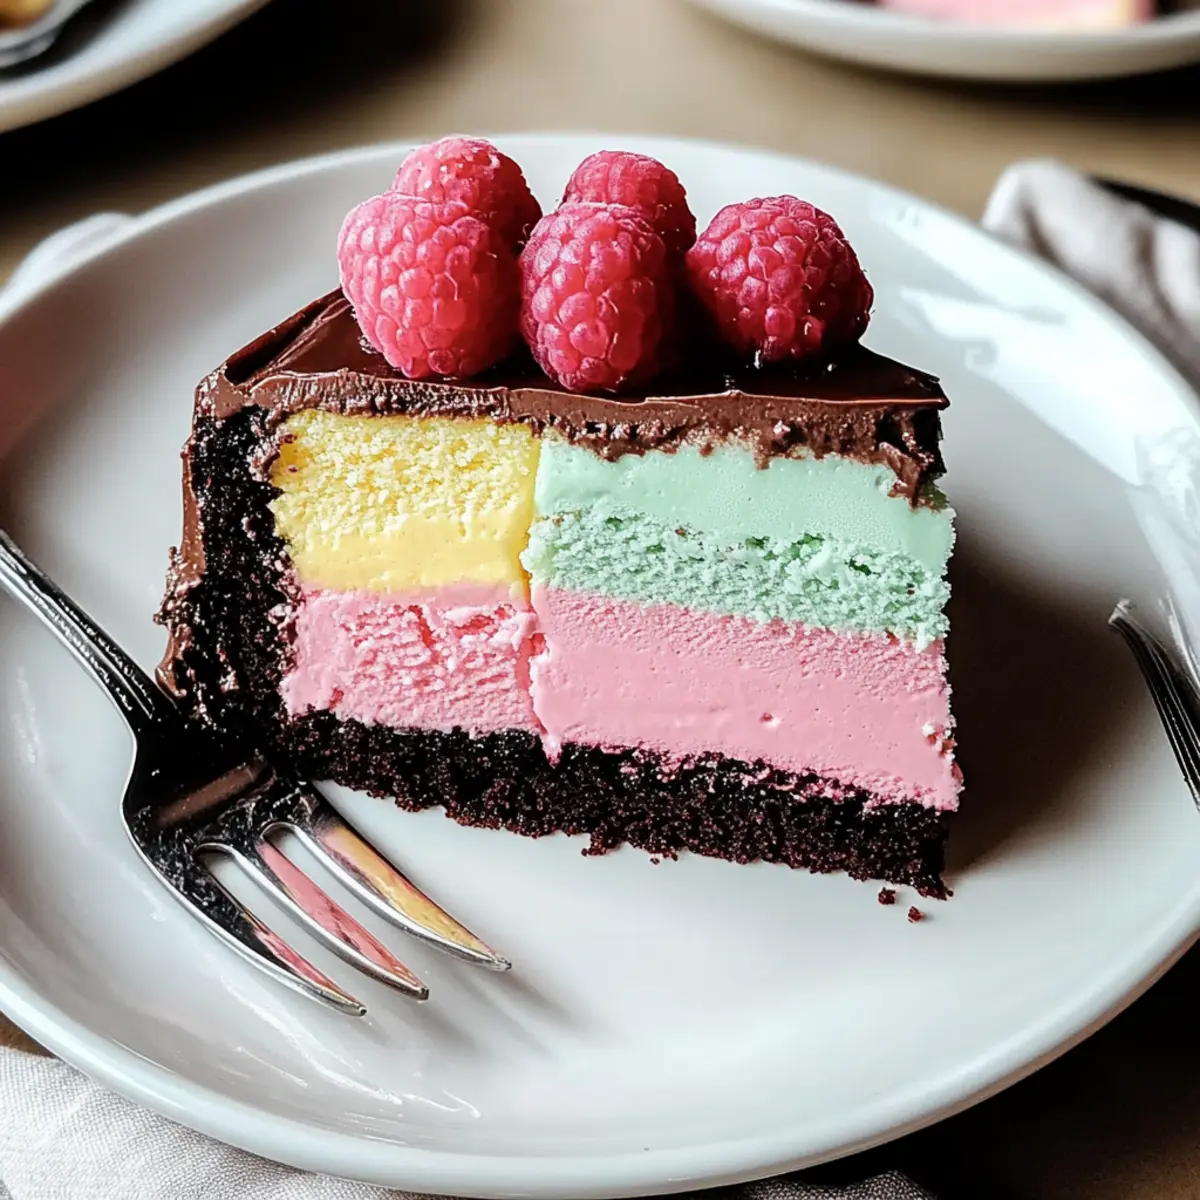
Easy Colorful Ice Cream Cake for Summer Celebrations Unveiled
Ingredients
Equipment
Method
- Preheat your oven to 350°F (175°C) and grease a 9x5-inch loaf pan. Pour your vegan chocolate cake batter into the prepared pan and bake for 18-22 minutes, or until a toothpick inserted into the center comes out clean. Once baked, allow the cake to cool completely in the pan on a wire rack.
- After the cake has cooled, line the bottom of the loaf pan with parchment paper. Gently return the cooled chocolate cake to the pan and place it in the freezer for at least 3 hours.
- Take out the pistachio gelato and let it soften for about 10 minutes. Once softened, spread it evenly over the frozen chocolate cake layer using a spatula. Place the cake back in the freezer and allow the gelato layer to freeze for an additional 4 hours.
- Next, soften the salted caramel ice cream for around 10 minutes. Layer the softened ice cream over the frozen pistachio gelato, smoothing it out carefully for an even top. Freeze the cake once more for at least 4 hours.
- Allow the raspberry sorbet to soften slightly at room temperature for about 5-10 minutes. Once it's pliable, spread it over the salted caramel layer. Freeze the cake overnight.
- When ready to serve your Easy Colorful Ice Cream Cake, remove it from the freezer and let it sit at room temperature for about 5 minutes. Invert the cake onto a baking sheet, using a gentle motion to release it from the pan. Slice the cake with a hot knife.
Leave a Reply