
As I bit into a creamy, dreamy Mini Biscoff Cheesecake, I was transported to a cozy café where the aroma of freshly baked cookies mingled with the scent of rich cheesecake. If you’re looking for a way to impress at your next gathering without spending hours in the kitchen, this no-bake dessert is your ticket to sweet success. With individual servings that are perfect for sharing, these little delights combine the buttery goodness of Biscoff cookies with a luscious cheesecake filling. Plus, they require minimal prep time—so you can whip them together and enjoy the compliments rolling in! Curious how to create these charming bites of bliss? Let’s dive into the delicious details!
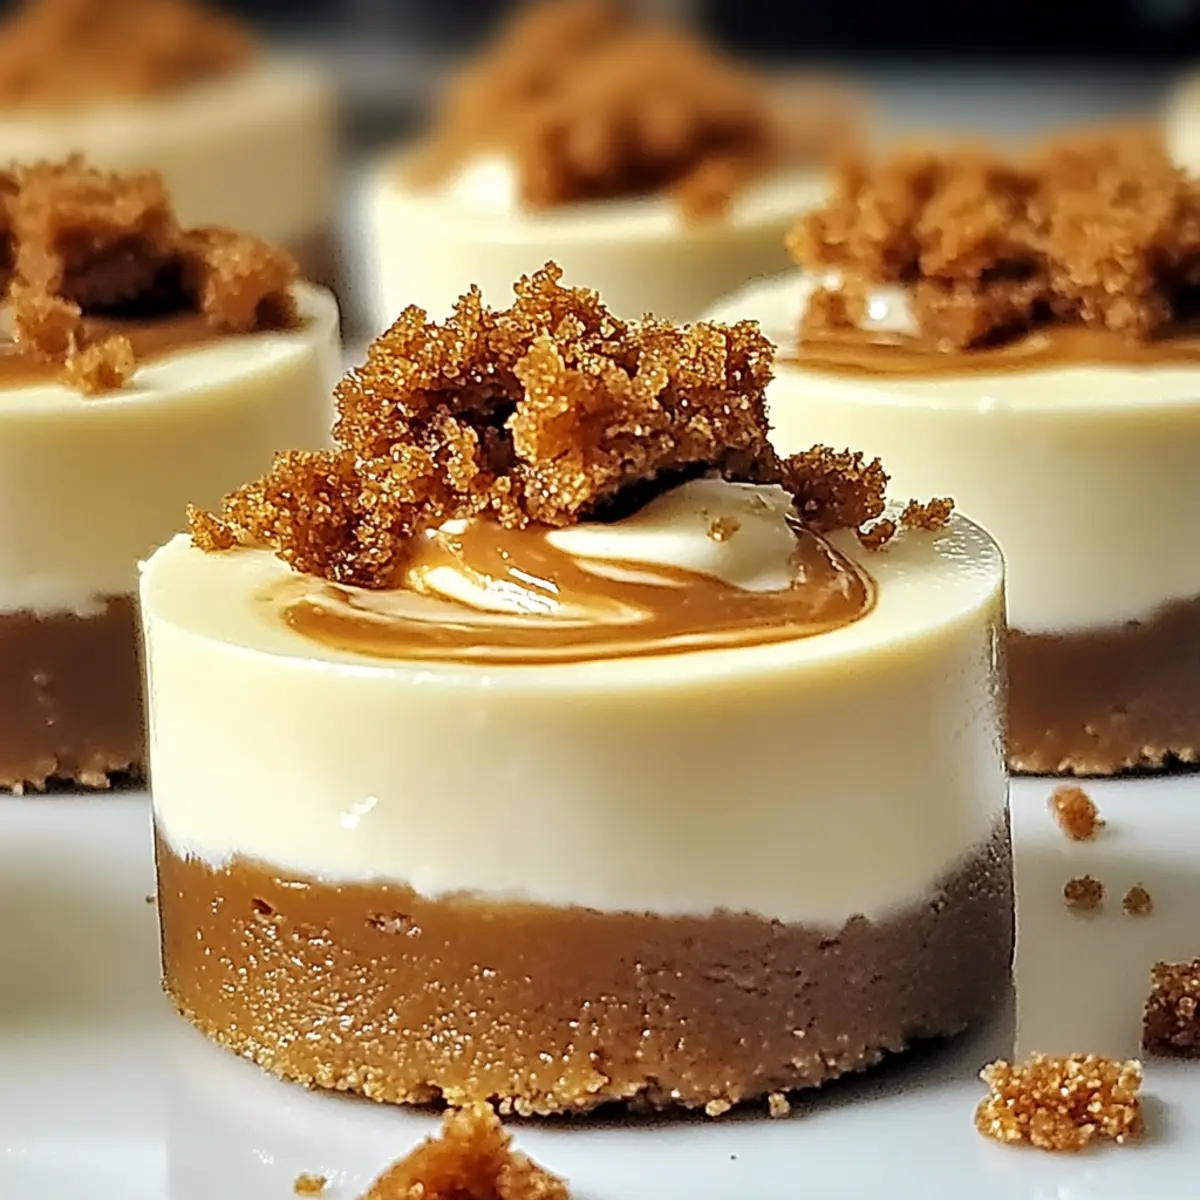
Why are Mini Biscoff Cheesecakes a must-try?
Unmatched Ease: These miniature desserts are not just delicious but also super simple to make with no baking required.
Individual Bliss: Perfectly portioned, each Mini Biscoff Cheesecake offers a delightful experience that’s great for sharing or savoring solo.
Decadent Flavor: The blend of creamy cheesecake with the caramel hints of Biscoff spread creates an irresistible taste explosion.
Elegant Presentation: With their charming look and delicious top layer of crumbled Biscoff cookies, these treats are sure to impress your guests!
Crowd-Pleaser: From dinner parties to casual get-togethers, these cheesecakes will have everyone asking for the recipe. Check out other amazing dishes like Muffin Tin Mini and Mini Meatloaf Muffins for more crowd-pleasing ideas!
Mini Biscoff Cheesecake Ingredients
Indulge in simplicity with these easy-to-gather ingredients for your Mini Biscoff Cheesecakes!
For the Crust
- Biscoff cookie crumbs – Provides the base crust for the cheesecake; try graham cracker crumbs for a different flavor.
- Melted butter – Binds the cookie crumbs together for a sturdy crust; opt for unsalted butter for better control over saltiness.
For the Filling
- Cream cheese – Forms the rich base of the filling, offering the characteristic cheesecake tang; room temperature ensures a smoother blend.
- Heavy cream – Adds luxurious richness and creaminess; can replace with whipped topping for a lighter treat.
- Powdered sugar – Sweetens the filling for a delightful taste; adjust the amount based on your sweetness preference.
- Vanilla powder – Enhances the overall flavor and aroma; use vanilla extract if powder isn’t available.
- Biscoff spread – Infuses the filling with the signature Biscoff flavor; feel free to use similar cookie spreads like Speculoos or Nutella.
For the Topping
- Crumpled Biscoff cookies – Adds a delightful crunch and visual appeal to finish off your cheesecakes.
Now, let’s get started on creating these delectable Mini Biscoff Cheesecakes!
Step‑by‑Step Instructions for Mini Biscoff Cheesecakes
Step 1: Preheat and Prepare
Begin by preheating your oven to 350°F (175°C). While the oven warms up, line a muffin tin with paper liners to create individual portions for your Mini Biscoff Cheesecakes. This will ensure easy removal once the cheesecakes are set.
Step 2: Make the Crust
In a mixing bowl, combine Biscoff cookie crumbs with melted butter, stirring until the mixture resembles wet sand. Firmly press this mixture into the bottom of each muffin cup to form a sturdy crust. Bake in the preheated oven for about 5 minutes, then remove and allow to cool completely.
Step 3: Prepare the Cheesecake Filling
In a separate bowl, use an electric mixer to beat the room temperature cream cheese until it’s smooth and creamy. This process should take around 2-3 minutes. Having the cream cheese at room temperature helps achieve a silky texture for your Mini Biscoff Cheesecakes.
Step 4: Combine Ingredients
Gradually pour in the heavy cream while continuing to beat the mixture until it thickens and becomes fluffy. Add the powdered sugar and vanilla powder, blending well to incorporate. You’re aiming for a smooth consistency, which should take another 2-3 minutes of mixing.
Step 5: Add Biscoff Spread
Once the filling is thick, gently fold in the Biscoff spread until fully incorporated. This will give your Mini Biscoff Cheesecakes their signature flavor. Avoid overmixing to keep the filling light and airy, ensuring it remains creamy and delightful.
Step 6: Fill the Crusts
Spoon or use a piping bag to carefully fill each cooled crust with the cheesecake mixture. Smooth the tops with a spatula to create an even surface. Take your time with this step to ensure each Mini Biscoff Cheesecake looks beautifully presented.
Step 7: Refrigerate to Set
Cover the muffin tin with plastic wrap and place it in the refrigerator. Allow the Mini Biscoff Cheesecakes to chill for at least 3 hours, or until set. This step is crucial for achieving that perfect cheesecake texture and flavor meld.
Step 8: Finish with Topping
Before serving, remove the cheesecakes from the fridge and gently peel off the paper liners. Top each Mini Biscoff Cheesecake with crumbled Biscoff cookies for that added crunch and eye-catching finish. This final touch will elevate the dessert both in texture and presentation.
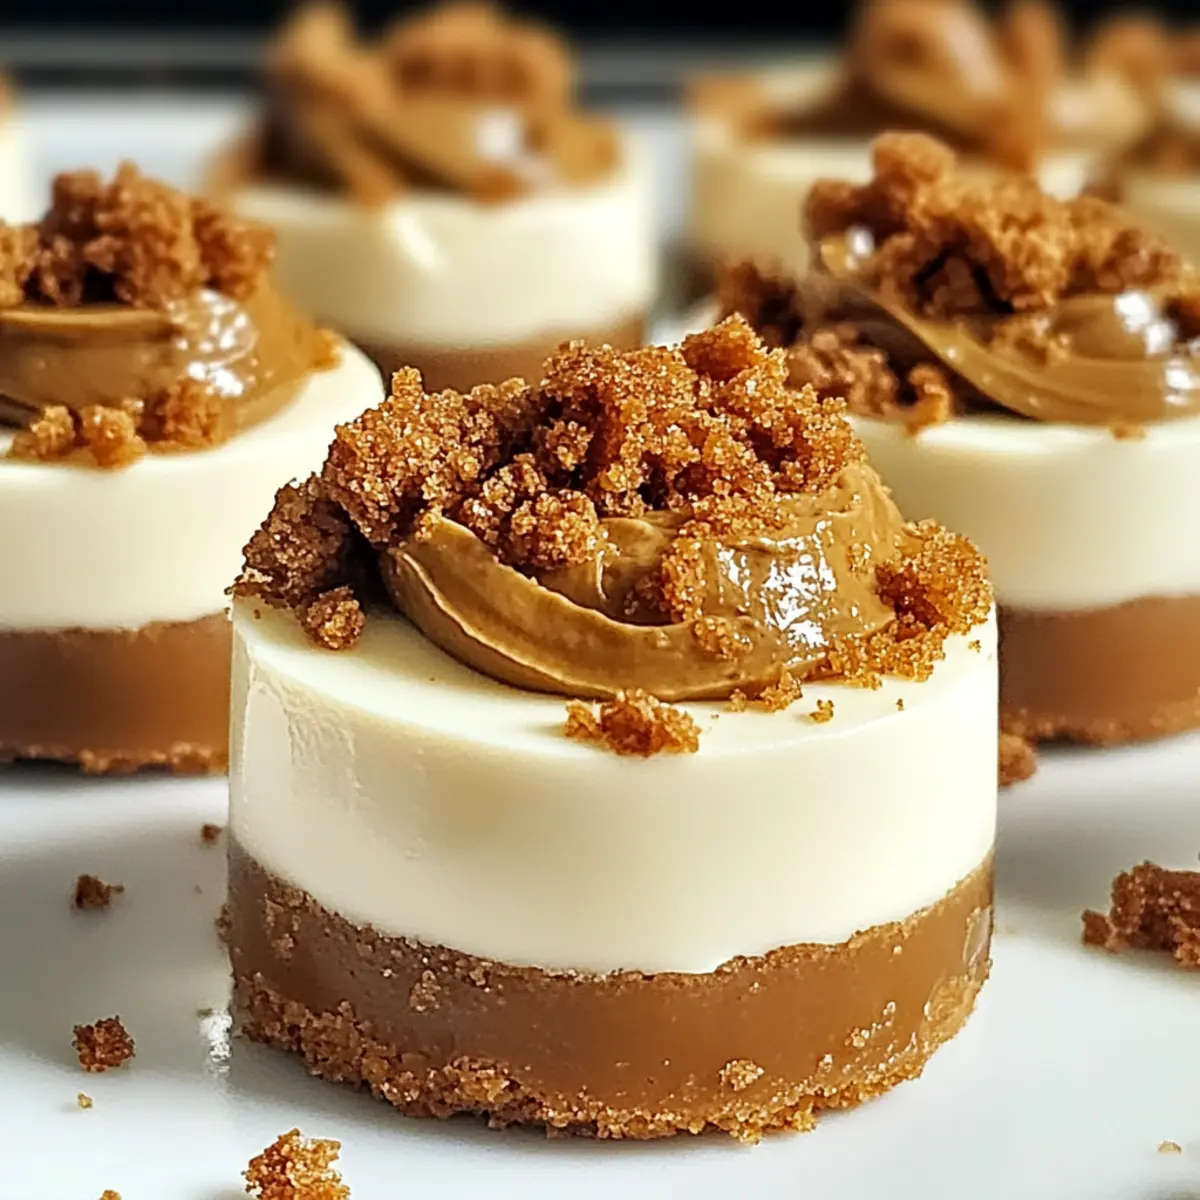
What to Serve with Mini Biscoff Cheesecakes
When serving Mini Biscoff Cheesecakes, think of complimentary flavors and textures that transform dessert into a delightful spread.
- Fresh Fruit Salad: A light and refreshing contrast that enhances the rich, creamy cheesecake with zesty notes.
- Chocolate-Covered Strawberries: Decadent and romantic, these berries provide a delightful bite of chocolate indulgence to accompany your cheesecakes.
- Mini Doughnuts: Their soft, sugary exterior adds a fun twist to your dessert platter, perfect for sharing with friends and family.
- Whipped Cream: A dollop of lightly sweetened whipped cream adds a cloud-like softness that pairs beautifully with the cheesecake’s creamy texture.
- Coffee or Espresso: Serve with a cup of rich coffee to balance the sweetness and enhance the overall flavor experience of your dessert.
- Hot Chocolate: The warmth and richness of a velvety hot chocolate complement the Biscoff cheesecakes perfectly, creating a cozy, indulgent moment.
- Spiced Chai Latte: Infuse your dessert experience with aromatic spices that elevate the sweetness of the cheesecake for a unique pairing.
- Caramel Sauce Drizzle: Adding a swirl of thick caramel offers an extra layer of sweetness and that delightful sticky texture which complements the cheesecake perfectly.
Storage Tips for Mini Biscoff Cheesecakes
Fridge: Store your Mini Biscoff Cheesecakes in an airtight container for up to 3 days. This keeps them fresh and preserves the creamy texture.
Freezer: If you want to prepare them ahead, freeze the cheesecakes (without the crumbled topping) for up to 2 months. Thaw them in the fridge before serving.
Reheating: These cheesecakes are meant to be served chilled. Simply remove them from the fridge and top with crumbled Biscoff cookies right before enjoying!
Make Ahead: Mini Biscoff Cheesecakes can be made a day in advance, making them an excellent choice for effortless entertaining. Just store them in the fridge until ready to serve.
Make Ahead Options
These Mini Biscoff Cheesecakes are perfect for meal prep enthusiasts looking to save time during busy weeknights! You can prepare the crusts (combining Biscoff cookie crumbs and melted butter) up to 24 hours in advance; simply press them into the muffin tins and store in the refrigerator covered with plastic wrap. For the filling, you can mix the cream cheese, heavy cream, powdered sugar, and Biscoff spread up to 3 days ahead. Store it in an airtight container in the fridge until you’re ready to fill the crusts. When you’re ready to serve, just spoon or pipe the filling onto the crusts, and chill for at least 3 hours for restaurant-quality results with minimal effort. These delicious Mini Biscoff Cheesecakes will taste just as wonderful when made ahead!
Mini Biscoff Cheesecakes: Creative Twists
Feel free to make these delightful Mini Biscoff Cheesecakes your own by trying out these fun variations!
-
Graham Cracker Base: Swap Biscoff cookie crumbs for graham crackers for a classic cheesecake crust. This variation brings a familiar taste that everyone loves.
-
Nutty Delight: Add finely chopped nuts like pecans or almonds to the crust mixture for a crunchy flair. Not only does this offer a wonderful texture, but it also brings an unexpected twist that elevates each bite.
-
Fruit Topping: Top your cheesecakes with fresh berries or a drizzle of fruit puree for a refreshing contrast. The vibrant colors and tartness from the fruit balance the sweetness beautifully.
-
Chocolate Drizzle: Melt some chocolate and drizzle it over the top before serving. This creates a rich flavor combination that chocolate lovers will adore.
-
Spiced Apple Variation: Stir in some cinnamon and nutmeg to the filling for a warm, spiced flavor. Add apples sautéed in a little butter and brown sugar as a topping for an irresistible fall-inspired dessert.
-
Dairy-Free Option: Replace cream cheese with dairy-free cream cheese and use coconut cream instead of heavy cream for a deliciously creamy alternative.
-
Chili Heat: Try mixing a pinch of cayenne pepper into the filling for a surprising kick. This spicy hint harmonizes beautifully with the sweetness of the cheesecake.
For more delightful ideas, check out my recipes for Muffin Tin Mini and Mini Meatloaf Muffins to continue impressing your guests!
Expert Tips for Mini Biscoff Cheesecakes
Room Temperature Ingredients: Ensure your cream cheese and heavy cream are at room temperature for a perfectly smooth cheesecake filling without lumps.
Chill Well: Refrigerate your Mini Biscoff Cheesecakes for at least 3 hours to allow them to set properly, ensuring that dreamy texture you’re after.
Firm Crust: Press the Biscoff cookie crumb mixture firmly into the muffin cups to create a sturdy base that won’t crumble apart when served.
Avoid Overmixing: When incorporating the filling ingredients, mix just until combined to avoid incorporating too much air, which can lead to cracks.
Adapt Ingredients: Feel free to substitute similar cookies for the crust or other spreads if you want to experiment with flavors while keeping the recipe simple and delicious.
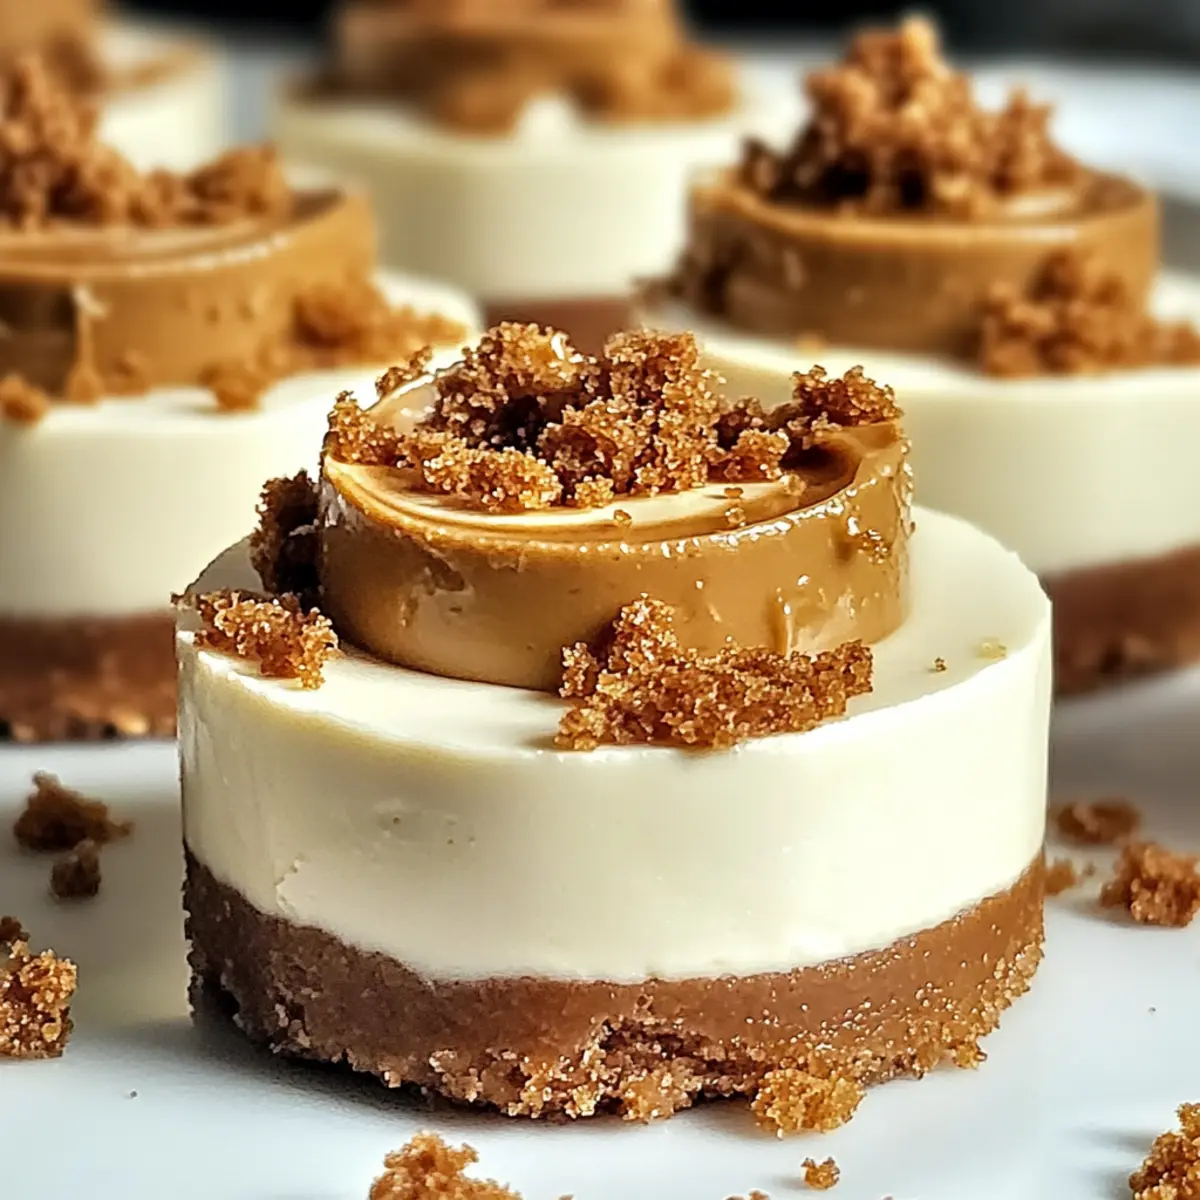
Mini Biscoff Cheesecakes Recipe FAQs
How do I choose the best Biscoff cookies for the crust?
Absolutely! When selecting Biscoff cookies, look for those that are fresh and free of any dark spots. Fresh cookies will yield a better texture for your crust. If you can find them in bulk, that’s even better for making a delicious crust!
What’s the best way to store Mini Biscoff Cheesecakes?
These delectable treats can be stored in an airtight container in the refrigerator for up to 3 days. Make sure they are well covered to keep them fresh! I often make them a day ahead for gatherings and they stay perfect in the fridge.
Can I freeze Mini Biscoff Cheesecakes?
Yes, you can! To freeze, place the cheesecakes in a single layer on a baking sheet until they are solid, then transfer them to an airtight container or freezer bag. They can be frozen for up to 2 months. To enjoy, simply thaw in the refrigerator overnight before serving.
What if my cheesecake filling is too runny?
If your filling is runny, it might be due to overmixing or not using chilled ingredients. Make sure to beat the cream cheese just until smooth before adding the other ingredients. For a thicker filling, you can also add a bit more powdered sugar or even a tablespoon of cornstarch as a thickener, ensuring it blends well.
Are there any dietary considerations for Mini Biscoff Cheesecakes?
Definitely! These cheesecakes contain gluten and dairy, so they may not be suitable for those with gluten sensitivity or lactose intolerance. For a gluten-free variant, you can use gluten-free cookie crumbs instead of Biscoff cookies. Always check for allergies if serving to guests or loved ones!
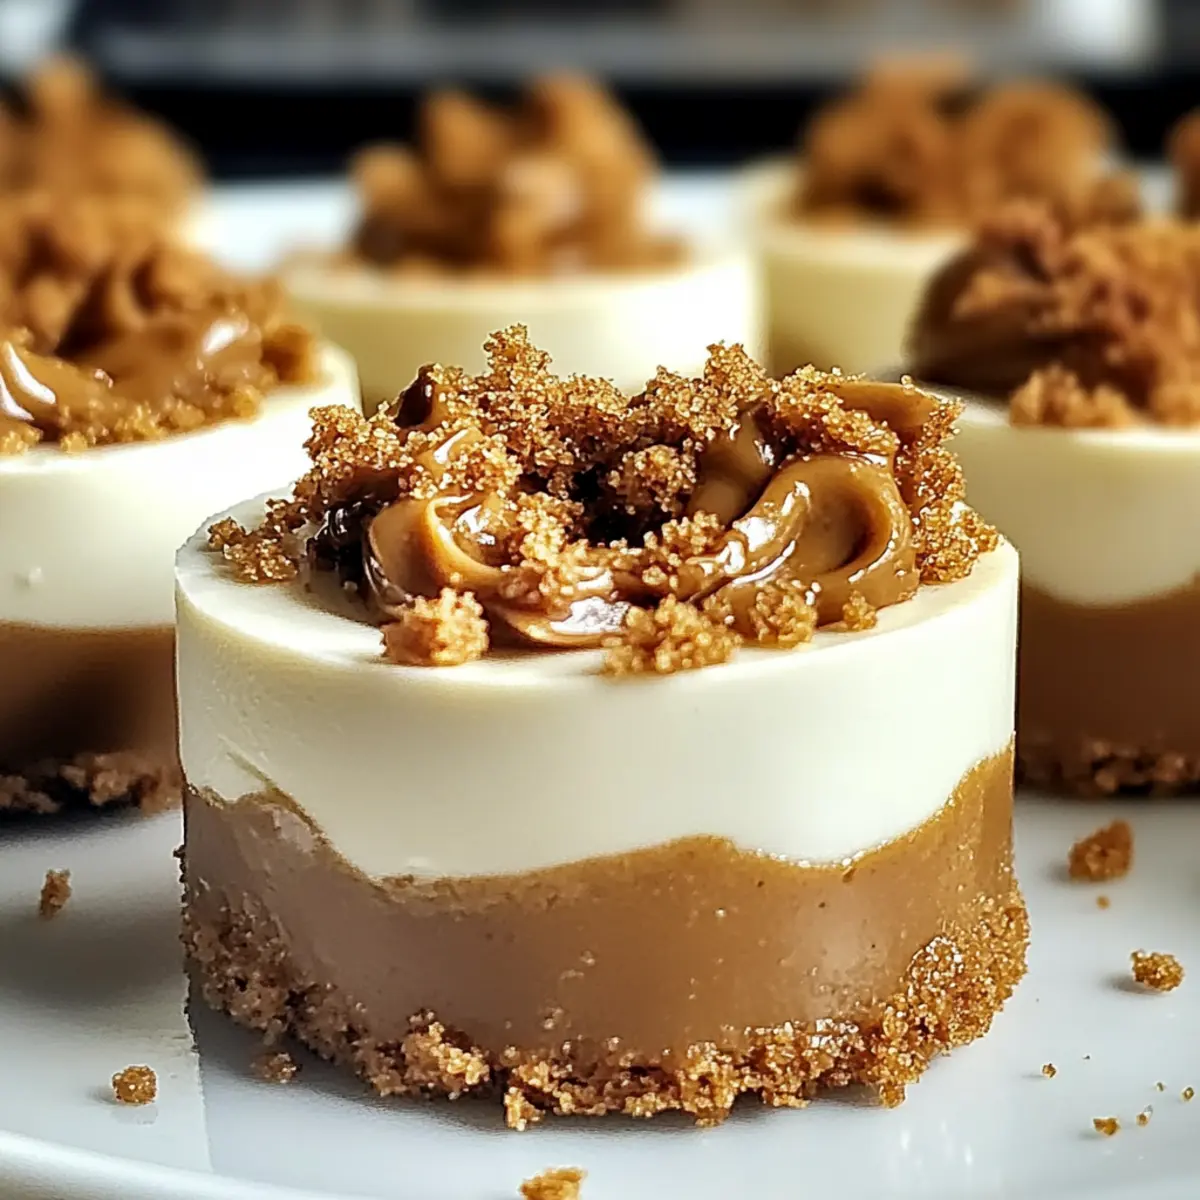
Irresistible Mini Biscoff Cheesecakes for Effortless Indulgence
Ingredients
Equipment
Method
- Preheat your oven to 350°F (175°C) and line a muffin tin with paper liners.
- In a mixing bowl, combine Biscoff cookie crumbs with melted butter and press into the muffin cups.
- Bake for about 5 minutes, then cool completely.
- Beat cream cheese until smooth in a separate bowl.
- Gradually add heavy cream while beating until thick and fluffy.
- Incorporate powdered sugar and vanilla, mixing until smooth.
- Fold in Biscoff spread gently to avoid overmixing.
- Fill each cooled crust with cheesecake mixture and smooth the tops.
- Cover and refrigerate for at least 3 hours until set.
- Top with crumbled Biscoff cookies prior to serving.
Leave a Reply