
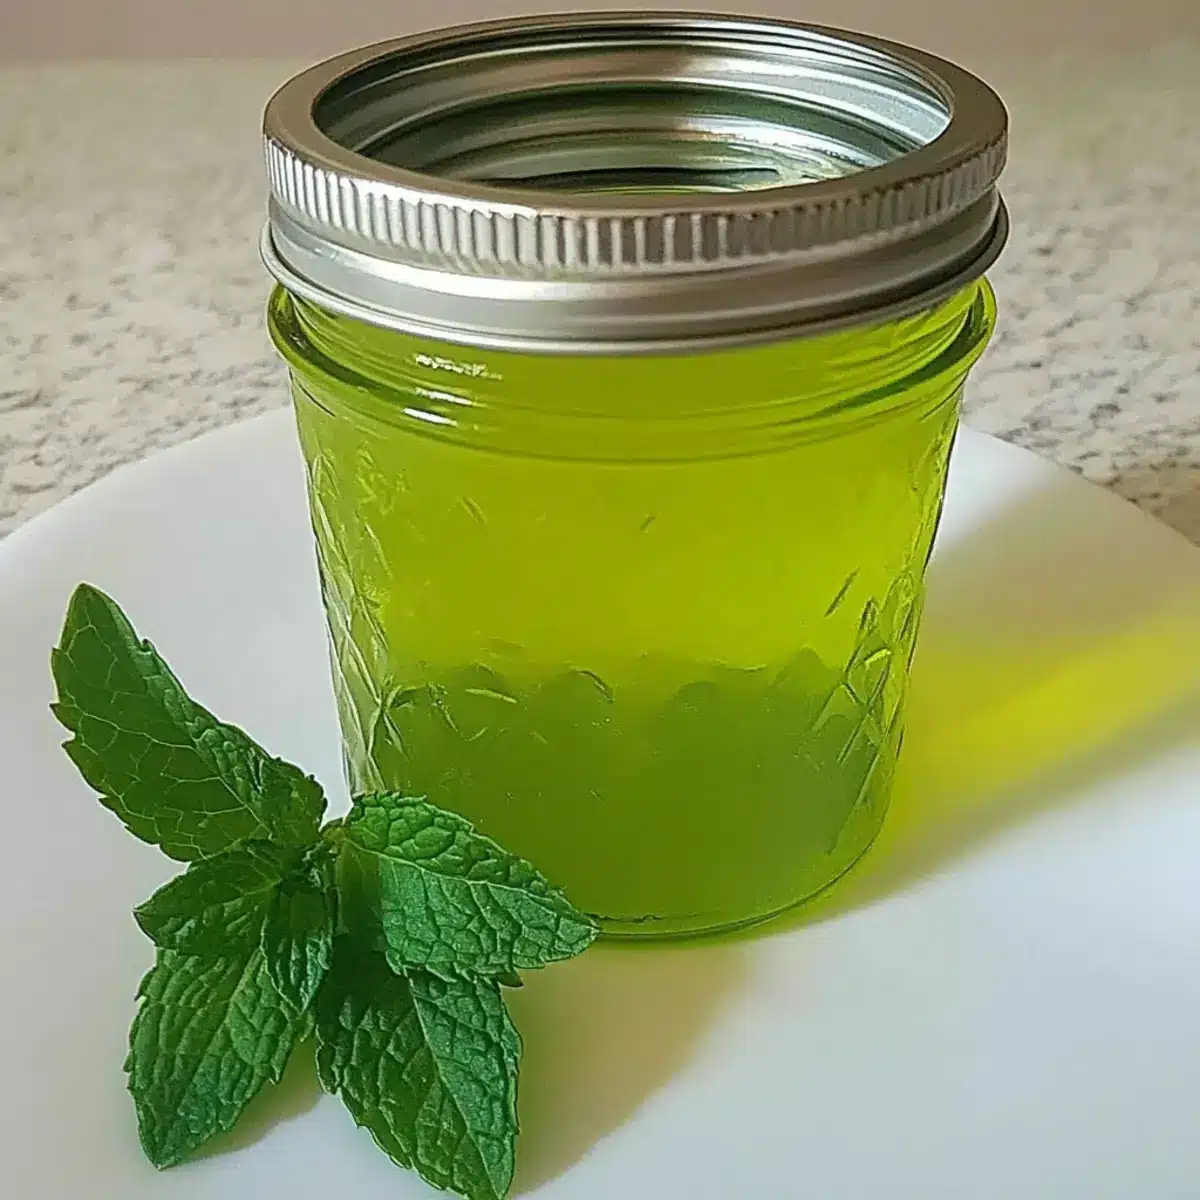
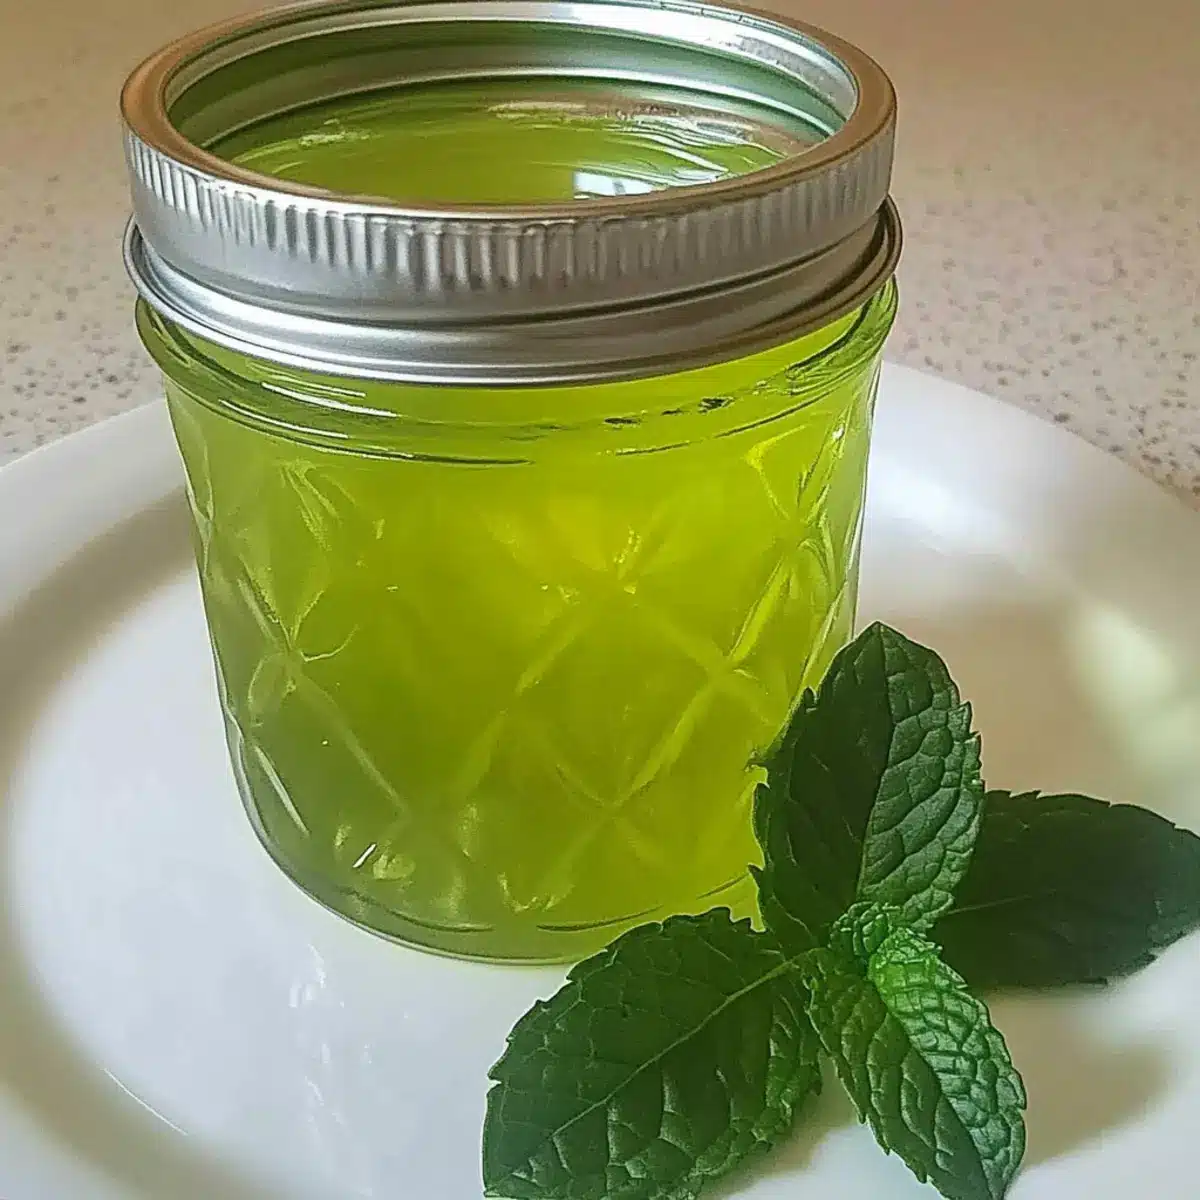
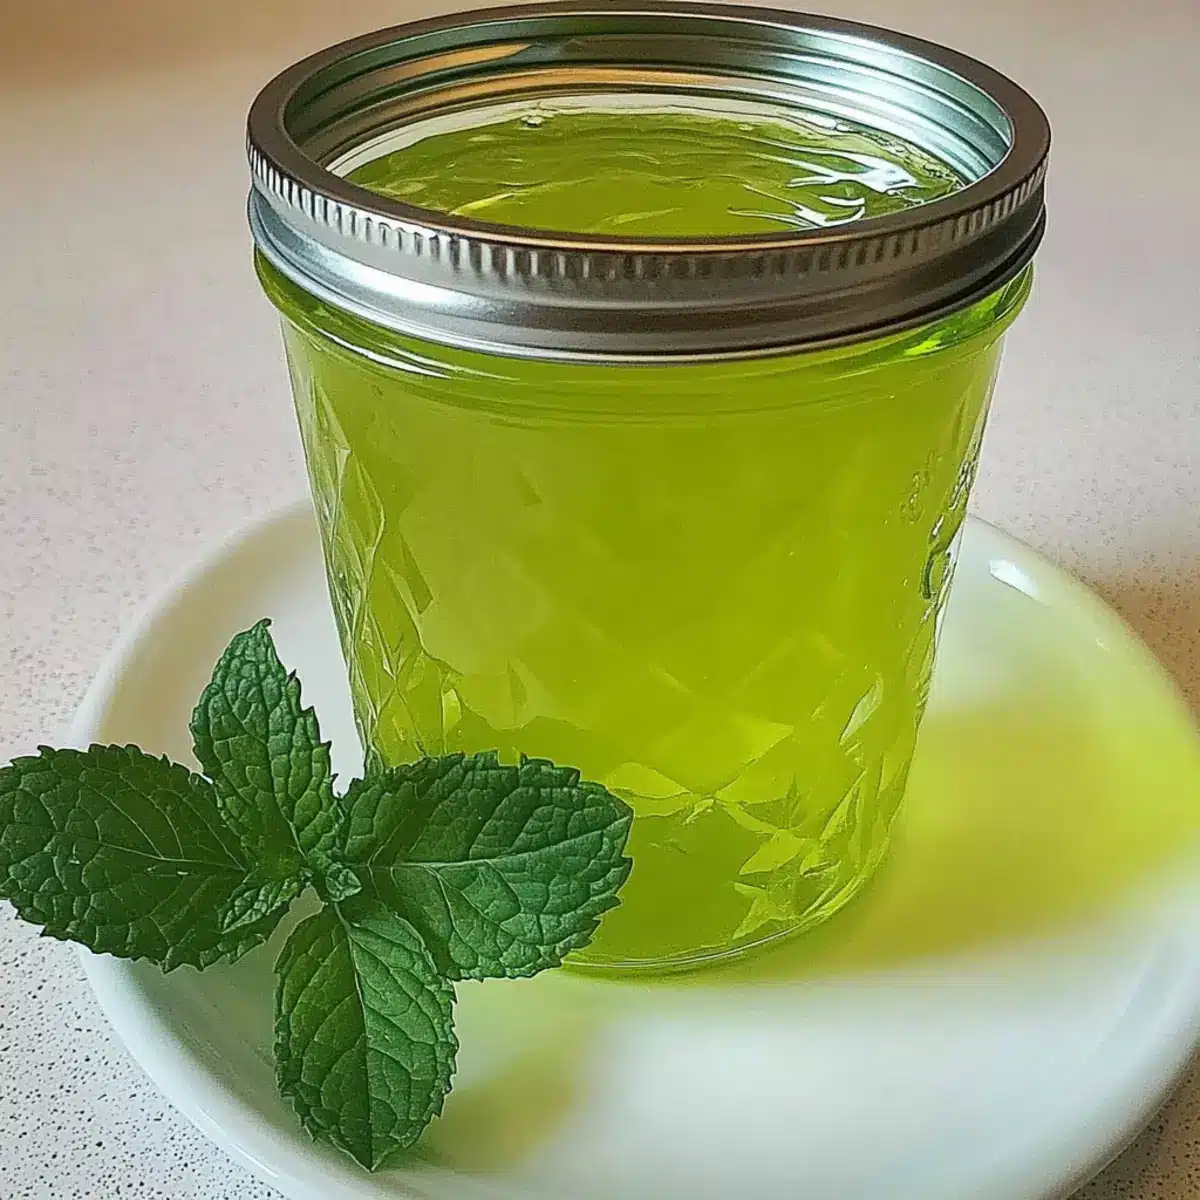
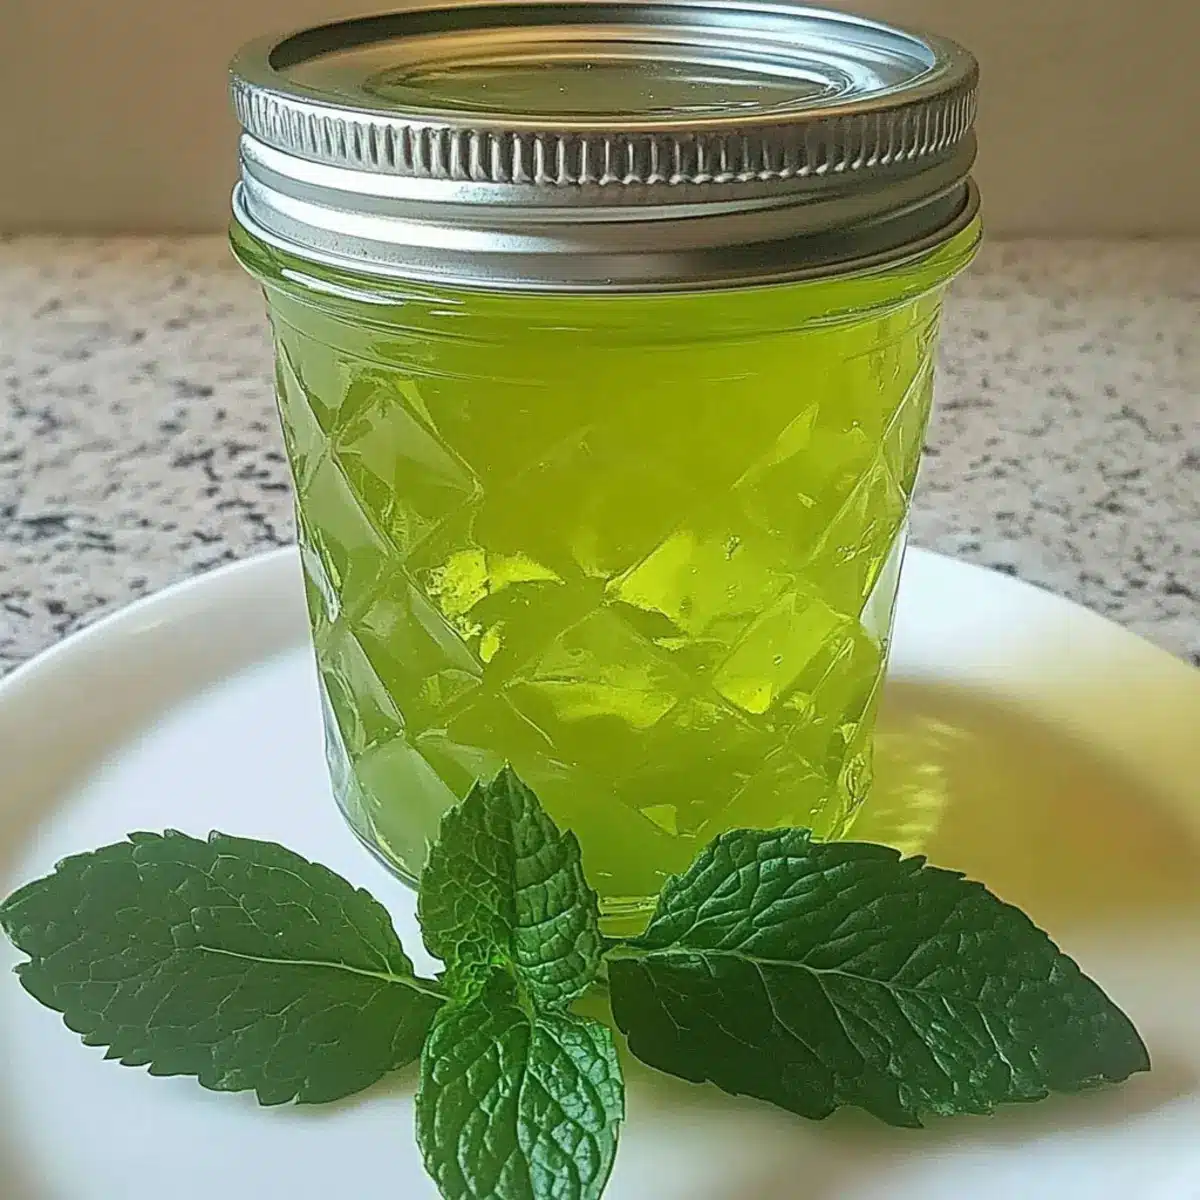
As I stood in my garden surrounded by vibrant green mint leaves, I couldn’t help but smile at the thought of crafting Refreshing Homemade Mint Jelly. This delightful creation isn’t just a pretty jar of goodness; it’s an easy preserving method that transforms simple ingredients into something truly special. With its bright, herb-infused flavor, mint jelly pairs beautifully with everything from roasted lamb to a slice of creamy cheese on crackers, making it a versatile addition to any meal. Plus, homemade mint jelly is a fantastic crowd-pleaser and a fun way to impress your friends and family. Are you ready to bring a little freshness into your kitchen? Let’s dive into the refreshing world of making mint jelly together!
Why Make Your Own Mint Jelly?
Freshness and Flavor: Homemade mint jelly bursts with vibrant taste that store-bought varieties just can’t match.
Easy Preserving: This simple recipe allows you to turn fresh mint from your garden into a delightful spread in no time!
Versatile Delight: Enjoy it as a glaze on meats, dolloped onto toast, or even in cocktails.
Canned Goodness: With proper canning techniques, this jelly can last up to a year in your pantry, so you’ll always have a delightful treat on hand.
Creative Twists: Don’t hesitate to experiment with different mint varieties or infuse other herbs for unique flavors, making every batch a new adventure in taste!
Mint Jelly Ingredients
• Here’s everything you need to create the most refreshing mint jelly!
For the Jelly
- Fresh Mint Leaves – This is the star ingredient that gives mint jelly its signature flavor; use 2 to 4 cups based on your taste preference.
- Boiling Water – Needed to beautifully infuse the mint flavor; make sure to use 4 cups.
- Lemon Juice – This adds a nice acidity to balance the sweetness; 2 tablespoons of fresh or bottled will work perfectly.
- Powdered Pectin – Acts as the thickening agent to help your jelly set; one package is necessary for this recipe.
- Granulated Sugar – Sweetens the jelly to create that delightful balance against the refreshing mint; you’ll need a whopping 4 cups.
- Green Food Coloring (Optional) – Just a couple of drops can enhance visual appeal, making it look as good as it tastes!
Step‑by‑Step Instructions for Mint Jelly
Step 1: Prepare Infusion
Begin by placing 2 to 4 cups of fresh mint leaves into a large bowl. Carefully pour 4 cups of boiling water over the mint, followed by adding 2 tablespoons of lemon juice. Allow the mixture to steep until it cools to room temperature, which should take about 30 minutes. Once cooled, cover the bowl and refrigerate the infusion for a full 24 hours to enhance the minty flavor.
Step 2: Strain Liquid
After steeping for 24 hours, it’s time to reveal your mint-infused liquid. Using a fine mesh sieve or cheesecloth, strain the mixture over a large pot to collect the liquid while discarding the leaves. You should have around 4 cups of vibrant mint tea. This fragrant liquid will be the base of your delightful mint jelly.
Step 3: Combine Ingredients
In the large pot containing your strained mint tea, add one package of powdered pectin. Stir the mixture well to ensure the pectin dissolves completely. Place the pot over medium heat and bring the mixture to a gentle boil, stirring occasionally. This process will help activate the pectin, which is crucial for the jelly’s texture.
Step 4: Add Sugar
Once your mint tea is boiling, gradually stir in the 4 cups of granulated sugar, ensuring each addition dissolves completely before adding more. Continue to stir as you bring the mixture back to a boil. Let it boil for 1 to 2 minutes until it thickens slightly, forming a vibrant jelly-like consistency.
Step 5: Canning Process
Prepare your sterilized jars by ladling the hot mint jelly mixture into each jar, leaving about 1/4 inch of headspace at the top. Carefully wipe down the rims of each jar with a clean cloth to ensure a proper seal. Secure the lids on tightly but do not over-tighten to allow for expansion during processing.
Step 6: Water Bath Canning
To preserve your homemade mint jelly, process the jars in a boiling water bath. Ensure they are fully submerged, and let them boil for 10 minutes. After processing, carefully remove the jars with jar tongs and place them on a clean towel or cooling rack. Allow the jars to cool undisturbed for 24 hours, ensuring they seal properly as they cool.
What to Serve with Refreshing Homemade Mint Jelly
The vibrant minty aroma of homemade jelly creates a feast for the senses, inviting delightful pairing options to elevate any meal.
-
Roasted Lamb: The classic pairing brings out the best in both, with the savory meat beautifully complemented by the jelly’s sweetness.
-
Grilled Salmon: This flaky fish is uplifted by a dollop of mint jelly, balancing the smoky flavors with refreshing mint notes.
-
Cream Cheese on Crackers: Spread mint jelly on cream cheese for a luscious appetizer, the perfect mix of creamy and refreshing bliss.
-
Pork Chops: A glaze of mint jelly over juicy pork adds a sweet contrast, creating a dish that’s both delicious and visually appealing.
-
Cheese Platter: Serve mint jelly alongside a variety of cheeses, providing a sweet touch that enhances the creaminess of brie or the sharpness of cheddar.
-
Cocktails: Incorporate mint jelly into your favorite drinks for a unique twist; its sweetness and floral notes make delightful minty mojitos.
-
Pavlova: Top your pavlova with mint jelly and fresh fruit for a show-stopping dessert that harmonizes sugary meringue with the fresh zing of mint.
-
Scones: Enjoy mint jelly smeared on warm scones for a breakfast treat. The combination is sure to start your day with a bright note.
-
Lemonade: Mix a spoonful of mint jelly into lemonade for an invigorating drink that’s refreshing on hot summer days.
-
Mint Tea: Pair your mint jelly with a cup of fresh mint tea to enhance the lovely herbal flavors, creating a cozy, aromatic experience.
Expert Tips for Making Mint Jelly
-
Choose Fresh Mint: Use vibrant, fresh mint leaves for a stronger flavor. Wilting or brown leaves won’t give you the delightful taste you’re aiming for in your mint jelly.
-
Let It Steep: Allow the mint infusion to steep for the full 24 hours. Rushing this step can lead to a less intense flavor in your homemade mint jelly.
-
Watch Sugar Ratios: Be careful to follow the sugar measurements precisely; too little sugar can lead to a jelly that won’t set properly, while too much can make it overly sweet.
-
Avoid Overcooking: Once sugar is added, bring the mixture back to a boil but do not overcook it. Boiling too long can cause the jelly to become tough rather than maintaining its spreadable consistency.
-
Check Seals: After canning, let jars cool without disturbance for 24 hours to ensure a proper seal. If you see any jars that didn’t seal, refrigerate them and use within a few weeks.
-
Experiment with Infusions: Don’t be afraid to get creative! Try adding other herbal flavors to your mint jelly for a fun twist—basil or lemon balm can add deliciously unique profiles.
Make Ahead Options
Preparing mint jelly is a wonderful option for busy home cooks looking to save time! You can complete the infusion step—placing 2 to 4 cups of fresh mint leaves in boiling water and adding lemon juice—up to 24 hours in advance. Simply let it cool, cover, and refrigerate until you’re ready to make the jelly. To maintain optimal flavor and freshness, be sure to strain and combine with the powdered pectin within the next day or so. When you’re ready to finish, just follow the remaining steps: boil the mint tea mixture, add sugar, and process for canning. You’ll end up with a delightful mint jelly that tastes just as fresh as if made on the spot!
How to Store and Freeze Mint Jelly
Fridge: Store opened jars in the refrigerator for up to 2 weeks. Make sure to keep them tightly sealed to maintain freshness.
Pantry: Unopened jars of mint jelly can be kept in a cool, dark place for up to a year. Ensure the jars are stored upright to avoid leakage.
Freezer: For long-term storage, transfer mint jelly into freezer-safe containers. It can be frozen for up to 6 months. Thaw in the fridge before use.
Reheating: If your mint jelly becomes too thick after refrigeration, gently reheat it in a saucepan over low heat, stirring until it reaches your desired consistency.
Mint Jelly Variations & Substitutions
Feel free to tailor your homemade mint jelly to your taste preferences and the pantry’s contents with these delightful twists!
-
Chocolate Mint: Swap in chocolate mint leaves for a rich and unique flavor that stands out beautifully in desserts or spreads.
-
Lemon Zest: Add a teaspoon of fresh lemon zest during the boiling process for an extra citrus kick that brightens the flavor even more.
-
Basil Infusion: Mix in a few fresh basil leaves when infusing the mint for a refreshing herbal blend that offers depth and complexity.
-
Pineapple Mint: Use pineapple mint leaves instead of regular mint, and enjoy a subtly sweet flavor that works wonders in cocktails or as a glaze.
-
Low Sugar: Substitute half the sugar with a sugar alternative or pectin specifically designed for lower-sugar recipes for a healthier option.
-
Hot Pepper Twist: For those who love a bit of heat, add a pinch of finely chopped jalapeño or chili flakes during the cooking process; it creates a delightful sweet-heat contrast.
-
Herbal Blend: Combine mint with rosemary or thyme to create a deliciously herbaceous jelly that pairs perfectly with roasted meats or cheese platters.
-
Fruit Flavors: Introduce a fruit puree, such as raspberry or blackberry, during the boiling phase for a fruity twist that enhances the jelly’s sweetness and adds a vibrant color.
Don’t forget to explore other recipes you can whip up using your mint jelly, like apple cider glazed chicken or mint-infused lemonade for a refreshing thirst-quencher! Enjoy the process of crafting your unique version of mint jelly!
Mint Jelly Recipe FAQs
How do I choose the best mint leaves for my jelly?
Absolutely! For the best flavor, opt for fresh, vibrant mint leaves. Avoid leaves that are wilting or have dark spots, as these can affect the taste of your mint jelly. If possible, pick the leaves in the morning after dew has dried, when they’re full of essential oils.
How should I store my homemade mint jelly?
Very! Once opened, store your jars of mint jelly in the refrigerator for up to 2 weeks. For unopened jars, keep them in a cool, dark place, where they can last for up to a year. Just make sure they’re stored upright to prevent leakage.
Can I freeze mint jelly for later use?
Yes, you can! To freeze mint jelly, transfer it to freezer-safe containers, leaving some headspace for expansion. It can be frozen for up to 6 months. When you’re ready to use it, simply thaw it in the fridge overnight before enjoying!
What should I do if my mint jelly doesn’t set?
No worries; we’ve all been there! If your jelly doesn’t set after 24 hours, you can try reprocessing it. Simply heat the jelly in a saucepan until it reaches a boil, add another package of powdered pectin (dissolved in a little water), and boil for an additional 1-2 minutes. Ladle it back into sterilized jars and process again.
Is mint jelly safe for pets?
Great question! While mint jelly itself isn’t toxic to pets, the sugar and other ingredients may not be suitable for them. Always consult your vet before sharing any human food with your pets to ensure their safety.
How long does mint jelly last once opened?
Once you’ve opened your jar of mint jelly, it will stay fresh in the fridge for about 2 weeks. Make sure to seal it tightly after each use so it retains its delightful freshness and flavor!
Homemade Mint Jelly That Elevates Your Favorite Dishes
Ingredients
Equipment
Method
- Begin by placing 2 to 4 cups of fresh mint leaves into a large bowl. Pour 4 cups of boiling water over the mint and add 2 tablespoons of lemon juice. Steep until cooled to room temperature, about 30 minutes, then refrigerate for 24 hours.
- After steeping, strain the mixture using a fine mesh sieve to collect the liquid, discarding the leaves. You should have approximately 4 cups of vibrant mint tea.
- In a large pot with the strained mint tea, add the powdered pectin and stir well. Heat over medium to bring to a gentle boil, stirring occasionally.
- Gradually stir in the granulated sugar, ensuring complete dissolution before adding more. Bring to a boil again and let it thicken for 1 to 2 minutes.
- Ladle the hot mint jelly mixture into sterilized jars, leaving 1/4 inch headspace. Wipe the rims of the jars clean before securing the lids tightly.
- Process the jars in a boiling water bath for 10 minutes, ensuring they're fully submerged. Remove and cool undisturbed for 24 hours.
Leave a Reply