
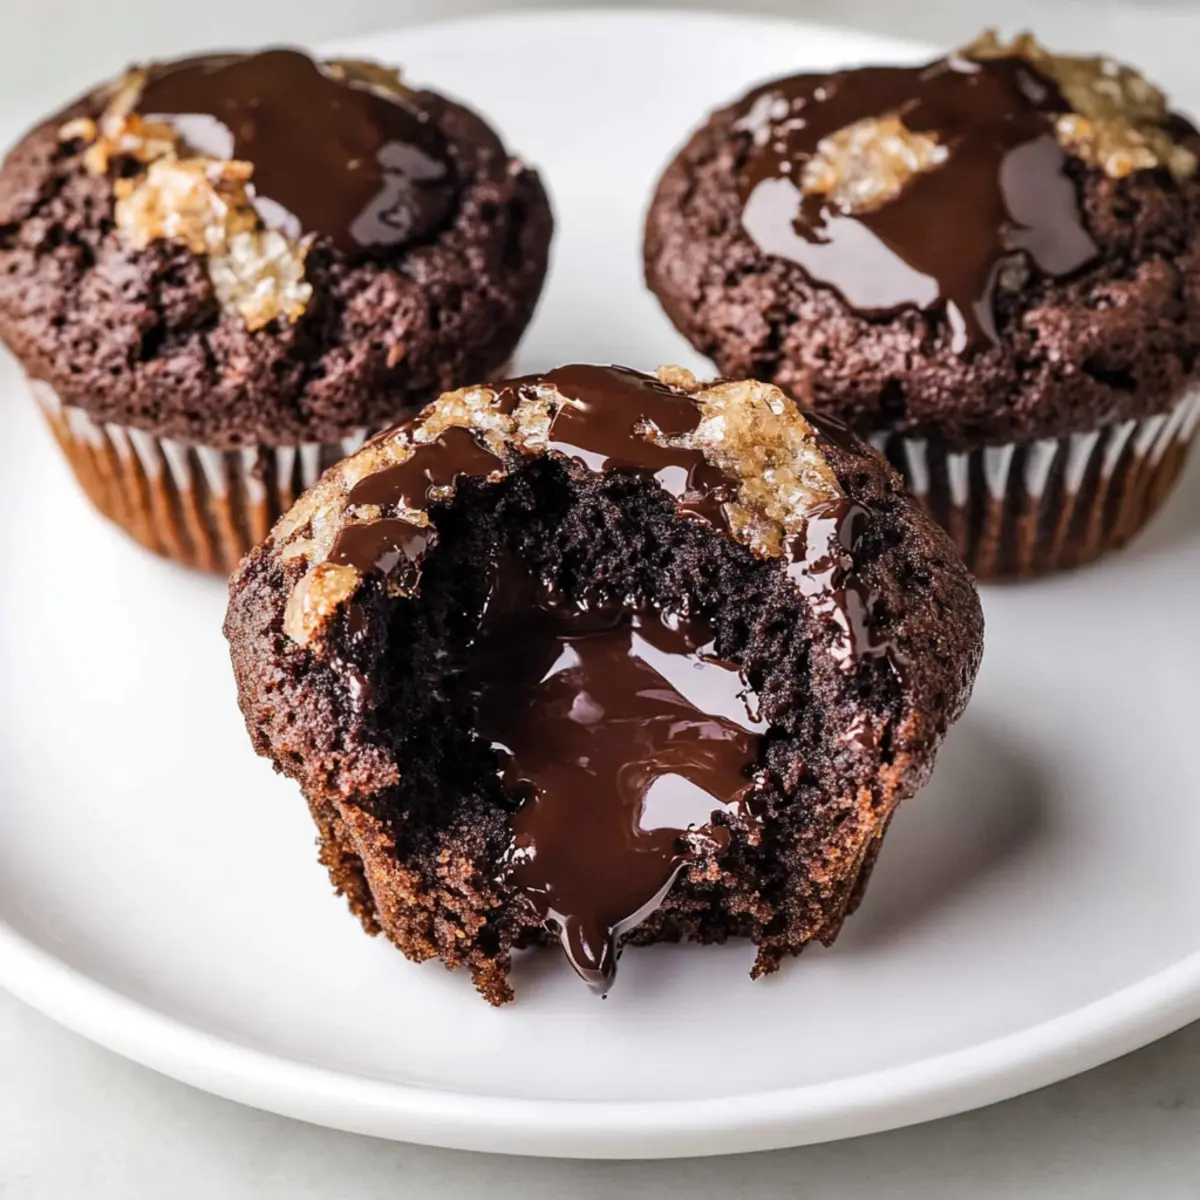
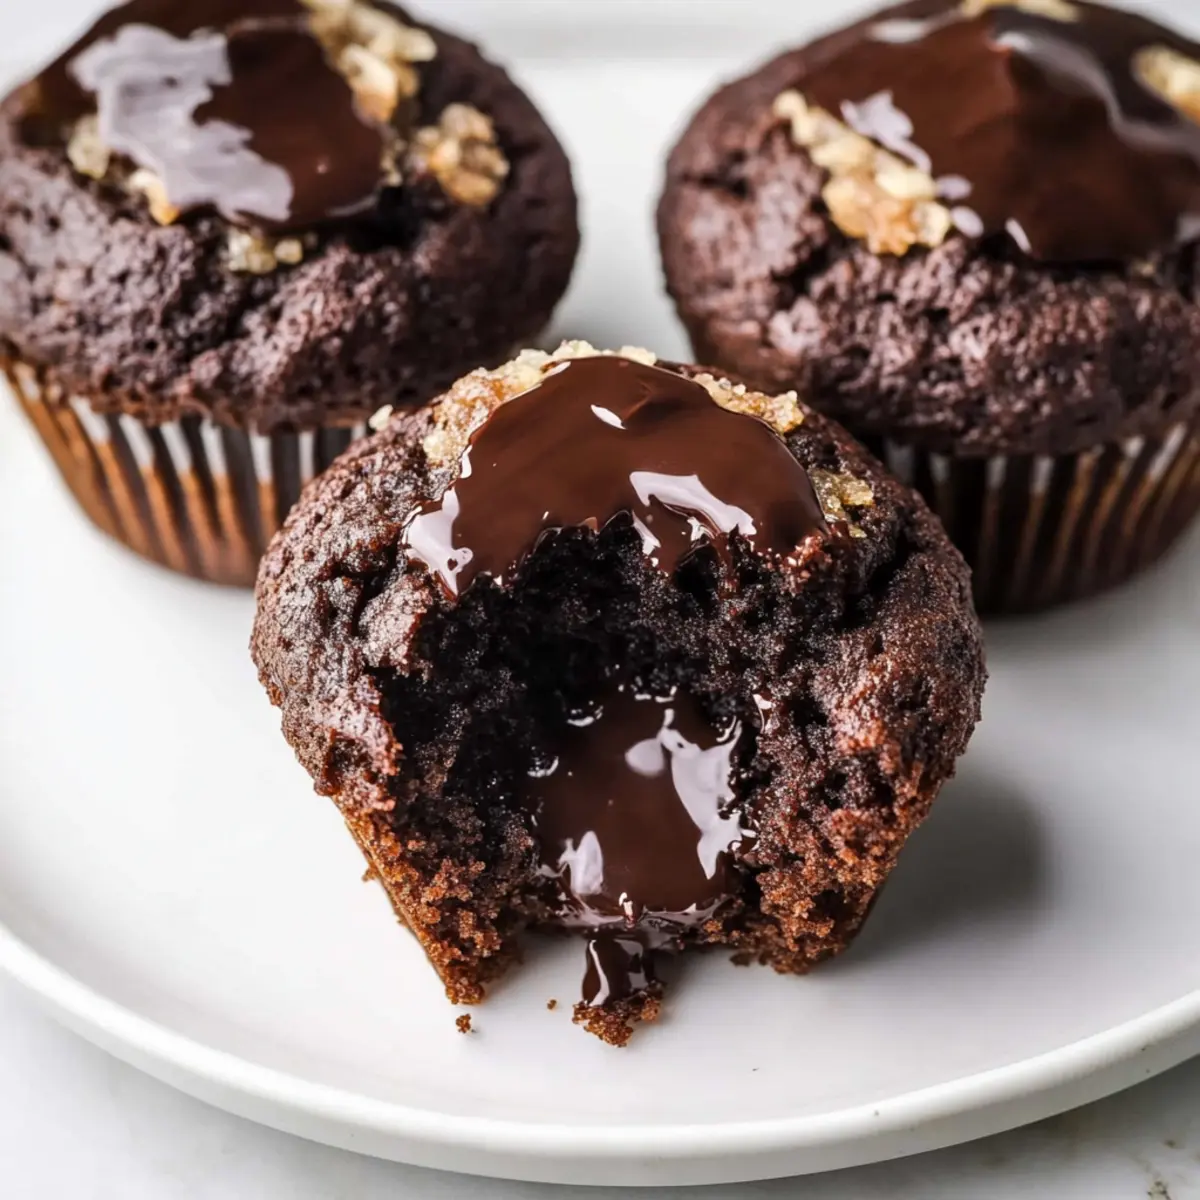
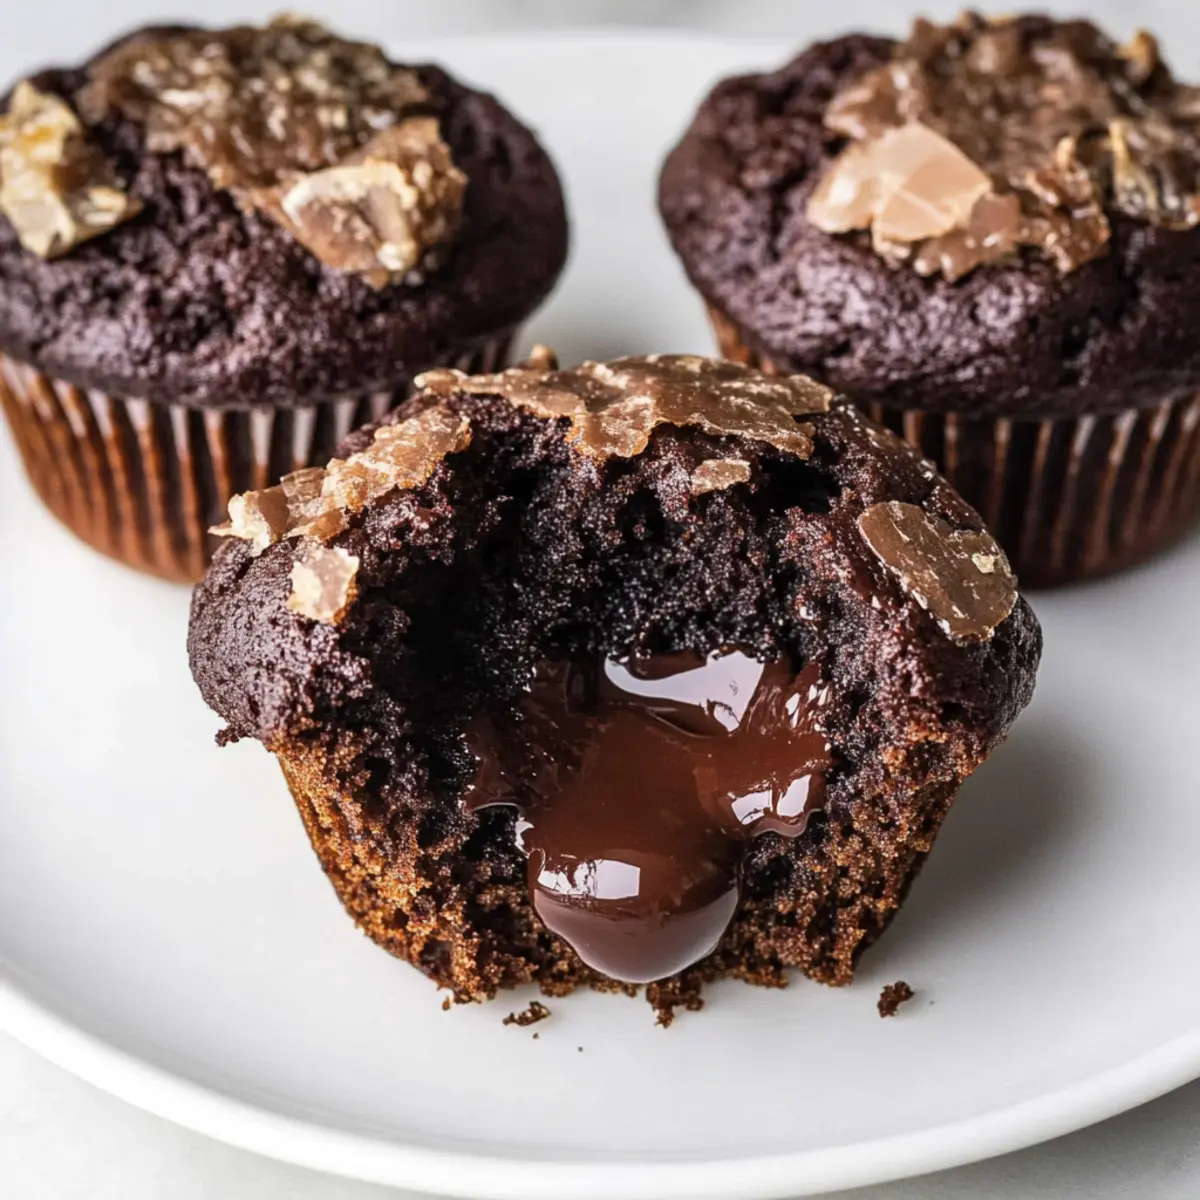
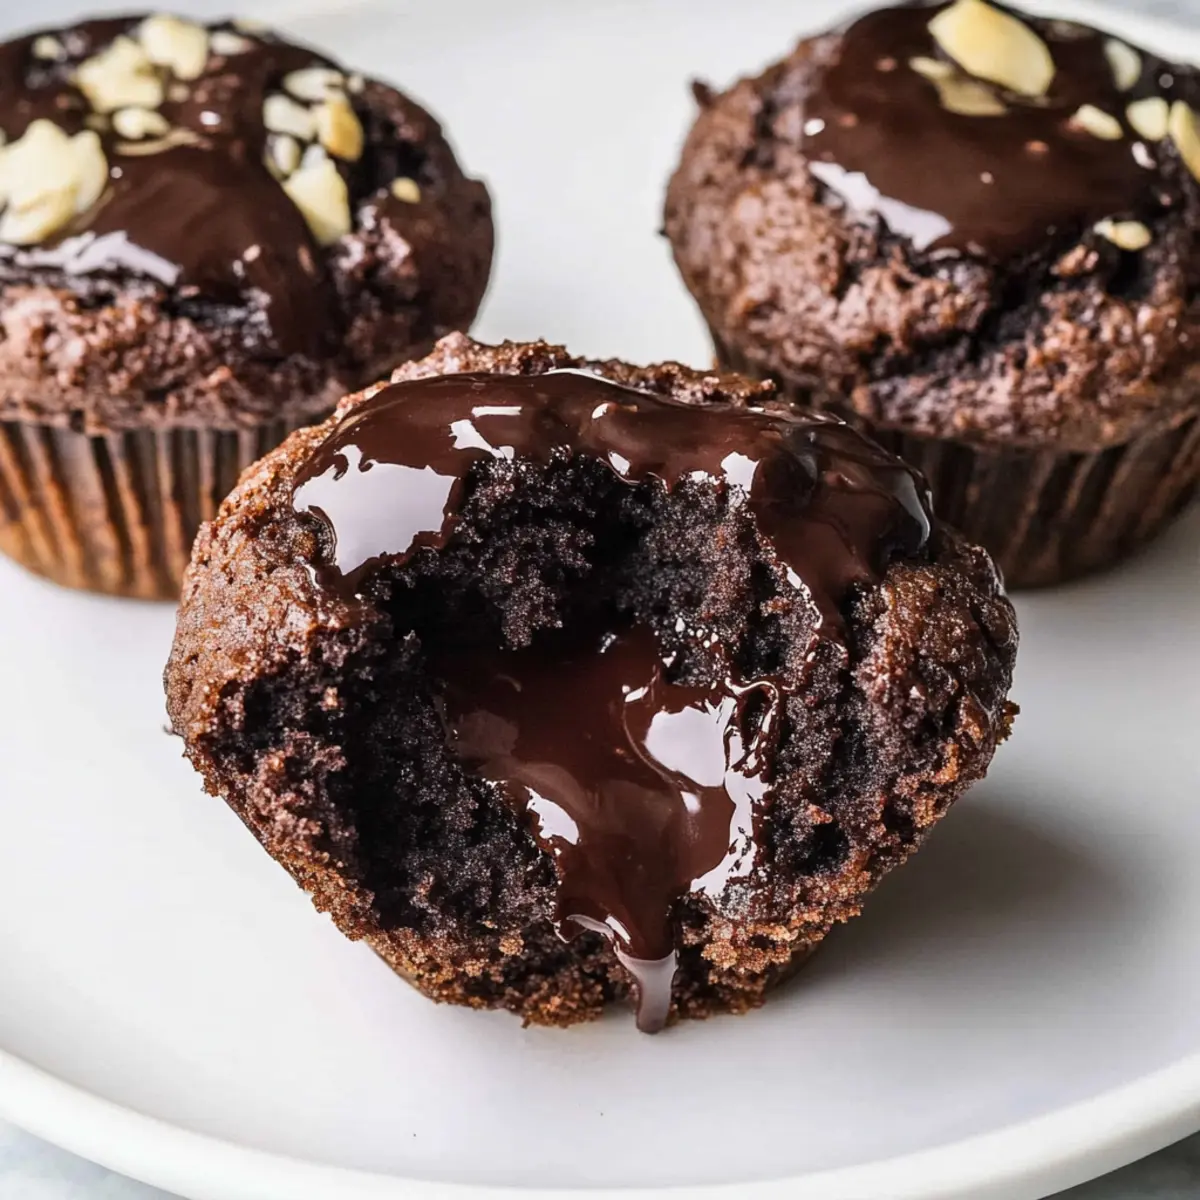
The scent of warm chocolate wafting through the kitchen can turn any day around, can’t it? I remember the first time I took a bite of a Molten Chocolate Lava Muffin; it was like sinking my teeth into a cloud of fudgey goodness. These delightful treats are a game-changer, combining the elegance of a bakery-style dessert with the comfort of home baking. With their gooey center and deep chocolate flavor, you can whip up these indulgent muffins in under an hour—perfect for impressing guests or treating yourself after a long day. Plus, they’re make-ahead friendly, so you can enjoy them fresh, warm, and oozing with chocolatey bliss anytime you please. Are you ready to elevate your baking game and dive into this chocolatey delight?
Why are Molten Chocolate Muffins amazing?
Decadent Dessert: These muffins deliver a rich chocolate experience that rivals any fancy dessert from your local bakery. Gooey Center: Each bite unveils a wonderful molten center, sure to delight chocolate lovers! Quick & Easy: You can prepare them in under an hour, making them perfect for unexpected cravings or last-minute guests. Versatile Delight: Feel free to swap out chocolate chips for peanut butter chips or even try a sourdough variation for a twist. Make-Ahead Friendly: Bake in advance and enjoy warm, or freeze for future indulgences — simply reheat for gooey perfection anytime! Dive into these irresistible treats and experience the joy of chocolate baking!
Molten Chocolate Muffin Ingredients
For the Muffins
- Brown Sugar – Adds sweetness and moisture; can substitute with coconut sugar for a lower glycemic index.
- Eggs – Acts as a binding agent for a tender crumb.
- Whole Milk – Provides richness and moisture; substitute with non-dairy milk for a dairy-free version.
- Vegetable Oil – Adds fat for texture; can replace with melted coconut oil for a different flavor.
- Vanilla Extract – Enhances overall flavor; vanilla bean paste is a richer alternative if desired.
- Apple Cider Vinegar – Reacts with baking soda for a better rise; white vinegar or lemon juice can be used as substitutes.
- All-Purpose Flour – Provides structure; use a gluten-free blend for a gluten-free option.
- Dutch-Processed Cocoa Powder – Gives a deep chocolate flavor and color; do not substitute with regular cocoa for best results.
- Baking Powder & Baking Soda – Essential leavening agents for rise.
- Instant Espresso Powder – Optional, but enhances the chocolate flavor; can be omitted if not available.
- Salt – Balances sweetness and enhances overall flavor.
- Chocolate Chips – Creates melty chocolate pockets; swap for white or dark chocolate for a twist.
- Coarse Sugar – Optional topping for added texture and visual appeal.
For the Filling
- Granulated Sugar – Adds sweetness to the rich filling.
- Heavy Cream – Creates a smooth and decadent chocolate filling.
- Unsweetened Cocoa Powder – Contributes to an intense chocolate flavor.
- Butter – Provides richness and a velvety mouthfeel.
- Salt – Balances sweetness within the filling.
Indulge in the rich, gooey life with these Molten Chocolate Muffins, where every bite reveals chocolatey bliss!
Step‑by‑Step Instructions for Molten Chocolate Muffins
Step 1: Preheat and Prepare
Begin by preheating your oven to 350°F (175°C). While it heats, line a 12-cup muffin pan with paper liners, ensuring they’re snugly fitted. This will help the Molten Chocolate Muffins rise beautifully and maintain their shape. As the oven warms, check off the prep work to have everything in place for a smooth baking experience.
Step 2: Mix the Wet Ingredients
In a large mixing bowl, whisk together brown sugar, eggs, whole milk, vegetable oil, vanilla extract, and apple cider vinegar until the mixture is smooth and well combined. This deliciously sweet base is crucial for the moistness of your muffins. The result should be a glossy blend that signals your muffins will be rich and indulgent.
Step 3: Combine the Dry Ingredients
Next, sift in the all-purpose flour, Dutch-processed cocoa powder, baking powder, baking soda, instant espresso powder, and salt over the wet mixture. Gently fold the ingredients together with a spatula, just until combined. Be careful not to overmix; a few lumps are perfectly fine. This step ensures your Molten Chocolate Muffins achieve that delightful texture.
Step 4: Add the Chocolate Chips
Now it’s time to enhance your batter! Carefully fold in the chocolate chips, making sure they’re evenly distributed throughout the muffin mixture. This will create gorgeous pockets of melted chocolate in the muffins. Once mixed, fill each muffin cup to the brim, inviting that tempting gooey center to unfold during baking.
Step 5: Sprinkle with Coarse Sugar
For an extra touch of texture and sweetness, sprinkle coarse sugar on top of the filled muffin cups. This crunchy topping will caramelize slightly during baking, adding delightful contrast to the molten chocolate inside. With the sugar added, you’re ready to pop these beauties into the oven!
Step 6: Bake to Perfection
Bake the Molten Chocolate Muffins for 20-25 minutes, or until a toothpick inserted into the center comes out with a few moist crumbs. The tops should look slightly domed and set, a tempting sign of gooey goodness waiting inside. As they bake, the rich aroma of chocolate will fill your kitchen, tantalizing everyone nearby.
Step 7: Cool and Prepare the Filling
After baking, let the muffins cool in the pan for about 5 minutes. While they cool, prepare the filling by combining granulated sugar, heavy cream, unsweetened cocoa powder, butter, and a pinch of salt in a saucepan over medium-low heat. Stir continuously until the mixture is glossy and smooth—this decadent filling will soon transform your muffins.
Step 8: Create the Gooey Center
Once the muffins are warm but not too hot to handle, take a sharp knife and cut a tunnel into the center of each muffin. Gently pipe the luscious chocolate filling into the center until it begins to ooze out slightly. This final step brings the thrill of cooking to life, resulting in incredibly indulgent Molten Chocolate Muffins ready to be savored!
Molten Chocolate Muffins Variations & Substitutions
Feel free to let your creativity shine by customizing these delightful muffins with various ingredients and twists!
- Dairy-Free: Substitute whole milk with almond or oat milk for a dairy-free option without sacrificing flavor.
- Gluten-Free: Swap all-purpose flour for a gluten-free blend; your muffins will remain just as indulgent and delicious!
- Sourdough Twist: For a unique flavor, replace a portion of the flour with sourdough starter; this adds a delightful tanginess.
- Flavored Cocoa: Try using dark cocoa powder instead of Dutch-processed for a more intense chocolate flavor.
- Nutty Addition: Fold in chopped nuts like walnuts or hazelnuts to introduce a lovely crunch and flavor contrast.
- Paying Tribute to Peanut Butter: Enhance the indulgence by mixing as many chocolate chips with peanut butter chips for a delightful twist.
- Spicy Kick: Add a dash of cayenne pepper or chili powder to the batter for a surprising and exciting heat level.
- Mini Muffins: Transform the recipe into mini muffins for bite-sized treats that cook faster — perfect for sharing!
No matter how you choose to make these, your Molten Chocolate Muffins are bound to impress! And if you love chocolate desserts, make sure to check out my wonderful recipes for Chocolate Cheesecake Forever or Easy Chocolate Chip Cookies. Happy baking!
Expert Tips for Molten Chocolate Muffins
-
Choose Quality Ingredients: Use high-quality Dutch-processed cocoa powder for the best deep chocolate flavor in your Molten Chocolate Muffins.
-
Don’t Overmix: Be gentle when folding in the dry ingredients; overmixing can lead to dense muffins. Lumps are fine!
-
Check Temperature: Ensure your muffins are warm when adding the filling to prevent it from melting out too quickly.
-
Customize with Fillings: Try different chocolate types or even flavored chocolate chips for unique twists—peanut butter chips make a delightful alternative!
-
Perfect Storage: Keep leftovers in an airtight container for up to 3 days or freeze for up to a month. Reheat briefly to enjoy gooey goodness again!
-
Watch the Bake Time: Start checking your muffins at 20 minutes; every oven is different, and you want that perfect gooey center without overbaking!
Make Ahead Options
These Molten Chocolate Lava Muffins are perfect for meal prep enthusiasts! You can prepare the muffin batter and fill it into the muffin cups up to 24 hours in advance, storing it covered in the refrigerator to keep it fresh. In addition, the rich filling can be made ahead and refrigerated for up to 3 days. When you’re ready to indulge, simply fill the muffins with the cold filling and bake them right from the fridge; they will turn out just as delicious, with a gooey center that oozes upon biting. This is a fantastic way to save time on busy weeknights while still enjoying the delightful flavors of freshly baked Molten Chocolate Muffins!
What to Serve with Molten Chocolate Lava Muffins
The perfect indulgence awaits as you create a delightful spread to accompany these luscious chocolate treats!
-
Vanilla Ice Cream: A classic pairing, the creamy chill of vanilla ice cream contrasts beautifully with the warm, gooey center of each muffin, creating a heavenly experience.
-
Whipped Cream: Light and airy, a dollop of freshly whipped cream on top elevates the chocolate intensity, adding a sweet, fluffy touch that complements the rich flavors.
-
Fresh Berries: Juicy raspberries or strawberries add a refreshing tartness that cuts through the richness of the muffins, enhancing each bite with a burst of natural sweetness.
-
Espresso or Coffee: Nothing like a warm cup of coffee to pair with chocolate! The deep flavors of espresso or a rich brew enhance the cocoa profile, making for a cozy afternoon treat.
-
Dark Chocolate Sauce: Drizzle warm dark chocolate sauce over the muffins for an extra dose of indulgence. The combination of textures will leave chocolate lovers dreaming.
-
Caramel Sauce: A light drizzle of caramel adds a sweet, buttery richness that contrasts perfectly with the chocolate, making every bite an explosion of flavors.
-
Sea Salt Garnish: A sprinkle of flaky sea salt on top adds a sophisticated touch, balancing the sweetness and elevating the chocolate’s deep flavor to new heights.
-
Chilled Milk: Sometimes, the classic combination is unbeatable! A cold glass of milk is a nostalgic way to enjoy these muffins and enhance the overall sweetness.
With these delightful pairings, your Molten Chocolate Lava Muffins will steal the show at any dessert table!
How to Store and Freeze Molten Chocolate Muffins
Airtight Container: Store your muffins in an airtight container at room temperature for up to 3 days to maintain their gooey center and freshness.
Freezer Friendly: For longer storage, freeze the muffins individually wrapped in plastic wrap, then placed in a freezer bag for up to a month.
Reheating: When you’re ready to enjoy, microwave the muffins for 15-20 seconds to bring back that warm molten goodness before serving.
Avoid Moisture: Ensure the muffins are completely cooled before storing to prevent moisture buildup, which can affect their delightful texture.
Molten Chocolate Lava Muffins Recipe FAQs
How do I choose the best chocolate for my Molten Chocolate Muffins?
Absolutely! For the richest flavor, opt for high-quality Dutch-processed cocoa powder. It’s known for its deep chocolate taste and rich color, which can elevate your muffins. Avoid using regular cocoa powder as it doesn’t react the same way and may yield a different flavor profile. If you’re using chocolate chips, semi-sweet or dark chocolate varieties work beautifully, while peanut butter chips offer a delightful twist!
How should I store my Molten Chocolate Muffins?
Very simply! Keep your muffins in an airtight container at room temperature for up to 3 days. This keeps them fresh and gooey. If you need to store them longer, freeze them wrapped in plastic wrap or in a freezer bag for up to a month. Reheating for about 15-20 seconds in the microwave before serving brings back that irresistible molten center!
Can I freeze Molten Chocolate Muffins? How?
Definitely! To freeze, let the muffins cool completely after baking. Wrap each muffin individually in plastic wrap, then place them in a freezer-safe bag. This prevents freezer burn and keeps them fresh for up to 3 months. When you’re ready to enjoy, just pop one in the microwave for 15-20 seconds, and voila! It’s like they were just baked.
What if my muffins are overcooked and have no molten center?
Not to worry! If you accidentally overbake your muffins, they might not have that delicious gooey center — but they can still be enjoyed differently. You can turn them into a chocolate parfait by crumbling the muffins and layering them with ice cream or whipped cream. For next time, keep an eye on them and start checking around the 20-minute mark to ensure they’re just right!
Are there any dietary substitutions for Molten Chocolate Muffins?
Absolutely! You can easily make these muffins more accommodating. For a dairy-free option, substitute whole milk with almond milk or oat milk. If you need a gluten-free version, swap the all-purpose flour with a gluten-free blend. And if you want to avoid sugar, use coconut sugar or a sugar substitute that measures like sugar—just ensure it’s suitable for baking. Enjoy experimenting!
Irresistible Molten Chocolate Muffins with a Gooey Center
Ingredients
Equipment
Method
- Preheat your oven to 350°F (175°C) and line a 12-cup muffin pan with paper liners.
- In a large mixing bowl, whisk together brown sugar, eggs, whole milk, vegetable oil, vanilla extract, and apple cider vinegar until smooth.
- Sift in the all-purpose flour, Dutch-processed cocoa powder, baking powder, baking soda, instant espresso powder, and salt over the wet mixture and fold gently.
- Fold in the chocolate chips and fill each muffin cup to the brim.
- Sprinkle coarse sugar on top of the filled muffin cups.
- Bake for 20-25 minutes, until a toothpick comes out with moist crumbs.
- Let the muffins cool in the pan for about 5 minutes.
- Prepare the filling by combining granulated sugar, heavy cream, unsweetened cocoa powder, butter, and salt in a saucepan over medium-low heat.
- When muffins are cool enough, cut a tunnel in each muffin and pipe in the chocolate filling.
Leave a Reply