
It was a sun-soaked afternoon, laughter echoing from every corner of the backyard as family and friends gathered for a summer BBQ. Just as I was setting up the picnic tables, I felt a burst of excitement at the thought of unveiling my latest creation: Red, White, and Blue Mini Cakes. These delightful, vibrant treats are as easy to whip up as they are impressive, making them the perfect centerpiece for any festive occasion. Not only do they bring a splash of color to the table, but their soft, moist layers and creamy frosting ensure that everyone leaves with a smile. Whether it’s Memorial Day, the Fourth of July, or simply a sunny weekend, these mini cakes are a crowd-pleaser that can easily adapt to fit any celebration. Ready to elevate your dessert game? Let’s dive into the sweetness!
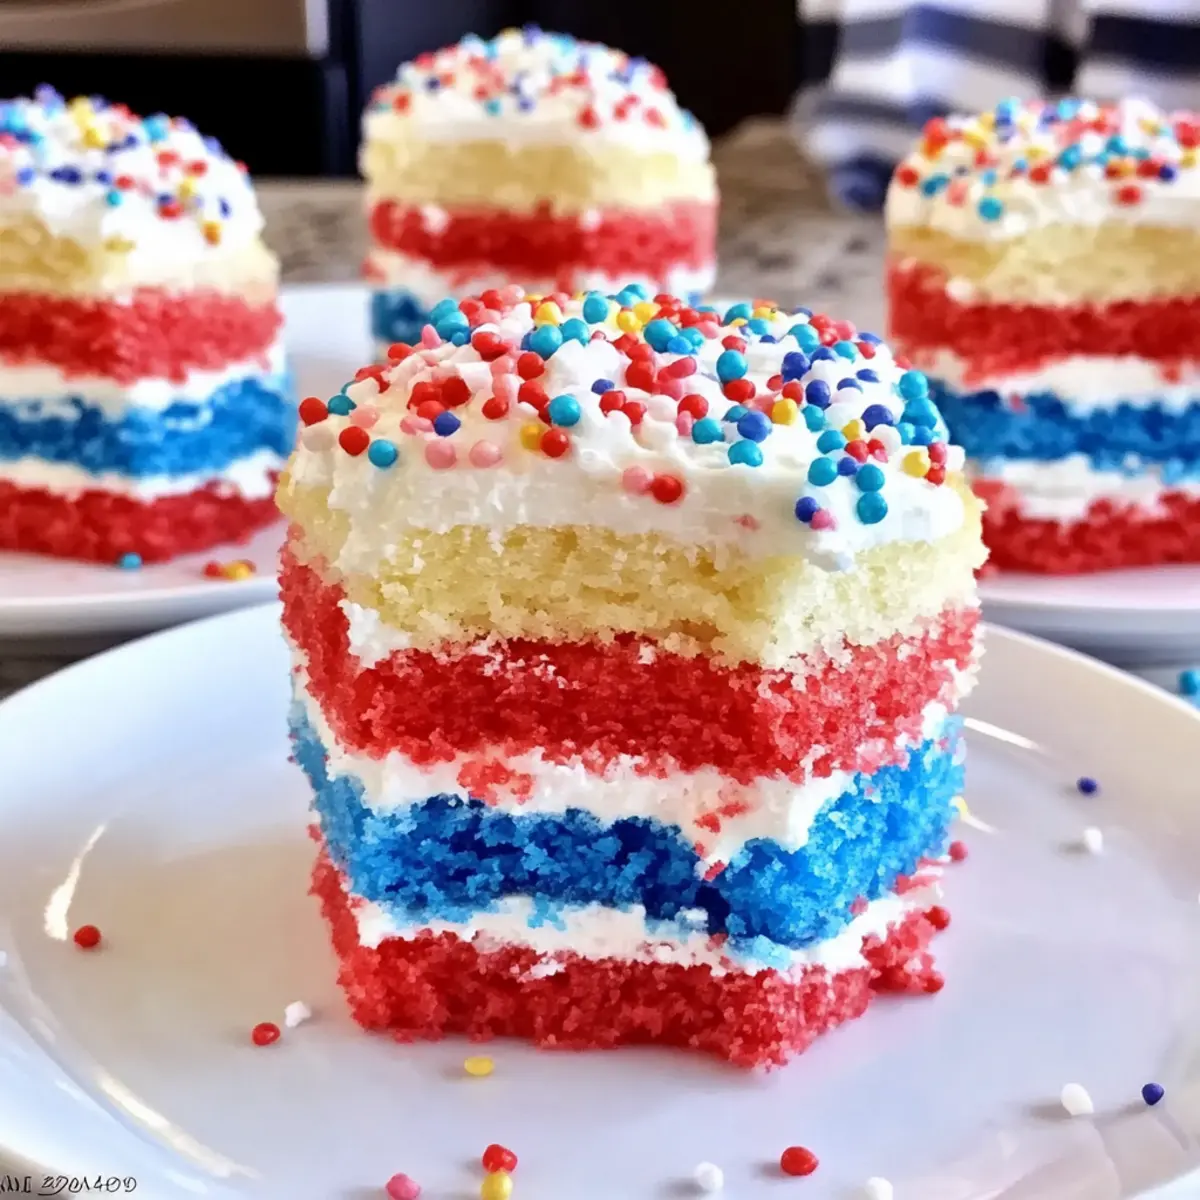
Why Are Mini Cakes So Fun?
Vibrant Colors: These Red, White, and Blue Mini Cakes are not only visually stunning, but they also bring a festive flair to any occasion.
Easy to Make: Quick preparation means anyone can create these delightful treats, even if you’re just beginning your baking journey.
Versatile Delight: Perfect for summer BBQs or patriotic holidays, they’re easily adaptable for any theme—try green for St. Patty’s Day or pink for Valentine’s!
Joyful Presentation: Their petite size makes them an ideal dessert for sharing, ensuring everyone at your gathering gets a piece of fun.
Lasting Impressions: With their soft texture and creamy frosting, these mini cakes are sure to impress guests, making them a go-to choice for celebrations. Pair them with some Muffin Tin Mini Quiche for a well-rounded festive spread!
Red, White, and Blue Mini Cakes Ingredients
For the Cake Base
- Nonstick Spray – Ensures your mini cakes release easily from the pans.
- Flour – Lightly coats the pans for a smooth cake removal.
- Vanilla Cake Mix – Forms the sweet base; a white cake mix works best for that vibrant effect.
- Red and Blue Food Coloring – Provides the striking colors that make these mini cakes festive.
For the Frosting
- Vanilla or White Frosting – Adds creaminess and sweetness between the layers, perfect for those Red, White, and Blue Mini Cakes.
For Decoration
- Red, White, and Blue Sprinkles – Elevate the celebration vibe and add a playful finish to your cakes.
Step‑by‑Step Instructions for Red, White, and Blue Mini Cakes
Step 1: Preheat and Prepare Pans
Begin by preheating your oven to 350°F (175°C). While the oven heats up, spray three 9-inch cake pans with nonstick spray and dust them lightly with flour to ensure easy release after baking. This preparation is crucial for your Red, White, and Blue Mini Cakes to come out perfectly.
Step 2: Mix the Cake Batter
In a mixing bowl, prepare the vanilla cake mix according to the package instructions. For a true red, white, and blue effect, replace whole eggs with egg whites to maintain the light color of the cake. Stir well until the batter is smooth and creamy, then it’s ready for coloring.
Step 3: Color the Batter
Divide the prepared batter into three equal portions. Use red food coloring to color one portion vibrant red and blue food coloring for the second portion. Leave the third portion uncolored to create the white layer. Mix until each batter achieves a vibrant hue, which will make your Red, White, and Blue Mini Cakes festive.
Step 4: Bake the Cake Layers
Pour each colored batter into the prepared cake pans, filling them evenly. Place the pans in the preheated oven and bake for 10-12 minutes or until a toothpick inserted in the center comes out clean. Keep an eye on them as they bake, looking for a slight golden crust that indicates they’re done.
Step 5: Cool Cakes Slightly
Once baked, remove the pans from the oven and let them cool for about 5-10 minutes. Gently run a knife around the edges to loosen the cakes, then carefully remove them from the pans. Transfer the layers to a wire rack to cool completely, ensuring they are cool to the touch before frosting.
Step 6: Cut Out Cake Circles
After the cake layers have cooled completely, use a 2.5-inch circle cutter to cut out 7 circles from each layer. If any layer has domed on top, gently level it using a serrated knife to ensure the mini cakes stack neatly without wobbling.
Step 7: Assemble Your Mini Cakes
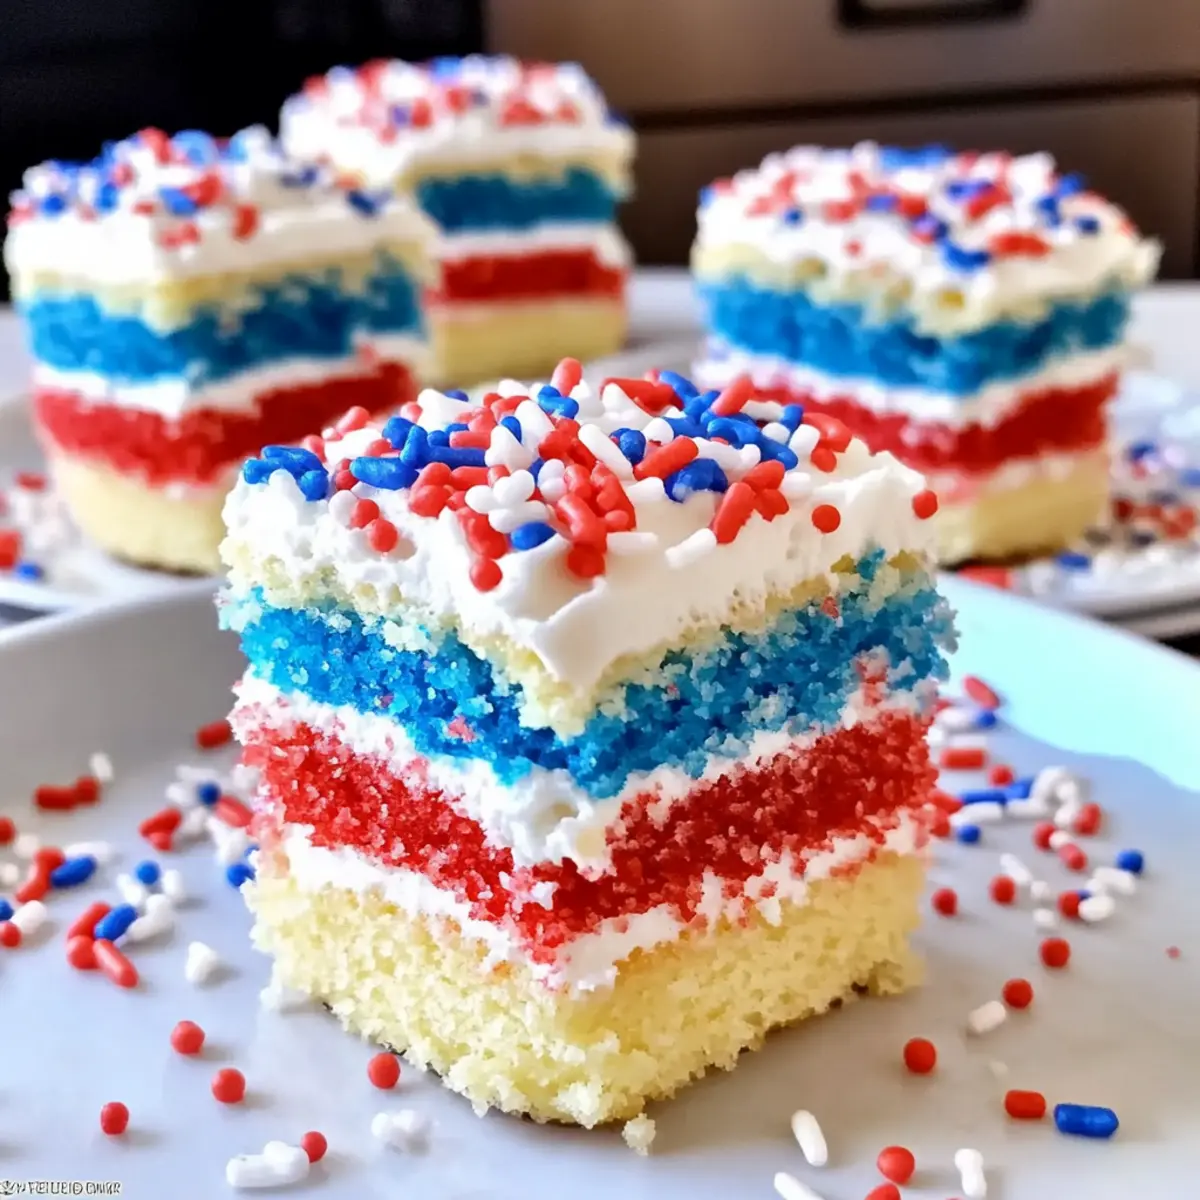
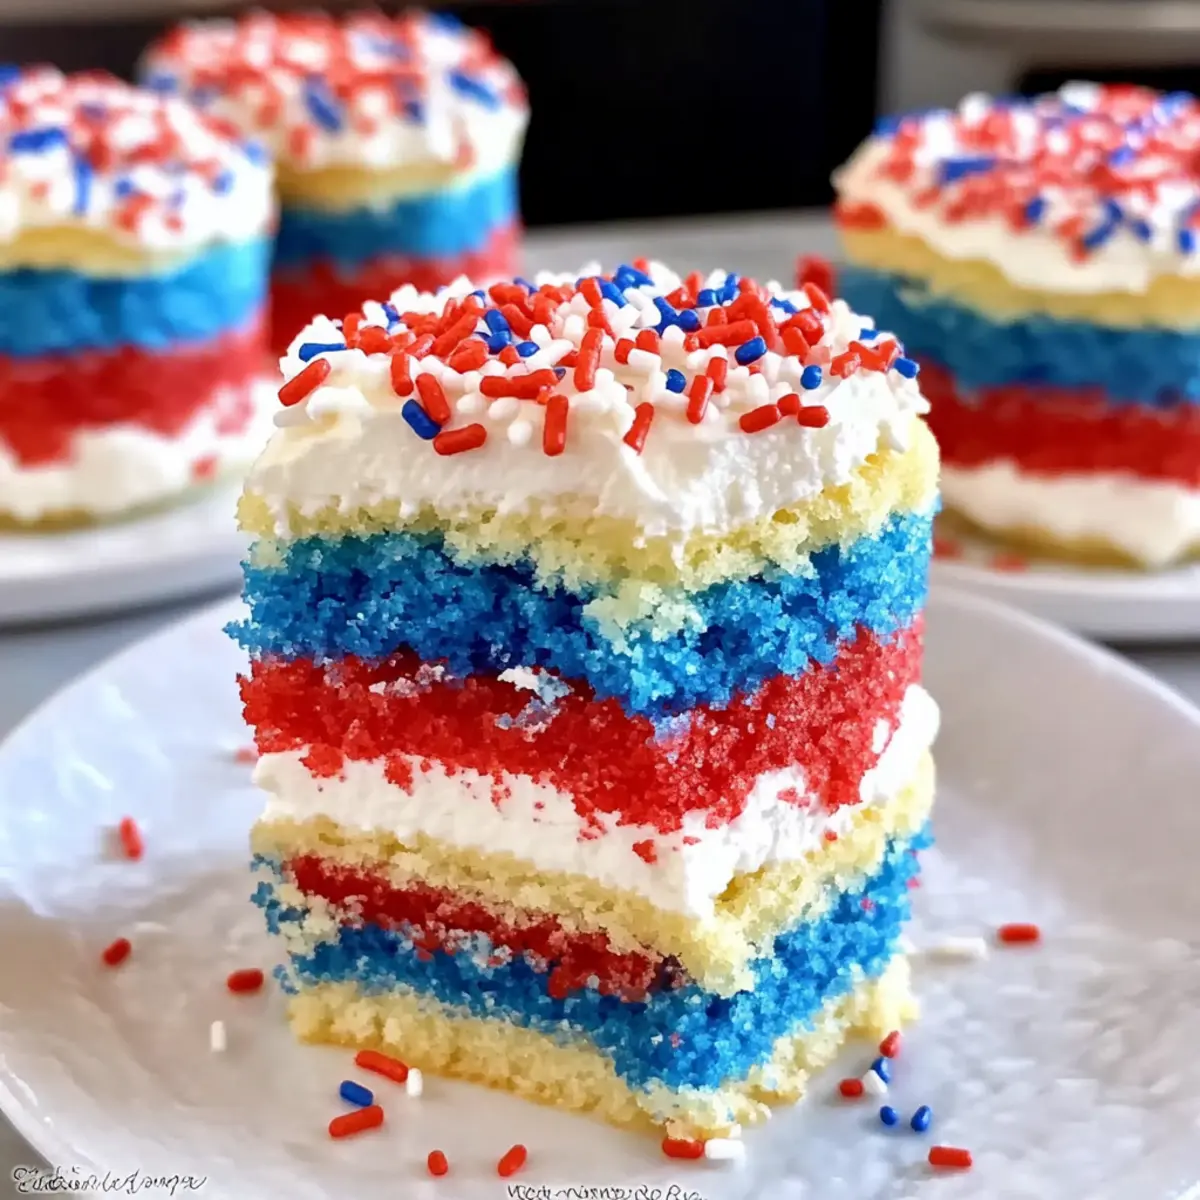
Start assembling your Red, White, and Blue Mini Cakes by placing a blue circle down, followed by a layer of frosting to hold it in place. Then, add a white circle on top, followed again by frosting, and finally, stack a red circle. Repeat this process until all circles are stacked, finishing with a layer of frosting on top.
Step 8: Frost and Decorate
Once assembled, frost the sides of each mini cake if desired, creating a smooth layer of frosting all around. Finally, shower the tops with red, white, and blue sprinkles to add a festive touch. Serve immediately or store in a cool place until ready to enjoy these delightful treats!
Expert Tips for Red, White, and Blue Mini Cakes
-
Color Depth: Use gel food coloring: For vibrant hues, opt for Wilton gel food coloring instead of liquid. This ensures the colors pop beautifully in your Red, White, and Blue Mini Cakes.
-
Cake Layers: Leveling is key: If your cakes dome while baking, use a serrated knife to level them off before cutting out the circles. This creates a stable base for stacking.
-
Frosting Technique: Don’t overdo it: Use a gentle hand when frosting between layers to avoid excess spillover. A thin layer is often enough to secure the layers together beautifully.
-
Cool Completely: Patience pays off: Make sure your cakes are completely cooled before cutting and frosting; warm cakes can crumble or distort during assembly.
-
Storing Sprinkles: Add sprinkles last: For the best aesthetic and to maintain crunchiness, decorate the cakes with sprinkles just before serving, rather than storing them with the sprinkles on top.
What to Serve with Red, White, and Blue Mini Cakes?
The perfect summer gathering deserves an equally delightful spread, and these vibrant treats can shine even brighter with the right accompaniments.
-
Creamy Vanilla Ice Cream: A scoop of this classic treat brings a cool, creamy contrast to the mini cakes, enhancing their sweetness.
-
Fresh Berry Salad: Juicy strawberries, blueberries, and raspberries add a refreshing pop of flavor, balancing the richness of the cakes beautifully.
-
Lemonade or Iced Tea: Serve alongside a chilled pitcher of homemade lemonade or iced tea for a refreshing drink that completes the summer vibe.
-
Grilled Seafood Skewers: Light and savory, these skewers provide a stunning contrast to the sweet cakes, making for a balanced meal.
-
Mini Quiches: These savory bites can offer a tasty and filling savory option that contrasts with the sweetness of the cakes for a fun brunch.
-
Patriotic Fruit Platter: Combine strawberries, blueberries, and bananas in a star shape to create an edible centerpiece that echoes the colors of the cakes.
-
Chocolate Dipped Pretzels: Sweet and salty, these treats offer a delightful crunch that pairs well with the soft texture of the mini cakes.
-
Coconut Lemon Bars: Add an extra layer of sweetness and zest with these bright, chewy bars that evoke summer sunshine with every bite.
-
Sparkling Water Infused with Mint: Refreshingly fizzy, a minty sparkling water can cleanse the palate and keep guests feeling bright and lively!
Make Ahead Options
These Red, White, and Blue Mini Cakes are ideal for busy home cooks who want to save time while delighting their guests! You can prepare the cake layers up to 24 hours in advance by baking them, cooling completely, and wrapping each layer tightly in plastic wrap. Store them in the refrigerator to maintain moisture and prevent drying out. The frosting can be prepared a day ahead as well and stored in an airtight container at room temperature. When you’re ready to serve, simply cut out the circles and assemble the cakes with frosting and sprinkles. This way, you’ll enjoy the same delicious taste without the last-minute rush!
How to Store and Freeze Red, White, and Blue Mini Cakes
Room Temperature: Keep the mini cakes in an airtight container at room temperature for up to 3 days, ensuring they remain moist and delicious.
Fridge: If storing longer, refrigerate in an airtight container for up to 5 days; wrap each mini cake individually to prevent them from drying out.
Freezer: For longer storage, freeze the mini cakes for up to 3 months. Wrap each cake layer tightly in plastic wrap and then place in a freezer bag. Thaw in the fridge overnight before serving.
Reheating: If enjoyed cold or chilled, bring them to room temperature or warm slightly in a microwave for about 10-15 seconds. Enjoy your delightful Red, White, and Blue Mini Cakes with a scoop of ice cream for an extra treat!
Red, White, and Blue Mini Cakes: Endless Possibilities
Feel free to get creative and put your spin on these charming mini cakes, delighting your senses with every delicious tweak!
-
Flavor Swaps: Use lemon or almond extract in the cake mix for a delightful twist on the classic vanilla flavor.
-
Dairy-Free Delight: Substitute almond milk and coconut cream frosting to make these mini cakes dairy-free without sacrificing taste.
-
Chocolate Lovers: Mix cocoa powder into one portion of the batter for a rich chocolate layer surrounded by colorful vanilla layers.
-
Layered Varieties: Swap out colored frosting with whipped ganache for a luxurious touch and a light, decadent flavor.
-
Berry Burst: Add fresh berries between layers for a juicy surprise, choosing strawberries, blueberries, or raspberries to complement the vibrant cake.
-
Mini Toppers: Elevate the presentation by topping with edible flowers or fruit slices, perfect for a garden party or summer BBQ.
-
Spiced Twist: Flavors like cinnamon or nutmeg can be added to the batter for a holiday version, creating mini cakes that’s reminiscent of fall festivities.
The versatility of these treats makes them perfect for year-round celebrations, and if you’re looking for more bite-sized delights, be sure to try these Muffin Tin Mini Quiche alongside your Red, White, and Blue Mini Cakes for a well-rounded spread!
Red, White, and Blue Mini Cakes Recipe FAQs
How do I choose the right food coloring for the cakes?
Absolutely! For the best results, I recommend using gel food coloring, like Wilton brand, which provides vibrant hues without watering down your batter. Liquid food coloring can work, but it often requires more to achieve the same color intensity. Remember, a little gel goes a long way!
How can I store the mini cakes properly?
You can store your Red, White, and Blue Mini Cakes in an airtight container at room temperature for up to 3 days. If you plan to keep them longer, wrap each cake individually and refrigerate for up to 5 days. This will help maintain their moisture and freshness.
Can I freeze the mini cakes?
Certainly! To freeze your mini cakes, wrap each cooled layer tightly in plastic wrap, then place them in a freezer bag or container. They will keep well for up to 3 months. When you’re ready to enjoy them, simply thaw in the fridge overnight, then serve them at room temperature or warm them briefly in the microwave!
What should I do if my cakes dome while baking?
No worries! If your cakes have domed, simply let them cool for a few minutes, then use a serrated knife to gently level off the tops before cutting out your circles. This will ensure that your mini cakes stack neatly and look professional when assembled.
Are these cakes suitable for people with allergies?
When it comes to dietary considerations, these mini cakes contain typical allergens like wheat and dairy, found in the cake mix and frosting. If you have guests with allergies, consider using gluten-free cake mix and dairy-free frosting alternatives to make them suitable for everyone to enjoy. Always check labels to ensure safety!
Red, White, and Blue Mini Cakes for a Festive Summer Delight
Ingredients
Equipment
Method
- Preheat your oven to 350°F (175°C). Spray three 9-inch cake pans with nonstick spray and dust with flour.
- In a mixing bowl, prepare the vanilla cake mix according to package instructions, replacing whole eggs with egg whites.
- Divide the prepared batter into three portions. Color one portion red, the second blue, and leave the third uncolored.
- Pour each colored batter into the prepared pans and bake for 10-12 minutes or until a toothpick comes out clean.
- Cool the cakes in pans for 5-10 minutes, then transfer to a wire rack to cool completely.
- Cut out 7 circles from each cake layer using a 2.5-inch circle cutter, leveling any domed layers.
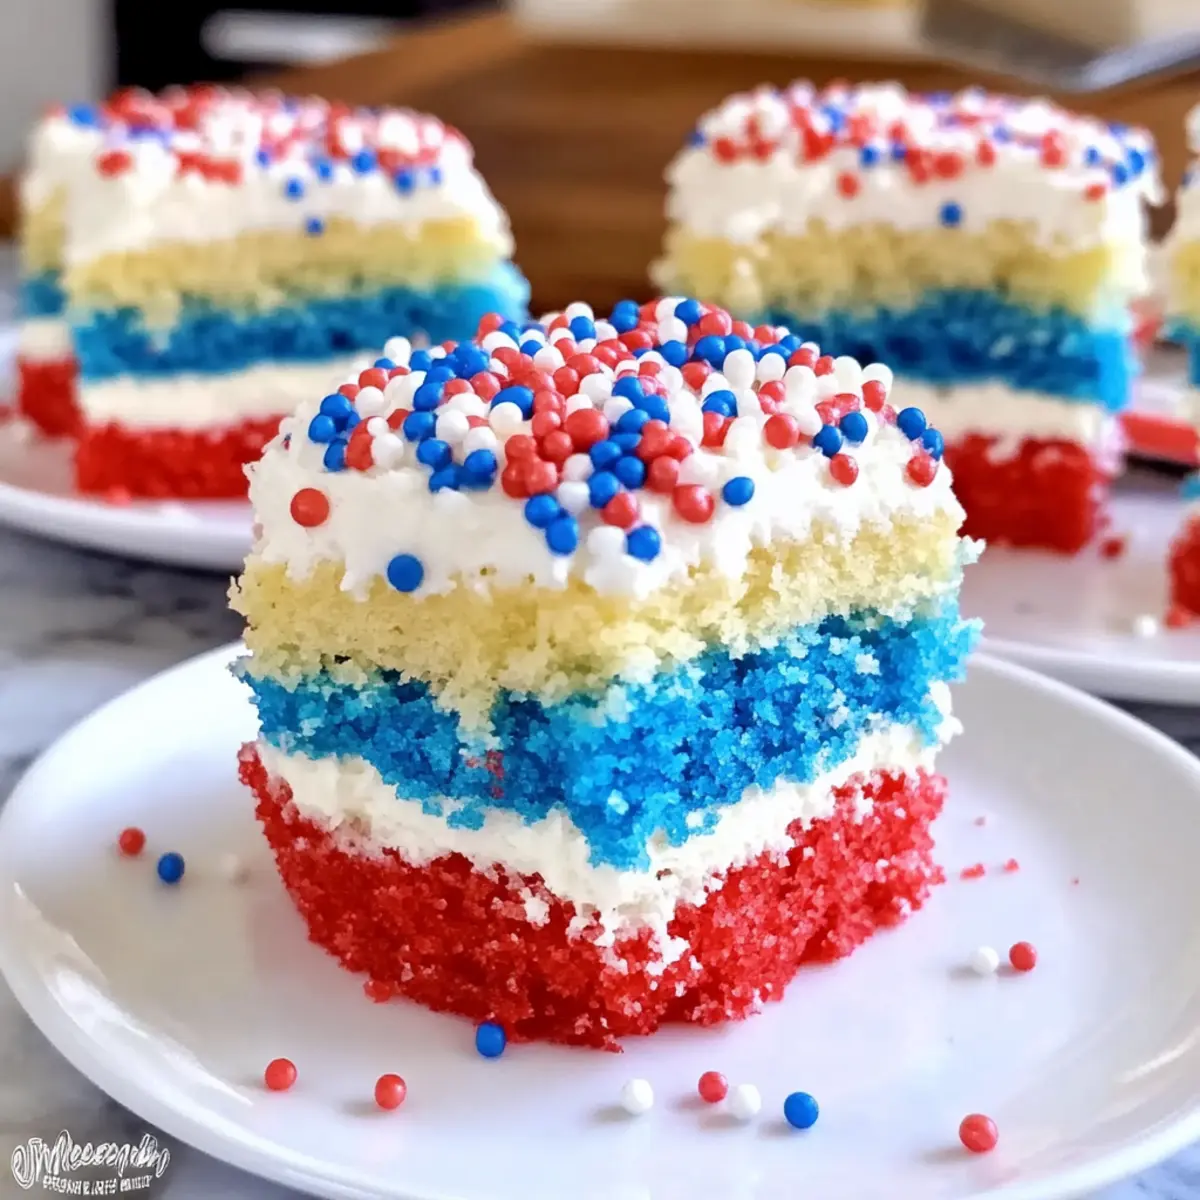
- Assemble the cakes by layering a blue circle, frosting, white circle, frosting, and finally a red circle. Repeat until all circles are stacked.
- Frost the sides of each mini cake and decorate the top with red, white, and blue sprinkles. Serve immediately or store until ready.
Leave a Reply