
It was a sun-soaked afternoon, laughter echoing from every corner of the backyard as family and friends gathered for a summer BBQ. Just as I was setting up the picnic tables, I felt a burst of excitement at the thought of unveiling my latest creation: Red, White, and Blue Mini Cakes. These delightful, vibrant treats are as easy to whip up as they are impressive, making them the perfect centerpiece for any festive occasion. Not only do they bring a splash of color to the table, but their soft, moist layers and creamy frosting ensure that everyone leaves with a smile. Whether it’s Memorial Day, the Fourth of July, or simply a sunny weekend, these mini cakes are a crowd-pleaser that can easily adapt to fit any celebration. Ready to elevate your dessert game? Let’s dive into the sweetness!
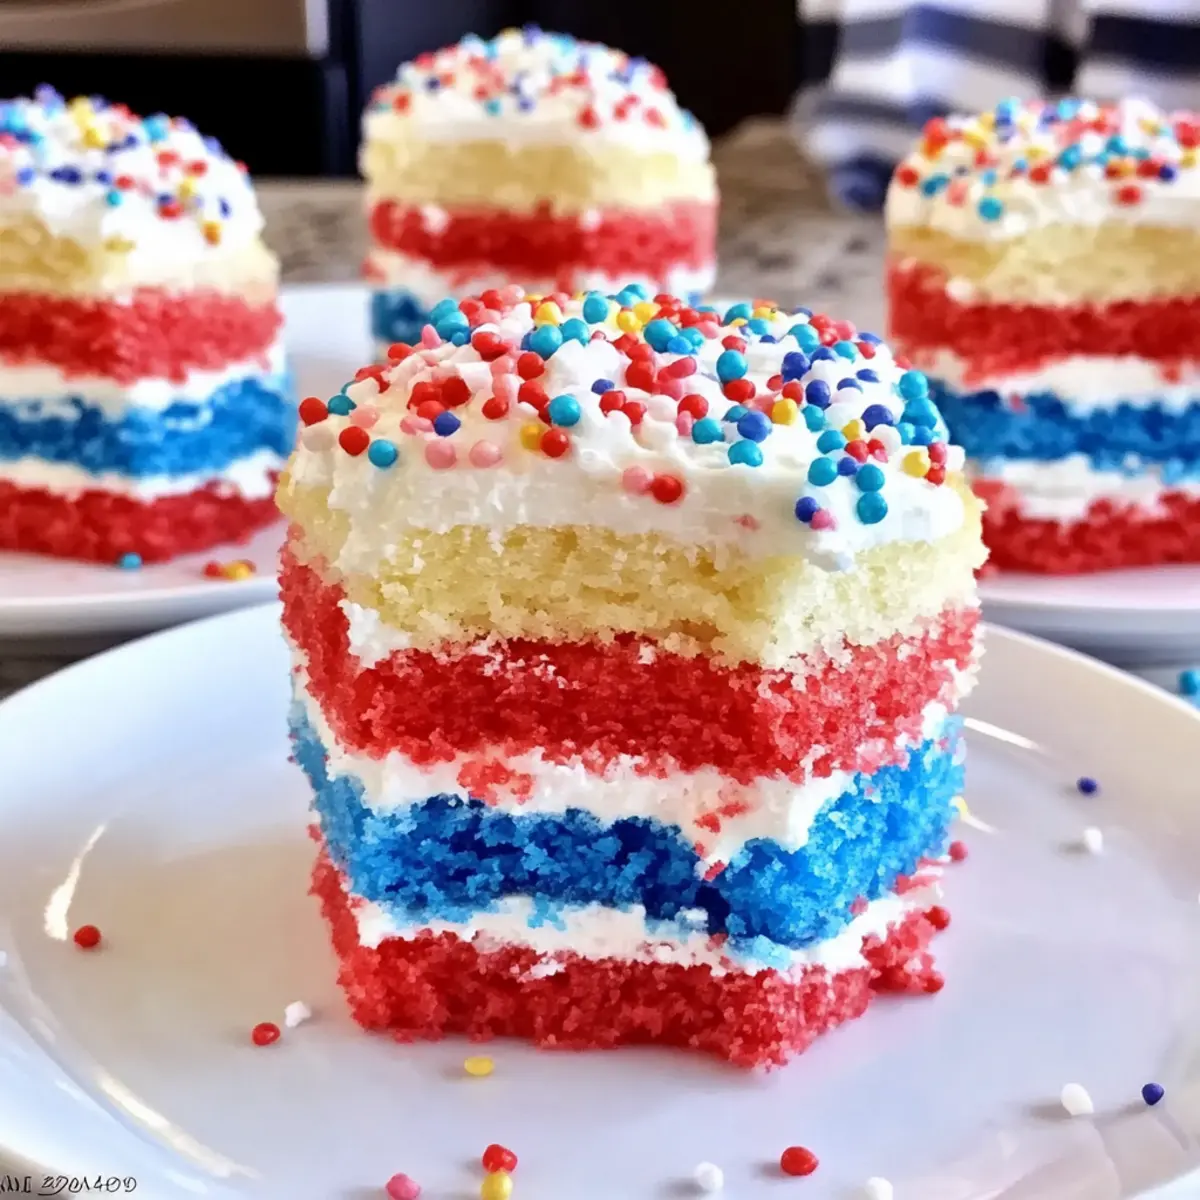
Why Are Mini Cakes So Fun?
Vibrant Colors: These Red, White, and Blue Mini Cakes are not only visually stunning, but they also bring a festive flair to any occasion.
Easy to Make: Quick preparation means anyone can create these delightful treats, even if you’re just beginning your baking journey.
Versatile Delight: Perfect for summer BBQs or patriotic holidays, they’re easily adaptable for any theme—try green for St. Patty’s Day or pink for Valentine’s!
Joyful Presentation: Their petite size makes them an ideal dessert for sharing, ensuring everyone at your gathering gets a piece of fun.
Lasting Impressions: With their soft texture and creamy frosting, these mini cakes are sure to impress guests, making them a go-to choice for celebrations. Pair them with some Muffin Tin Mini Quiche for a well-rounded festive spread!
Red, White, and Blue Mini Cakes Ingredients
For the Cake Base
- Nonstick Spray – Ensures your mini cakes release easily from the pans.
- Flour – Lightly coats the pans for a smooth cake removal.
- Vanilla Cake Mix – Forms the sweet base; a white cake mix works best for that vibrant effect.
- Red and Blue Food Coloring – Provides the striking colors that make these mini cakes festive.
For the Frosting
- Vanilla or White Frosting – Adds creaminess and sweetness between the layers, perfect for those Red, White, and Blue Mini Cakes.
For Decoration
- Red, White, and Blue Sprinkles – Elevate the celebration vibe and add a playful finish to your cakes.
Step‑by‑Step Instructions for Red, White, and Blue Mini Cakes
Step 1: Preheat and Prepare
Begin by preheating your oven to 350°F (175°C). While the oven heats, spray three 9-inch cake pans with nonstick spray and dust them lightly with flour. This will ensure that your Red, White, and Blue Mini Cakes release easily after baking. Visualize a well-coated pan for smooth layer removal when it’s time to assemble these delicious treats.
Step 2: Mix the Batter
In a large mixing bowl, prepare your vanilla cake mix according to the package instructions, substituting whole eggs with egg whites to achieve a white cake base. This adjustment will keep the colors vibrant. Once mixed until smooth, you’ll have a lightly textured batter that smells heavenly, making your kitchen feel like a baking haven.
Step 3: Divide and Color the Batter
Carefully divide the batter into three equal portions. Use red food coloring to tint one portion and blue food coloring for another, leaving the third portion uncolored for the white layer. Stir each batch gently until the colors are fully incorporated, creating a vibrant rainbow of batters for your Red, White, and Blue Mini Cakes, reminiscent of summer celebrations.
Step 4: Bake the Layers
Spoon each colored batter into the prepared cake pans, ensuring they are equally filled. Bake the layers in the preheated oven for 10-12 minutes, or until a toothpick inserted into the center comes out clean. You’ll know they are done when they are springy to the touch and lightly golden. As they bake, the lovely aroma will fill your home.
Step 5: Cool the Cakes
Once baked, let the cakes cool in the pans for about 5-7 minutes. After this, gently remove them from the pans and transfer to a wire rack to cool completely. This cooling stage is crucial to avoid melting your frosting later. Watch them turn from warm to room temperature, setting the stage for assembly.
Step 6: Cut the Layers
Using a 2.5-inch circle cutter, cut out 7 circles from each cake layer. If any tops are domed, level them off gently with a serrated knife for stability and a neat appearance. This step creates perfectly uniform mini cakes that will present beautifully in their festive colors, ensuring that your Red, White, and Blue Mini Cakes look professionally made.
Step 7: Assemble the Cakes
Begin layering your mini cakes by placing a blue circle down first, followed by a layer of frosting. Then, add a white circle, another layer of frosting, and finish with a red layer. Repeat this process until all components are assembled into delightful, colorful stacks. The cheerful colors will come together to celebrate festive occasions!
Step 8: Frost and Decorate
Once assembled, apply frosting around the sides of the mini cakes if desired, giving them a smooth and charming finish. Finally, generously decorate with red, white, and blue sprinkles on top and around the sides, creating a festive allure. These finishing touches will turn your Red, White, and Blue Mini Cakes into eye-catching desserts perfect for any summer gathering.
Make Ahead Options
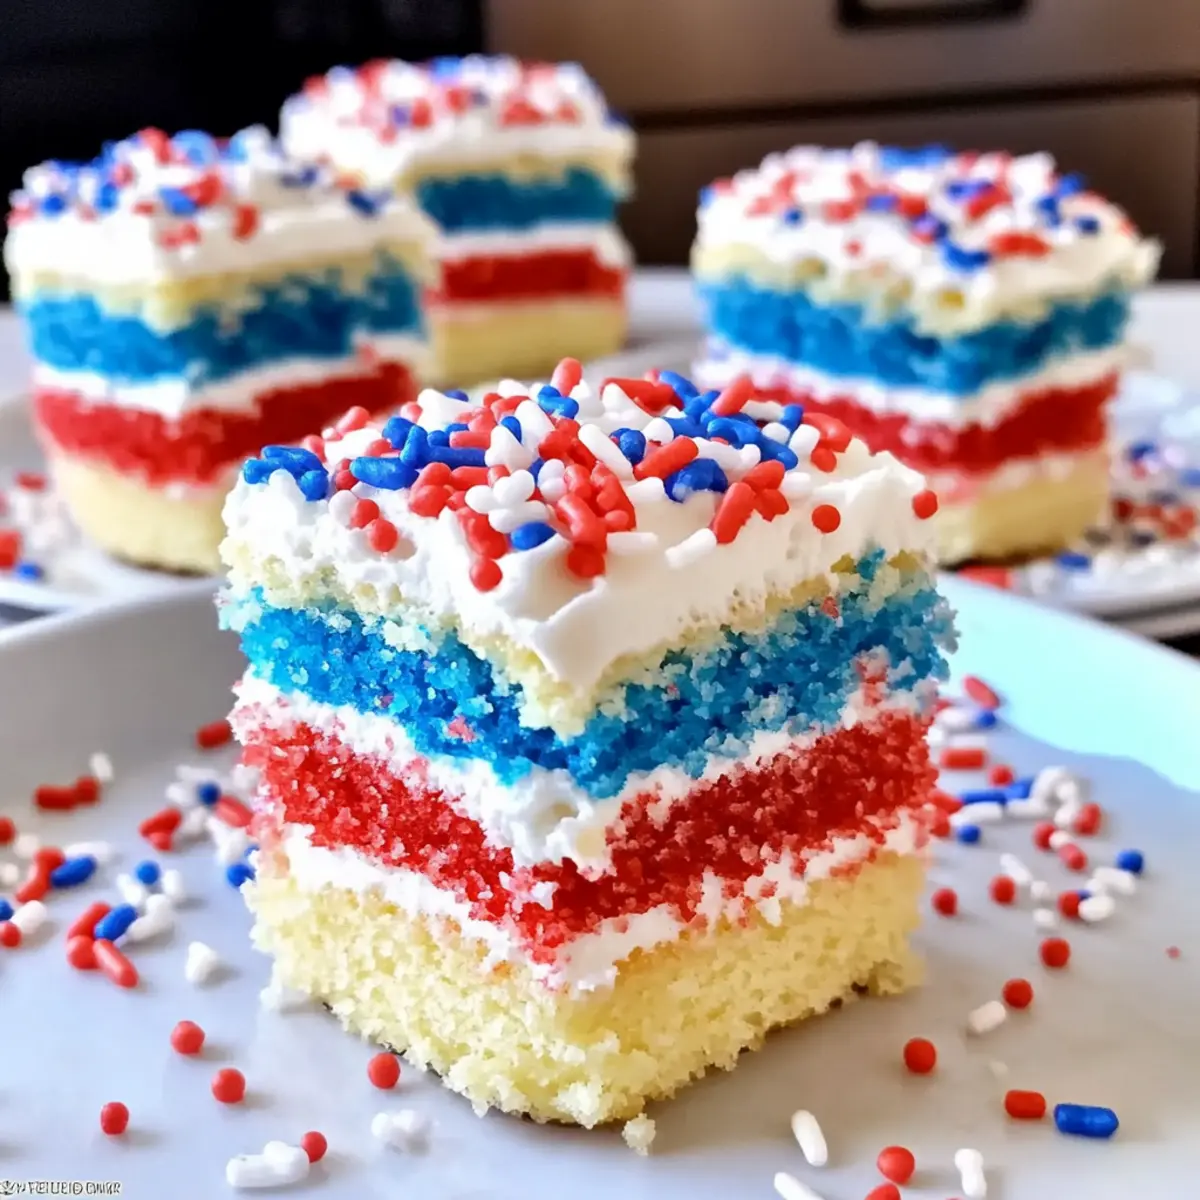
These Red, White, and Blue Mini Cakes are perfect for those busy days when you need to save time on dessert preparation! You can bake the cake layers up to 24 hours in advance. Simply cool them completely, then wrap each layer tightly in plastic wrap and refrigerate them. This not only preserves their moisture but also makes assembly a breeze when you’re ready to serve. When it’s time to wow your guests, use your favorite frosting to layer them up, adding sprinkles just before serving for that fresh, festive look! This way, your cakes will be just as delicious and vibrant, ensuring your summer gatherings are a hit with minimal effort!
Expert Tips for Red, White, and Blue Mini Cakes
- Color Vibrancy: Use gel food coloring for vibrant layers; it requires less product than liquid alternatives and provides deep hues.
- Even Layers: Level the tops of your baked cakes before cutting; this ensures even stacking and a professional look for your mini cakes.
- Chill Before Frosting: Allow the cakes to cool completely before frosting to prevent melting; a cold cake holds frosting better.
- Avoid Sticking: Instead of flour, try coating pans with cake mix for a cleaner release, ensuring your Red, White, and Blue Mini Cakes look perfect every time.
- Leftover Ideas: Use remaining cake scraps to create fun cake pops or truffles, reducing waste and providing another sweet treat!
Red, White, and Blue Mini Cakes Variations
Feel free to let your creativity shine by adapting these delightful mini cakes to suit your tastes and occasions.
-
Color Swap: Replace red and blue food coloring with green and gold for a festive St. Patrick’s Day twist.
Make your celebrations even more vibrant with alternative colors that evoke different themes. You can delight guests by customizing your mini cakes for any event! -
Flavored Cake Mix: Use chocolate cake mix instead of vanilla for a rich, decadent flavor.
This twist creates a delightful surprise in each bite, making your mini cakes perfect for chocolate lovers. Imagine pairing the chocolate layers with a raspberry frosting for a touch of luxury! -
Gluten-Free Version: Substitute the vanilla cake mix with a gluten-free alternative for a lighter twist.
Even your gluten-sensitive friends can enjoy the party with these adorable mini treats. Their soft texture will still shine through, allowing everyone to indulge without concern. -
Cream Cheese Frosting: Try a tangy cream cheese frosting for an irresistible combination with the sweet layers.
This variation offers a delightful balance of flavors that will have guests coming back for more. Add a hint of lemon zest to the frosting for a refreshing zing! -
Add Some Heat: Incorporate a dash of chili powder or cayenne pepper into the frosting for a surprising kick.
This unexpected twist will take taste buds on an exciting journey, combining the sweetness of the cake with a hint of warmth. Ideal for adventurous eaters at your next get-together! -
Decorative Options: Instead of sprinkles, use fresh fruit like blueberries and strawberries to top your cakes.
Not only do they look beautiful, but they add a refreshing burst of flavor too! Pair these with a dollop of whipped cream for an elegant finish. -
Cupcake Version: Make these mini cakes into cupcakes for easy serving and portability.
Simply pour the batter into cupcake liners and frost them on top after they cool. They’ll become a hit at picnics or casual gatherings—simple yet scrumptious! -
Mini Cheesecake Layer: Incorporate a layer of no-bake cheesecake between the cake layers for a luscious texture.
This twist brings an extra creamy delight that compliments the sweet cake flavors beautifully. A clever way to surprise your guests and leave them craving more!
These variations can beautifully enhance your Red, White, and Blue Mini Cakes, catering to diverse tastes and occasions while keeping the joy of baking alive. Enjoy exploring these delicious adaptations!
What to Serve with Red, White, and Blue Mini Cakes
As you gather your loved ones for summer fun, adding delightful sides will elevate your dessert game to new heights!
- Refreshing Fruit Salad: A medley of seasonal fruits balances the sweetness of the mini cakes, adding vibrant colors and a burst of freshness.
- Grilled Vegetables: The smoky flavors from grilled zucchinis and bell peppers create a savory contrast to the sweetness of the cakes, making every bite balanced and satisfying.
- Classic Lemonade: A chilled pitcher of lemonade, with its bright citrusy zing, perfectly complements the rich frosting, adding a refreshing touch to your gathering.
- Vanilla Ice Cream: The creamy, cool ice cream serves as a lovely pairing, intended to offset the sweetness while creating a perfect blend of flavors.
- Cheese Platter: A colorful selection of cheeses like brie, cheddar, and goat cheese alongside crackers brings a savory element that enhances the overall taste experience.
- Chocolate-Dipped Strawberries: These elegant, sweet treats elevate the dessert table, providing a luxurious touch that pairs well with the celebratory spirit of the mini cakes.
Storage Tips for Red, White, and Blue Mini Cakes
Room Temperature: Keep the mini cakes in an airtight container at room temperature for up to 3 days to maintain their freshness and moist texture.
Fridge: If you need to store them longer, place the cakes in the refrigerator for up to 5 days; just ensure they are well covered to avoid drying out.
Freezer: For extended storage, freeze the mini cakes by wrapping each cake layer in plastic wrap and then in foil. They can be kept in the freezer for up to 2 months.
Reheating: If frozen, allow the cakes to thaw overnight in the fridge before icing. For serving, you can enjoy the mini cakes chilled or let them come to room temperature for a delightful experience!
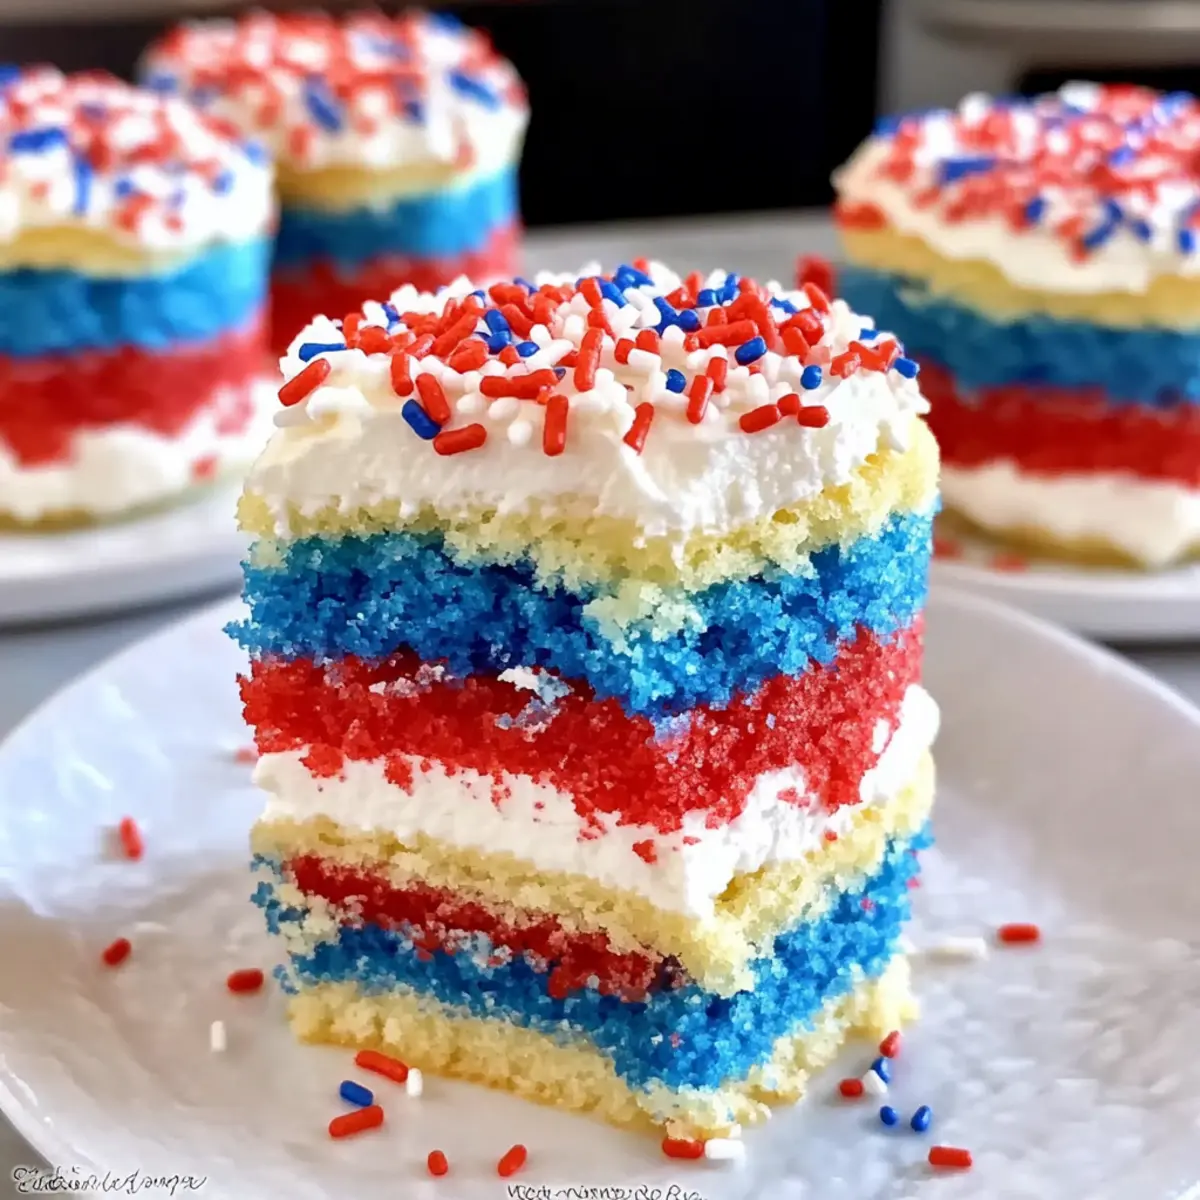
Red, White, and Blue Mini Cakes Recipe FAQs
How do I choose the right food coloring for my mini cakes?
Absolutely! I recommend using gel food coloring instead of liquid for more vibrant layers. Gel coloring requires less product and delivers richer hues, which is perfect for achieving those stunning red and blue shades in your Red, White, and Blue Mini Cakes.
How should I store my mini cakes?
You can store your mini cakes in an airtight container at room temperature for up to 3 days to keep them fresh and moist. If you need to keep them longer, refrigeration is a good option—just ensure the container is well sealed to prevent dryness, and they’ll stay fresh for about 5 days.
Can I freeze these mini cakes?
Yes, freezing is a great option for extending the shelf life of your Red, White, and Blue Mini Cakes! Wrap each cake layer tightly in plastic wrap, then in foil, and freeze them for up to 2 months. When you’re ready to enjoy them, simply thaw the cakes overnight in the refrigerator before assembly and frosting.
What if my cakes come out domed after baking?
No worries! If your cake layers are domed, just use a serrated knife to gently level the tops. This step is crucial for ensuring the mini cakes stack evenly and maintain their charming appearance when you layer them with frosting. Don’t forget to measure twice and cut once for a polished look!
Are these mini cakes safe for pets or those with allergies?
While they’re perfect for human enjoyment, the ingredients in these cakes can be harmful to pets. Make sure to keep the mini cakes away from them. Additionally, if you have guests with food allergies, consider checking the cake mix and frosting labels to ensure they avoid potential allergens like gluten, eggs, or dairy.
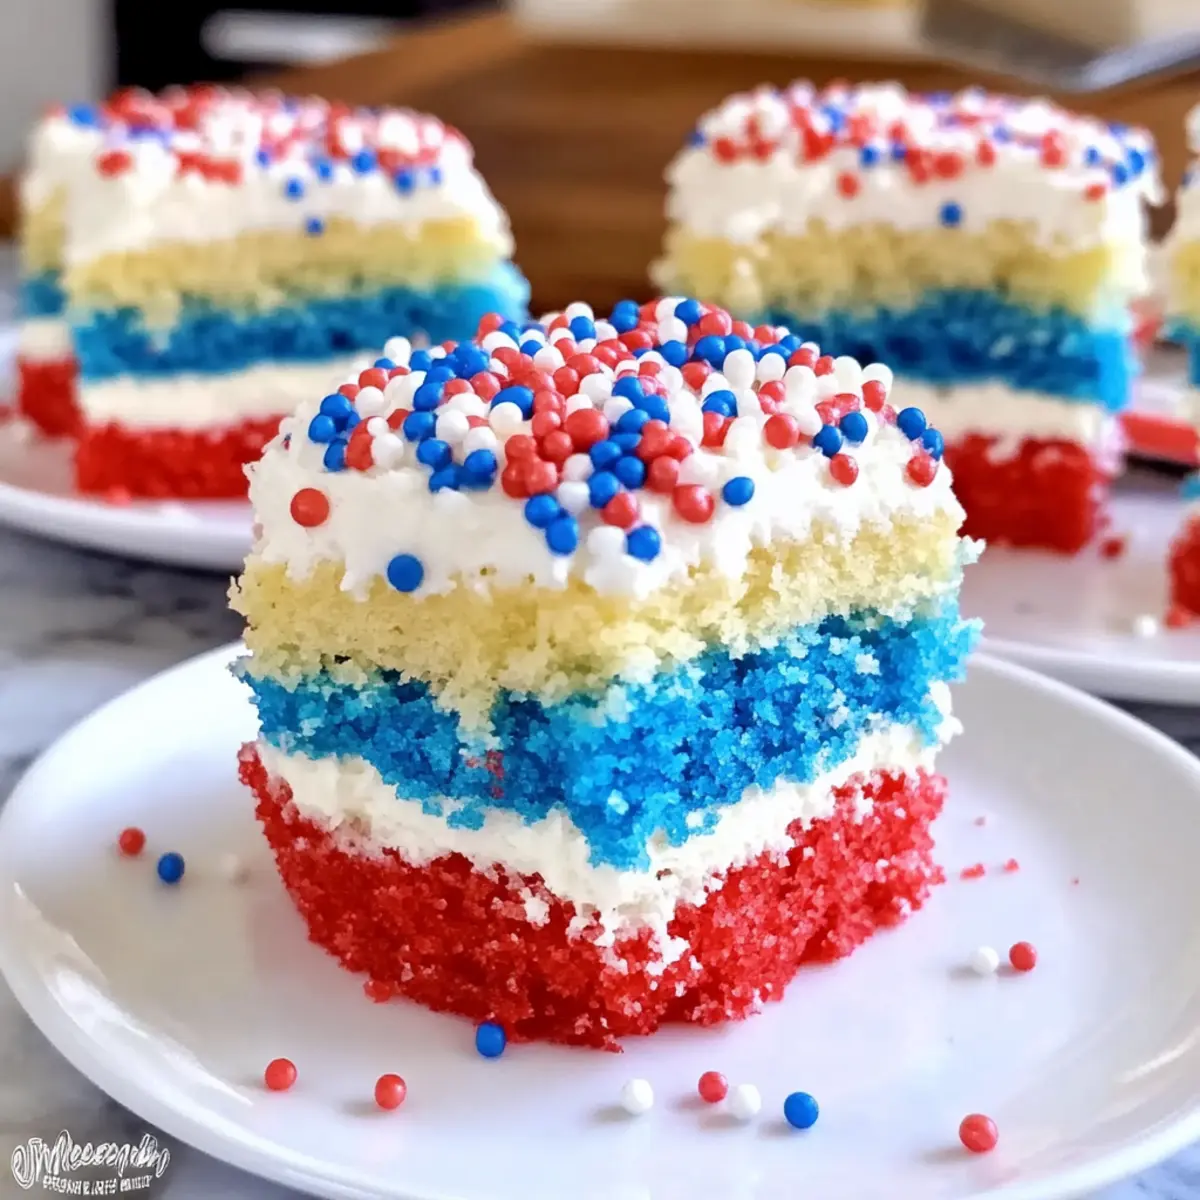
Red, White, and Blue Mini Cakes: A Patriotic Party Delight
Ingredients
Equipment
Method
- Preheat your oven to 350°F (175°C) and prepare three 9-inch cake pans with nonstick spray and flour.
- In a large mixing bowl, prepare your vanilla cake mix according to package instructions, substituting whole eggs with egg whites.
- Divide the batter into three portions; color one red, another blue, and leave the third uncolored.
- Spoon each colored batter into prepared cake pans and bake for 10-12 minutes, or until a toothpick comes out clean.
- Allow the cakes to cool in the pans for about 5-7 minutes, then transfer to a wire rack to cool completely.
- Using a 2.5-inch circle cutter, cut out 7 circles from each cake layer and level any domed tops.
- Layer your cakes starting with a blue circle, then frosting, a white circle, frosting again, and finish with a red layer.
- Frost the mini cakes and decorate with red, white, and blue sprinkles on top and sides.
Leave a Reply