
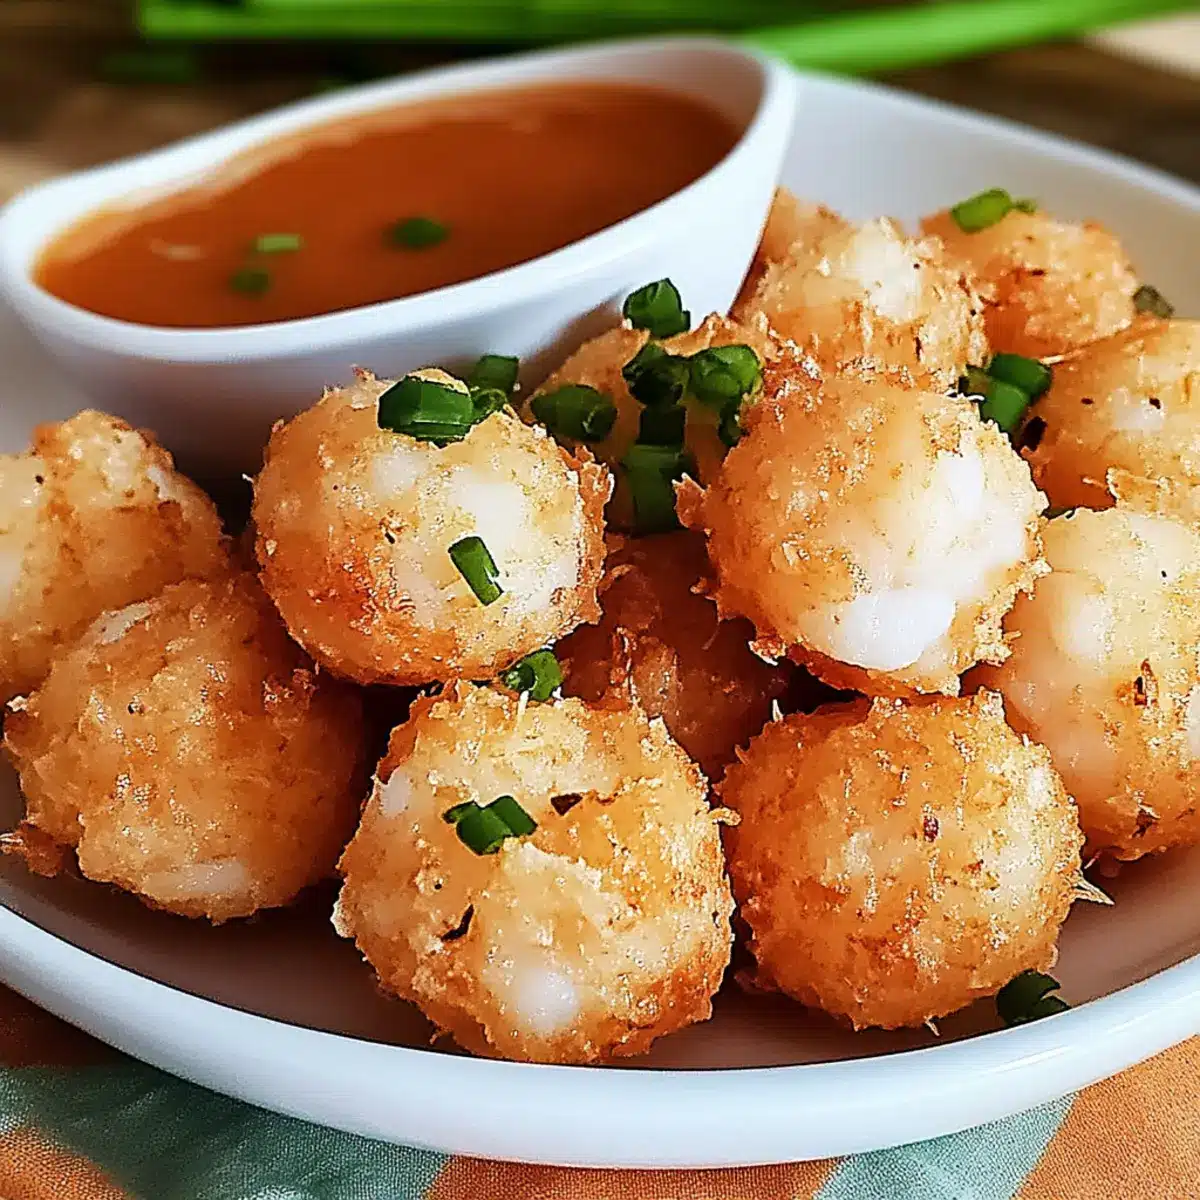
As I was flipping through my favorite cookbook, a vibrant photo of crispy, golden shrimp balls caught my eye, sending my senses into a delightful frenzy. These Shrimp Balls aren’t just finger food; they’re customizable appetizers that cater to everyone’s taste buds. Whether you’re hosting a gathering or simply treating yourself, this recipe is a fun way to elevate your seafood game. With a quick prep time and the option to mix in your favorite herbs and spices, you’ll impress friends and family without spending hours in the kitchen. Plus, the satisfying crunch of each bite combined with the juicy, flavorful filling makes for the perfect party pleaser. Curious about how to make these delicious bites? Let’s dive into the recipe!
Why Are These Shrimp Balls a Must-Try?
Deliciously Versatile: You can customize these Shrimp Balls to fit your flavor preferences! Mix in fresh herbs or hot peppers for a personal touch.
Crowd-Pleasing Appeal: Perfect for parties, these bites are sure to impress your guests. Pair them with dipping sauces, like sweet chili or tartar, to elevate your snack game.
Quick and Easy: With a simple recipe that takes minimal prep time, you can whip up these shrimp delights in just about 30 minutes.
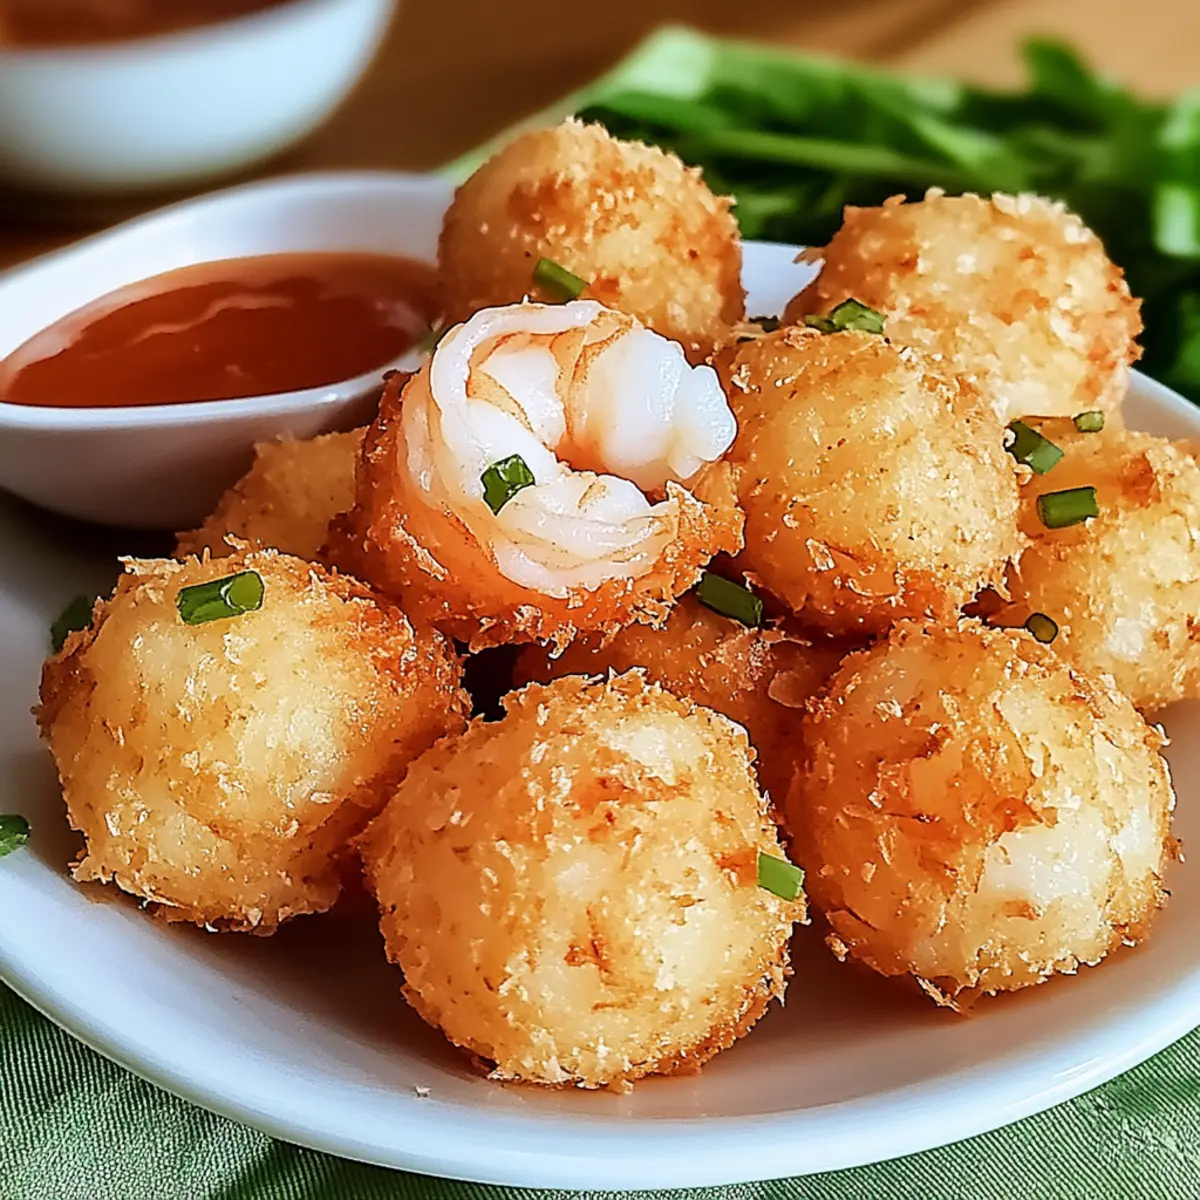
Crispy Texture: Enjoy the perfect crunch that gives way to a succulent filling, reminiscent of a gourmet crab cake but oh-so-easy to make.
Healthy Choice: With a good balance of protein and healthy fats, these shrimp balls make for a satisfying appetizer that you won’t feel guilty about.
For a fresh twist, check out my recipe for Stuffed Shrimp Savory, or add a healthy spin with Peanut Butter Balls. Your taste buds will thank you!
Shrimp Balls Ingredients
• For the Shrimp Mixture
- Shrimp – Fresh or frozen, shrimp provides the seafood sweetness and protein for these delightful shrimp balls.
- Egg – Acts as a binder to ensure your shrimp balls hold together during frying.
- Green Onions – Adds a fresh, mild onion flavor; feel free to substitute with chives if needed.
• For the Crunchy Coating
- Breadcrumbs – Gives a satisfying crunch; you can use crushed crackers for a gluten-free alternative.
• For Flavoring
- Garlic Powder – This enhances the depth of flavors; use fresh garlic for a more intense taste.
- Seasoning Mix (Salt, Pepper, etc.) – Essential for enhancing the overall flavor of your shrimp balls; adjust according to your palate preferences.
Feel free to get creative with additional herbs or spices to fully customize your delicious shrimp balls!
Step‑by‑Step Instructions for Shrimp Balls
Step 1: Prep the Shrimp
Start by chopping the shrimp into small pieces or pulse them in a food processor until coarsely ground, ensuring a mix of texture. This usually takes about 1-2 minutes. You want to achieve a chunky consistency without turning it to a paste. Once prepared, transfer the shrimp to a mixing bowl to build your flavorful Shrimp Balls.
Step 2: Mix Ingredients
In the mixing bowl with the ground shrimp, add breadcrumbs, one beaten egg, garlic powder, and finely chopped green onions. Using your hands or a spatula, gently fold the mixture until evenly combined. The egg will bind the ingredients together, creating a cohesive texture. Aim for a mixture that’s well combined but not overly compacted, taking about 2-3 minutes to mix.
Step 3: Season the Mixture
Sprinkle in your seasoning mix, which includes salt and pepper, and any additional spices you might love. Feel free to get creative here to perfect your Shrimp Balls flavor, incorporating herbs or spices that excite your palate. Stir thoroughly for another minute, ensuring that each piece of shrimp is evenly coated with the seasonings for a flavorful bite.
Step 4: Shape the Balls
Now, with clean hands, form the shrimp mixture into small, even balls, roughly the size of a golf ball. You should yield about 12-15 balls from this mixture. Place the formed balls on a plate, and make sure to leave some space between them to avoid sticking. This step typically takes about 5-6 minutes, and you’ll enjoy the satisfying tactile experience of shaping these delightful bites.
Step 5: Heat Oil
In a large frying pan, pour enough vegetable oil to cover the bottom with about ½ inch depth. Heat the oil over medium-high heat until it shimmers, which should take approximately 4-5 minutes. To check if the oil is ready, you can drop a small piece of the mixture in, and it should sizzle immediately. Properly heated oil will ensure a crispy exterior on your Shrimp Balls.
Step 6: Fry the Shrimp Balls
Carefully add the shaped Shrimp Balls to the hot oil, making sure not to overcrowd the pan. Fry them for about 3-4 minutes on each side or until they achieve a gorgeous golden-brown color. Use tongs or a slotted spoon to gently turn them for even cooking, enjoying the enticing aroma as they fry. Keep an eye on the heat to maintain that perfect crunch.
Step 7: Drain Excess Oil
Once the shrimp balls are golden brown and crispy, remove them from the oil using a slotted spoon and transfer them to a plate lined with paper towels. This will help to absorb any excess oil, keeping your Shrimp Balls light and crispy. Let them rest for a minute to cool slightly before serving, allowing the flavors to settle beautifully in each savory bite.
Shrimp Balls Variations & Substitutions
Feel free to get creative and customize these shrimp balls to reflect your personal taste and dietary preferences!
-
Herb Boost: Incorporate fresh parsley, cilantro, or dill to enhance freshness and flavor. The addition of herbs will brighten each bite, making your shrimp balls feel lively and vibrant.
-
Spicy Kick: Mix in diced jalapeños or a pinch of red pepper flakes for a delightful heat. The spicy twist adds a great layer of warmth that will excite your taste buds!
-
Cheesy Delight: Try stuffing the shrimp balls with cream cheese or cheddar for a gooey center. This twist provides a rich flavor, perfect for cheese lovers.
-
Gluten-Free Alternative: Substitute breadcrumbs with crushed gluten-free crackers or ground almonds. This way, you can enjoy a crispy coating without the gluten while savoring all the flavors.
-
Asian-Inspired: Add minced ginger and a splash of soy sauce for an umami punch. Pair these with a sweet chili dipping sauce to round out the flavor profile beautifully!
-
Mediterranean Flair: Incorporate feta cheese and sun-dried tomatoes for a Mediterranean touch. The flavors of this combination work harmoniously with shrimp, creating a deliciously unique experience.
-
Smoky Flavor: Add smoked paprika or chipotle powder for a smoky undertone. This subtle flavor will elevate your shrimp balls, making them a standout dish that’s irresistible!
-
Sweet and Spicy: Experiment with a touch of honey or agave and sriracha in the mix for a sweet-spicy combo. The balance between sweet and heat will add an exciting twist that pairs perfectly with dipping sauces.
If you love the flavors of shrimp, why not try Blackened Shrimp Stroganoff or indulge in a unique treat with Birthday Cake Balls? There’s always more to explore in the world of delicious and customizable cooking!
Make Ahead Options
These Crispy Shrimp Balls are perfect for meal prep enthusiasts looking to save time during busy weeknights! You can prepare the shrimp mixture up to 24 hours in advance; simply combine the chopped shrimp, breadcrumbs, egg, garlic powder, and green onions in a bowl and refrigerate it until you’re ready to cook. To maintain their delightful texture, shape the mixture into balls just before frying. When you’re ready to serve, heat the oil and fry the shrimp balls until they are golden brown and crispy, enjoying restaurant-quality results with minimal effort—saving you precious time for entertaining or relaxing!
What to Serve with Crispy Shrimp Balls
Dive into a culinary adventure with these delightful crispy bites that easily complement any meal.
-
Creamy Dipping Sauce: A tangy dip like sweet chili or tartar sauce enhances the shrimp’s savory flavor and adds a delightful creamy texture.
-
Fresh Garden Salad: A light salad with crisp greens and a zesty vinaigrette adds a refreshing contrast to the rich shrimp balls, making each bite a new experience.
-
Coconut Rice: The subtle sweetness of coconut rice pairs beautifully with the savory shrimp, creating a harmonious blend of flavors that transports you to a tropical paradise.
-
Garlic Bread: Crunchy garlic bread gives a lovely texture while soaking up excess sauce, making every meal more enjoyable. It’s a classic side that never disappoints.
-
Zucchini Noodles: Light and healthy, zucchini noodles with a drizzle of olive oil and lemon provide a vibrant, low-carb option that balances the richness of the shrimp balls.
-
Crisp White Wine: Serve these shrimp delights with a chilled glass of Sauvignon Blanc; its acidity and fruitiness cut through the flavors of the dish beautifully.
-
Mango Salsa: Brighten the plate with mango salsa, adding a sweet and spicy burst that enhances the shrimp balls with a tropical twist. A perfect way to celebrate flavors.
-
Pineapple Fried Rice: Savory fried rice with pineapple pieces complements the shrimp, adding a touch of sweetness while keeping the meal hearty and satisfying.
Each pairing brings its own charm, ensuring your shrimp balls take center stage while adding layers of flavor and excitement to your meal!
Expert Tips for Crispy Shrimp Balls
-
Ensure Oil Temperature: Use a thermometer to check if the oil is around 350°F before frying. This helps achieve that perfect crispy texture for your shrimp balls.
-
Don’t Overcrowd the Pan: Fry in batches if necessary! Overcrowding can lower the oil temperature, resulting in greasy rather than crispy shrimp balls.
-
Add Flavor Variations: Experiment with your seasonings! A dash of cayenne or herbs like dill and parsley can elevate your shrimp balls to a new level of deliciousness.
-
Use Fresh Ingredients: Opt for fresh shrimp when possible to enhance the overall taste and texture of your shrimp balls, making them more succulent.
-
Perfect Shaping: Keep your hands slightly damp when shaping the shrimp balls. This will prevent the mixture from sticking to your hands, ensuring a smoother forming process.
How to Store and Freeze Shrimp Balls
Fridge: Store leftover shrimp balls in an airtight container for up to 2 days. To maintain crispiness, reheat in the oven at 375°F for about 10-15 minutes.
Freezer: Freeze uncooked shrimp balls on a parchment-lined baking sheet until firm, then transfer to a freezer-safe bag for up to 2 months. No need to thaw before frying; simply fry them for an extra minute or two.
Labeling: Always label your containers with the date to keep track of freshness. This way, you can enjoy shrimp balls at their best!
Reheating: When reheating fried shrimp balls, use the oven or air fryer for a crisp finish. Avoid microwaving, as this can make them soggy.
Shrimp Balls Recipe FAQs
How do I choose the best shrimp?
Absolutely! When selecting shrimp, look for firm, moist, and translucent specimens. Fresh shrimp should have a mild scent of the sea, while frozen shrimp should not have excessive ice crystals. If choosing frozen shrimp, ensure they are properly thawed before use for optimal flavor and texture.
What is the best way to store leftover shrimp balls?
I recommend storing leftover shrimp balls in an airtight container in the refrigerator for up to 2 days. To retain their crispy texture, reheat them in the oven at 375°F for about 10-15 minutes until hot. This method ensures they won’t lose their crunch after being in the fridge!
Can I freeze the shrimp balls?
Yes! To freeze uncooked shrimp balls, lay them on a parchment-lined baking sheet, ensuring they are spaced out. Freeze until firm, then transfer them to a freezer-safe bag or container for up to 2 months. When ready to fry, no need to thaw; just fry them for an additional minute or two!
What if my shrimp mixture is too wet?
Very often, if your shrimp mixture feels too wet, you can add more breadcrumbs, a tablespoon at a time, until it reaches a firmer consistency. This not only helps the balls hold their shape during frying but also improves the crispy texture. Forming them should yield a nice, cohesive mixture without being too sticky.
Can I adjust the recipe for dietary restrictions?
Certainly! If you want shrimp balls to be gluten-free, substitute breadcrumbs with crushed gluten-free crackers or oats. For dairy-free options, simply omit any cheese stuffing variations. If allergies are a concern, double-check your ingredients for allergens like shellfish or potential cross-contamination when preparing. It’s always best to cater to your guests’ dietary needs!
How long can I keep frozen shrimp balls before they lose quality?
I recommend consuming frozen shrimp balls within 2 months for the best flavor and texture. Although they can technically last longer, the taste and quality may diminish over time. Always label packs with the date so you can enjoy them at their peak freshness!
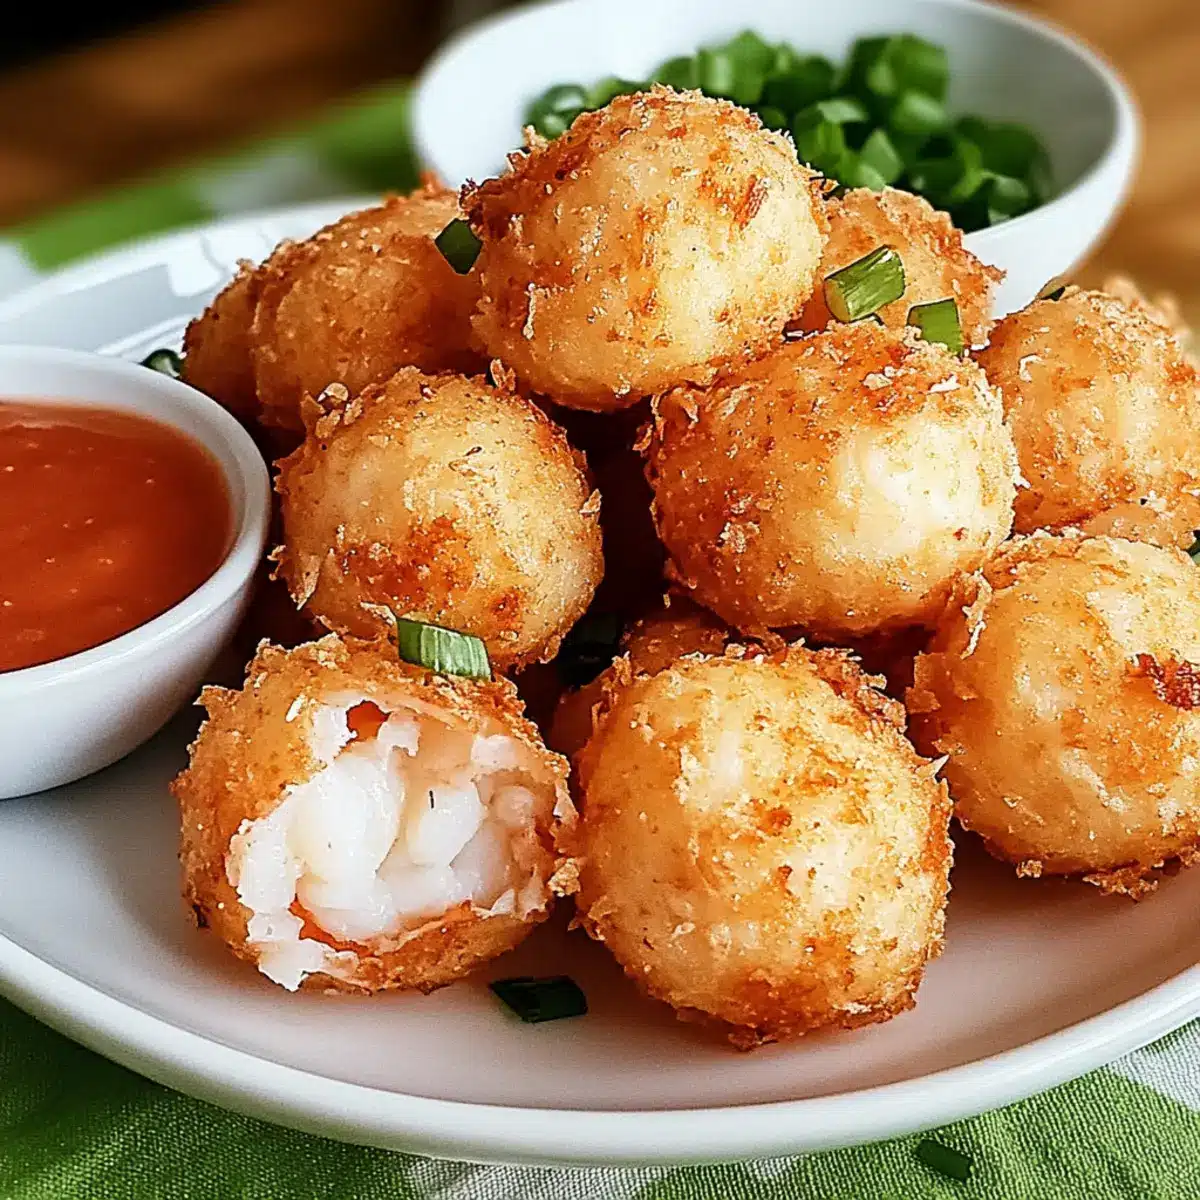
Crispy Shrimp Balls Perfect for Your Next Gathering
Ingredients
Equipment
Method
- Start by chopping the shrimp into small pieces or pulse them in a food processor until coarsely ground, ensuring a mix of texture.
- In the mixing bowl with the ground shrimp, add breadcrumbs, one beaten egg, garlic powder, and finely chopped green onions. Mix gently until combined.
- Sprinkle in your seasoning mix, incorporating any additional spices you might love. Stir thoroughly to coat each piece of shrimp.
- Form the shrimp mixture into small balls, roughly the size of a golf ball. You should yield about 12-15 balls.
- Heat enough vegetable oil in a frying pan over medium-high heat until it shimmers, about 4-5 minutes.
- Carefully add the shrimp balls to the hot oil, frying for 3-4 minutes on each side until golden brown.
- Remove the shrimp balls and drain on paper towels to absorb excess oil.
Leave a Reply