
The kitchen timer ticks down, and my excitement builds as I prepare to unveil a treat that’s both nostalgic and modern. Enter the No Bake Cake Batter Protein Balls—a delightful blend of childhood memories and health-conscious snacking. In just 30 minutes, you can whip up these protein-packed gems that satisfy your sugar cravings without the guilt. Not only are they incredibly easy to make, but they also offer a variety of options to suit your dietary needs, whether you prefer them vegan or gluten-free. These energy-boosting snacks are perfect for any time of day, from a post-workout pick-me-up to a mid-afternoon indulgence. With a combination of satisfying crunch and vibrant vanilla flavor, who could resist grabbing another? Ready to find out how to make these delectable protein balls? Let’s dive in!
Why Are These Protein Balls Irresistible?
Quick and Easy: In just 30 minutes, you can have a batch of delicious protein balls ready for snacking, making them perfect for busy days.
Diet-Friendly: With options for vegan and gluten-free variations, everyone can indulge in this sweet treat without worry.
Satisfying Crunch: Each bite offers a delightful combination of chewy and crunchy textures, reminiscent of cake batter yet completely guilt-free.
Customizable: Feel free to mix it up! Add in ingredients like cocoa powder or dried fruits for a unique twist, just like my Peanut Butter Balls recipe!
Crowd-Pleaser: These balls are a hit with both kids and adults, making them an excellent option for lunchboxes or snack time.
Storeable: Enjoy the convenience of having a nutritious snack ready to grab anytime, whether kept in the fridge or frozen for future cravings.
Cake Batter Protein Balls Ingredients
For the Base
• Almond Flour – Provides a nutty base and texture; substitute with oat flour for a nut-free option.
• Oats – Adds bulk and fiber for that delightful chew; pulse into finer meal for smoother texture.
• Protein Powder – Boosts protein content crucial for satiety; plant-based powder works great for vegan versions.
For the Binding
• Almond Butter – Contributes creaminess and helps bind the mixture; use sunflower seed butter to keep it nut-free.
• Maple Syrup – A natural sweetener that enhances flavor; reduce amount and swap with liquid stevia for lower sugar.
• Vanilla Extract – This adds warmth and sweetness; no need for substitutions unless varying the flavor profile.
• Milk – Adjusts moisture for desired consistency; plant milk is perfect for a vegan adaptation.
For the Fun Factor
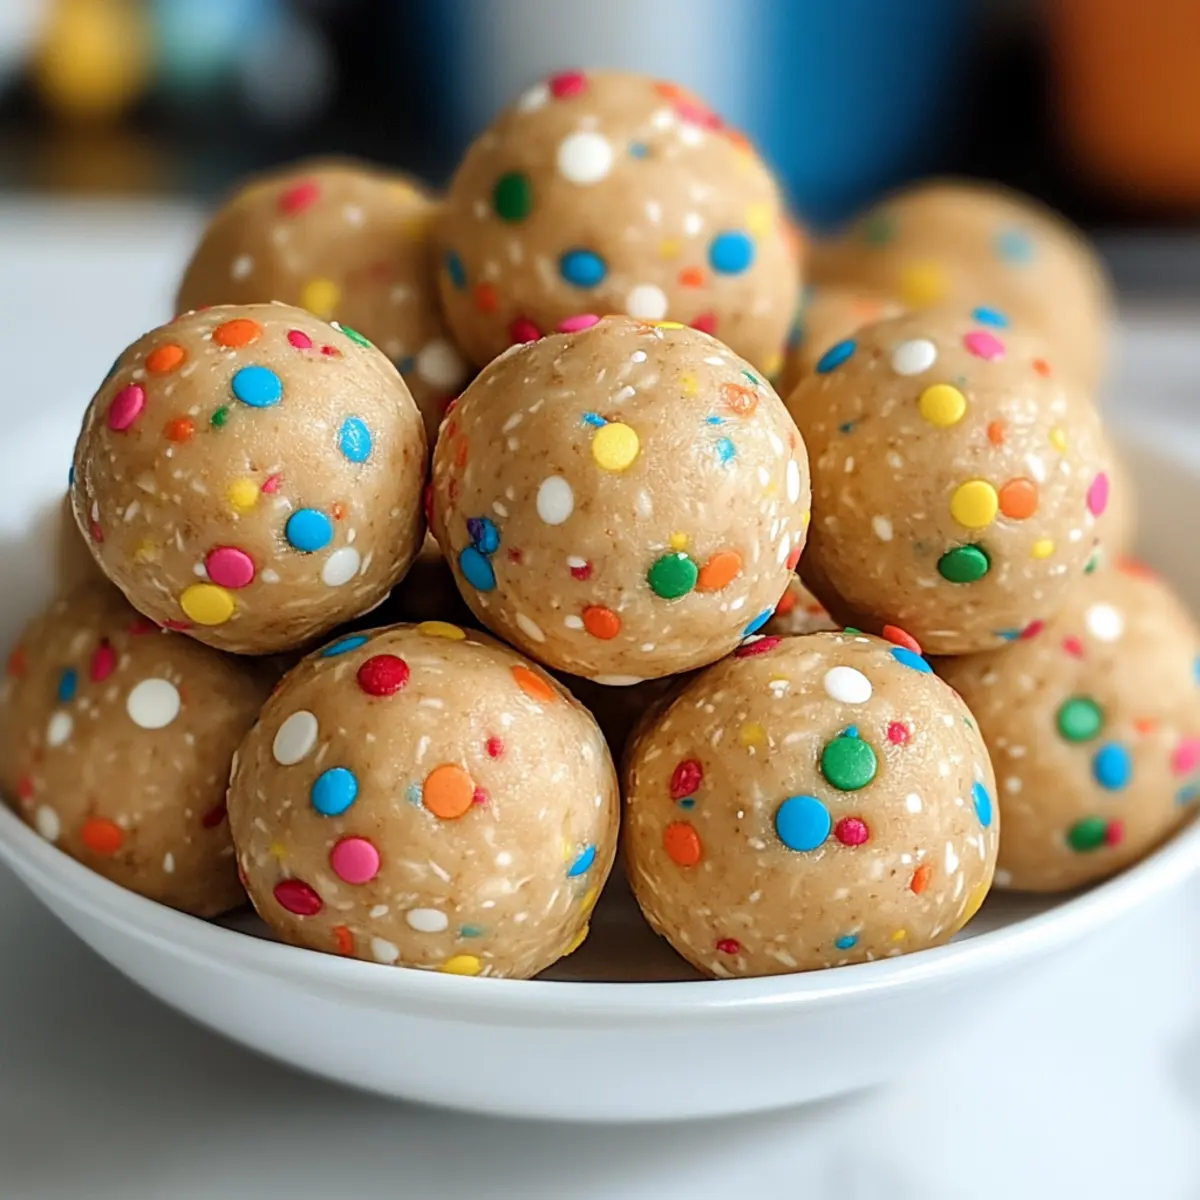
• Sprinkles – Adds visual appeal and a fun crunch; fold in last to maintain their vibrant appearance.
Now you’re all set with the key ingredients to create your irresistible Cake Batter Protein Balls! Enjoy the process of bringing this dish to life and remember, the best part is reveling in the delicious outcomes!
Step‑by‑Step Instructions for Cake Batter Protein Balls
Step 1: Gather Your Ingredients
Start by gathering all the ingredients for your Cake Batter Protein Balls. Line a small baking tray with parchment paper to prevent sticking. This will make it easy to set your protein balls once they’re rolled. Ensure you have almond flour, oats, protein powder, almond butter, maple syrup, vanilla extract, milk, and sprinkles ready for mixing.
Step 2: Mix the Dry Ingredients
In a large mixing bowl, combine the almond flour, oats, and protein powder. Stir gently with a spatula or a whisk until the ingredients are fully blended, creating a uniform mixture. This should take about 1-2 minutes and gives your Cake Batter Protein Balls a smooth foundation, enhancing their texture.
Step 3: Add the Wet Ingredients
Now, add the almond butter, maple syrup, vanilla extract, and milk to your dry mixture. Mix everything together until a dough-like consistency forms, which should take about 3-5 minutes. If your mixture feels too dry, add a splash more milk; if it’s too sticky, sprinkle in a bit more oats to achieve the perfect texture.
Step 4: Fold in the Sprinkles
Gently fold in your colorful sprinkles last to keep their vibrant look intact. This step only takes about 1 minute and adds a fun, festive touch to your Cake Batter Protein Balls! Be careful not to overmix to preserve the sprinkles and maintain the playful spirit of the recipe.
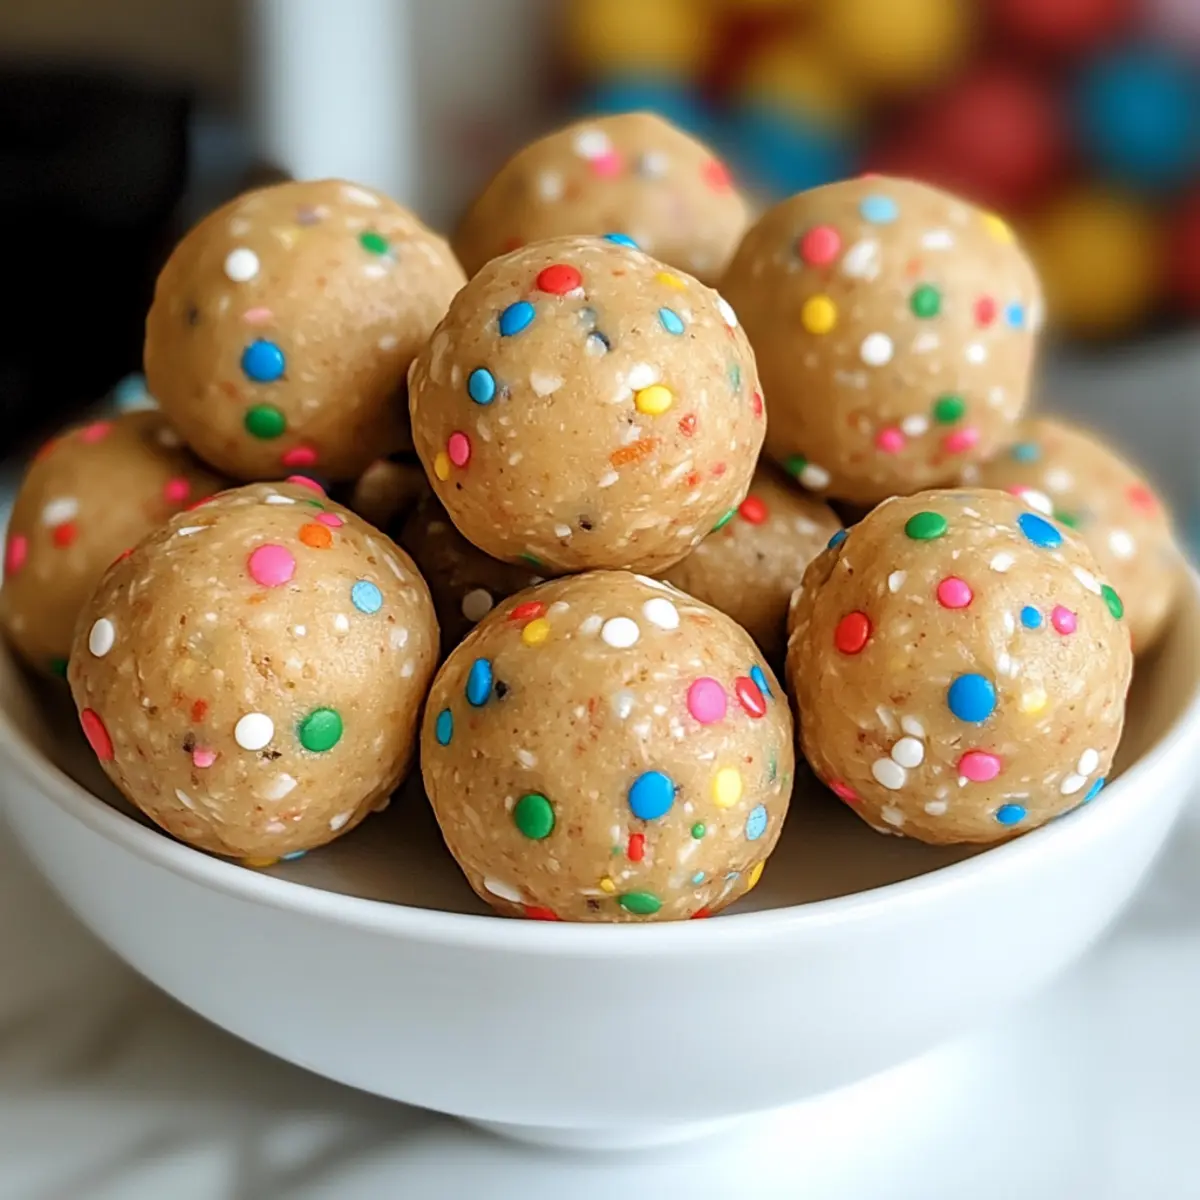
Step 5: Shape the Protein Balls
Using your hands or a small cookie scoop, roll tablespoon-sized portions of the mixture into balls about 1 to 1.25 inches in diameter. You should yield around 15 to 20 balls, depending on the size. The mixture should be slightly sticky, making it easy to form into delightful balls reminiscent of cake batter.
Step 6: Chill the Balls
Place the rolled balls on the prepared tray and refrigerate for at least 20 minutes to firm up. If you’re in a hurry, you can also freeze them for about 5 minutes for a quick-test version. The chilling step enhances the texture and shape of your Cake Batter Protein Balls for that perfect bite.
Step 7: Store Your Protein Balls
Once chilled, transfer the Cake Batter Protein Balls to an airtight container. You can keep them in the fridge for up to 10 days or freeze them for up to 2 months for a convenient healthy snack that satisfies your cravings anytime you need a boost!
Make Ahead Options
These No Bake Cake Batter Protein Balls are perfect for those busy weeknights when time is tight! You can prepare the dough up to 24 hours in advance. Just follow the instructions up to the point of shaping the balls, then refrigerate the mixture in an airtight container. When you’re ready to enjoy them, simply roll the chilled dough into balls and let them firm up in the fridge for 20 minutes before serving. If you prefer, these protein balls can also be stored in the freezer for up to 2 months—just allow them to thaw in the refrigerator overnight for the best texture. By preparing in advance, you’ll have nutritious snacks on hand that are just as delicious!
Storage Tips for Cake Batter Protein Balls
• Fridge: Store your Cake Batter Protein Balls in an airtight container for up to 10 days. This keeps them fresh and ready for snacking whenever you crave something sweet but healthy.
• Freezer: For longer storage, freeze your protein balls for up to 2 months. Place them in a single layer on a baking tray to freeze them initially, then transfer to a freezer-safe bag.
• Thawing: When ready to enjoy, simply remove the desired amount and let them thaw in the fridge for about an hour or at room temperature for 15–20 minutes to avoid crumbling.
• Easy Reheating: There’s no need to reheat these cake batter protein balls; they are best enjoyed cold or at room temperature, preserving their delightful texture.
Cake Batter Protein Balls Variations
Feel free to unleash your creativity and customize these protein balls into a delight that suits your taste buds perfectly!
-
Vegan Option: Substitute the almond butter with sunflower seed butter and ensure your protein powder is plant-based for a fully vegan treat.
-
Nut-Free Delight: Use pumpkin seed butter instead of almond butter for a nut-free version that still packs a delicious punch. This swap allows everyone to enjoy the protein balls without worry.
-
Sweetness Adjusted: Want a lower sugar option? Reduce the maple syrup or replace it with liquid stevia for a guilt-free sweetness without compromising flavor.
-
Chocolate Lover’s Twist: Add in cocoa powder or mini chocolate chips to transform these protein balls into a delightful chocolate treat. The rich flavor will satisfy even the strongest cravings!
-
Fruity Add-ins: Fold in dried fruits such as cranberries or apricots for a chewy texture and a vibrant burst of flavor. This adds a natural sweetness that complements the other ingredients beautifully.
-
Increased Protein: Boost the protein content by adding a scoop of your favorite protein powder beyond the base recipe. This is perfect for a post-workout snack!
-
Spice It Up: Consider adding a dash of cinnamon or nutmeg for a warm, comforting flavor profile. These spices will evoke that nostalgic cake batter essence in every bite.
-
Crispy Texture: For extra crunch, incorporate chopped nuts or seeds. This can provide a delightful contrast to the chewy protein balls, making every bite a delightful experience.
With these variations and substitutions, you’re well on your way to preparing a heartfelt batch of Cake Batter Protein Balls that everyone will adore! If you’re feeling adventurous, why not check out my Protein Pudding Customizable for another delicious snack idea? The possibilities are endless!
Expert Tips for Cake Batter Protein Balls
• Keep it Sticky: If your mixture feels crumbly, gradually add more wet ingredients like almond butter or milk to achieve the right consistency.
• Smooth Texture: For a finer texture in your Cake Batter Protein Balls, pulse the oats in a food processor before mixing them into the dough.
• Chill Time Matters: Make sure to chill your balls properly; if you’re freezing them, keep them slightly firmer to prevent crumbling upon thawing.
• Kid-Friendly Fun: Involve children in rolling and decorating the protein balls; it makes for great family fun and encourages them to try the healthy snacks!
• Customize Wisely: Feel free to experiment with different add-ins like chocolate chips or dried fruit, but be mindful of balancing flavors and textures for the best results.
What to Serve with No Bake Cake Batter Protein Balls
Elevate your snacking experience with these delicious pairings that perfectly complement the sweet, nostalgic flavors of protein balls.
-
Creamy Yogurt Parfait: A luscious layer of Greek yogurt topped with fresh berries adds a refreshing contrast, balancing the sweetness of the protein balls. It’s a delightful way to start your day or an energizing snack.
-
Fresh Fruit Salad: A mix of vibrant fruits brightens up your plate. The natural sweetness and juiciness of fruits offer a refreshing bite that pairs beautifully with the chewy texture of the protein balls.
-
Nutty Granola: Crunchy granola enhanced with almonds and seeds provides an extra layer of texture and nutrients, creating a perfect crunchy contrast to the soft protein balls. Enjoy these together for a satisfying breakfast, or as a midday boost.
-
Chocolate Almond Milk: Treat yourself to a glass of rich chocolate almond milk. This creamy drink complements the flavors while providing an indulgent but guilt-free delight to sip alongside your snack.
-
Mix and Match Trail Mix: A handful of trail mix featuring dried fruits, nuts, and a sprinkling of chocolate chips makes for an easy-to-assemble pairing that enhances both texture and flavor. It’s a great snack combo for on-the-go munching!
-
Decadent Dark Chocolate: A few squares of quality dark chocolate can elevate your snacking experience, providing a bittersweet contrast to the protein balls. The combination satisfies your sweet tooth without overindulging.
-
Chia Seed Pudding: Light and nutritious, chia seed pudding is a silky and creamy partner that adds fiber and healthy fats, balancing the protein balls beautifully for a wholesome dessert.
-
Coconut Water: For a refreshing drink, coconut water hydrates and adds a subtle sweetness that complements the dessert-like quality of the protein balls—ideal after a workout or on a hot day.
-
Peanut Butter Dip: A small bowl of natural peanut butter is perfect for drizzling or dipping. The savory creaminess enhances the cake batter flavor, adding a rich element to your snacking experience.
-
Matcha Latte: A warm, frothy matcha latte offers an earthy touch, which contrasts nicely with the sweetness of the protein balls while also packing a dose of antioxidants for a healthy boost.
No Bake Cake Batter Protein Balls Recipe FAQs
What type of almond flour should I use?
You’ll want to use finely ground almond flour for these protein balls, which gives them a great texture. If you don’t have almond flour, oat flour or extra pulsed oats can be excellent substitutes, especially if you’re looking for a nut-free option.
How long can I store the Cake Batter Protein Balls?
Your delicious protein balls should be kept in an airtight container in the fridge for up to 10 days. This ensures they stay fresh. If you want to prolong their deliciousness, you can freeze them for up to 2 months.
Can I freeze the protein balls?
Absolutely! To freeze your Cake Batter Protein Balls, place them in a single layer on a baking tray to prevent sticking. Once they’re frozen solid (about 1-2 hours), transfer them to a freezer-safe bag or container. Just remember to thaw them in the refrigerator or at room temperature for about 15-20 minutes before enjoying.
What if my mixture is too sticky or crumbly?
If your dough feels a bit too sticky, simply add more oats, one tablespoon at a time, until you reach the desired consistency. Conversely, if it’s too crumbly, add a little splash of milk or almond butter to help bind it together. Don’t be discouraged; you’re in control, and adjustments are perfectly normal!
Are there any allergy considerations I should keep in mind?
Yes, definitely! These protein balls can be adapted for various dietary needs. If you’re concerned about nut allergies, use sunflower seed butter instead of almond butter. Additionally, make sure to check the protein powder and any other add-ins to ensure they are safe for those with allergies. Always good to keep your loved ones in mind!
Can I use different sweeteners instead of maple syrup?
Certainly! If you want to lower the sugar content, you can reduce the amount of maple syrup or swap it out for liquid stevia or agave syrup. Just note that these substitutes may alter the flavor slightly, so feel free to experiment to find your perfect balance!
Irresistible Cake Batter Protein Balls: No Bake & Guilt-Free!
Ingredients
Equipment
Method
- Gather all the ingredients for your Cake Batter Protein Balls. Line a small baking tray with parchment paper.
- In a large mixing bowl, combine the almond flour, oats, and protein powder. Stir gently until fully blended.
- Add the almond butter, maple syrup, vanilla extract, and milk to your dry mixture. Mix until a dough-like consistency forms.
- Gently fold in the colorful sprinkles to keep their vibrant look intact.
- Roll tablespoon-sized portions of the mixture into balls about 1 to 1.25 inches in diameter.
- Refrigerate for at least 20 minutes to firm up or freeze for about 5 minutes for a quick-test version.
- Once chilled, transfer the protein balls to an airtight container for storage.
Leave a Reply