
As I stood in my kitchen, the tantalizing aroma of freshly baked fries wafted through the air, instantly transporting me to summer cookouts and carefree picnics. Today, I’m excited to share my recipe for Baked Seasoned Crinkle Cut Fries—a delightful twist on a classic that’s not only easy to make but also a healthier alternative to traditional fried versions. With their wavy edges providing a satisfying crunch and soft fluffiness inside, these fries make for the perfect side dish to accompany your favorite burgers or sandwiches. Plus, they’re a guaranteed crowd-pleaser, ensuring that everyone at your table is coming back for seconds! So, are you ready to elevate your homemade meals with these perfectly crispy crinkle cut fries? Let’s dive in!
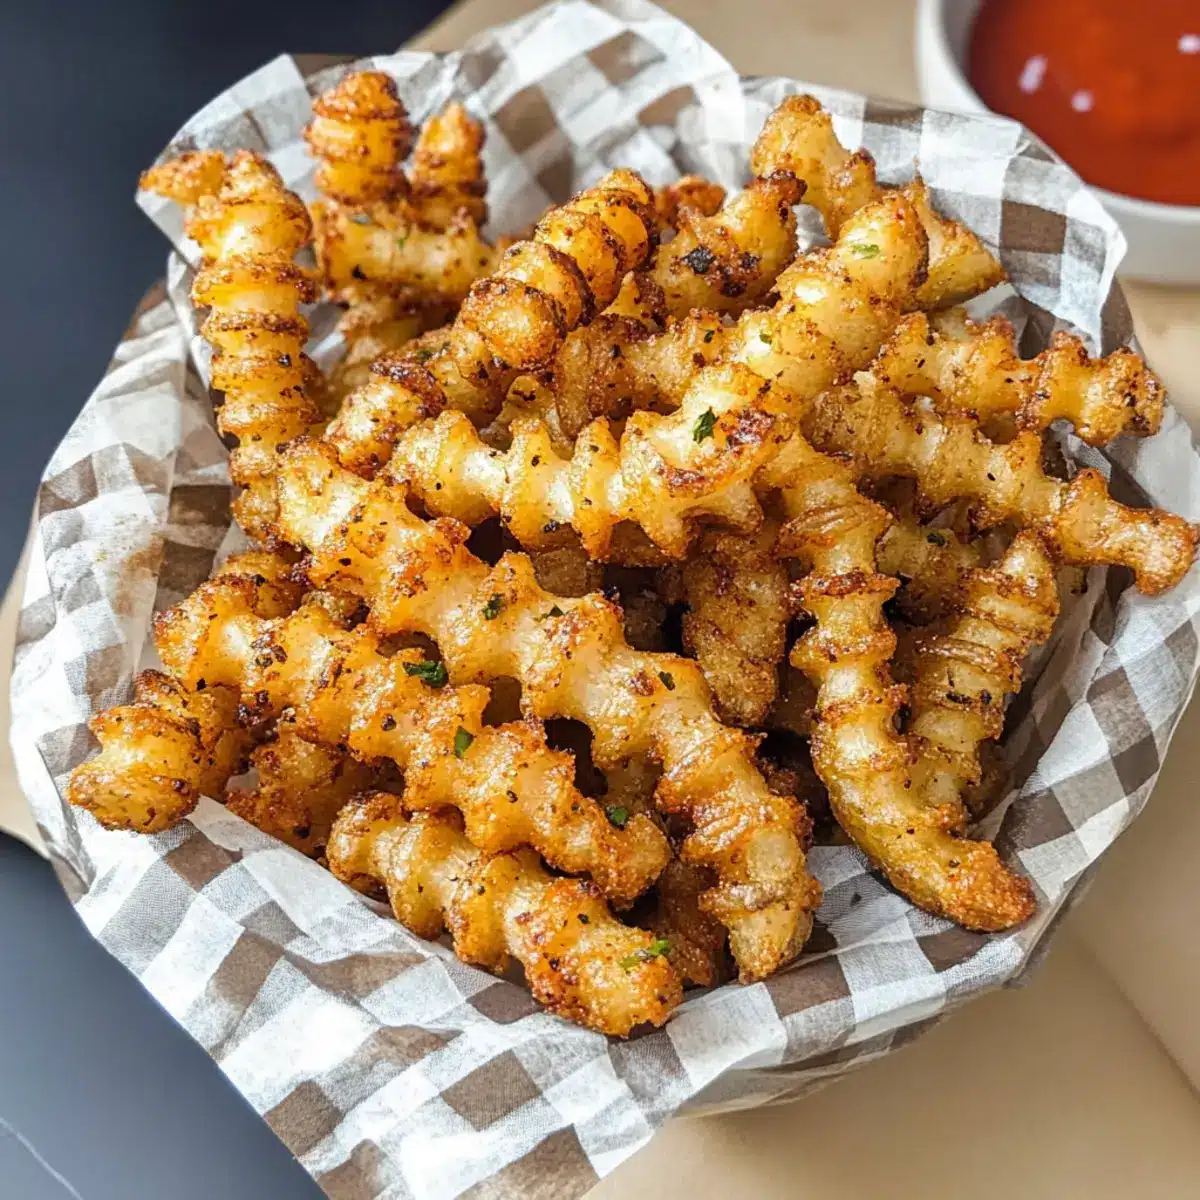
Why are crinkle cut fries irresistible?
Crispy Texture: The unique crinkle cut design ensures every bite is a delightful crunch, bringing a fun twist to your traditional fries.
Healthier Option: Baked instead of fried, these fries provide that addictive flavor you crave without the guilt!
Quick & Easy: Minimal preparation is required, making it a hassle-free addition to your weeknight dinner or weekend gathering.
Customization: Feel free to get creative with spices; add your favorite seasonings or try variations like swapping in sweet potatoes for an extra nutrient boost!
Crowd-Pleaser: Perfect alongside burgers or sandwiches, they’ll please even the pickiest eaters and keep everyone reaching for more.
Use these healthy baked fries to complement a wholesome meal or to impress guests!
Crinkle Cut Fries Ingredients
For the Fries
• Russet Potatoes – Use 4-5 large potatoes for the best structure and texture.
• Avocado Oil or Canola Oil – Avocado oil is ideal for high-temperature baking, helping achieve that perfect crisp.
• Garlic Powder – Provides robust flavor; onion powder can be used as a substitute for a milder taste.
• Onion Powder – Enhances the flavor profile nicely; feel free to adjust based on your taste.
• Salt – Essential for balancing flavors; adjust to your preference for the perfect seasoning.
• Black Pepper – Adds a hint of spice; optional and adjustable according to spice preference.
• Paprika – Contributes mild smokiness and color; swap with cayenne for heat or omit entirely.
• Dried Parsley – Offers a touch of color and freshness; fresh parsley is a lovely alternative if desired.
Embrace the beauty of these crinkle cut fries as a healthier way to indulge without losing the fun!
Step‑by‑Step Instructions for Perfectly Crispy Baked Seasoned Crinkle Cut Fries
Step 1: Preheat the Oven
Begin by preheating your oven to 400°F (200°C). This temperature is key for achieving that perfect crispy texture you desire in your crinkle cut fries. A fully preheated oven ensures even cooking from the moment the fries go in, resulting in a beautifully golden and delicious final product.
Step 2: Prepare the Potatoes
Wash and peel 4-5 large russet potatoes thoroughly under cold water. Make sure to remove all dirt and imperfections, as this allows for a clean fry. After peeling, dry them gently with a kitchen towel to prevent excess moisture, which can hinder crispiness during baking.
Step 3: Cut the Potatoes
Using a crinkle cutter knife, slice the potatoes into ¼ to ½-inch thick fries. The wavy edges of crinkle cut fries add an extra crunch and visual appeal, while also providing an enticing texture. Aim for uniformity in thickness to ensure they cook evenly.
Step 4: Season the Fries
In a large mixing bowl, combine the crinkle cut fries with a drizzle of avocado oil. Sprinkle in garlic powder, onion powder, salt, black pepper, paprika, and dried parsley. Toss everything together until the fries are evenly coated with oil and spices, ensuring flavorful bites with every fry.
Step 5: Arrange on a Baking Sheet
Line a baking sheet with parchment paper or lightly oil it to prevent sticking. Arrange the seasoned crinkle cut fries in a single layer, allowing space between each fry for optimal air circulation. This step is crucial for achieving that signature crispiness, so avoid overcrowding the sheet.
Step 6: Bake the Fries
Place the baking sheet in the preheated oven and bake the fries for 20 minutes. After this initial cooking time, carefully flip the fries over using a spatula and bake them for an additional 15-20 minutes. Keep an eye on them; they should be golden brown and crispy when finished.
Step 7: Cool and Serve
Once the fries are perfectly golden and crispy, remove them from the oven. Allow the fries to cool slightly on the baking sheet for about 5 minutes, which enhances their crunch. Serve immediately alongside your favorite dipping sauce for a delightful treat everyone will love!
Make Ahead Options
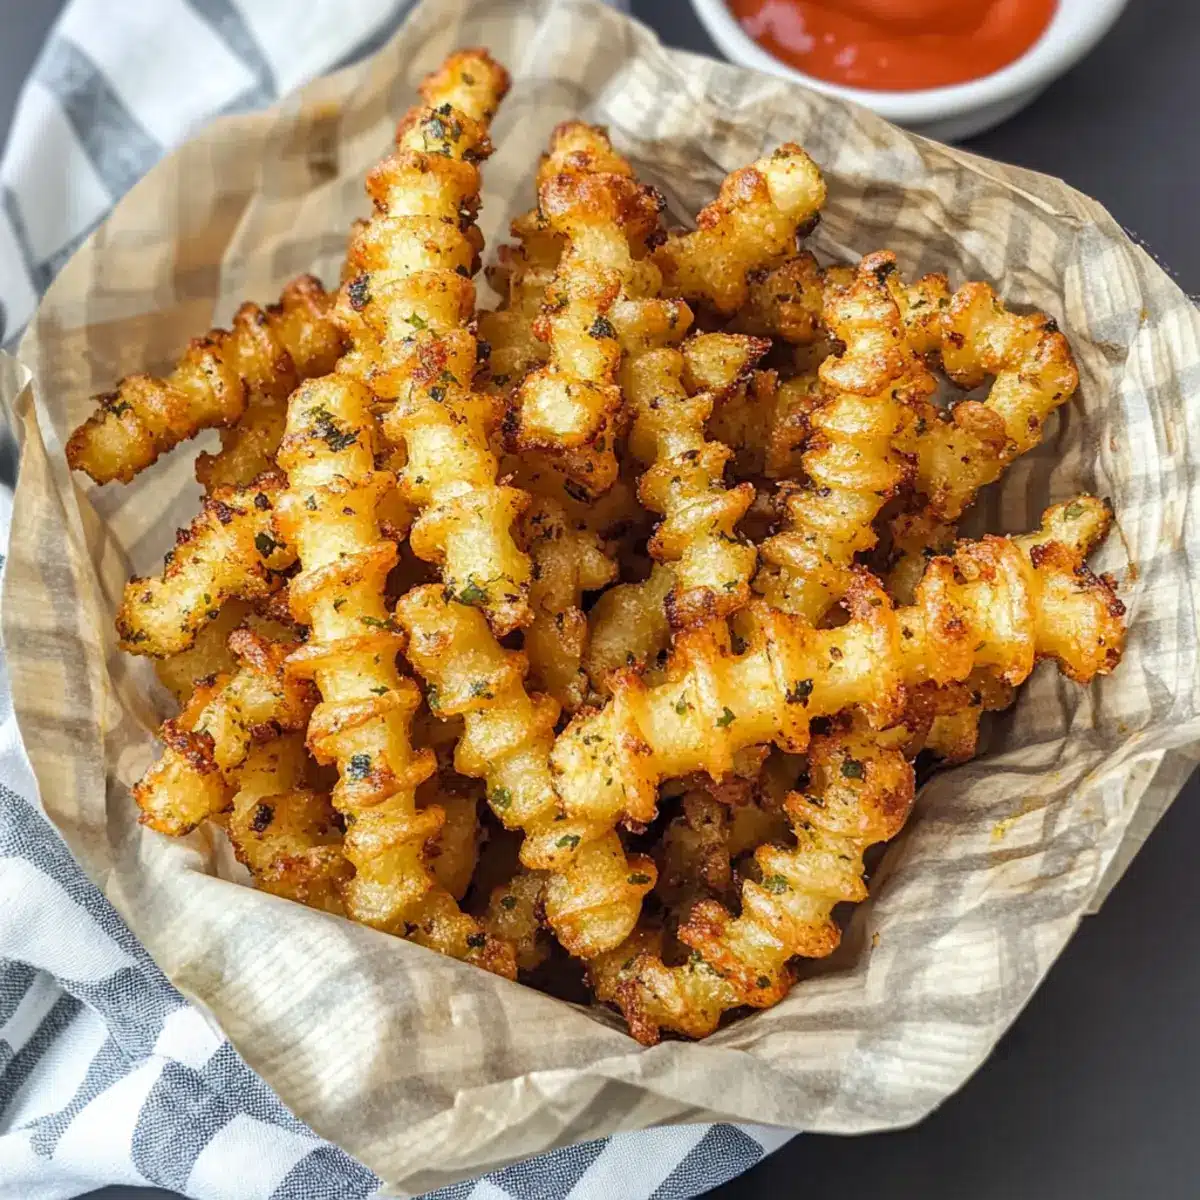
These delicious crinkle cut fries are perfect for meal prep, saving you time on busy weeknights! You can slice and season the russet potatoes up to 24 hours in advance. To do this, prepare the fries as directed in the recipe, then toss them in oil and spices before storing them in an airtight container in the refrigerator. This method helps maintain their flavor and prevents browning. When you’re ready to cook, simply arrange the prepped fries on a baking sheet and bake them as per the original instructions for perfectly crispy crinkle cut fries without the last-minute rush. Enjoy the convenience of homemade fries that are just as delicious!
Crinkle Cut Fries Variations to Explore
Feel free to get creative with these fries and customize them to match your taste buds’ desires!
- Sweet Potato Fries: Substitute russet potatoes with sweet potatoes for a naturally sweet, nutrient-rich option.
- Parmesan Twist: Sprinkle grated Parmesan cheese over the fries during the last few minutes of baking for an irresistible cheesy finish.
- Herb Infusion: Add fresh herbs like rosemary or thyme to elevate the flavor and freshness of your fries. The aroma alone is heavenly!
- Spicy Kick: Mix in cayenne pepper or chili powder to the seasoning for a delightful heat that adds a spicy twist to every bite.
- Mediterranean Flare: Toss crinkle cut fries with garlic, oregano, and a squeeze of lemon for a Mediterranean-inspired side dish that brightens your meal.
- BBQ Style: Drizzle with your favorite BBQ sauce after baking for a tangy and flavorful finish—perfect for backyard gatherings!
- Loaded Fries: Top with cheese, bacon bits, and green onions after baking for a hearty, indulgent approach to crinkle cut fries. The combination is absolutely mouthwatering!
With these exciting variations, you can transform your basic crinkle cut fries into something extraordinary! If you want to keep it simple yet delightful, try pairing them with these healthy baked fries as a fantastic side. Happy cooking!
Expert Tips for Crinkle Cut Fries
-
Uniform Slicing: Ensure your fries are cut evenly—this promotes consistent cooking and a uniform crunch across all fries.
-
Don’t Overcrowd: Arrange your crinkle cut fries in a single layer on the baking sheet. Overcrowding can lead to steaming instead of crisping, so use multiple sheets if needed.
-
Cooling Time: Allow the fries to cool slightly after baking. This helps enhance their crispiness, making them even more enjoyable.
-
Oil Choice: For a healthier version, use avocado oil for baking. It not only helps the fries crisp up but also lends a delightful flavor.
-
Adjust Seasonings: Don’t be afraid to experiment! Customize your crinkle cut fries with your favorite spices or herbs for a unique flavor profile that suits your tastes.
What to Serve with Perfectly Crispy Baked Seasoned Crinkle Cut Fries
As these golden fries cool on your kitchen counter, let’s explore some delightful pairings that transform your snack into a full meal experience.
-
Juicy Burgers: The classic pairing! A delicious, sizzling burger complements the fries perfectly, bringing out their savory flavors.
-
Crisp Green Salad: A refreshing green salad with tangy vinaigrette balances the fries’ richness. Toss in some cherry tomatoes and cucumbers for a pop of color and texture.
-
Spicy Mayo: A dollop of spicy mayo adds a creamy, zesty kick that elevates your crinkle cut fries into gourmet territory. Perfect for dipping!
-
Homemade Sliders: Mini sliders loaded with your favorite toppings are a fun, bite-sized option to enjoy alongside these delicious fries, ensuring maximum flavor in every bite.
-
Cheesy Nachos: Indulge in cheesy nachos topped with jalapeños! This fun finger food creates a wonderful flavor contrast with your crispy fries, and who can resist melted cheese?
-
Classic Ketchup: You can’t go wrong with the timeless taste of ketchup. The sweetness and tanginess perfectly complement the savory crunch of crinkle cut fries.
-
Refreshing Lemonade: A tall glass of homemade lemonade brings a tart and sweet touch that pairs beautifully with the fries’ hearty crunch.
-
Chocolate Milkshake: For dessert, whip up a thick chocolate milkshake. The creamy, rich flavors make for a delightful sweet contrast after the salty fries.
Let your taste buds rejoice with these mouthwatering combinations that will inspire you to create a meal that truly satisfies!
How to Store and Freeze Crinkle Cut Fries
Fridge: Store leftover crinkle cut fries in an airtight container in the refrigerator for up to 3 days. This keeps them fresh and ready for reheating.
Freezer: For longer storage, freeze cooled fries in a single layer on a baking sheet until firm, then transfer to a freezer-safe bag for up to 3 months.
Reheating: Reheat fries in the oven at 400°F (200°C) for about 10-15 minutes to restore their crispy texture. Avoid the microwave, as this can make them soggy.
Tip: Ensure fries are completely cooled before freezing to maintain their quality.
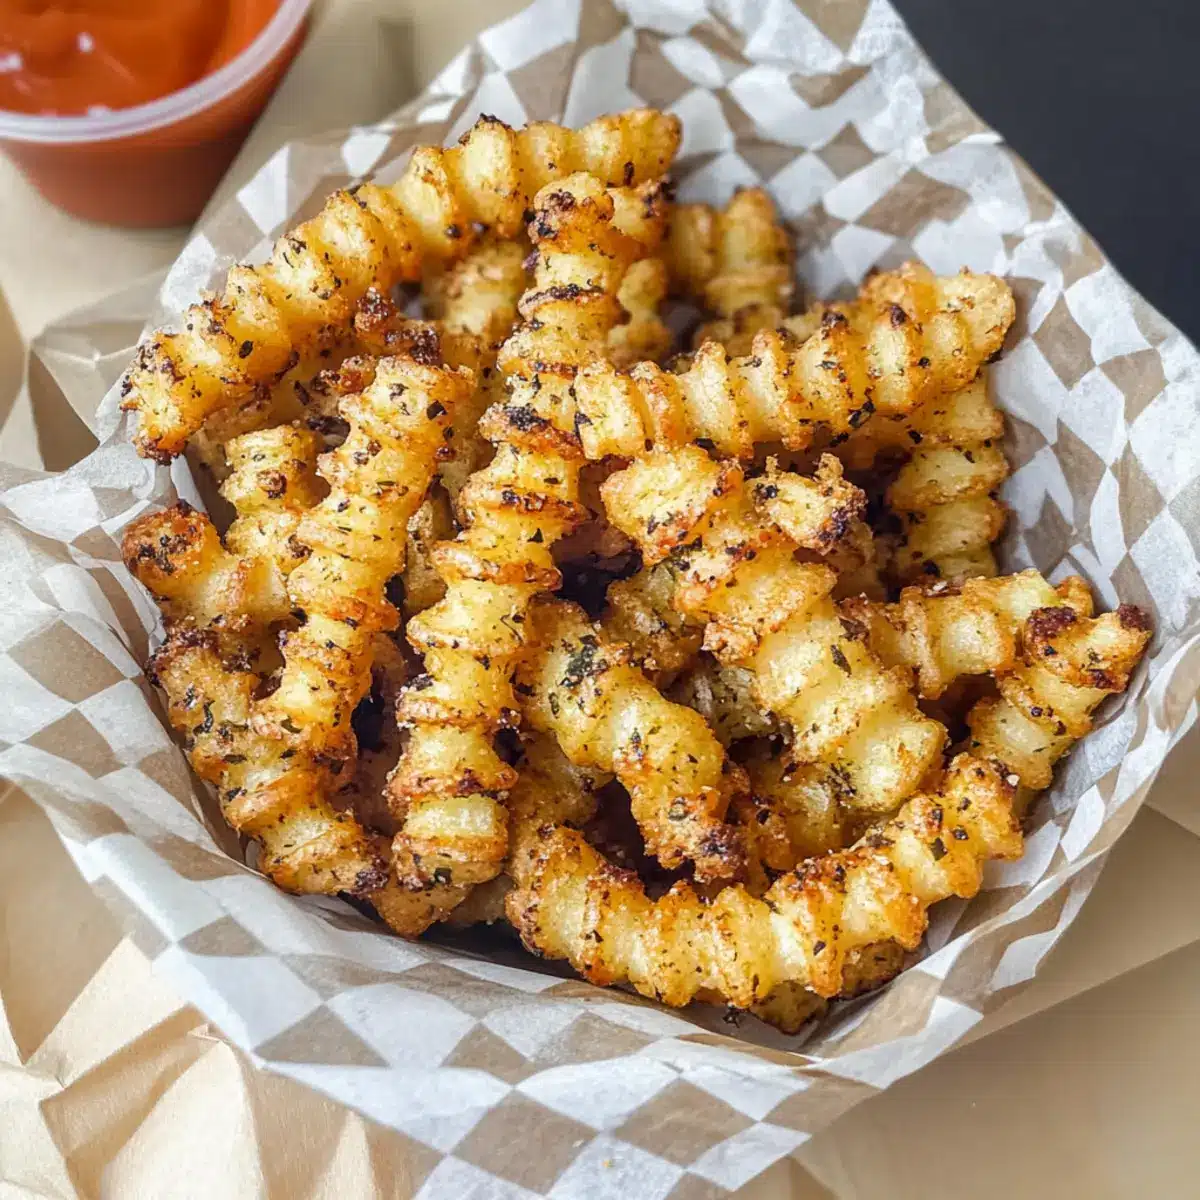
Baked Seasoned Crinkle Cut Fries Recipe FAQs
How do I select the best russet potatoes for crinkle cut fries?
Absolutely! When selecting russet potatoes, look for those that are firm, have smooth skin, and feel heavy for their size. Avoid potatoes with dark spots, wrinkles, or any signs of sprouting. The ideal russet potatoes for crinkle cut fries are about 4-5 inches long and approximately 1.5-2 inches in diameter, as their high starch content yields crispy fries.
What is the best way to store leftover crinkle cut fries?
To keep your leftover crinkle cut fries fresh, store them in an airtight container in the refrigerator for up to 3 days. This will help maintain their flavor and texture. If you want to reheat them, place them in the oven at 400°F (200°C) for about 10-15 minutes to regain their crispy finish. Avoid using a microwave, as it tends to make fries soggy.
Can I freeze crinkle cut fries, and if so, how?
Absolutely! Freezing crinkle cut fries is a great way to make them last longer. To freeze, first allow the baked fries to cool completely. Then, spread them out in a single layer on a baking sheet and place them in the freezer for about 1-2 hours or until firm. After that, transfer the fries to a freezer-safe bag or container, and they can be kept for up to 3 months. When you’re ready to eat, simply reheat them in the oven for the best texture.
What should I do if my fries don’t come out crispy?
Very! If your crinkle cut fries come out soggy, it could be a few things. Ensure that you’re cutting the potatoes evenly, as uneven slices can cook at different rates. Avoid overcrowding the baking sheet; your fries need room for air circulation. If you’d like to enhance crispiness even more, try increasing the baking time, or preheat your baking sheet in the oven. Additionally, giving them time to cool slightly after baking can further enhance their crunch.
Are crinkle cut fries suitable for people with dietary restrictions?
Of course! This baked crinkle cut fries recipe is naturally gluten-free. If you have specific dietary restrictions, you can easily customize it by choosing the right oil or seasonings. For example, if someone has a garlic allergy, simply omit the garlic powder and increase other seasonings like paprika or use a different blend that suits their needs. If you have pets at home, remember to keep any leftover fries away from them, as fried and heavily salted foods are not recommended for animals.
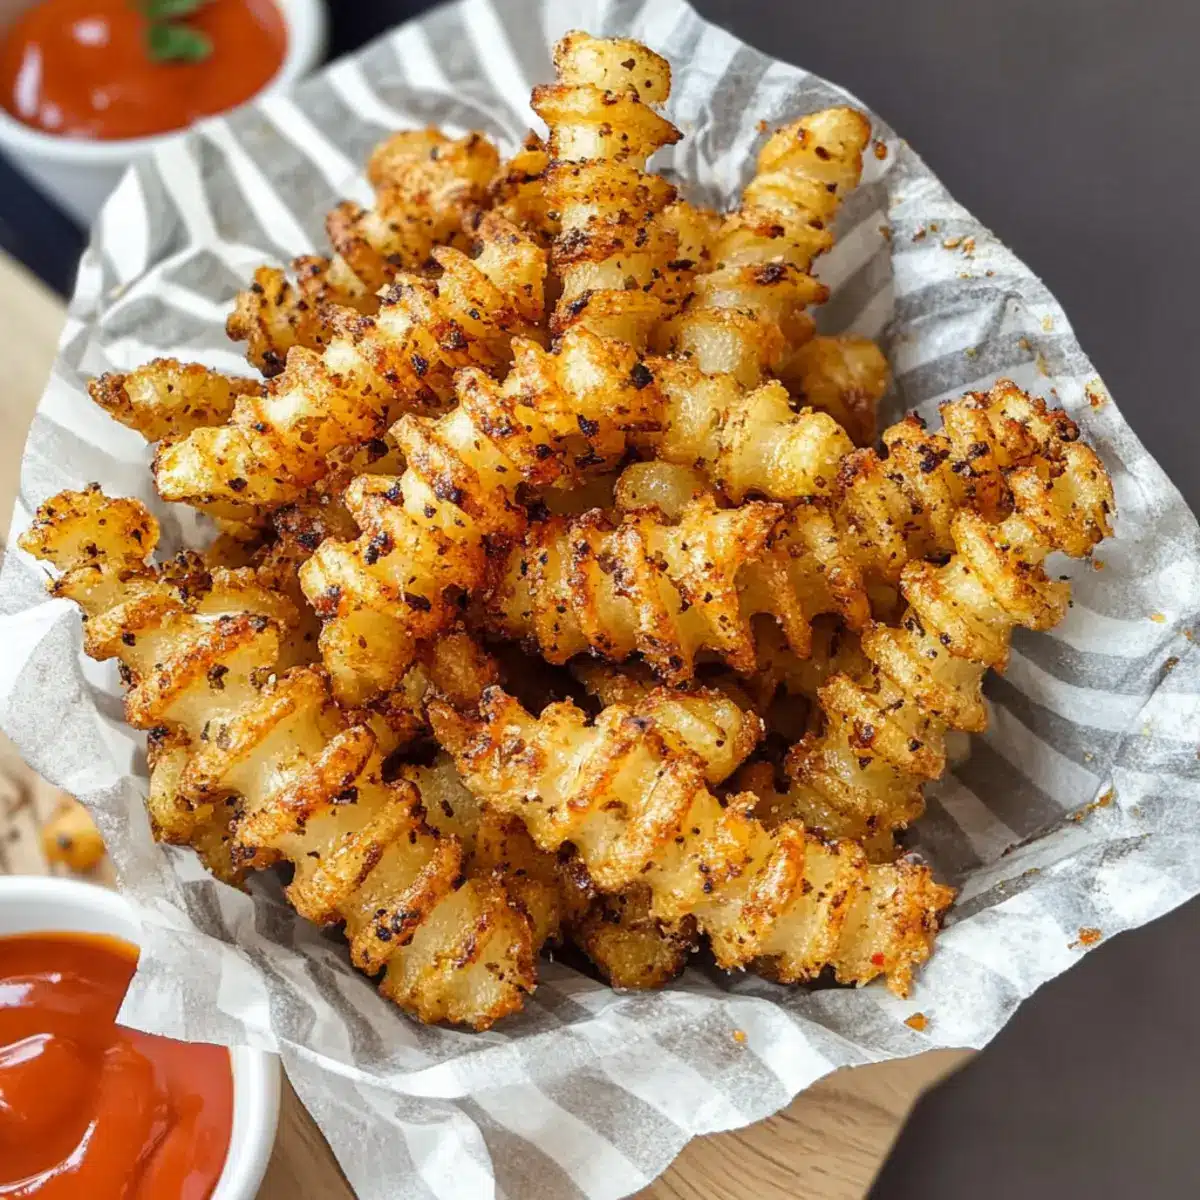
Crispy Crinkle Cut Fries You’ll Crave Anytime
Ingredients
Equipment
Method
- Preheat your oven to 400°F (200°C) to achieve perfect crispiness.
- Wash and peel the russet potatoes thoroughly, then dry them gently.
- Cut the potatoes into ¼ to ½-inch thick fries using a crinkle cutter knife.
- In a mixing bowl, combine fries with avocado oil, garlic powder, onion powder, salt, black pepper, paprika, and parsley. Toss to coat.
- Line a baking sheet with parchment paper or oil it. Arrange fries in a single layer, allowing space in between.
- Bake the fries for 20 minutes, then flip and bake for another 15-20 minutes until golden brown and crispy.
- Allow the fries to cool slightly on the baking sheet for about 5 minutes, then serve with your favorite dipping sauce.
Leave a Reply