
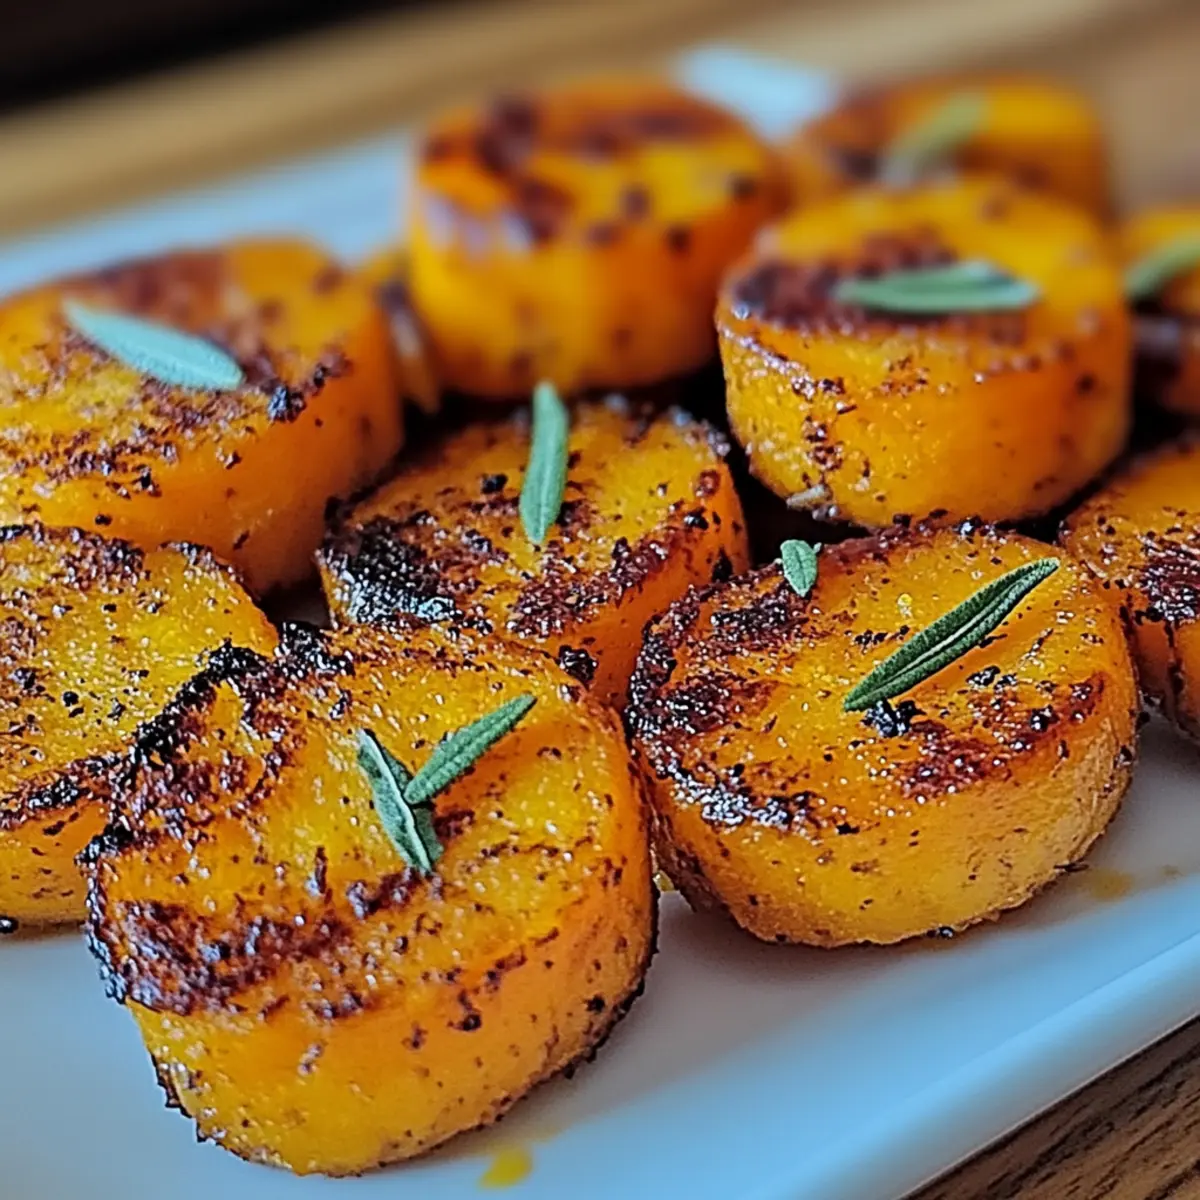
There’s something undeniably satisfying about crispy, homemade snacks that you can whip up in no time. Our Crunchy Sweet Potato Bliss Bites are just that—perfectly golden bites that tantalize your taste buds while embracing wholesome, gluten-free goodness. These delightful snacks are not only a healthier alternative to store-bought options, but they also allow for endless customization; whether you crave a spicy kick or a cheesy twist, the choice is yours! With minimal prep time and a family-friendly appeal, these bites are ideal for busy weeknights or entertaining guests. Are you ready to elevate your snacking game with these irresistible treats? Let’s dive in!
Why are Crunchy Sweet Potato Bliss Bites irresistible?
Indulgent Flavor: These bites blend natural sweetness with savory spices for a decadent yet healthy snack.
Easy Customizations: Whether you want a spicy hue or a cheesy richness, you can easily tailor these bites to fit your taste.
Quick Prep Time: With just a few straightforward steps, these snacks come together in no time, making them perfect for busy weeknights.
Crowd-Pleasing Appeal: Serve them at your next gathering, and watch them disappear faster than you can say “yum!” Try pairing them with creamy avocado or a zesty yogurt sauce for an enticing dip option.
Healthy Alternative: Guilt-free and gluten-free, these bites pack vitamins and fiber without sacrificing flavor, perfect for health-conscious snacking.
For more unique variations to please your family and friends, check out our delicious Oatmeal Peanut Bites or mix things up with some flavorful Apple Fritter Bites!
Crunchy Sweet Potato Bliss Bites Ingredients
For the Bites
• Sweet Potatoes – The star of the show; choose medium-sized, firm potatoes for the best texture.
• Olive Oil – Helps achieve that golden crisp; avocado oil works well as a substitute.
• Garlic Powder – Infuses flavor effortlessly; feel free to swap it with fresh garlic if you’d like.
• Smoked Paprika – Adds a delightful smokiness; use regular paprika if you prefer a milder taste.
• Cayenne Pepper – For a dash of heat; simply omit it for a more subtle flavor profile.
• Sea Salt – Boosts the overall taste; table salt can serve as a decent alternative.
• Black Pepper – Adds spice and depth; freshly cracked pepper delivers a bolder essence.
• Fresh Rosemary or Thyme – Optional for a burst of fresh herbal notes as a lovely garnish.
Get ready to enjoy your homemade Crunchy Sweet Potato Bliss Bites with your favorite dips!
Step‑by‑Step Instructions for Crunchy Sweet Potato Bliss Bites
Step 1: Preheat the Oven
Begin by preheating your oven to 425°F (220°C) to create the ideal environment for achieving crispy Crunchy Sweet Potato Bliss Bites. This high temperature will help them turn golden and crunchy while keeping the insides tender. Make sure your oven rack is positioned in the middle for even baking.
Step 2: Prepare the Sweet Potatoes
Wash and slice medium-sized sweet potatoes into ¼-inch thick rounds. For added nutrients and texture, you may choose to leave the skin on. Lay the slices out on a cutting board, ensuring uniform thickness, which is key to achieving evenly cooked bites that are both crispy and tender.
Step 3: Mix the Seasoning
In a large mixing bowl, combine olive oil, garlic powder, smoked paprika, cayenne pepper, sea salt, and freshly cracked black pepper. Stir until the ingredients are well blended, creating a flavorful seasoning mixture. The oil will help the spices adhere to the sweet potato slices, enhancing each bite’s flavor.
Step 4: Coat the Sweet Potatoes
Carefully toss the sweet potato rounds in the seasoning mixture, ensuring that each slice is evenly coated. This step is essential for infusing flavor into your Crunchy Sweet Potato Bliss Bites. Take your time here, giving each piece a good mix to ensure every bite is deliciously seasoned.
Step 5: Arrange on the Baking Sheet
Line a baking sheet with parchment paper to prevent sticking and make cleanup easy. Arrange the seasoned sweet potato slices in a single, non-overlapping layer on the sheet. This spacing is crucial for roasting, as it allows air to circulate around each piece, ensuring they become perfectly crispy.
Step 6: Bake to Perfection
Place the baking sheet in the preheated oven and bake for 20-25 minutes. Be sure to flip the sweet potato slices halfway through the baking time to ensure they cook evenly. Check for a golden-brown color and crispy edges; you want them to look irresistible!
Step 7: Broil for Extra Crunch (Optional)
If you prefer an extra crunch, turn on the broiler for an additional 2-3 minutes at the end of baking. Keep a close eye on your Crunchy Sweet Potato Bliss Bites during this time, as they can go from perfectly crispy to burnt quite quickly.
Step 8: Garnish and Serve
Once done baking, remove the bites from the oven and let them cool slightly. Garnish with fresh rosemary or thyme for a lovely herbal note. Serve your warm Crunchy Sweet Potato Bliss Bites with your favorite dips like creamy avocado or zesty yogurt sauce, making for a delightful snack everyone will love.

How to Store and Freeze Crunchy Sweet Potato Bliss Bites
Fridge: Store leftovers in an airtight container for up to 3 days to maintain freshness and flavor.
Freezer: Freeze Crunchy Sweet Potato Bliss Bites in a single layer on a baking sheet; once frozen, transfer them to a zip-top bag for up to 2 months.
Reheating: For best results, reheat in a preheated oven at 400°F (200°C) for about 10-15 minutes to restore their crispy texture.
Serving Suggestions: Enjoy them warm straight from the oven, paired with your favorite dips for a delightful snack experience!
Expert Tips for Crunchy Sweet Potato Bliss Bites
• Uniform Slices: Ensure sweet potato rounds are of even thickness for optimal cooking. This prevents some pieces from being undercooked or too crispy.
• Don’t Overcrowd: Space the bites out on the baking sheet; overcrowding results in steam, making them soggy instead of crunchy.
• Flavor Boost: Feel free to twist flavors by experimenting with spices like cinnamon for a sweet version or chili powder for a spicy kick in your Crunchy Sweet Potato Bliss Bites.
• Watch the Broil: If broiling for extra crunch, stay close to prevent burning. It can take just seconds for bites to go from perfect to charred.
• Storage Tips: Leftovers can be stored in an airtight container for up to three days, or freeze for future snacking. Reheat at 400°F (200°C) to restore crispiness.
Crunchy Sweet Potato Bliss Bites Variations
Feel free to explore these delightful twists and swaps to make your bites uniquely yours!
- Sweet & Spicy: Add cayenne pepper or jalapeños for an exciting kick. Mix and match heat levels to suit your spice preference!
- Cheesy Goodness: Sprinkle nutritional yeast or your favorite cheese before baking for a savory richness that melts beautifully.
- Herbaceous Delight: Toss fresh herbs like parsley or cilantro into your seasoning mix for a burst of freshness that enhances each bite.
- Colorful Veggie Swap: Replace sweet potatoes with carrots, beets, or even zucchini for a vibrant mix that’s just as delicious and nutritious.
- Cinnamon Bliss: For a sweeter take, incorporate cinnamon into the seasoning. It’s a lovely pairing with the natural sweetness of sweet potatoes.
- Dip Duo: Serve alongside various dips like creamy avocado, spicy hummus, or zesty yogurt sauce to elevate your snacking experience.
- Baked vs. Air-Fried: If you prefer a quick cooking method, try air frying! The bites turn out just as crispy and flavorful in half the time.
- Mixed Spice Medley: Experiment with curry powder or taco seasoning for a unique flavor twist that can elevate your Crunchy Sweet Potato Bliss Bites to global tastes.
These variations can make your snack time exciting again! If you want to add some hearty options, try pairing with flavorful Cakes Spicy Mayo or enjoy a cozy feel with Breakfast Potatoes Morning on the side!
Make Ahead Options
These Crunchy Sweet Potato Bliss Bites are perfect for meal prep enthusiasts looking to save time! You can slice and season the sweet potatoes up to 24 hours in advance, storing them in an airtight container in the refrigerator to keep them fresh. This allows you to infuse the flavors overnight, ensuring delicious bites when you’re ready to cook. When you’re prepared to bake, simply preheat the oven, arrange the seasoned slices on a baking sheet, and bake them at 425°F (220°C) for 20-25 minutes. With this make-ahead approach, you’ll have a delightful, homemade snack that’s just as crispy and flavorful with minimal effort!
What to Serve with Crunchy Sweet Potato Bliss Bites
When you whip up a batch of these bites, consider complementing their delightful crunch with a diverse spread of flavors and textures.
- Creamy Avocado Dip: This smooth dip adds a silky contrast to the bites, enhancing their flavor with rich, healthy fats.
- Zesty Yogurt Sauce: A tangy dip made with Greek yogurt and fresh herbs. It brightens the bites, making each mouthful unforgettable.
- Colorful Veggie Sticks: Pair these bites with an assortment of raw veggies like carrots and bell peppers for a crunchy, nutritious side.
- Savory Quinoa Salad: A refreshing quinoa salad with lemon dressing and veggies offers a wholesome, fiber-rich complement. A perfect balance!
- Fruit Salad: A vibrant medley of seasonal fruits adds a sweet note that contrasts beautifully with the savory flavors of the bites.
- Crispy Kale Chips: For a fun texture duo, pair these bites with kale chips, enhancing the crunch factor and keeping the snacking light.
- Sparkling Water with Lime: A refreshing drink choice to cleanse your palate between bites, adding a hint of citrusy zest that energizes!
Crunchy Sweet Potato Bliss Bites Recipe FAQs
What type of sweet potatoes should I use?
For the best texture and flavor, choose medium-sized, firm sweet potatoes. Look for ones without any dark spots or blemishes, as these may affect the taste and quality of your Crunchy Sweet Potato Bliss Bites. Leaving the skin on adds extra nutrients and a lovely texture!
How should I store leftover Crunchy Sweet Potato Bliss Bites?
Store any leftovers in an airtight container in the fridge for up to 3 days. Ensure they are completely cool before sealing them up to prevent moisture buildup, which can lead to sogginess.
Can I freeze the Crunchy Sweet Potato Bliss Bites?
Absolutely! To freeze, first freeze the bites in a single layer on a baking sheet until solid. Once frozen, transfer them to a zip-top bag, and they can be stored for up to 2 months. This method prevents them from sticking together, making it easy to grab a few at a time!
What can I do if my bites are soggy after baking?
Sogginess usually occurs from overcrowding the baking sheet or cooking the sweet potatoes at too low a temperature. Ensure you space the bites out well and consider increasing the oven temperature to ensure they roast rather than steam. If they’re already soggy, you can try reheating them in the oven for 5-10 minutes to regain some crispiness.
Are Crunchy Sweet Potato Bliss Bites suitable for gluten-free diets?
Absolutely! These bites are naturally gluten-free, making them an excellent choice for anyone avoiding gluten. Pair them with gluten-free dips like guacamole or hummus for a delightful snack that everyone can enjoy.
How long will Crunchy Sweet Potato Bliss Bites stay fresh in the freezer?
When stored properly in a zip-top bag after freezing, they can maintain their quality for up to 2 months. For best results, reheat from frozen at 400°F (200°C) for around 10-15 minutes to bring back that wonderful crunch!
Crispy Crunchy Sweet Potato Bliss Bites to Satisfy Cravings
Ingredients
Equipment
Method
- Preheat your oven to 425°F (220°C) and position the oven rack in the middle.
- Wash and slice sweet potatoes into ¼-inch thick rounds.
- In a large mixing bowl, combine olive oil, garlic powder, smoked paprika, cayenne pepper, sea salt, and black pepper.
- Toss the sweet potato rounds in the seasoning mixture until evenly coated.
- Line a baking sheet with parchment paper and arrange the sweet potato slices in a single layer.
- Bake for 20-25 minutes, flipping halfway through for even cooking.
- (Optional) Broil for an additional 2-3 minutes for extra crunch, keeping a close eye to prevent burning.
- Remove from the oven, garnish with rosemary or thyme, and serve with dips.
Leave a Reply