
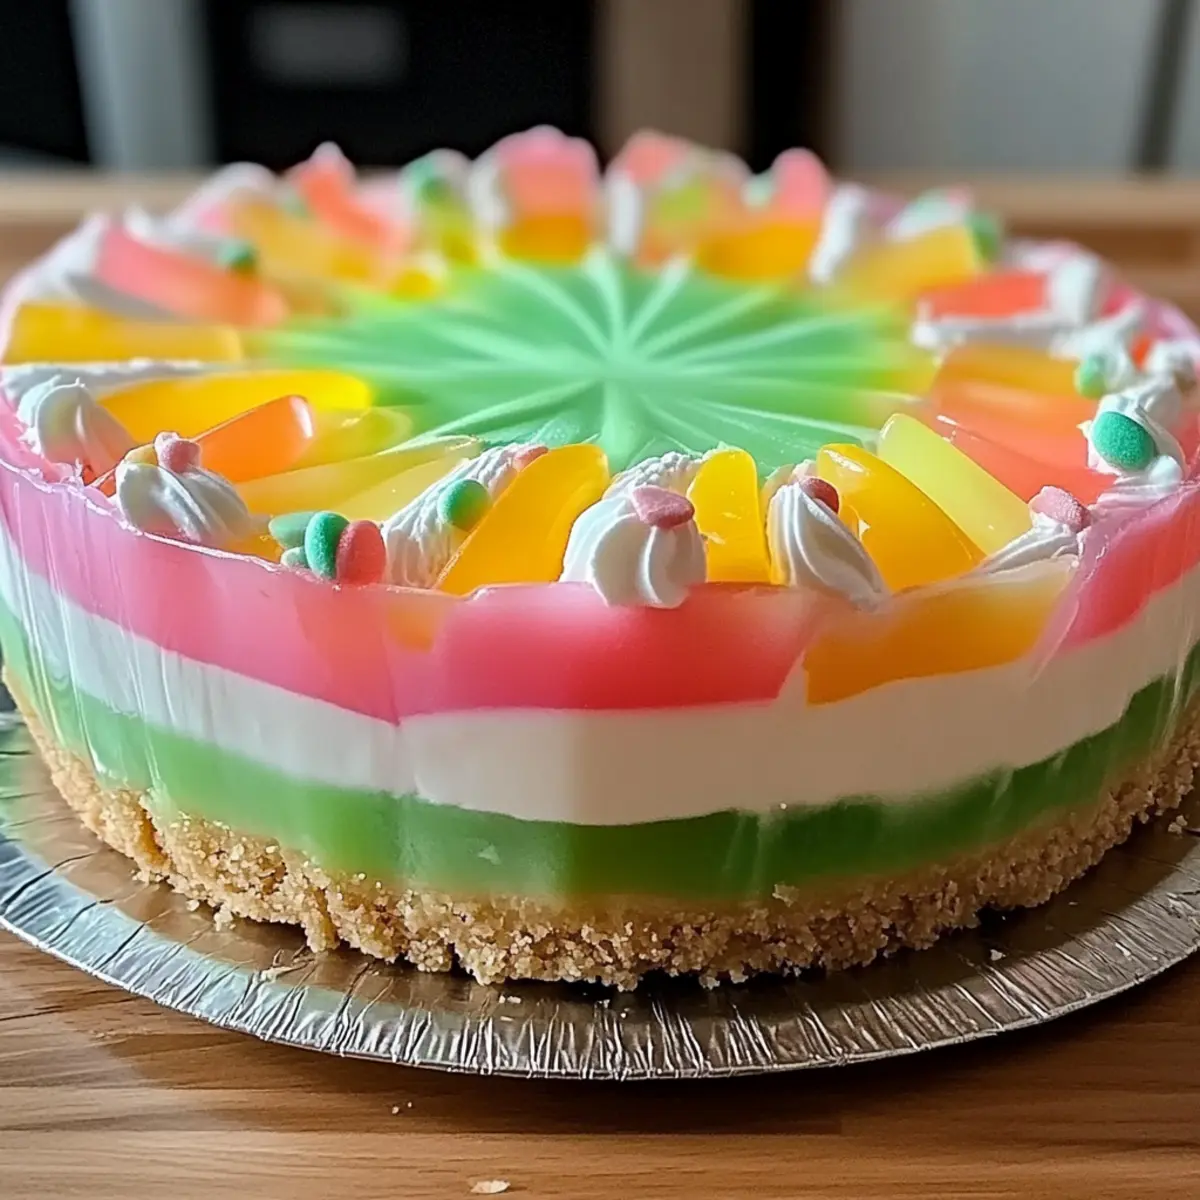
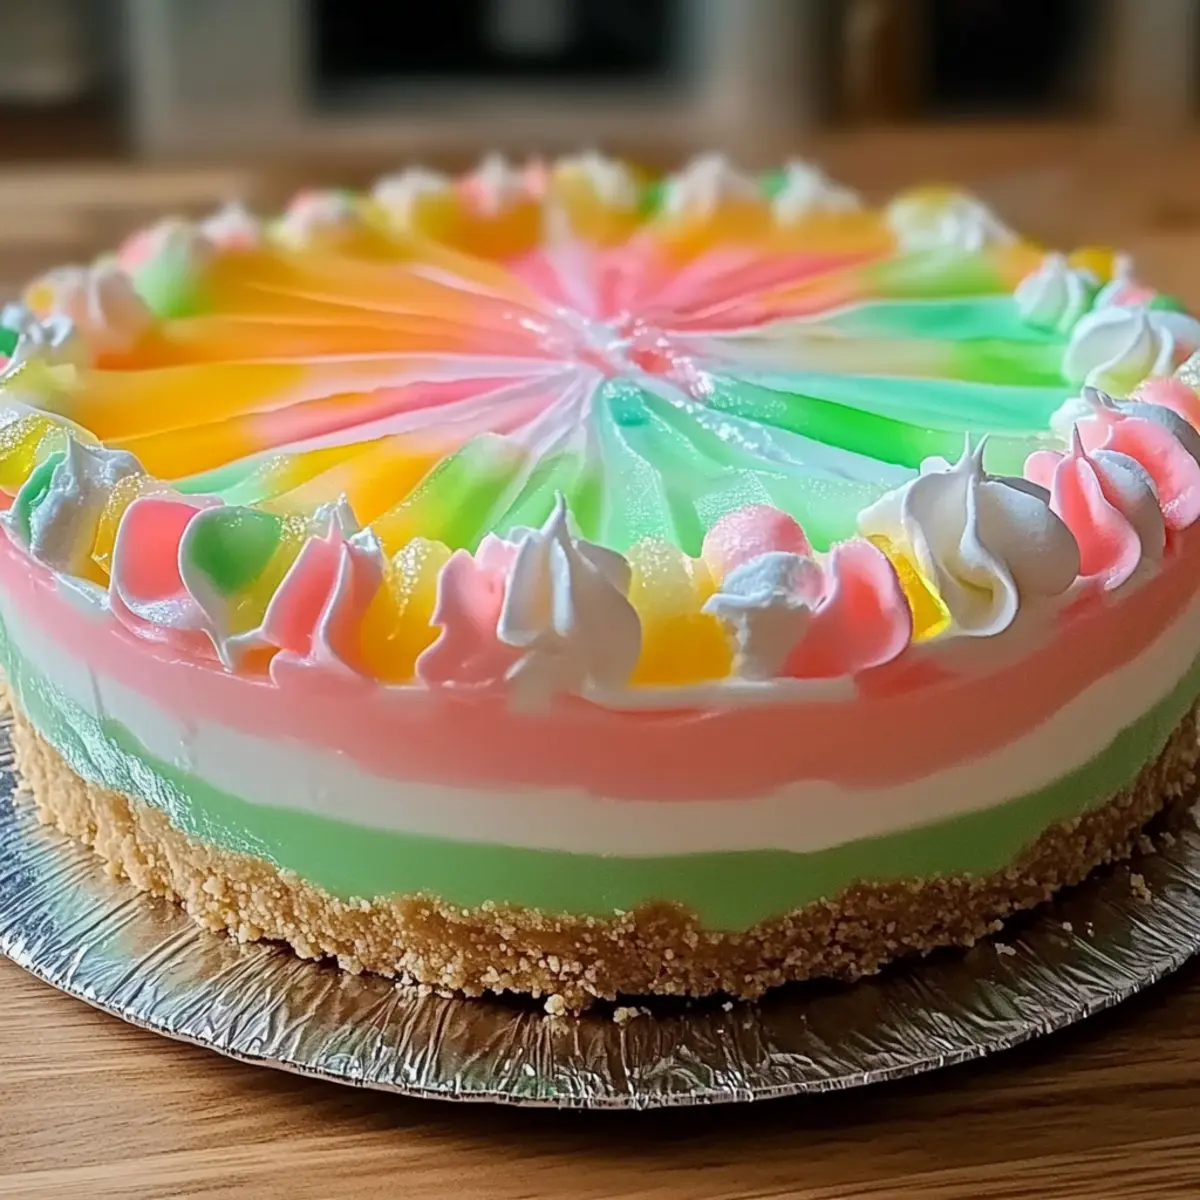
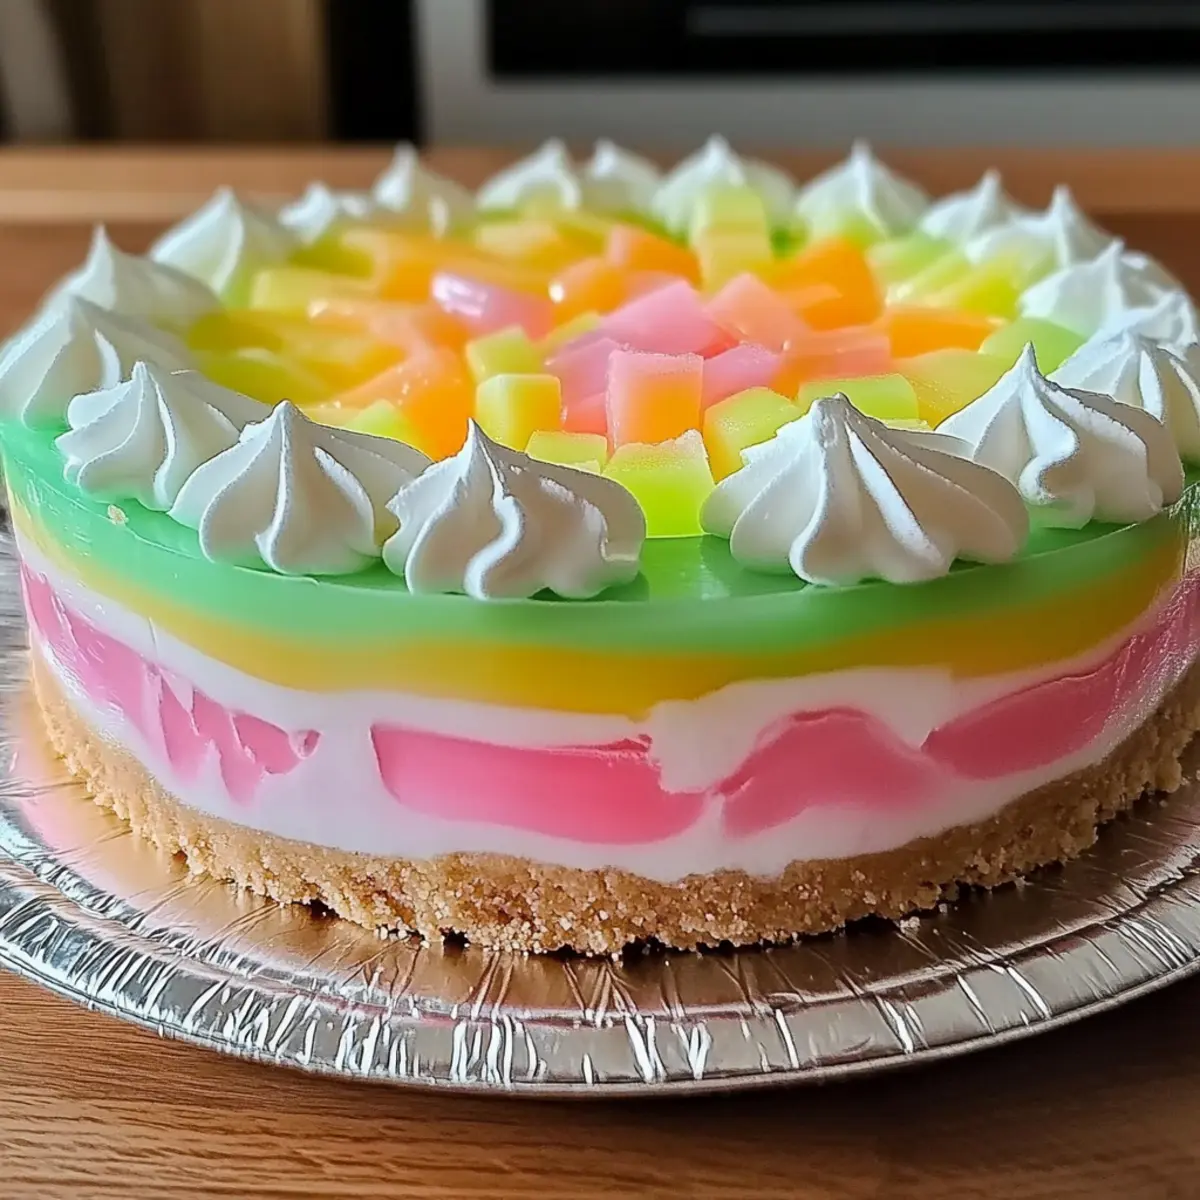
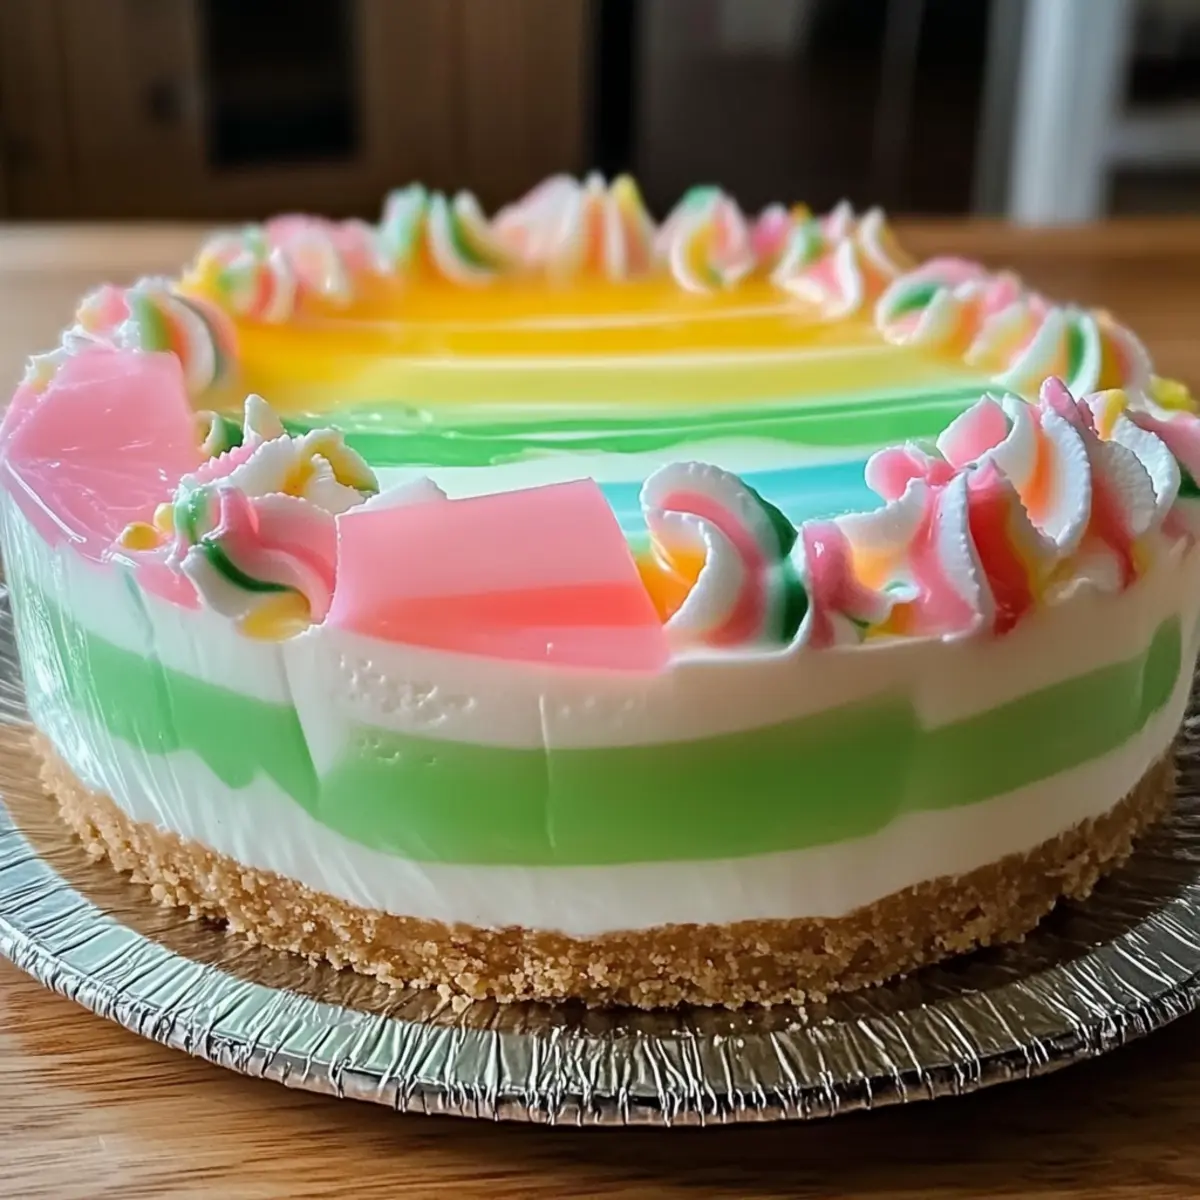
As I stood in my kitchen, sun streaming through the window, the smell of spring beckoned me to create something vibrant and cheerful. Enter the Easter No-Bake Jello Pie! This delightful dessert captures the essence of the season with its colorful layers and creamy, fruity filling. Not only is it a family-friendly, easy dessert that even the kids can help prepare, but it also allows for endless customization—imagine their faces when they see their favorite Jello flavors proudly displayed on the table! Plus, its no-bake nature means you can whip it up in advance, freeing your time for more holiday festivities. What flavors will you choose to make this tantalizing pie your own?
Why is this pie a must-try?
Vibrant Layers: Each slice of Easter No-Bake Jello Pie bursts with color, making it a festive centerpiece for any gathering.
Kid-Friendly Fun: Involve your little chefs in the kitchen! This easy dessert is perfect for holiday bonding.
Endless Customization: With various Jello flavors, you can craft a pie that suits every palate—think of all the delicious combinations!
Quick and Convenient: Say goodbye to heating up the oven; this no-bake treat is ready to chill in no time, allowing you more leisure for holiday activities.
Delightful Texture: Experience a playful contrast between the creamy filling and fruity Jello, making each bite refreshing and satisfying.
As you’re preparing for Easter, don’t miss out on serving this pie alongside delightful dishes like Baked Eggs Florentine or Baked Salmon Spinach. Enjoy every moment of this cheerful season!
Easter No Bake Jello Pie Ingredients
For the Crust
- Graham Cracker Crust – Provides a sweet and crunchy base; feel free to swap for an Oreo cookie crust for a chocolatey twist.
For the Cream Cheese Layer
- Cream Cheese – Adds creaminess and richness; opt for dairy-free cream cheese if you’re avoiding dairy.
- Granulated Sugar – Sweetens the cream cheese layer; adjust according to taste or replace with a sugar alternative for a lighter option.
- Vanilla Extract – Enhances the flavor profile; using pure vanilla extract will yield the best results.
For the Jello Layers
- Boiling Water – Activates the Jello mixture and helps it set properly; ensure it’s boiling for best results.
- Cold Water – Used to blend with the Jello mixture after dissolving it in boiling water.
- Jello (Various Flavors and Colors) – Provides fruity flavor and color to the pie; try sugar-free Jello for a healthier version.
For the Topping
- Whipped Topping – Adds a light, fluffy texture on top; use dairy-free whipped topping for a vegan-friendly dessert.
- Optional Easter Candies or Sprinkles – For decoration and an added festive touch to your Easter No-Bake Jello Pie!
Step‑by‑Step Instructions for Easter No Bake Jello Pie
Step 1: Prepare the Cream Cheese Layer
In a mixing bowl, beat together 8 ounces of softened cream cheese, 1 cup of granulated sugar, and 1 teaspoon of vanilla extract using an electric mixer. Continue mixing until the mixture is smooth and creamy, which should take about 2-3 minutes. Set this delightful cream cheese layer aside while you work on the Jello.
Step 2: Dissolve the Jello
In two separate bowls, boil 2 cups of water until it reaches a rolling boil. Then, pour 1 cup of boiling water into the first bowl and add your chosen Jello flavor (around 3 ounces). Stir until completely dissolved, which should take about 2 minutes. In another bowl, combine the remaining 1 cup of cold water with the dissolved Jello, ensuring everything is well mixed.
Step 3: Create the First Layer
Once the Jello mixture is ready, pour a layer of the Jello into a 9-inch pie dish, spreading it evenly. Chill this layer in the refrigerator for about 30 minutes or until it starts to set but is not fully firm. You’ll know it’s ready when it has a slightly tacky surface.
Step 4: Add the Cream Cheese Mixture
After the first layer has set, gently spread the prepared cream cheese mixture over the semi-firm Jello layer. Use a spatula to create a smooth, even layer on top. Return the pie to the refrigerator for another 20-30 minutes to allow this layer to chill and solidify slightly.
Step 5: Pour the Second Layer of Jello
Prepare a second batch of Jello using another 3 ounces of your preferred flavor. Follow the same process by mixing it with boiling water and then adding cold water. Pour this mixture over the set cream cheese layer, making sure to cover it completely. Return the pie to the refrigerator and let it chill for at least 2 hours until the Jello is fully set.
Step 6: Decorate and Serve
Once your Easter No Bake Jello Pie is set, carefully remove it from the refrigerator. Top with whipped topping to add a light, fluffy texture, and feel free to decorate with optional Easter candies or sprinkles for that festive touch. Slice and serve chilled to enjoy the vibrant layers and creamy goodness!
Storage Tips for Easter No Bake Jello Pie
Fridge: Store your Easter No Bake Jello Pie in an airtight container to maintain its freshness for up to 3-4 days. This helps prevent the layers from becoming soggy.
Freezer: Avoid freezing the pie, as freezing can alter the texture of the creamy layers and Jello, leading to a less enjoyable dessert experience.
Reheating: This pie is best served chilled, so no need for reheating. Just slice and serve straight from the fridge for maximum taste and texture.
Leftover Layers: If you have leftover Jello or cream cheese mixture, store them separately in airtight containers in the fridge for up to 2 days for another delicious treat!
What to Serve with Easter No-Bake Jello Pie
Easter gatherings are not complete without delightful accompanying dishes that will elevate your celebration to the next level.
- Creamy Mashed Potatoes: Their rich and buttery texture complements the lightness of the pie, providing a heavenly contrast.
- Honey Glazed Carrots: The natural sweetness of these tender veggies echoes the fruity flavors of the Jello pie, creating a harmonious blend.
- Garden Salad: A fresh mix of crisp greens, colorful peppers, and zesty vinaigrette offers a refreshing crunch alongside the creamy dessert.
- Grilled Pineapple Slices: Their charred sweetness is a perfect tie-in to the tropical notes of Jello flavors, enhancing that summery vibe.
- Sparkling Lemonade: This bubbly drink is refreshing and adds a citrusy zing that pairs beautifully with the fruity layers of the pie.
- Chocolate Easter Eggs: For a sweet treat that ties into the holiday, these delightful candies will surprise and charm both kids and adults alike.
As you gather with family and friends, let your table sparkle with these perfect pairings, transforming your Easter meal into an unforgettable celebration to cherish!
Easter No Bake Jello Pie Variations
Feel free to be creative and make this Easter No-Bake Jello Pie uniquely yours with these delightful twists!
- Flavor Swaps: Change up the Jello flavors for vibrant new combinations; try berry mixes for a summer twist!
- Nutty Crust: Use a nut-based crust for a gluten-free option that adds a delicious crunch to every bite. Imagine the nutty flavors mingling with the creamy filling—heavenly!
- Fresh Fruit Addition: Fold in your favorite fresh fruit pieces into the cream cheese layer for pops of flavor and color. Strawberries or blueberries work wonders here, bringing freshness to every slice!
- Sugar-Free Alternative: Swap regular Jello for a sugar-free version to make this dessert lighter and keep it equally enjoyable for everyone at the table. It still packs the same fun flavor punch!
- Chocolate Lovers: Use chocolate pudding for one layer instead of Jello; it creates a rich and indulgent experience perfect for chocolate fans. Pair it with strawberry Jello for a tasty combination!
- Dairy-Free Delight: Replace cream cheese and whipped topping with coconut cream for a delicious vegan version that is equally creamy and refreshing!
- Spice It Up: Add a sprinkle of cinnamon or nutmeg to the cream cheese layer for an unexpected warmth and depth of flavor.
- Tropical Twist: Incorporate flavors like coconut or pineapple Jello for a tropical vibe. It’s like a summer vacation on a plate, fresh and exciting!
For more sweet inspirations, consider whipping up some Apple Fritter Bites for a delightful breakfast treat or a fun addition to your Easter brunch!
Expert Tips for Your Easter No Bake Jello Pie
• Gelling Perfection: Ensure the Jello is completely dissolved in boiling water before mixing in cold water to achieve proper setting.
• Layer Chilling: Allow each layer to chill adequately before adding the next to maintain the distinct layers of your Easter No Bake Jello Pie.
• Avoid Freezing: Don’t freeze the pie, as this can alter the creamy texture and freshness of the layers.
• Storage Savvy: Keep the pie in an airtight container for freshness, lasting up to 3-4 days in the refrigerator.
• Creative Toppings: Feel free to personalize with fresh fruits or fun sprinkles on top for an extra festive touch!
Make Ahead Options
These Easter No-Bake Jello Pie layers are perfect for meal prep, allowing you to enjoy the holiday without last-minute stress. You can prepare the cream cheese layer and the Jello layers up to 24 hours in advance. To maintain freshness and prevent any flavor mingling, refrigerate each layer separately in airtight containers. When you’re ready to serve, simply assemble the chilled layers by stacking the cream cheese mixture on the first Jello layer and adding the second Jello layer on top. Finish off with whipped topping and decorations, ensuring your delightful dessert is just as vibrant and delicious as if made fresh that day!
Easter No Bake Jello Pie Recipe FAQs
How do I choose the right Jello flavors?
Absolutely! When selecting Jello flavors for your Easter No Bake Jello Pie, think about your family’s favorites! Classic options like strawberry, raspberry, or lime are always a hit, but you can also experiment with more unique flavors like kiwi or blue raspberry. Mixing a few colors visually enhances the pie and offers a variety of tastes.
What’s the best way to store the pie?
You can keep your Easter No Bake Jello Pie in an airtight container in the refrigerator for optimal freshness up to 3-4 days. This prevents the pie layers from becoming soggy while maintaining that delightful creamy texture. Simply cover the pie tightly with plastic wrap or place it in a pie keeper if you have one.
Can I freeze this pie?
Very! I recommend against freezing the pie, as freezing can significantly alter the texture. The creamy filling and the jello layers may become grainy or watery when thawed. However, if you find yourself with leftover layers, you can freeze those separately. To do this, place each mixture in airtight containers and freeze for up to 3 months. Just remember to thaw them in the fridge overnight before using them again.
What if the Jello doesn’t set properly?
No worries! If your Jello layer isn’t setting properly, ensure that you dissolved it completely in boiling water before mixing in the cold water. It helps to let the Jello sit at room temperature for about 10 minutes after mixing but before pouring. If it still doesn’t set after chilling, you can carefully reboil the mixture, ensuring all components are thoroughly mixed, and pour it into a clean dish to set again.
Are there any dietary considerations I should keep in mind?
Of course! This pie can easily accommodate various dietary preferences. For a dairy-free version, use a dairy-free cream cheese and whipped topping. Opting for sugar-free Jello is also a great way to make it lower in sugar. If you have any specific allergies, always check the labels of your ingredients to ensure they meet your dietary needs. Remember, the more the merrier—everyone should be able to enjoy this Easter No Bake Jello Pie!
Delightful Easter No Bake Jello Pie for Effortless Spring Fun
Ingredients
Equipment
Method
- In a mixing bowl, beat together cream cheese, granulated sugar, and vanilla extract until smooth and creamy.
- Boil water and dissolve Jello according to package instructions with one cup boiling water, then mix with cold water.
- Pour a layer of Jello into a pie dish, spread evenly, and chill for about 30 minutes.
- Spread the cream cheese mixture over the first layer of Jello, then return to the refrigerator for 20-30 minutes.
- Prepare a second batch of Jello and pour it over the cream cheese layer, chilling for at least 2 hours.
- Top with whipped topping and optional decorations, slice, and serve chilled.
Leave a Reply