
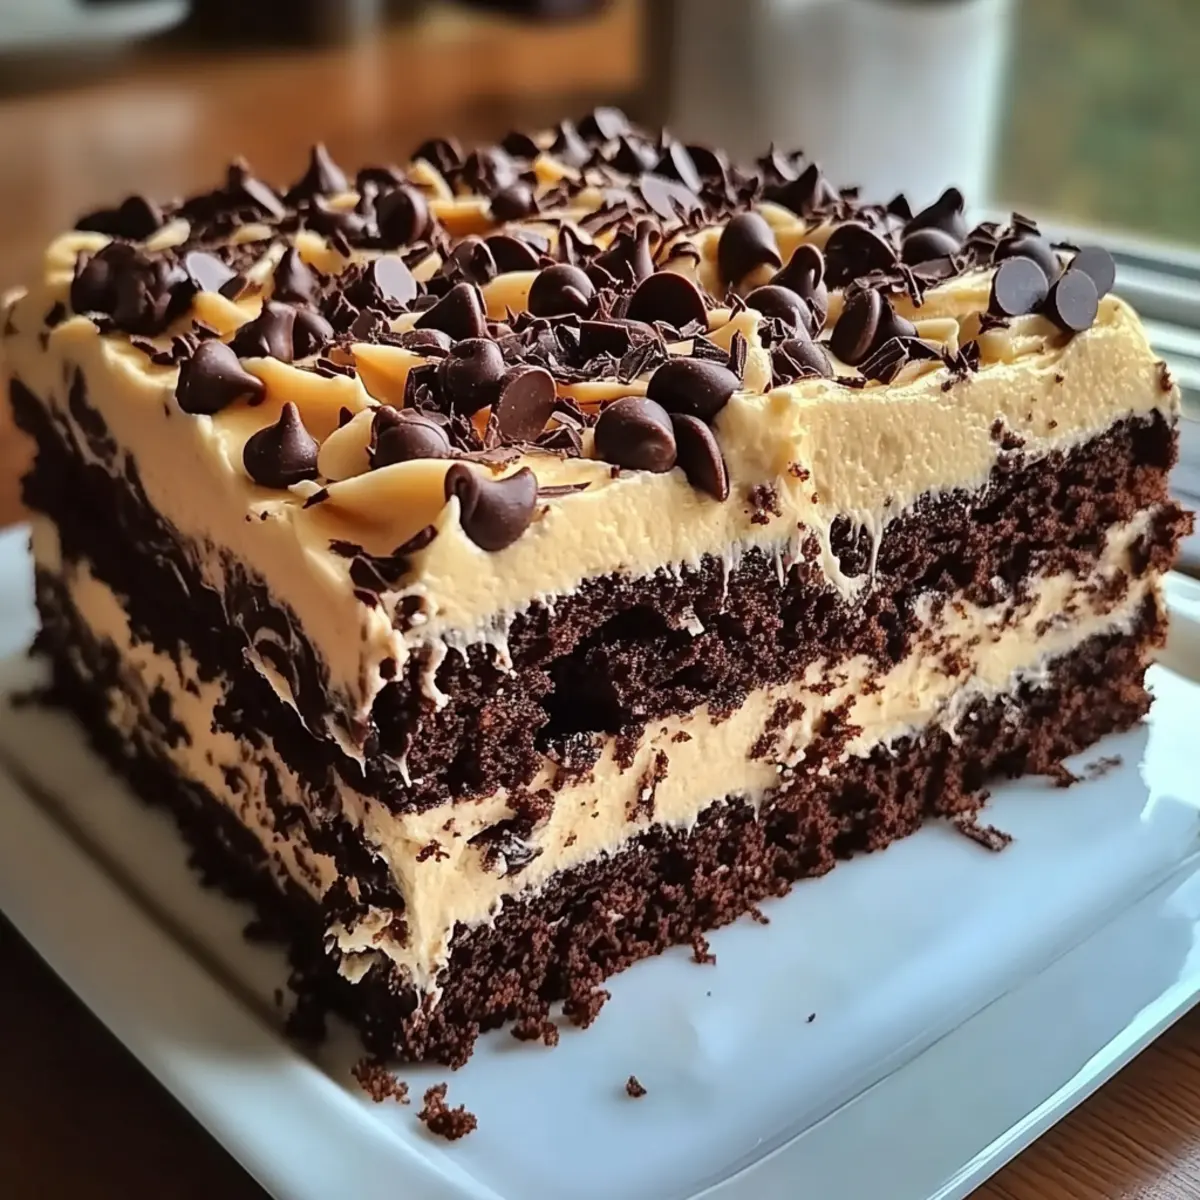
In the midst of a bustling afternoon, a friend declared, “This cake looks like an earthquake hit it, but in the best way!” And that’s when I knew I had to share my Irresistible Earthquake Cake—a delightful dessert that’s as fun to make as it is to eat. With its unique marbled cream cheese layer and decadent chocolate flavor, this cake delivers gooey chocolate bliss with every forkful. The best part? It’s a total crowd-pleaser that’s quick to whip up, making it the perfect solution for those moments when you need a delicious dessert without the fuss. Plus, you can customize it to suit your taste by swapping nuts or omitting coconut altogether. Are you ready to bring a little whimsy to your baking adventures?
Why is Earthquake Cake so irresistible?
Decadent Chocolate Flavor: This cake is a dream come true for chocolate lovers, with rich flavors that evoke comfort and indulgence.
Customizable Recipe: You can easily tailor this dessert to your preferences! Swap nuts or leave out coconut to cater to all dietary needs.
Quick and Easy: With minimal preparation time and just one baking dish needed, you’ll be on your way to dessert bliss in no time.
Gooey Texture: Each bite features a unique blend of creamy, crunchy, and gooey layers that make it utterly satisfying.
Pair it with a scoop of ice cream for an unforgettable treat, or even serve it alongside a slice of Chocolate Depression Cake for an indulgent dessert platter that will impress your guests!
Gooey Chocolate Bliss Ingredients
• Ready to create your own gooey chocolate bliss? Here’s what you’ll need!
For the Cake Base
- Chocolate Cake Mix – A standard boxed mix gives a rich flavor and structure.
- Milk – This adds moisture; any kind works wonders!
For the Cream Cheese Layer
- Cream Cheese – Use fully softened cream cheese for a smooth blend.
- Butter (melted) – Enhances the cream cheese flavor and creates a luscious texture.
- Powdered Sugar – Sweetens the cream cheese layer for that perfect balance.
For the Crunch and Texture
- Chopped Pecans or Walnuts – Adds delightful crunch; feel free to substitute or omit if nut-free.
- Sweetened Shredded Coconut – Optional, but offers fabulous texture and flavor; can be left out if desired.
- Semi-Sweet Chocolate Chips – Provides extra chocolatey goodness that melts to gooey perfection.
Now that you have your ingredients ready, you’re one step closer to making this delightful Earthquake Cake, the pinnacle of gooey chocolate bliss!
Step‑by‑Step Instructions for Gooey Chocolate Bliss
Step 1: Preheat the Oven
Begin by preheating your oven to 350°F (175°C). While the oven warms up, grab a 9×13-inch baking dish and generously grease it to prevent sticking. This will ensure your Gooey Chocolate Bliss can be easily released once it’s baked to perfection.
Step 2: Prepare the Bottom Layer
Spread a layer of chopped pecans or walnuts evenly across the bottom of the greased baking dish. If you’re using sweetened shredded coconut, sprinkle it over the nuts to create a delightful texture contrast. This foundation will give your cake a satisfying crunch that beautifully complements the gooey chocolate layer above.
Step 3: Make the Cake Batter
In a mixing bowl, combine the chocolate cake mix with the appropriate amount of milk according to package instructions. Mix well until the batter is smooth and free of lumps, usually about 2-3 minutes. Once ready, gently pour this luscious chocolate mixture over the nut and coconut layer in the baking dish, ensuring it spreads evenly.
Step 4: Prepare Cream Cheese Mixture
In a separate bowl, blend the softened cream cheese with melted butter and powdered sugar until silky and smooth. This creamy blend is essential in creating the marbled effect for your Gooey Chocolate Bliss. Take your time mixing; the smoother the mixture, the better it will swirl into the cake.
Step 5: Swirl the Cream Cheese
Dollop spoonfuls of the cream cheese mixture over the chocolate cake batter in the dish. Using a knife, carefully swirl the cream cheese into the chocolate batter, creating a lovely marbled effect. Be gentle to maintain distinct swirls; this step showcases the beauty of your dessert and adds layers of flavor.
Step 6: Add the Finishing Touches
Sprinkle semi-sweet chocolate chips generously over the top of the cake batter and cream cheese mixture. These chips will melt as the cake bakes, enhancing the gooeyness of your masterpiece. Their addition boosts the chocolate flavor, creating an even more indulgent experience when you enjoy your Gooey Chocolate Bliss.
Step 7: Bake the Cake
Carefully place the baking dish in your preheated oven and let it bake for 40-45 minutes. Keep an eye on it—the cake should be firm around the edges while the center might still jiggle slightly when done. A toothpick inserted in the middle should come out with a few moist crumbs, indicating the perfect gooeyness.
Step 8: Cool Before Serving
Once baked, remove the cake from the oven and allow it to cool in the pan for at least 30 minutes. This step is crucial; it lets the flavors settle and makes slicing easier. Once cooled, cut into squares and serve warm for an extra touch of gooey chocolate bliss, or allow to cool completely for a delightful chilled treat.
Expert Tips for Gooey Chocolate Bliss
- Softened Cheese: Ensure your cream cheese is fully softened to avoid lumps in the cream cheese layer, which can disrupt the marbling effect.
- Gentle Mixing: Mix the cream cheese mixture just until smooth; overmixing can lead to a dense texture instead of delightful swirls.
- Watch the Time: Check for doneness around the 40-minute mark. The center should be slightly jiggly but firm. A toothpick should come out with moist crumbs to indicate gooey chocolate bliss.
- Cool for Best Slices: Let the cake cool in the pan for at least 30 minutes before slicing. This helps it set and ensures cleaner edges when you cut it.
- Customization: Don’t hesitate to experiment! Customize your cake by using different nuts or omitting the coconut entirely for a personal touch that suits your taste.
How to Store and Freeze Earthquake Cake
Fridge: Store any leftovers tightly covered in the refrigerator for up to 5 days to keep the cake moist and delicious.
Freezer: If you want to save it for later, wrap slices in foil and freeze for up to 2 months. Just make sure they are well-sealed to prevent freezer burn.
Reheating: When ready to enjoy, thaw in the fridge overnight, then warm individual slices in the microwave for about 15-20 seconds to revive that gooey chocolate bliss.
Serving Tips: For the best experience, serve it slightly warm, topped with a scoop of ice cream or a dollop of whipped cream.
What to Serve with Gooey Chocolate Bliss?
Indulging in this heavenly dessert isn’t just a treat for your taste buds; it opens the door to a delightful meal experience.
-
Vanilla Ice Cream: A classic pairing, its creamy texture contrasts beautifully with the rich chocolate. A scoop melting over the warm cake elevates every bite to pure bliss.
-
Fresh Berries: Strawberries or raspberries add a refreshing burst of tartness that balances the cake’s sweetness, making each forkful feel wonderfully light.
-
Coffee or Espresso: The rich, bitter notes of coffee complement the gooey chocolate flavor, making for an elegantly indulgent dessert experience, perfect for enjoying after dinner.
-
Whipped Cream: Light and airy, a dollop of whipped cream on top adds a luscious creaminess that blends perfectly with the gooey texture, enhancing each mouthful.
-
Chocolate Sauce Drizzle: For true chocolate lovers, a drizzle of warm chocolate sauce brings an extra layer of gooeyness, intensifying the rich flavor and making it utterly irresistible.
-
Peanut Butter Swirl: A generous dollop of creamy peanut butter right on top creates a decadent combination that will light up your dessert game, adding a nutty twist to the chocolate bliss.
-
Caramel Sauce: The rich sweetness of caramel adds a delightful contrast, bringing a layer of depth to the flavors while complementing the cake’s gooey richness.
-
Nutty Brownie Bites: Serve alongside bite-sized brownies for a double chocolate experience that will leave guests in dessert heaven. The mixed textures will elevate the experience!
Gooey Chocolate Bliss Variations
Get ready to put your own spin on this decadent cake and let your creativity shine through!
- Nut-Free: Swap nuts for seeds like pumpkin or sunflower to cater to allergies without sacrificing texture.
- Flavor Change: Use flavored chocolate cake mixes, such as dark chocolate or fudge, to elevate the chocolate bliss experience.
- Omit Coconut: Leave out sweetened shredded coconut for a more classic, chocolate-forward cake that appeals to all tastes.
- Cheese Swap: Use mascarpone in place of cream cheese for a lighter, creamier layer that’s equally delightful.
- Add Spices: Sprinkle in a dash of cinnamon or espresso powder into the batter to intensify the chocolate richness and elevate the flavors.
- Fruity Twist: Fold in fresh berries or sliced bananas into the batter before baking for a fruity explosion inside the cake.
- Serving Pairings: Enjoy a warm slice alongside a rich scoop of ice cream or pair with decadent options like Chocolate Depression Cake for an unforgettable dessert spread.
- Chocolate Lovers Upgrade: Enhance with both semi-sweet and white chocolate chips for a double chocolate treat, appealing to every chocolate lover.
Make Ahead Options
These Gooey Chocolate Bliss creations are a dream for meal prep enthusiasts! You can prepare the bottom layer (nuts and coconut) and store it in the baking dish, covered tightly in the refrigerator, for up to 3 days. The chocolate cake batter can also be mixed ahead of time and kept in the fridge for up to 24 hours before pouring over the prepared layer. To ensure freshness, make the cream cheese mixture the day you plan to bake, as this maintains its creamy texture and flavor. When you’re ready to bake, simply layer the prepared components, swirl the cream cheese mixture, sprinkle with chocolate chips, and pop it in the oven for delightful results with minimal effort!
Gooey Chocolate Bliss: Earthquake Cake Recipe FAQs
How do I choose the best chocolate cake mix for this recipe?
Absolutely! For the best results, opt for a high-quality chocolate cake mix that you enjoy. Look for mixes that list cocoa as a primary ingredient for richer flavor. You can also experiment with fudge or devil’s food mixes for an extra layer of depth in taste!
How should I store leftovers of my Earthquake Cake?
I recommend storing any leftover cake tightly covered in the fridge for up to 5 days. This keeps your cake moist and flavorful. Alternatively, wrapping individual slices in foil allows you to freeze them for up to 2 months. Just ensure they are well-sealed to prevent freezer burn!
Can I freeze Earthquake Cake? If so, how?
Absolutely! To freeze your Earthquake Cake, start by letting it cool completely. Then, wrap slices securely in foil or place them in an airtight container, labeling with the date. It will keep well in the freezer for up to 2 months. When you’re ready to enjoy, simply thaw in the fridge overnight, then warm individual slices in the microwave for about 15-20 seconds for that gooey chocolate bliss revival.
What should I do if my cream cheese mixture is lumpy?
Very! If your cream cheese mixture is lumpy, it’s likely that the cream cheese wasn’t softened enough. To fix this, simply place the cream cheese in a microwave-safe bowl and microwave it for 15-20 seconds, then retry mixing it with the melted butter and powdered sugar. Blend until smooth, ensuring you mix slowly and gently to maintain the texture.
Can I make this recipe nut-free?
Absolutely! If you need a nut-free version, you can easily substitute the chopped nuts with seeds like sunflower or pumpkin seeds. Alternatively, you can simply omit the nuts altogether, and the cake will still be delicious!
Does Earthquake Cake contain any common allergens?
Yes, the Earthquake Cake does contain common allergens like dairy (cream cheese and butter) and gluten (cake mix). If someone has a dairy allergy, you can use dairy-free cream cheese and margarine as substitutes. As always, double-check all packaging to ensure they meet allergen-free standards for your needs.
Gooey Chocolate Bliss: Your New Favorite Dessert Adventure
Ingredients
Equipment
Method
- Preheat your oven to 350°F (175°C) and grease a 9x13-inch baking dish.
- Spread chopped nuts evenly across the bottom of the dish and optionally add shredded coconut.
- Combine chocolate cake mix with milk in a mixing bowl and mix until smooth.
- Blend softened cream cheese with melted butter and powdered sugar until smooth.
- Dollop cream cheese mixture over the cake batter and swirl gently with a knife.
- Sprinkle semi-sweet chocolate chips on top before baking.
- Bake for 40-45 minutes or until edges are firm and center is slightly jiggly.
- Let cool in the pan for at least 30 minutes before slicing.
Leave a Reply