
The sizzle of grilled chicken mingling with the tangy aroma of Caesar dressing instantly transports you to a sun-soaked picnic. When it comes to easy meals that don’t skimp on flavor, these Grilled Chicken Caesar Salad Wraps are my absolute go-to. Packed with high-protein goodness and an option to go gluten-free with lettuce wraps, they’re perfect for a quick lunch or a laid-back dinner. The best part? They’re a meal prep dream, allowing you to savor homemade flavors without the fuss during hectic weekdays. You’ll love how easy it is to whip up a satisfying wrap that brings the deliciousness of a classic Caesar salad straight to your hands. Ready to make your next lunchtime adventure a tasty one? Let’s dive in!
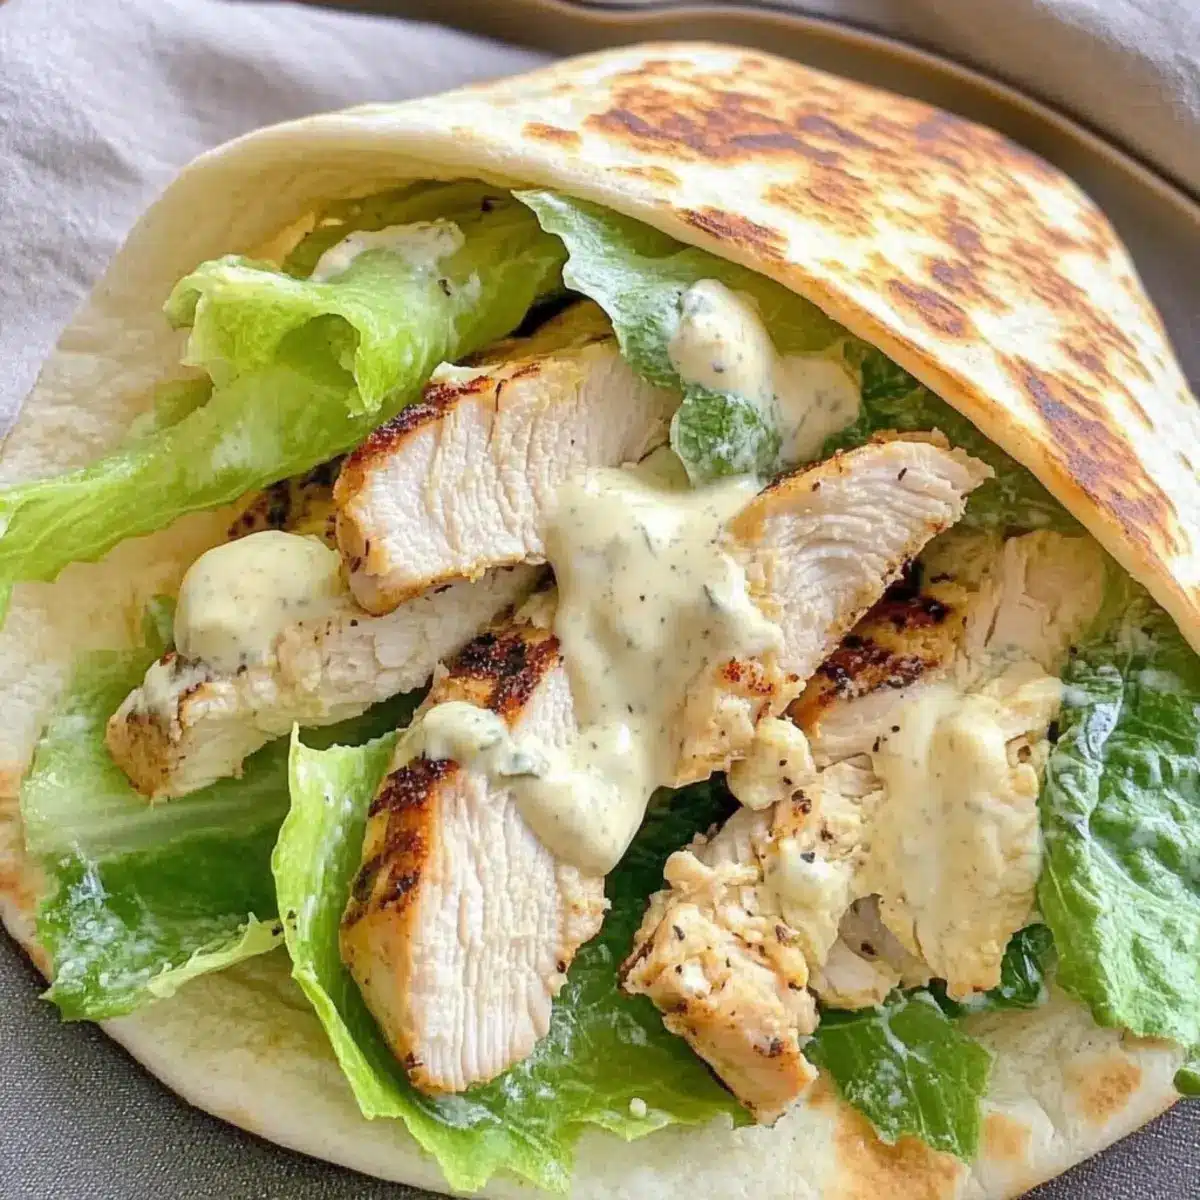
Why Are These Wraps a Must-Try?
Bursting with Flavor: Each bite harmoniously blends grilled chicken and creamy Caesar dressing, creating a flavor explosion.
Meal Prep Friendly: Ideal for busy weeks, these wraps can be prepped ahead and stored separately for quick assembly.
Versatile Ingredients: Swap chicken for shrimp or turkey, or use gluten-free lettuce wraps to suit your dietary needs.
Satisfying Texture: Soft pita wraps encase crunchy romaine and juicy chicken, offering a delightful mouthfeel.
Crowd-Pleasing Appeal: Perfect for family lunches or casual dinners, these wraps are convenient yet indulgent—everyone will love them! You might also enjoy pairing them with a refreshing side like Pasta Salad Summer for a complete meal.
Grilled Chicken Caesar Salad Wraps Ingredients
For a harmonious blend of flavors!
For the Chicken
- Chicken Breast – This is your main protein source; grill it for maximum flavor and tenderness.
- Olive Oil – Marinate the chicken to keep it moist; avocado oil is a great alternative if you prefer.
- Kosher Salt – Enhances the chicken’s flavor; you can swap it for sea salt if needed.
- Black Pepper – Freshly ground will elevate the taste profile.
For the Salad
- Romaine Lettuce – Adds a crisp crunch; feel free to substitute with any crisp salad greens you prefer.
- Caesar Salad Dressing – Use either store-bought or homemade for creaminess and a zesty kick; different brands can bring unique flavors to your wraps.
For the Wraps
- Pita Wraps – Ideal for holding your delicious filling; swap for lettuce wraps for a gluten-free version!
Now that you’ve gathered your ingredients for these Grilled Chicken Caesar Salad Wraps, you’re well on your way to a flavorful meal that will leave you satisfied and wanting more!
Step‑by‑Step Instructions for Grilled Chicken Caesar Salad Wraps
Step 1: Prepare the Chicken
Begin by seasoning the chicken breasts with kosher salt, black pepper, and a drizzle of olive oil in a zip-top bag. This allows the flavors to infuse as you massage the bag gently. Let it marinate for at least 15 minutes to enhance the taste. While the chicken marinates, preheat your grill to medium-high heat, making sure it’s hot and ready to give the chicken the perfect char.
Step 2: Pound Out Chicken
While the chicken is marinating, flatten each breast to about 1/2 inch thick using a meat mallet. Keep the chicken in the zip-top bag to minimize mess as you gently pound it. This step is essential for ensuring even cooking and tender results. Once finished, remove any excess air from the bag and set it aside until you’re ready to grill.
Step 3: Grill Chicken
Place the marinated chicken on the preheated grill and cook for 5-6 minutes on each side. You’re looking for an internal temperature of 165°F to ensure safe consumption. The chicken should develop a lovely golden-brown color and grill marks. Once done, transfer the grilled chicken to a cutting board and let it rest for 5 minutes to maintain the juices, which will make your Grilled Chicken Caesar Salad Wraps extra delicious.
Step 4: Mix Salad
In a large mixing bowl, combine the sliced grilled chicken, torn romaine lettuce, and your choice of Caesar salad dressing. Toss everything together until the chicken and greens are evenly coated in the creamy dressing, ensuring every bite has that tantalizing flavor. You can add more dressing to taste, depending on your preference for creaminess in your Grilled Chicken Caesar Salad Wraps.
Step 5: Warm Wraps
Briefly warm the pita wraps either in a skillet over low heat or in the microwave for about 10-15 seconds. This helps soften the wraps, making them pliable and easier to fold around the filling. Watch for them to become just warm and flexible; you don’t want them to dry out. Warming the pita will elevate the overall experience of your Grilled Chicken Caesar Salad Wraps!
Step 6: Assemble Wraps
Take a warmed pita wrap and generously fill it with the chicken Caesar salad mixture, making sure to distribute the filling evenly. Fold the sides over the filling, then wrap it up tightly from the bottom. Repeat with the remaining wraps. These Grilled Chicken Caesar Salad Wraps are now ready to be enjoyed as a tasty and satisfying meal that brings the flavors of Caesar salad right to your hands!
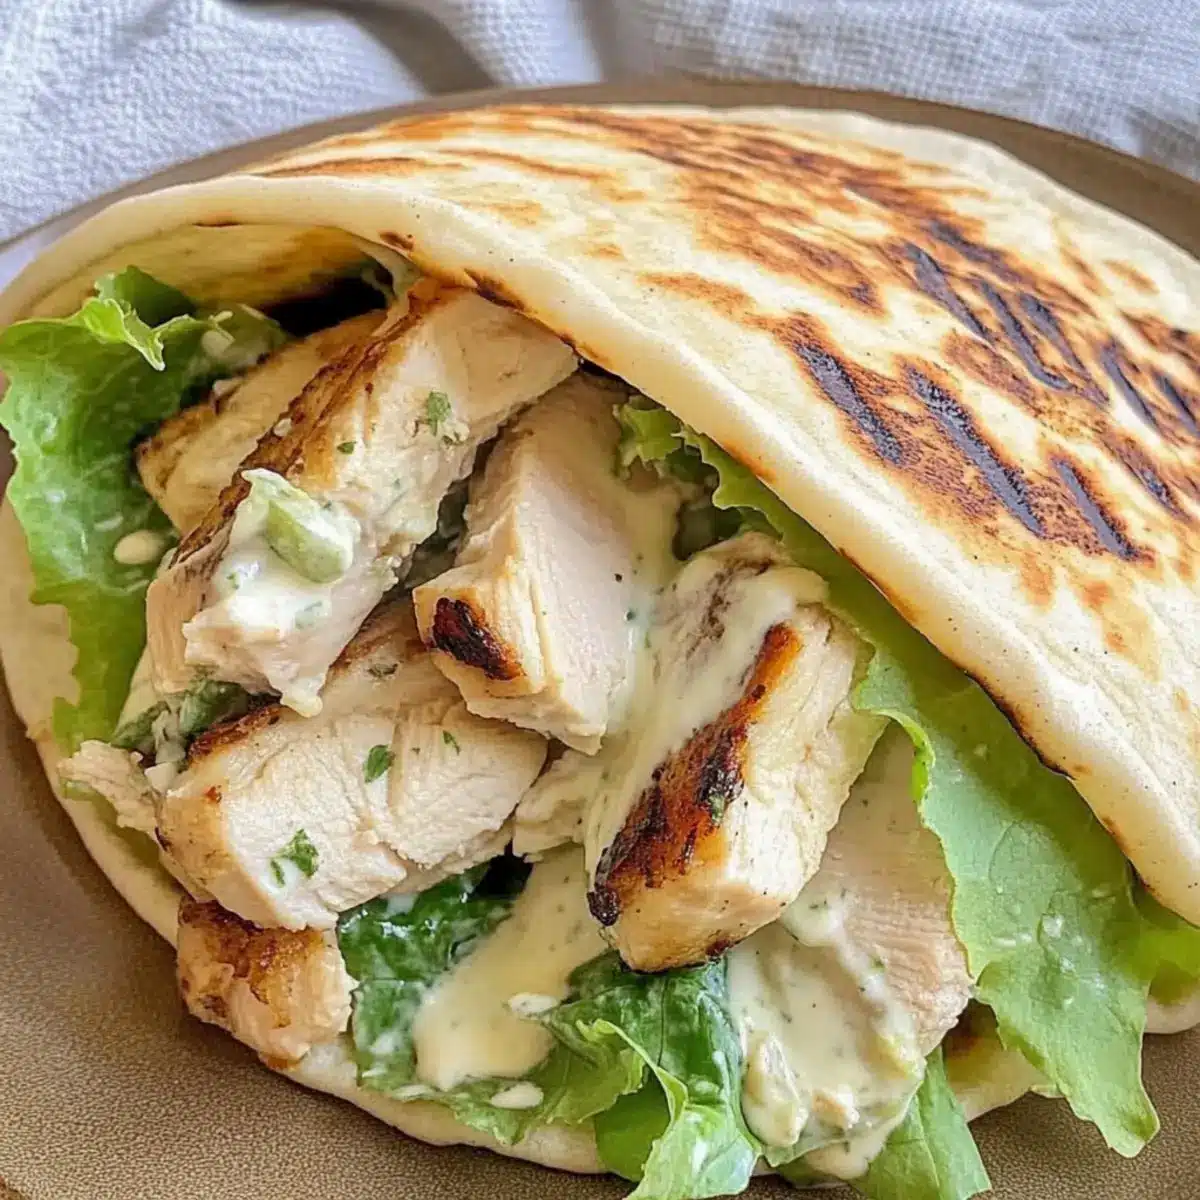
Expert Tips for Grilled Chicken Caesar Salad Wraps
- Pound Evenly: Make sure to pound the chicken to a uniform thickness; this ensures it cooks evenly and stays juicy, helping your wraps shine.
- Marinate Longer: For deeper flavor, let the chicken marinate for at least 30 minutes, or up to overnight, to truly soak in the savory seasonings.
- Dress Just Before Serving: To avoid soggy wraps, mix the salad ingredients and dressing just before assembling your Grilled Chicken Caesar Salad Wraps.
- Use Fresh Ingredients: Opt for fresh romaine and high-quality Caesar dressing to enhance the overall taste and enjoy a satisfying crunch.
- Test Wrap Flexibility: Warm pita until just soft to ensure they’re pliable without becoming dry—this makes folding much easier and more enjoyable.
What to Serve with Grilled Chicken Caesar Salad Wraps
Enhance your delightful wraps with complementary sides and drinks that elevate the entire meal experience.
-
Crusty Garlic Bread: The warm, buttery richness of garlic bread contrasts beautifully with the crispness of your wraps, making it a classic pairing.
-
Simple Tomato Soup: A comforting bowl of tomato soup adds a warm, savory element, perfect for dipping your wraps for a heartier meal.
-
Roasted Veggies: Mixed seasonal vegetables roasted to caramelized perfection provide a colorful and healthy side, balancing the flavors in your wraps.
-
Fresh Fruit Salad: A refreshing fruit salad is a sweet contrast, bringing a light and juicy element that cleanses the palate between bites.
-
Classic Potato Chips: Crunchy and salty, chips add an addictive texture that pairs well with the creamy Caesar flavor, making for a satisfying crunch.
-
Iced Lemonade: This zesty drink offers a refreshing contrast, with its citrusy brightness complementing the rich flavors of the wraps.
-
Caesar Salad Side: For a cohesive theme, serve a small Caesar salad dressed lightly on the side; it’s a perfect echo of the main dish that enhances its flavors.
Indulging in these sides will turn your Grilled Chicken Caesar Salad Wraps into a complete and delightful dining experience!
Make Ahead Options
These Grilled Chicken Caesar Salad Wraps are ideal for meal prep, allowing you to save precious time during busy weekdays. You can marinate and grill the chicken up to 3 days in advance, ensuring it’s tender and flavorful. To maintain freshness, store the sliced chicken and Caesar dressing separately in airtight containers in the refrigerator. You can also wash and chop the romaine lettuce beforehand; just keep it in a sealed container to keep it crisp. When ready to enjoy, simply reheat the chicken briefly and assemble your wraps by adding the lettuce and dressing. This way, you’ll have a delicious and satisfying meal ready to go in no time!
Grilled Chicken Caesar Salad Wraps Variations
Feel free to get creative with these delicious wraps and make them your own!
-
Shrimp Swap: Substitute grilled chicken for shrimp for a delightful seafood twist that cooks in minutes.
Shrimp brings a fresh flavor, elevating your wraps with a subtle sweetness that pairs beautifully with Caesar dressing. -
Turkey Option: Use sliced turkey breast instead of chicken for a leaner protein choice – perfect for a lighter meal.
This variation still packs plenty of flavor while keeping the wraps juicy and satisfying. -
Gluten-Free: Replace pita wraps with crisp lettuce leaves to make a gluten-free version.
Lettuce wraps add crunch and freshness, transforming your meal into a light yet hearty delight that feels indulgent. -
Dressing Variation: Try a homemade or gluten-free Caesar dressing to cater to your dietary preferences.
Experiment with flavors like tahini or avocado for a creamy kick that will tantalize your taste buds. -
Herbed Wraps: Use spinach or whole wheat wraps to add color and an extra layer of flavor to your wraps.
These wraps not only look beautiful, but they also enhance the taste, making each bite a little more exciting. -
Extra Crunch: Toss in roasted chickpeas or nuts to give your salads a satisfying crunch.
Adding these ingredients will create a delightful texture and protein-packed boost that elevates your wraps even further. -
Spicy Kick: Add sliced jalapeños or a drizzle of hot sauce for those who love a bit of heat.
This fiery addition can take your classic Caesar up a notch, making it an unforgettable flavor experience! -
Side Suggestions: Pair your wraps with a fresh side salad or a refreshing fruit cup for a rounded meal.
Combining flavors will leave you feeling fulfilled and excited about your home-cooked creations! You might also enjoy these wraps alongside a light dish like Pasta Salad Summer for a delightful meal!
How to Store and Freeze Grilled Chicken Caesar Salad Wraps
Fridge: Store assembled wraps in an airtight container for up to 3 days. To keep the wraps fresh, add Caesar dressing just before serving.
Freezer: For long-term storage, wrap individual grilled chicken Caesar salad wraps tightly in plastic wrap, then place in a freezer bag. They can be frozen for up to 2 months.
Reheating: Thaw overnight in the fridge if freezing. To reheat, unwrap and microwave for 30-60 seconds, or enjoy them cold for a refreshing option.
Meal Prep Tips: If prepping ahead, store chicken, salad, and wraps separately to maintain freshness and flavor until you’re ready to enjoy your Grilled Chicken Caesar Salad Wraps!
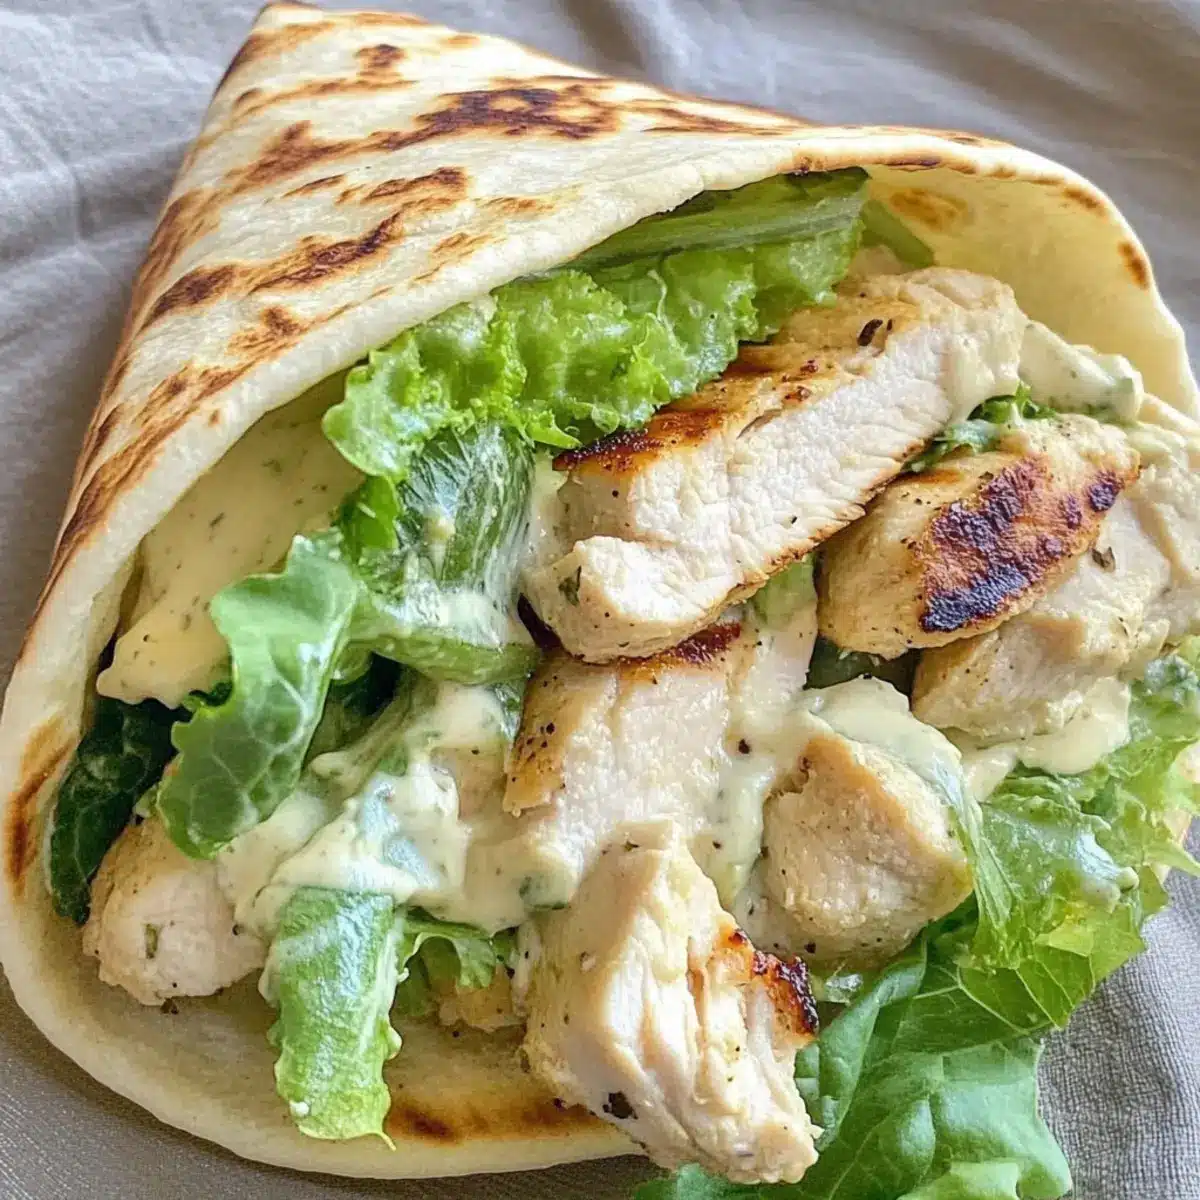
Grilled Chicken Caesar Salad Wraps Recipe FAQs
What kind of chicken is best for these wraps?
Absolutely! For the best flavor and texture, I recommend using boneless, skinless chicken breasts. They’re lean, grill beautifully, and absorb seasoning well. If you prefer a richer flavor, consider marinating them for a few hours or even overnight.
How should I store leftover wraps?
Very simply! Wraps can be stored in an airtight container in the fridge for up to 3 days. To maintain that delicious freshness, add the Caesar dressing just before serving, as this will help prevent the wraps from becoming soggy.
Can I freeze the Grilled Chicken Caesar Salad Wraps?
Absolutely! To freeze, wrap each filled wrap tightly in plastic wrap and then place them in a freezer bag. They can be stored in the freezer for up to 2 months. When you’re ready to enjoy, thaw them overnight in the fridge, and you can reheat them in the microwave for about 30-60 seconds, or enjoy them cold!
What should I do if the chicken is dry after grilling?
Oh no, dry chicken is a bummer! Ensure that you pound the chicken to an even thickness before grilling so it cooks uniformly. Using a meat thermometer to check for the right internal temperature of 165°F can help. If you end up with dry chicken, try adding a splash of chicken broth or a bit of dressing to your wrap to bring moisture back.
Is there a gluten-free option for the wraps?
Absolutely! If you’re looking for a gluten-free alternative, simply substitute the pita wraps with large romaine leaves or any other sturdy leafy greens. This not only keeps your wraps gluten-free but also adds a refreshing crunch!
What can I substitute for Caesar dressing if I have allergies?
Great question! If you have allergies to traditional Caesar dressings (which can include anchovies or dairy), you can make a simple dressing with olive oil, lemon juice, garlic, and a touch of Dijon mustard for a zesty flavor. There are also many store-bought options available that cater to vegans and those with dietary restrictions, making it easy to customize your Grilled Chicken Caesar Salad Wraps!
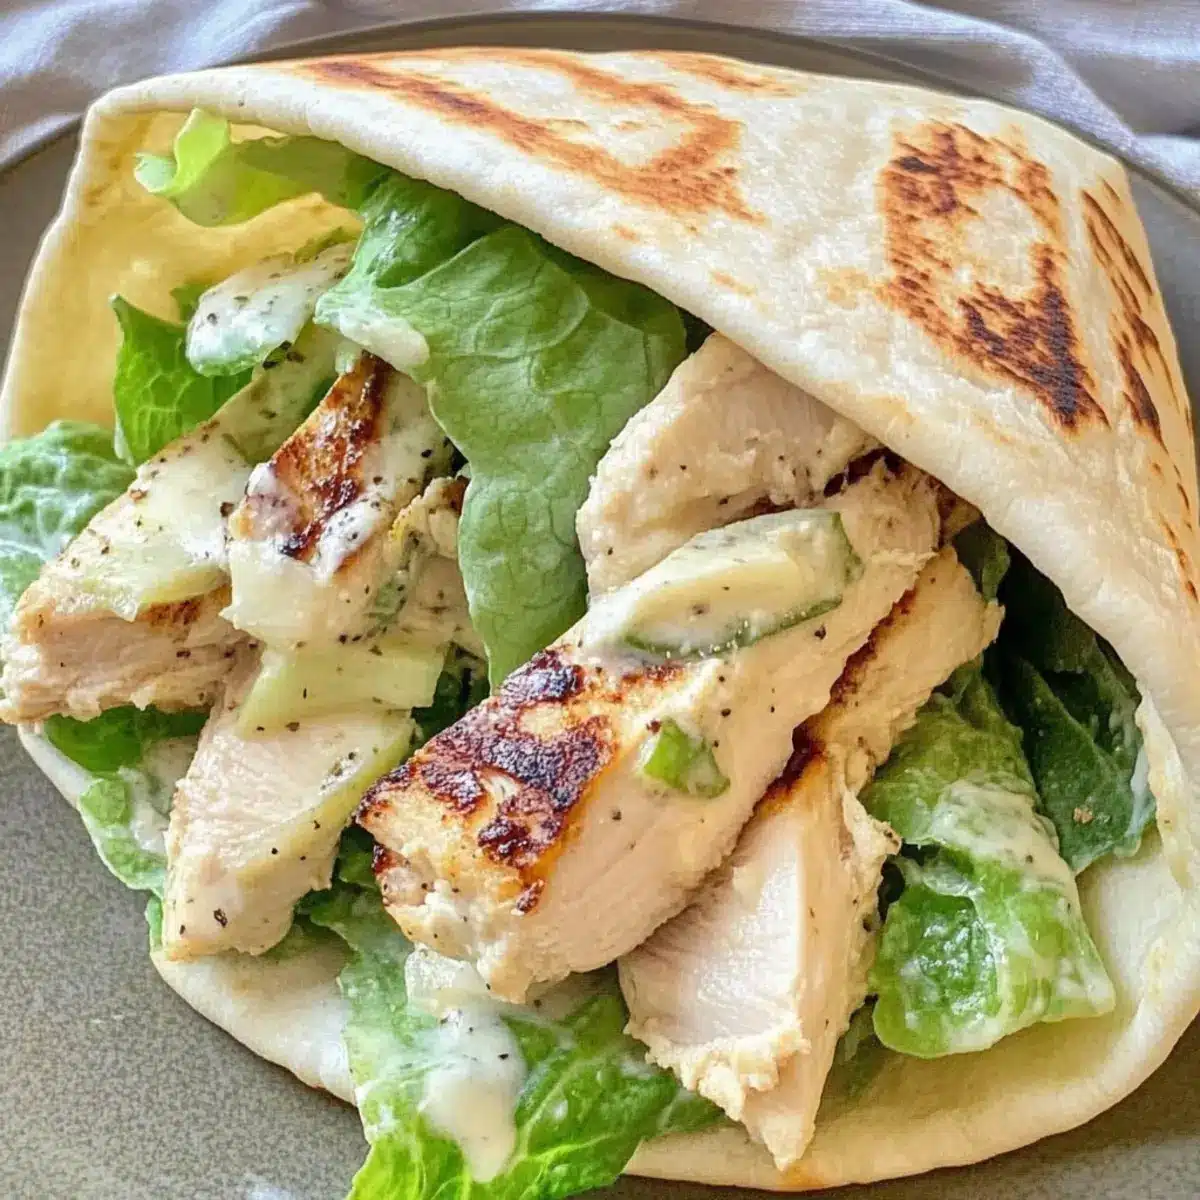
Delicious Grilled Chicken Caesar Salad Wraps for Busy Days
Ingredients
Equipment
Method
- Season the chicken breasts with kosher salt, black pepper, and olive oil in a zip-top bag. Let marinate for at least 15 minutes.
- Pound each chicken breast to about 1/2 inch thick using a meat mallet.
- Grill the marinated chicken on preheated grill for 5-6 minutes on each side until cooked through.
- In a mixing bowl, combine sliced grilled chicken, torn romaine lettuce, and Caesar dressing. Toss to coat.
- Warm pita wraps in a skillet or microwave for 10-15 seconds until pliable.
- Fill warmed pita wraps with chicken Caesar salad mixture and fold to serve.
Leave a Reply