
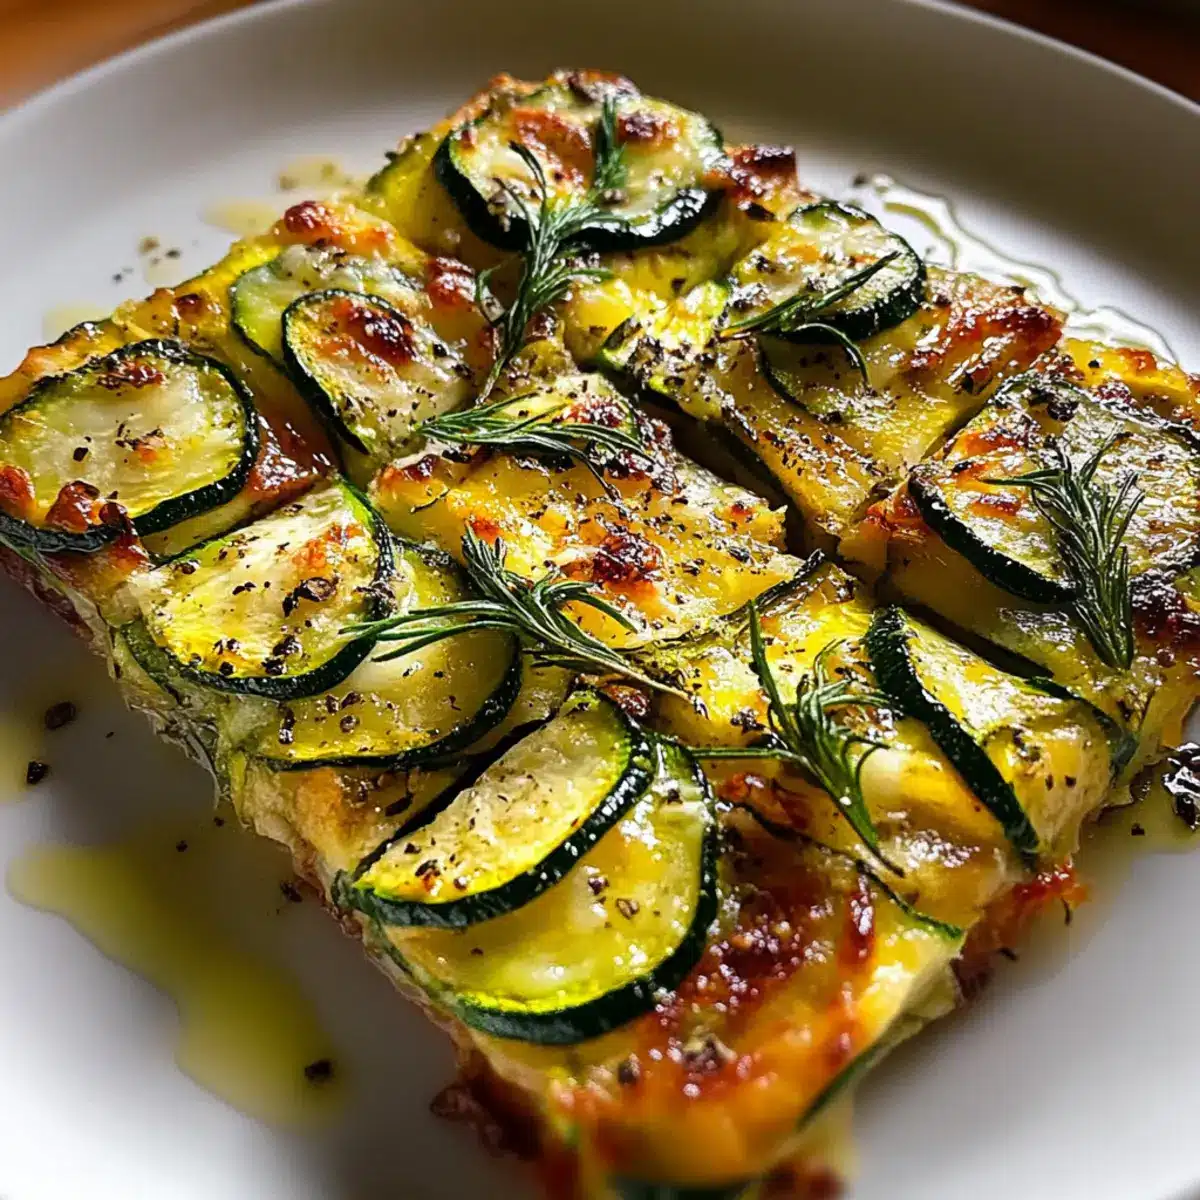
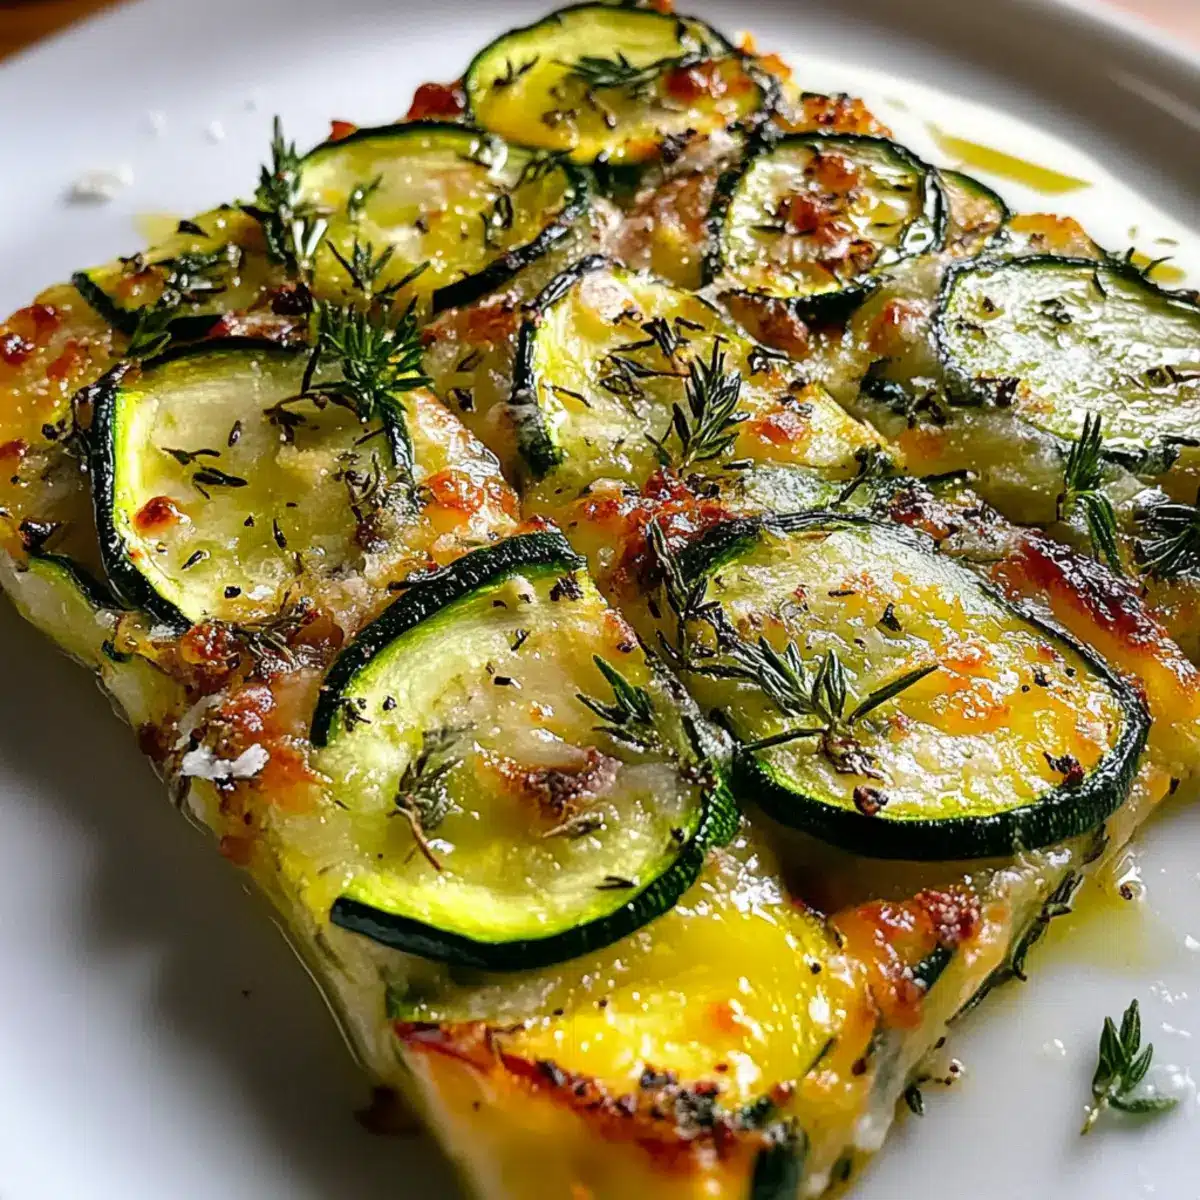
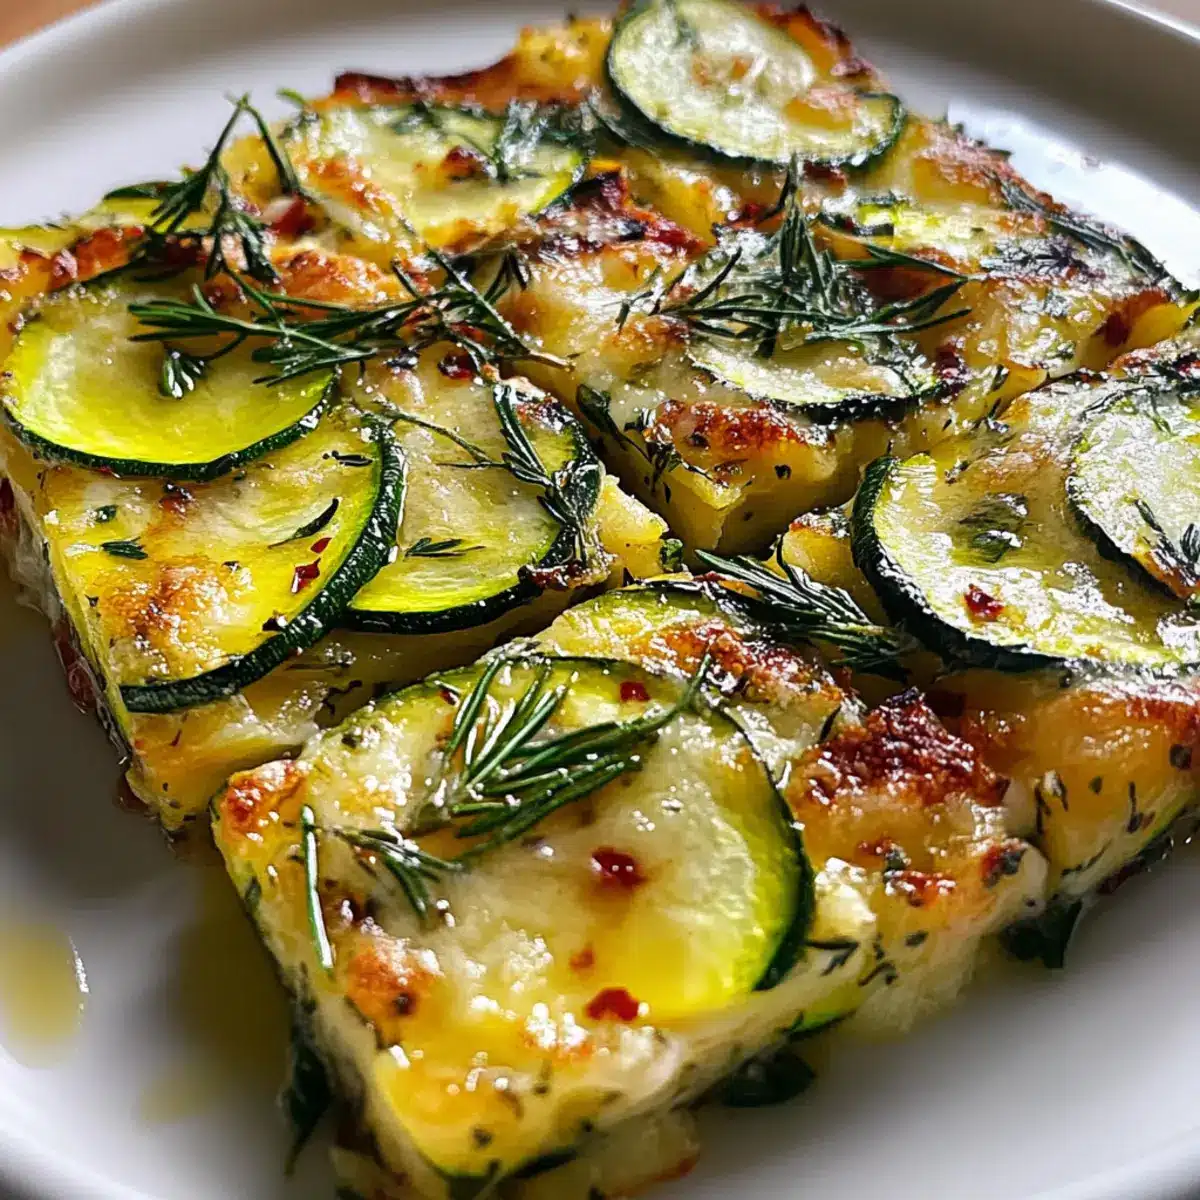
As I stood in my kitchen, the vibrant scent of fresh zucchini mingled with aromatic thyme and salty Parmesan, transforming the ordinary into something truly magical. My latest adventure in the culinary world brought me to the heart of Italy with this Italian Zucchini Scarpaccia, a rustic bake that’s as simple to prepare as it is delightful to share. Perfect for anyone yearning for a comforting, homemade meal, this dish caters to busy weeknights and relaxed gatherings alike, with its crowd-pleasing appeal and beginner-friendly steps. Imagine serving a golden, crispy marvel that not only looks beautiful but is bursting with the wholesome goodness of garden-fresh ingredients! Ready to bring a slice of Tuscany into your home?
Why choose Italian Zucchini Scarpaccia?
Simplicity at Its Core: This dish is beginner-friendly, allowing anyone to enjoy Italian flavors without the stress.
Vibrant Flavor Explosion: The combination of zucchini, thyme, and Parmesan comes together for a taste that’s both rich and refreshing.
Versatile Delight: Perfect as a side dish or light main meal, this scarpaccia fits seamlessly into any dining occasion.
Time-Saving: Quick to whip up in under an hour, making it ideal for busy weeknights or last-minute gatherings.
Crowd-Pleasing Appeal: Share this rustic bake with family and friends—it brings warmth and comfort that everyone will love! Pair it with a simple salad or roasted vegetables for a complete meal.
Italian Zucchini Scarpaccia Ingredients
For the Batter
• Zucchini – Use fresh zucchini for the best flavor and moisture in your scarpaccia.
• All-purpose flour – This is essential for providing the structure you need in your savory bake.
• Cornmeal – Adds a delightful texture and subtle sweetness to the crust.
• Baking powder – Leavens the batter, ensuring your dish stays light and airy.
• Salt – Enhances the flavors and is crucial for achieving balance in the dish.
• Black pepper – Brings warmth and depth to the savory profile.
• Eggs – Bind all ingredients together for a rich, golden batter.
• Whole milk – Moistens dry ingredients and adds a touch of richness.
• Olive oil – Contributes to a tender crumb and enhances the flavor of the bake.
For Flavoring
• Parmesan cheese – Infuses a salty umami flavor and caramelizes beautifully on top.
• Fresh thyme – An aromatic complement to the zucchini; substitute with dried thyme if needed (1 tsp).
• Pine nuts (optional) – Adds a delightful buttery crunch; feel free to omit for a nut-free version.
• Garlic – Delivers savory depth without overpowering the zucchini’s freshness.
For Finishing Touches
• Olive oil for drizzling – Encourages browning and adds an extra layer of flavor to your scarpaccia.
With these ingredients in hand, you’re on your way to creating a delicious Italian Zucchini Scarpaccia that everyone will adore!
Step‑by‑Step Instructions for Italian Zucchini Scarpaccia
Step 1: Preheat and Prepare
Begin by preheating your oven to 375°F (190°C). While it’s heating, grease a 9×13-inch baking pan generously with olive oil or line it with parchment paper to ensure easy removal later. This initial setup is crucial for achieving that perfect golden crust on your Italian Zucchini Scarpaccia.
Step 2: Combine Dry Ingredients
In a large mixing bowl, whisk together the all-purpose flour, cornmeal, baking powder, salt, and black pepper until they are well combined. This ensures even distribution of the dry ingredients, which is key to creating a harmonious flavor throughout the scarpaccia. As you stir, admire the vibrant colors and textures that will soon become a delightful bake.
Step 3: Mix Wet Ingredients
In a separate bowl, crack open the eggs and whisk them together with whole milk and olive oil until you achieve a smooth and uniform mixture. This will create a rich base that binds the ingredients together. The golden hue of the egg will also contribute to the lovely color of your Italian Zucchini Scarpaccia as it bakes.
Step 4: Combine Mixtures
Gently pour the wet mixture into the bowl with the dry ingredients, using a spatula to fold them together. Be careful not to overmix; just combine until there are no streaks of dry flour visible. This light mixing maintains the fluffiness of your batter, ensuring a tender final product.
Step 5: Add Flavorful Ingredients
Now it’s time to fold in the star of the dish: sliced zucchini, minced garlic, grated Parmesan cheese, fresh thyme, and pine nuts (if using). Use gentle motions to mix everything without breaking down the zucchini, which preserves its delightful texture. The aromatic blend will fill your kitchen with inviting scents!
Step 6: Pour and Drizzle
Pour the batter into the prepared baking pan, spreading it evenly with your spatula. This ensures uniform cooking and consistent texture throughout your scarpaccia. Once spread, drizzle a bit of olive oil over the top to encourage browning and add an extra layer of flavor during baking.
Step 7: Bake to Perfection
Place the pan in the preheated oven and bake for 35-40 minutes. Keep an eye out for golden-brown edges and a firm top, which indicate that your Italian Zucchini Scarpaccia is ready to come out. The delightful aroma will surely whet your appetite as it bakes!
Step 8: Cool and Slice
Once baked, remove the pan from the oven and allow the scarpaccia to cool for about 10 minutes. This cooling time is essential for cleaner cuts. After it has cooled slightly, slice it into squares or rectangles for serving, revealing the beautiful layers of zucchini.
Step 9: Serve and Enjoy
You can serve your Italian Zucchini Scarpaccia warm or at room temperature. It pairs beautifully with a light salad or roasted vegetables, making it a versatile dish for any occasion. Your homemade creation is now a centerpiece of flavor and warmth that everyone will love!
Make Ahead Options
These Italian Zucchini Scarpaccia are perfect for busy home cooks who want to save time without sacrificing flavor! You can prepare the batter up to 24 hours in advance by mixing the dry ingredients and storing them separately from the wet ingredients in the refrigerator. Additionally, you can slice the zucchini and prepare the garlic and herbs a day ahead as well—just place everything in an airtight container to keep it fresh. When you’re ready to bake, simply combine the wet and dry ingredients, fold in the prepared zucchini mixture, pour it into the pan, and bake as directed. This way, you’ll enjoy a heartwarming homemade dish with minimal effort on busy weeknights!
Storage Tips for Italian Zucchini Scarpaccia
Fridge: Store leftover Italian Zucchini Scarpaccia in an airtight container for up to 3-4 days to maintain its freshness.
Freezer: For longer preservation, wrap portions tightly in plastic wrap or foil and freeze for up to 2-3 months.
Reheating: To reheat, simply place slices in a preheated oven at 350°F (175°C) for about 10-15 minutes or until warmed through, ensuring they stay crispy.
Cooling: Allow the bake to cool completely before storing to prevent excess moisture, helping retain that delightful texture.
What to Serve with Italian Zucchini Scarpaccia?
This rustic Tuscan bake pairs beautifully with a variety of sides and drinks that enhance its flavors and create a memorable dining experience.
-
Light Green Salad: A crisp salad with mixed greens and a tangy vinaigrette adds refreshing contrast to the savory scarpaccia. The tartness of the dressing lifts the dish’s earthy flavors.
-
Roasted Vegetables: Caramelized seasonal vegetables like bell peppers and carrots bring sweetness and depth, complementing the zucchini’s texture perfectly. Their vibrant colors add an inviting touch to your table.
-
Herbed Yogurt Dip: A cool, creamy yogurt dip seasoned with fresh herbs offers a delightful zing. This pairing invites a wonderful fusion of flavors that creates a balanced bite.
-
Garlic Bread: Crunchy garlic bread enriches the meal with its garlic-infused warmth, serving as a perfect vessel to enjoy every savory morsel of scarpaccia.
-
White Wine: A glass of chilled Sauvignon Blanc or crisp Pinot Grigio enhances the dish’s herbal notes, creating a beautiful harmony that elevates your dining experience.
-
Tiramisu: End your meal with a classic tiramisu for a decadent touch. Its rich, coffee-infused layers provide a wonderful contrast to the light, savory elements of your meal.
Expert Tips for Italian Zucchini Scarpaccia
-
Don’t Overmix: Gently combine wet and dry ingredients to maintain tenderness in the Italian Zucchini Scarpaccia. Overmixing can result in a dense texture.
-
Use Fresh Ingredients: Opt for fresh zucchini and herbs to enhance flavors. Frozen veggies or stale herbs may compromise the dish’s vibrancy.
-
Perfect Baking Time: Keep an eye on the baking time; ovens vary. Remove from the oven when golden and the top feels firm to the touch for optimal results.
-
Cool Before Slicing: Allow the bake to cool for 10 minutes to achieve cleaner cuts. This step ensures each slice retains its lovely layers.
-
Storage Savvy: If you have leftovers, store them in an airtight container in the fridge for up to 4 days. Freezing is an option too if wrapped properly for up to 3 months.
Italian Zucchini Scarpaccia: Customization Options
Feel free to enhance the Italian Zucchini Scarpaccia with these delightful tweaks that will pique your culinary curiosity and cater to your taste buds!
-
Cheese Swap: Replace Parmesan with Pecorino Romano, mozzarella, or feta for a different flavor profile. Each cheese brings its own character, transforming your bake into a new experience.
-
Herb Substitution: Use dried thyme at a ratio of 1:3 if you don’t have fresh thyme on hand. Dried herbs can still carry a pleasant aroma, though fresh will always add a special touch!
-
Vegetable Variety: Incorporate seasonal vegetables like spinach, bell peppers, or even sweet corn to break the monotony. Each addition will bring its unique flavor and texture, making this dish your own.
-
Nut-Free Option: Omit pine nuts for a nut-free version without compromising on flavor. The scarpaccia will still remain deliciously crunchy and comforting.
-
Spice it Up: For a little heat, add a pinch of red pepper flakes to the batter. A hint of heat can create an exciting contrast, balancing the richness of the cheese and zucchini perfectly.
-
Dairy-Free Delight: Substitute whole milk with your favorite plant-based milk and use a vegan cheese alternative for a dairy-free version. Enjoy all the flavors without the dairy!
-
Garlic Twist: Want to elevate the savoriness? Roast the garlic before adding it to the batter. It will infuse a sweet, caramelized flavor that complements the zucchini beautifully.
Embrace these variations to personalize your experience and make this dish truly yours! For more delightful ideas like these, explore our savory Italian dishes or learn how to adapt recipes for various dietary needs with our simple guides on meal customization.
Italian Zucchini Scarpaccia Recipe FAQs
How do I choose the right zucchini?
Absolutely! When selecting zucchini, look for firm ones with smooth, glossy skin and vibrant green color. Avoid any with dark spots all over or soft patches. Fresh zucchini will provide the moisture and tenderness needed for your Italian Zucchini Scarpaccia, enhancing the overall flavor of the dish.
How should I store leftover scarpaccia?
Very! To store, simply place your leftover Italian Zucchini Scarpaccia in an airtight container in the fridge, where it will stay fresh for about 3-4 days. This way, you can enjoy your delicious creation again without losing any of its delightful texture and taste.
Can I freeze Italian Zucchini Scarpaccia?
Absolutely! To freeze, first let the bake cool completely. Then, slice it into individual portions and wrap each piece tightly in plastic wrap or aluminum foil. Store the wrapped portions in a freezer-safe bag or container. This way, it can be safely frozen for up to 2-3 months. When you’re ready to enjoy, just pop slices in a preheated oven at 350°F (175°C) for about 10-15 minutes until warmed through—easy and delicious!
What if my scarpaccia turns out dense or soggy?
Don’t worry! If your Italian Zucchini Scarpaccia comes out dense, it’s often due to overmixing the batter. For a lighter texture, remember to gently fold your wet and dry ingredients just until combined, avoiding vigorous mixing. If it’s soggy, check that your zucchini was properly dried before adding it to the batter. You can even toss the sliced zucchini with a pinch of salt and let it sit for 15 minutes to draw out excess moisture before incorporating it into your mixture.
Is this dish suitable for those with nut allergies?
Very! The Italian Zucchini Scarpaccia can easily be made nut-free simply by omitting the pine nuts, which are optional. Ensure that any substitutes you’re using in the dish—like flour or other ingredients—are produced in nut-free facilities to avoid cross-contamination. Enjoy a delightful bake worry-free!
What should I serve with this scarpaccia?
I often pair my Italian Zucchini Scarpaccia with a bright, simple salad or some roasted vegetables for a complete meal. A yogurt dip also complements the scarpaccia beautifully, enhancing its savory flavors. And don’t forget a glass of your favorite white wine to elevate the experience further!

Italian Zucchini Scarpaccia: A Savory Tuscan Delight
Ingredients
Equipment
Method
- Preheat your oven to 375°F (190°C). Grease a 9x13-inch baking pan with olive oil or line it with parchment paper.
- In a large mixing bowl, whisk together the flour, cornmeal, baking powder, salt, and pepper.
- In a separate bowl, whisk together the eggs, milk, and olive oil until smooth.
- Gently fold the wet mixture into the dry ingredients until just combined.
- Fold in the sliced zucchini, minced garlic, Parmesan cheese, thyme, and pine nuts.
- Pour the batter into the prepared baking pan and drizzle olive oil on top.
- Bake for 35-40 minutes until golden brown and firm to touch.
- Allow to cool for 10 minutes before slicing into squares.
- Serve warm or at room temperature with a light salad or roasted vegetables.
Leave a Reply