
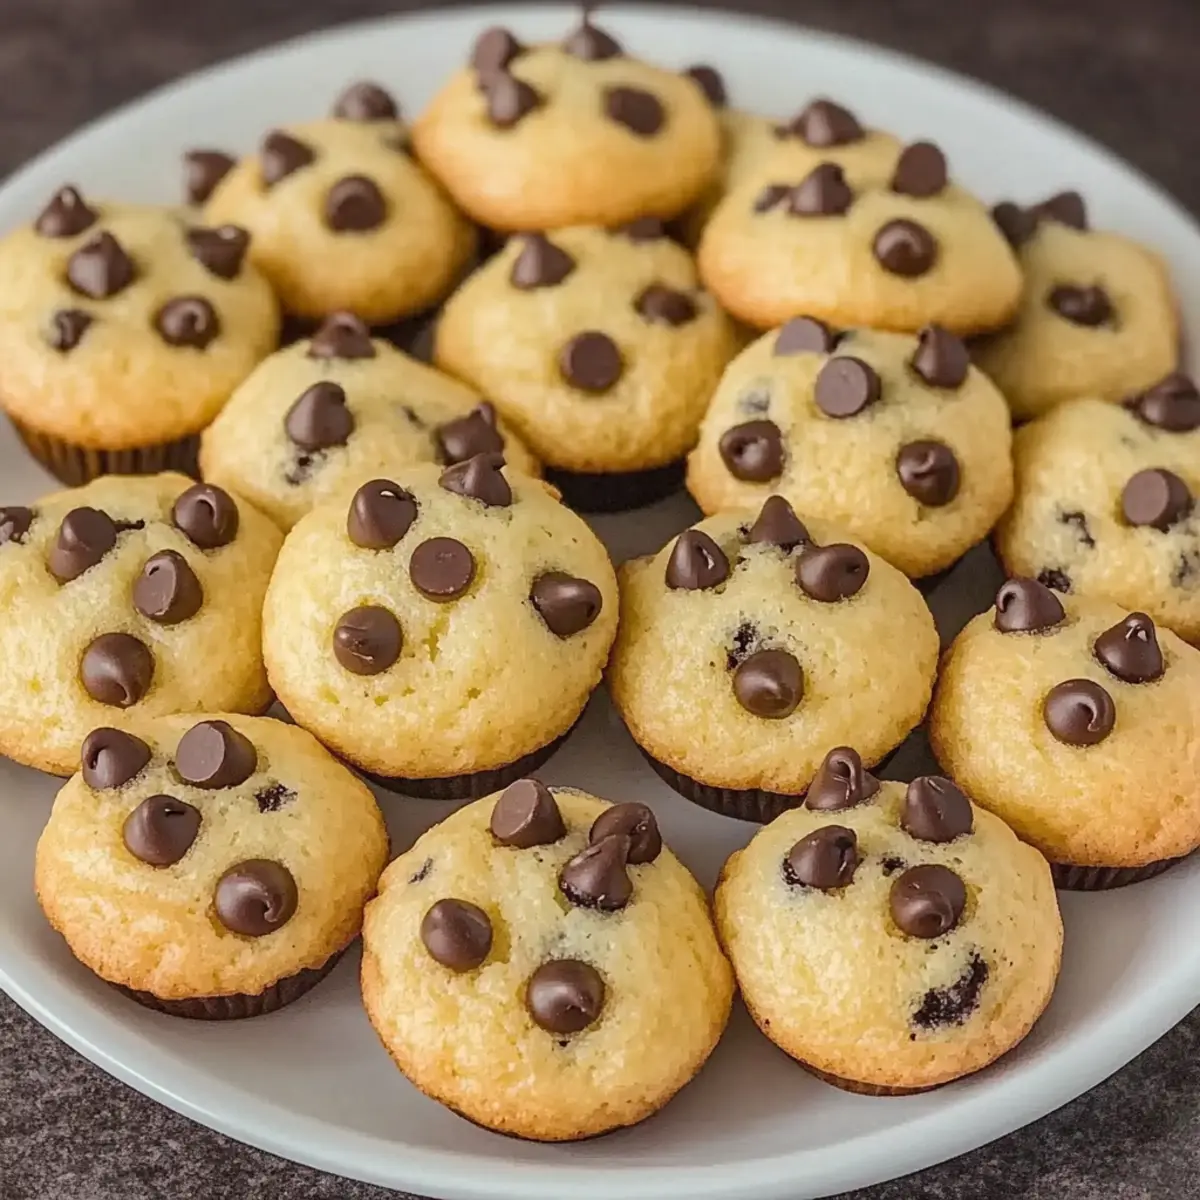
The moment the muffins emerge from the oven, their warm, sweet aroma fills every corner of my kitchen, instantly lifting my spirits. These Quick and Easy Mini Chocolate Chip Muffins are not only a joy to make but also a delightful treat that everyone in the family will adore. Ready in just 30 minutes, they save us from the fast food grind while providing a fantastic snack or breakfast option that’s perfect for lunchboxes. With their fluffy texture and rich chocolatey bites, these muffins are a guilt-free indulgence that can easily accommodate your favorite add-ins—like walnuts for crunch or cranberries for a fruity flair. Are you ready to whip up a batch that will have your loved ones coming back for more? Let’s dive into this deliciously easy recipe!
Why Are Mini Chocolate Chip Muffins So Special?
Deliciously Easy: These muffins come together in just 30 minutes, making them a perfect solution for busy mornings or unexpected guests.
Family Favorite: With their sweet, rich chocolate flavor, they please both kids and adults, ensuring no one can resist a second (or third!) helping.
Versatile Options: Customize your batch by adding nuts, dried fruit, or spices like cinnamon to fit everyone’s taste preferences.
Guilt-Free Indulgence: Made with wholesome ingredients like Greek yogurt and maple syrup, they strike a balance between delicious and healthy.
Perfect for Any Occasion: Whether it’s breakfast, a snack, or lunchbox treats, these muffins save the day and can be enjoyed anytime.
Convinced of their charm? Try pairing these with your morning coffee or even some of our Chewy Chocolate Chip cookies for a delightful assortment!
Mini Chocolate Chip Muffin Ingredients
Get ready to create a home-baked delight!
For the Muffin Batter
• 1 cup plain full-fat Greek yogurt – Adds moisture and richness; substitution: can use any plain yogurt.
• ¼ cup unsalted butter, melted – Provides fat for tenderness; substitution: oil can be used for a dairy-free option.
• 2 eggs – Acts as a binder and adds structure; notes: room temperature eggs mix better.
• 2 teaspoons vanilla extract – Enhances flavor; substitution: use almond extract for a different taste.
• ¼ teaspoon salt – Balances sweetness; note: essential for flavor enhancement.
• 1 teaspoon baking powder – Helps muffins rise; ensure it’s fresh for best results.
• ½ teaspoon baking soda – Aids in leavening, creating a lighter texture.
• ½ cup maple syrup – Natural sweetener, providing moisture and flavor; substitution: honey or agave nectar can be used.
• 1 ½ cups all-purpose flour – Provides structure; substitution: whole wheat flour can elevate fiber content.
• 1 cup mini chocolate chips – Adds sweetness and richness; tip: use high-quality chocolate for best results.
Ready to whip up these Mini Chocolate Chip Muffins? Let the fun begin!
Step‑by‑Step Instructions for Mini Chocolate Chip Muffins
Step 1: Preheat the Oven
Begin by preheating your oven to 350°F (175°C). This ensures that your Mini Chocolate Chip Muffins will bake evenly and rise perfectly. While the oven heats up, gather all your ingredients so they are ready to go, creating a smooth workflow for your muffin-making adventure.
Step 2: Mix Dry Ingredients
In a medium mixing bowl, whisk together the all-purpose flour, baking powder, baking soda, salt, and set this mixture aside. This essential step helps to evenly distribute the leavening agents, ensuring your muffins are light and fluffy. You can also use a sifter for an even finer mix if you prefer.
Step 3: Combine Wet Ingredients
In another large bowl, combine the Greek yogurt, melted butter, maple syrup, vanilla extract, and eggs. Use a whisk to blend the ingredients until they are well-mixed and creamy. The yogurt adds wonderful moisture, while the maple syrup infuses the batter with natural sweetness—this mixture will provide the heart of your Mini Chocolate Chip Muffins.
Step 4: Incorporate Dry into Wet
Slowly add the dry ingredient mixture to the wet ingredients, folding gently with a rubber spatula. Mix just until you no longer see dry flour; be careful not to over-mix, as this can lead to dense muffins. You want a slightly lumpy batter, which is perfect for light and fluffy goodies!
Step 5: Fold in Chocolate Chips
Gently fold in the mini chocolate chips, being mindful not to overwork the batter. The chocolate chips are what turn these muffins into rich little bites of heaven, so make sure they’re evenly distributed throughout the batter. This step is where the magic truly begins as you prepare for those delightful chocolatey surprises.
Step 6: Prepare the Muffin Pan
Take a mini muffin pan and lightly spray it with nonstick cooking spray or line it with mini muffin liners. This prevents sticking and makes for easy cleanup. Using a small cookie scoop or spoon, fill each muffin cup about two-thirds full with the batter, ensuring an even distribution for consistent baking.
Step 7: Sprinkle Extra Chocolate Chips
For an extra treat, consider sprinkling a few additional mini chocolate chips on top of the batter-filled muffin cups. This not only enhances the visual appeal but ensures that delightful chocolate goodness greets you with every bite of your Mini Chocolate Chip Muffins.
Step 8: Bake to Perfection
Place the muffin pan in the preheated oven and bake for 12-14 minutes. You’ll know they’re done when the tops are golden and a toothpick inserted in the center comes out clean or with a few moist crumbs. The aroma filling your kitchen will be hard to resist!
Step 9: Cool Down
Once baked, allow the muffins to cool in the pan for 2-3 minutes. This brief cooling time helps them firm up and makes them easier to remove from the pan. After that, transfer the muffins to a wire cooling rack to cool completely, ensuring the perfect texture on the outside while remaining fluffy inside.

Expert Tips for Mini Chocolate Chip Muffins
- Room Temperature Ingredients: Make sure your eggs and yogurt are at room temperature; they blend more smoothly and create a fluffier muffin.
- Don’t Overmix: Gentle folding is key! Overmixing can lead to dense and tough muffins, so mix just until combined for that perfect texture.
- Baking Powder Freshness: Always check the expiration date on your baking powder; using stale leavening agents can result in muffins that don’t rise properly.
- Customize Flavors: Feel free to experiment with flavors; adding nuts, dried fruits, or spices can elevate your Mini Chocolate Chip Muffins and keep things exciting.
- Storage Solution: For freshness, store muffins in an airtight container. You can also freeze them—just freeze in a single layer before placing them in freezer bags to avoid clumping.
Mini Chocolate Chip Muffins Variations
Feel free to get creative and make these muffins your own with delightful twists and substitutes!
-
Nutty Delight: Add ½ cup of chopped walnuts for a crunchy texture and nutty flavor. These little bites of joy will give your muffins a heartier taste, a perfect pairing with the chocolatey goodness.
-
Fruity Twist: Substitute ½ cup of chocolate chips with dried cranberries or chopped dried apricots for a fruity twist. The sweet-tart cranberries offer a refreshing contrast to the rich chocolate, making each bite a new experience.
-
Spicy Surprise: Incorporate a teaspoon of cinnamon or pumpkin spice to elevate the flavor profile. The warm spices add warmth and depth, making these muffins a cozy treat for any occasion.
-
Dairy-Free Option: Replace the Greek yogurt with your favorite plant-based yogurt and use coconut oil instead of butter for a dairy-free delight. This transformation ensures everyone can enjoy the fun!
-
Whole Grain Goodness: Swap out all-purpose flour for whole wheat flour to boost the fiber content. Not only is this a healthier option, but it also adds a delightful nuttiness that pairs beautifully with the chocolate.
-
Mini or Standard Size: Use regular muffin tins for larger muffins; just be sure to increase the baking time to around 15-18 minutes. Everyone loves a bigger treat now and then!
-
Personalized Sweetness: Adjust the sweetness by reducing maple syrup or adding a sprinkle of coconut sugar for a different sweet touch. The option to customize sweetness will help cater to all palates.
-
Extra Chocolate: Sprinkle some mini chocolate chips on top before baking for added indulgence. Who could resist a muffin overflowing with chocolate goodness? This simple addition takes the classic muffin experience to the next level.
For more delicious ideas, check out our Brown Butter Chocolate Chip cookies or explore the richness of Dark Chocolate Raspberry recipes for an even more decadent treat!
Storage Tips for Mini Chocolate Chip Muffins
Room Temperature: Store muffins in an airtight container at room temperature for up to 2 days. This keeps them soft and ready for an instant treat!
Fridge: If you want to extend their shelf life, these Mini Chocolate Chip Muffins can be kept in a sealed container in the refrigerator for up to 1 week. Just allow them to come to room temperature before enjoying!
Freezer: For longer storage, freeze the muffins for up to 3 months. Lay them flat in a single layer on a baking sheet until frozen, then transfer to a freezer bag to maintain their shape.
Reheating: To reheat, simply microwave for about 20-30 seconds or warm them in an oven preheated to 350°F (175°C) for a few minutes. Enjoy that fresh-baked flavor anytime!
What to Serve with Mini Chocolate Chip Muffins?
As you slice into a warm muffin, let your imagination run wild with delicious pairings that will turn your snack into a full feast.
- Coffee or Tea: The perfect warm drink to complement the sweetness, balancing flavors with a cozy touch.
- Fresh Fruit Salad: A colorful, refreshing mix of fruits brightens up your plate and adds a nutritious crunch.
- Yogurt Parfait: Layer creamy yogurt with fruit and granola for a healthy twist that enhances the muffin experience.
- Nut Butter Spread: A dollop of almond or peanut butter adds a delightful nuttiness, complementing the chocolate perfectly.
- Milk: Whether it’s classic cow’s milk or a creamy almond variety, this pairing works wonders in washing down chocolatey bites.
- Smoothies: A fruity smoothie bursts with flavor, offering a refreshing contrast and a healthy option for breakfast or snack time.
- Whipped Cream or Ice Cream: For an indulgent treat, top with whipped cream or serve with a scoop of vanilla ice cream for a dessert-like experience.
- Berries Compote: Drizzle a warm berry compote over your muffins for a touch of tartness that brightens the sweetness of chocolate.
- Chocolate Sauce: If you’re feeling a bit adventurous, drizzle some chocolate sauce on top for a decadent touch that will truly delight!
Make Ahead Options
These Mini Chocolate Chip Muffins are perfect for busy home cooks looking to save time without sacrificing flavor! You can prepare the batter up to 24 hours in advance; simply mix it beforehand and store it in the refrigerator. When you’re ready to bake, give the batter a gentle stir to ensure everything is well-combined. Additionally, you can also portion the muffin batter into the greased muffin pan and cover it tightly with plastic wrap, refrigerating it overnight for even quicker mornings. To maintain quality, avoid overmixing the batter and consider adding the chocolate chips right before you bake for that fresh, gooey texture. Enjoy the convenience and deliciousness of these muffins whenever cravings strike!
Mini Chocolate Chip Muffins Recipe FAQs
How do I choose the best Greek yogurt for this recipe?
Absolutely! When selecting Greek yogurt, look for plain full-fat options, as they add moisture and richness to the muffins. Avoid flavored varieties, which may add unnecessary sugars. The yogurt should have a creamy texture and no added preservatives for the best results.
How should I store Mini Chocolate Chip Muffins?
Store your Mini Chocolate Chip Muffins in an airtight container at room temperature for up to 2 days to keep them soft. If you want them to last longer, place them in a sealed container in the refrigerator, where they will stay fresh for up to 1 week.
Can I freeze Mini Chocolate Chip Muffins?
Yes, you can! To freeze, lay the muffins flat in a single layer on a baking sheet and freeze them until solid for about 1 hour. Once frozen, transfer them to a freezer bag, squeezing out as much air as possible. They can be frozen for up to 3 months. To enjoy, just pop them in the microwave for 20-30 seconds or warm them in a preheated oven.
What should I do if my muffins turn out dense?
Very good question! If your muffins come out dense, it might be due to overmixing the batter—make sure to fold just until combined. Additionally, check that your baking powder is fresh, as expired leavening agents can lead to a flat texture. A simple tip: ensure all wet and dry ingredients are at room temperature for the best rise.
Can I make these muffins allergy-friendly?
Absolutely! For a dairy-free version, substitute unsalted butter with a vegetable oil like coconut oil, and use almond or oat milk yogurt instead of Greek yogurt. If you want to make them gluten-free, replace the all-purpose flour with a gluten-free baking blend. Always check that all ingredients are suitable for your specific dietary needs.

Mini Chocolate Chip Muffins That Will Delight Your Family
Ingredients
Equipment
Method
- Preheat your oven to 350°F (175°C). Gather all your ingredients.
- In a medium bowl, whisk together flour, baking powder, baking soda, and salt.
- In a large bowl, combine Greek yogurt, melted butter, maple syrup, vanilla extract, and eggs. Blend until creamy.
- Slowly add the dry mixture to the wet mixture, folding gently until no dry flour is visible.
- Gently fold in mini chocolate chips, being careful not to overwork the batter.
- Lightly spray a mini muffin pan with nonstick cooking spray or line with liners. Fill each cup about two-thirds full with batter.
- Sprinkle extra mini chocolate chips on top of each muffin cup if desired.
- Bake for 12-14 minutes until tops are golden and a toothpick comes out clean.
- Allow muffins to cool in the pan for 2-3 minutes, then transfer to a wire rack.
Leave a Reply